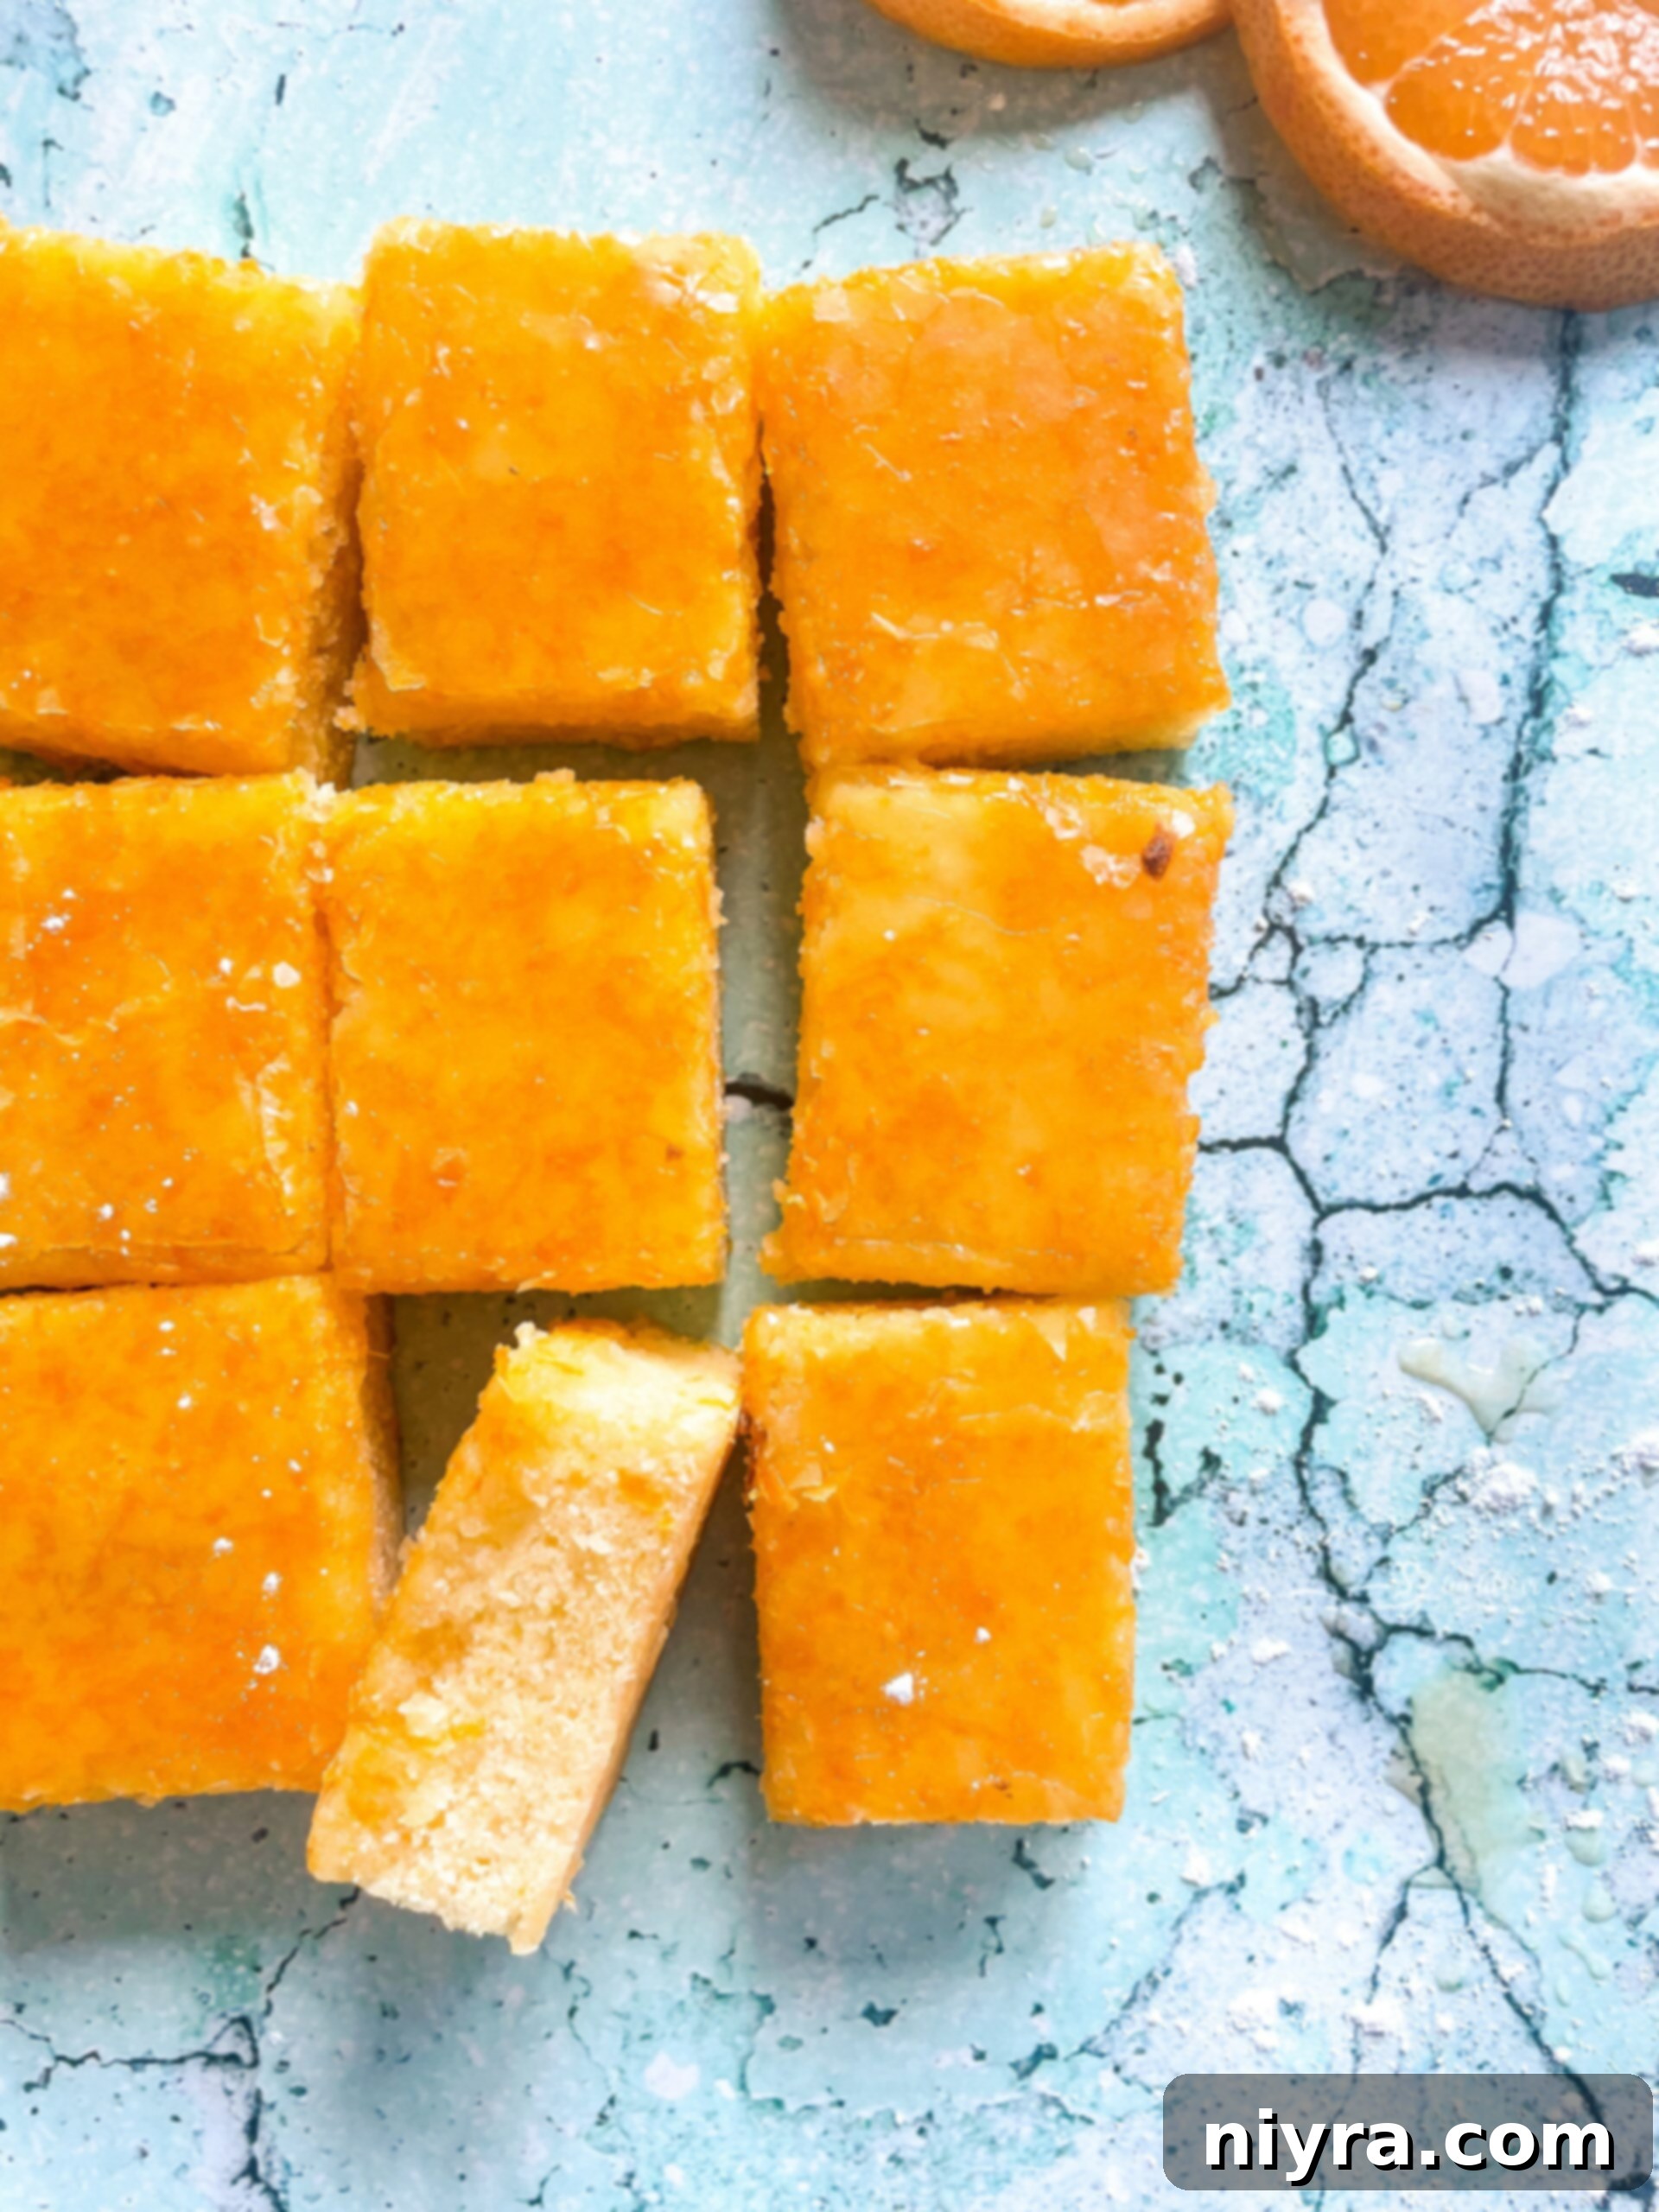
If you’re a devoted fan of classic lemon bars, prepare to have your culinary world rocked by this incredible recipe for Fresh Orange Bars! Imagine the vibrant zest of fresh oranges perfectly harmonizing with a sweet, buttery bar, all crowned with a luscious orange citrus glaze. These dazzling orange squares offer a bright, delightful twist on a beloved dessert, promising to bring a radiant smile to your face with every single bite. They are the perfect sunshine-infused treat for any occasion, from casual gatherings to elegant dessert spreads, and are sure to become a new favorite in your recipe repertoire.
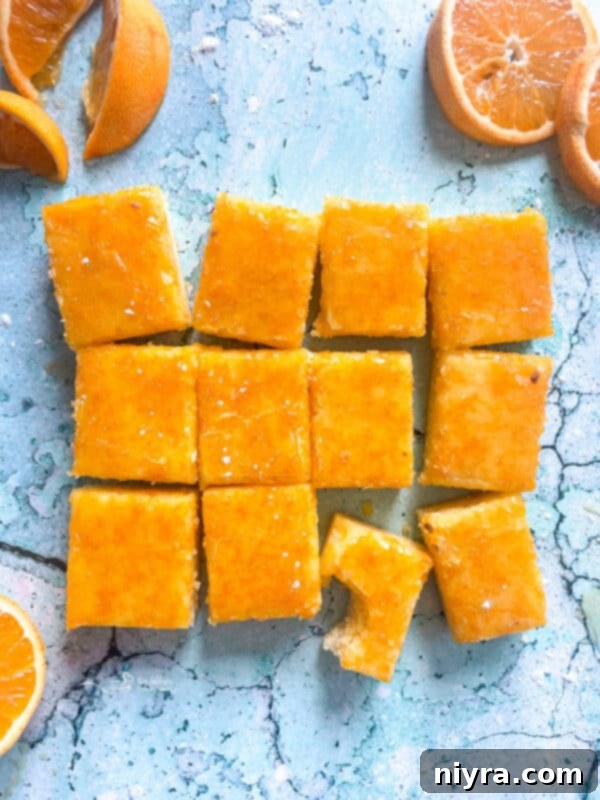
The story of these captivating orange bars begins back in 2014. At the time, I was completely enamored with my Lemon Brownie recipe – seriously, those were (and still are) the best lemon bars, hands down. My kitchen often smelled of fresh lemons, and I was making batch after batch. One day, as I planned to whip up some lemon brownies for a dear friend, I noticed a basket of beautifully ripe, sun-kissed oranges on my counter. A thought sparked: “Why not try making them orange instead of lemon?” The idea of creating an equally fantastic orange dessert version of those lemon brownies was simply irresistible.
I had a strong feeling that this citrus swap would result in something truly special, and it turns out, I was absolutely right! The very first batch of these orange treats was a resounding success. In fact, my husband, a discerning critic of all things sweet, declared them to be even better than the lemon version. And, as the saying goes, if he’s enjoying them, that’s better for his waistline than mine, right? It was a delightful discovery, proving that sometimes, a simple twist on a classic can lead to an entirely new culinary triumph. These orange squares quickly earned a permanent spot in our family’s favorite dessert collection.

When it came time to formally write down the recipe, I paused. What to call them? Given their origin as a variation of my lemon *brownies*, calling them “orange brownies” seemed a natural fit. However, my experience with online communities has taught me a valuable lesson: naming a non-brown colored dessert a “brownie” can sometimes cause quite a stir on social media! Many people simply can’t reconcile the word “brownie” with a treat that isn’t, well, brown. To avoid any confusion or unnecessary debate, and to clearly distinguish them as a separate, unique dessert, I decided to christen them “Fresh Orange Bars.” Even though the underlying base recipe is virtually the same, the name change accurately reflects their bright, citrusy character and sets appropriate expectations for anyone searching for delicious orange desserts. This ensures that when someone searches for “orange bars recipe” or “how to make orange squares,” they find exactly what they’re looking for – a vibrant, tangy, and utterly satisfying treat.
Are you always on the lookout for more special treats that are easy to make and perfect for sharing? Bar recipes are consistently popular for their convenience and deliciousness. Here are a few more of my favorite bar recipes that I highly recommend you try; they are perfect for satisfying any sweet tooth: Iced Snickerdoodle Bars, featuring that classic cinnamon-sugar swirl with a delightful icing, Classic Nanaimo Bars, a rich no-bake Canadian favorite, or these incredibly easy and satisfying No Bake Peanut Butter Chocolate Cookie Bars. Each of these offers a unique flavor profile and texture, making them excellent additions to your baking repertoire, whether you need a quick dessert for a potluck or a comforting treat for home.
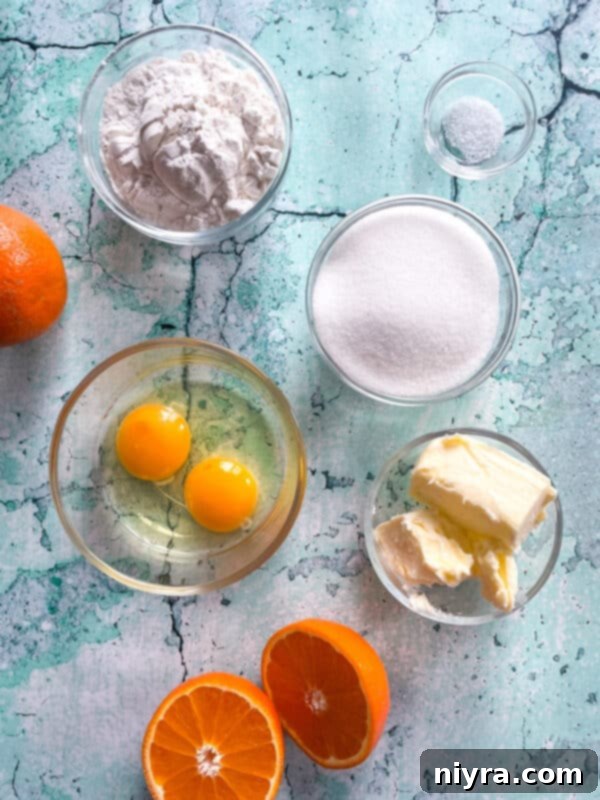
Essential Ingredients for Your Fresh Orange Bars Recipe
Creating these delightful orange bars is simpler than you might think, and it all starts with a selection of fresh, high-quality ingredients. Below is a detailed breakdown of what you’ll need. For the complete step-by-step recipe and precise measurements, please refer to the printable recipe card located at the very bottom of this post. Investing in good ingredients will truly elevate the flavor of your homemade orange squares.
For the Bars:
Butter – For baking, I always recommend unsalted butter. This gives you complete control over the salt content in your recipe, allowing the natural flavors to shine. It’s crucial to take the butter out of the refrigerator well in advance, ideally an hour or two before you begin baking, so it has ample time to soften to room temperature. Softened butter creams beautifully with sugar, resulting in a lighter, airier texture for your bar base.
Sugar – I use classic white granulated sugar for the bar portion of this orange bars recipe. Its fine crystals dissolve easily and provide the perfect level of sweetness, allowing the bright orange flavor to be the star.
Flour – All-purpose flour is my go-to for these orange squares. It provides the necessary structure and tender crumb without making the bars too dense. Ensure you measure your flour correctly, preferably by weight, or by spooning it into the measuring cup and leveling it off, to avoid a dry or tough bar.
Salt – A small touch of salt is essential here. It doesn’t just add saltiness; it acts as a flavor enhancer, balancing the sweetness and making the orange notes in the bars even more vibrant and pronounced. Don’t skip it!
Eggs – Large eggs are what I use for this recipe. They act as a binder, provide moisture, and contribute to the rich, custardy texture of the orange filling. Like butter, it’s best if your eggs are at room temperature, as they will incorporate more smoothly into the batter, leading to a more consistent final product.
Orange Zest – This is where the magic happens and the core flavor of our Fresh Orange Bars truly comes alive! You’ll need the zest from two to three large, fresh oranges for this recipe. The zest contains all the aromatic essential oils, providing an intense citrus fragrance and flavor that simply cannot be replicated by juice alone. Any kind of orange works beautifully here; feel free to experiment with classic Navel oranges, vibrant blood oranges for a hint of berry-like sweetness and beautiful color, or fresh mandarin oranges for a slightly sweeter, milder note.
Orange Juice – After zesting your oranges, make sure to squeeze them for their juice! Using freshly squeezed orange juice complements the zest perfectly, providing the freshest, most authentic orange flavor for both the bar base and the glaze. Avoid bottled juice if possible, as it often contains preservatives and lacks the bright, fresh taste that is key to this recipe.
For the Glaze:
Orange juice – For the vibrant orange glaze, I use 4 tablespoons of freshly squeezed orange juice. This provides the liquid base and a further burst of citrus flavor that beautifully coats the bars.
Orange zest – To achieve a truly powerful and aromatic orange flavor in the glaze, I incorporate 8 teaspoons of fine orange zest. This abundant zest ensures that every bite offers a delightful punch of citrus, making the glaze exceptionally flavorful and fragrant.
Powdered sugar – You’ll need 1 ½ cups of powdered sugar, also widely known as confectioner’s sugar, to create the smooth, pourable consistency of the glaze. This finely milled sugar dissolves effortlessly, yielding a silky-smooth finish that sets beautifully on the orange bars.
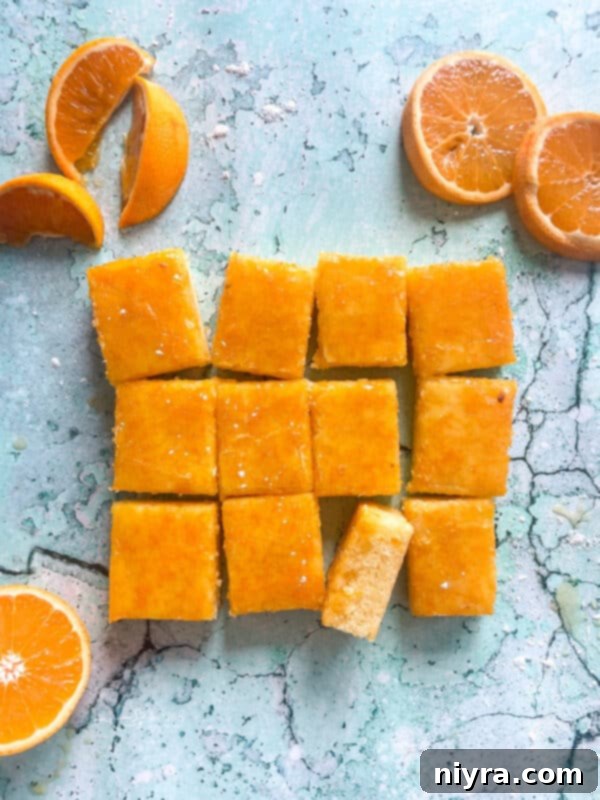
Step-by-Step Guide: How to Make Irresistible Orange Squares
Making these luscious orange squares is a straightforward process that yields incredibly rewarding results. Follow these detailed steps to ensure perfectly baked, wonderfully citrusy bars every time.
Begin by preheating your oven to 350 degrees Fahrenheit (175°C). While the oven heats, prepare your 8×8 inch baking dish. For the easiest removal and cleanest cuts, I highly recommend lining the dish with parchment paper, leaving an overhang on two sides to create “handles.” Then, lightly butter the parchment paper or spray it thoroughly with a non-stick cooking spray. This preparation ensures your beautiful Fresh Orange Bars won’t stick and can be lifted out effortlessly.
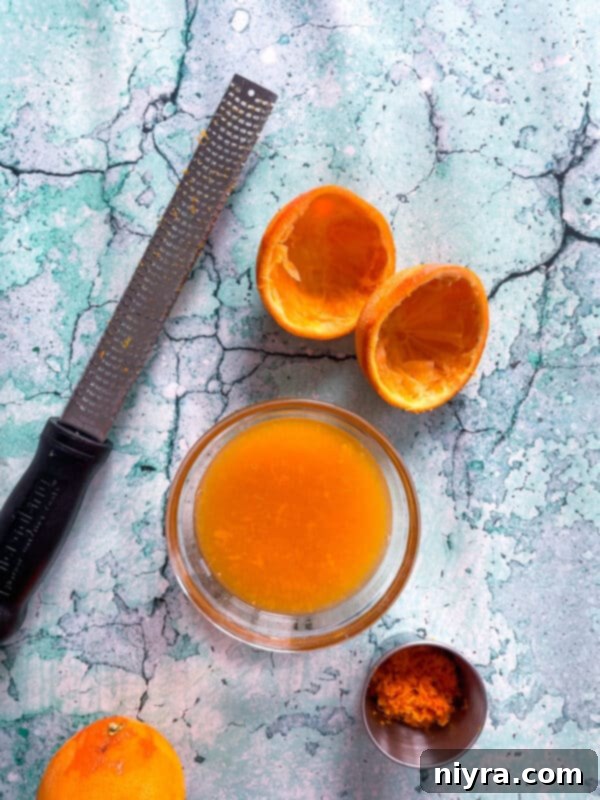
Next, take your oranges and carefully zest them using a microplane or fine grater, ensuring you only get the bright orange peel and none of the bitter white pith underneath. Once zested, cut the oranges in half and juice them. Set both the fresh zest and the freshly squeezed orange juice aside; you’ll be using these in both the bar batter and the glaze. This step ensures all your citrus components are ready to go when you need them, streamlining the baking process.
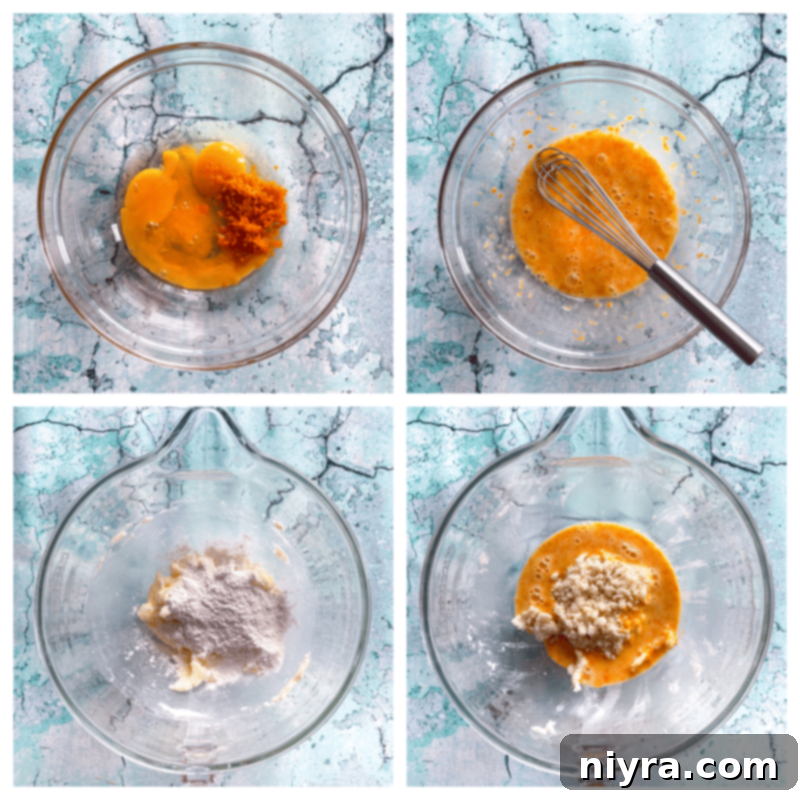
For the bars: In a medium bowl, whisk together the eggs, 2 tablespoons of orange zest, and 2 tablespoons of orange juice until well combined. This mixture will be added later, so set it aside for now.
In the bowl of your stand mixer (or a large bowl with a hand mixer), cream together the softened unsalted butter and granulated sugar until the mixture is light, fluffy, and pale in color. This creaming process incorporates air, which is vital for a tender bar texture. Gradually add the all-purpose flour and salt to the butter-sugar mixture, mixing on low speed until just combined. Be careful not to overmix at this stage, as overworking the flour can lead to tough bars. Finally, pour in the egg, zest, and juice mixture that you prepared earlier. Increase the mixer speed to medium and beat for exactly 2 minutes. This aeration helps to create the characteristic custardy texture of the orange filling.
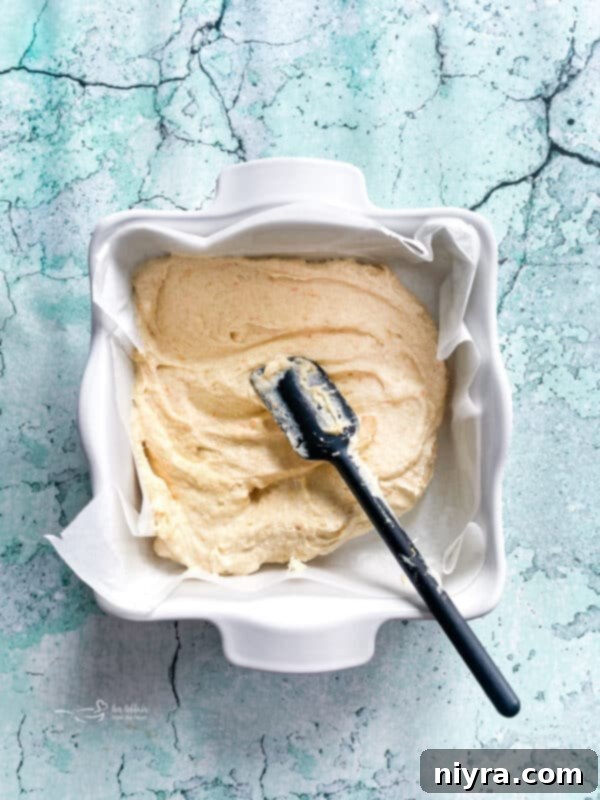
Carefully spread the prepared batter evenly into your lined and greased 8×8 inch baking dish. Place it in the preheated oven and bake for 20-25 minutes. The key is to bake until the edges are beautifully golden brown and the center is just set but still slightly soft to the touch. Ovens can vary significantly, so keep a close eye on your bars. Avoid overbaking at all costs, as this will result in dry bars. A toothpick inserted into the center should come out with moist crumbs, not wet batter. Once baked, remove the pan from the oven and let the bars cool completely on a wire rack while you prepare the glaze.

For the glaze: In a small bowl, combine the powdered sugar, 4 tablespoons of fresh orange juice, and 8 teaspoons of orange zest. Whisk these ingredients together vigorously until the mixture is completely smooth and free of lumps. You’re aiming for a pourable, yet thick, glaze consistency. If it’s too thick, add a tiny bit more orange juice (half a teaspoon at a time); if it’s too thin, sift in a little more powdered sugar.
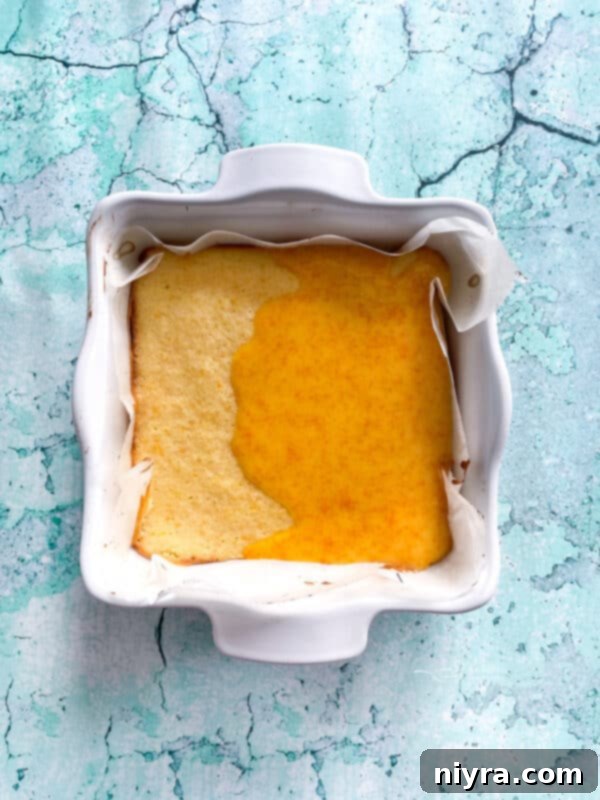
Once the bars are completely cool, pour the freshly prepared orange glaze evenly over the top, spreading it gently with a spoon or offset spatula if needed, ensuring full coverage. The glaze will beautifully set on the cool bars. For best results and clean cuts, immediately place the entire baking dish into the refrigerator for at least 30 minutes, or until the glaze is completely firm. This chilling time is essential for the glaze to set properly and for the bars to firm up, making them much easier to slice into perfect orange squares without any crumbling or smudging.
After chilling, lift the bars out of the pan using the parchment paper overhang. Place them on a cutting board and slice into your desired square or rectangle shapes using a sharp knife. For the cleanest cuts, wipe your knife with a warm, damp cloth between each slice.
These Fresh Orange Bars are best stored in an airtight container in the refrigerator to maintain their freshness, flavor, and texture. I have to say, I absolutely adore how well this orange bars recipe turned out. The vibrant citrus flavor and tender texture are truly a dream. If you find yourself craving a bright, zesty dessert, perhaps even dreaming of traditional lemon bars, but discover you don’t have any lemon juice on hand and aren’t up for a trip to the grocery store, consider making these glorious orange dream bars instead. They offer a wonderful, equally refreshing alternative that might just become your new year-round favorite!

LOVE IT? PIN IT!! Share These Delicious Orange Squares
Don’t let this incredible recipe for Fresh Orange Bars slip away when you’re next looking for a bright, citrusy treat! You’re going to be so sad if you can’t remember where you found it when that orange craving hits. Make sure you pin it to your favorite Pinterest recipe board now, so it’s always easy to find. Share the love of these delightful orange squares with your friends and family by saving it today!
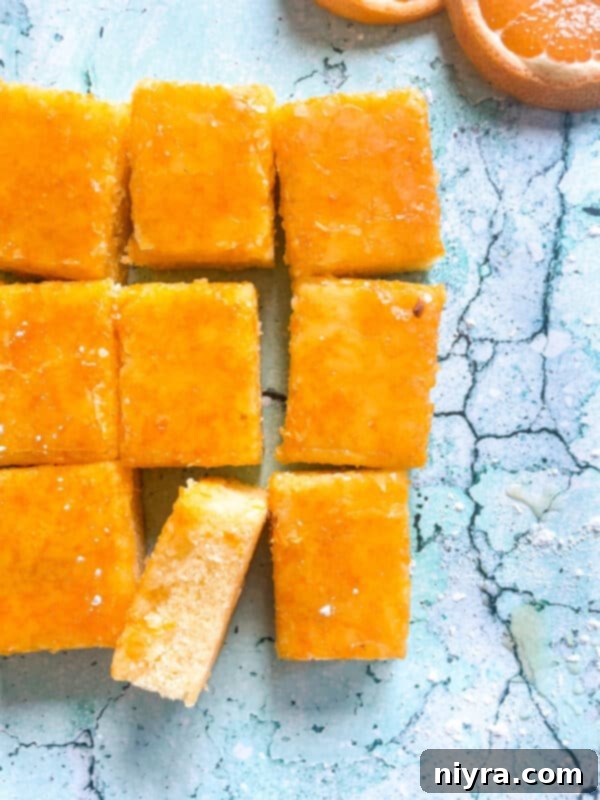
Frequently Asked Questions About Making Fresh Orange Bars
- What exactly are orange bars? Orange bars are a delightful and refreshing twist on a classic dessert bar, typically known in its lemon form. Instead of relying on the tartness of lemons, this recipe ingeniously uses the sweet, vibrant flavor of fresh oranges for a unique citrus experience. They feature a tender, buttery shortbread-like crust topped with a rich, custardy orange filling, all finished with a bright, tangy orange glaze. These orange desserts are perfect for those who enjoy citrus flavors but prefer something a little sweeter and less tart than a traditional lemon bar.
- How do you zest oranges efficiently? Zesting an orange is the same process as zesting a lemon, and it’s crucial for extracting the most flavor. My preferred tool is a long microplane zester, which makes quick work of removing only the brightly colored outer layer (the zest) without digging into the bitter white pith underneath. If you don’t have a microplane, a fine-toothed handheld cheese grater works perfectly well. Simply glide the orange over the sharp edges, rotating the fruit as you go, until all the zest is removed.
- Can you freeze orange bars for later? Absolutely, Fresh Orange Bars freeze exceptionally well, making them an excellent make-ahead dessert! To freeze, first ensure the bars are completely cooled and the glaze is fully set. Cut them into individual squares and arrange them in a single layer on a baking sheet to flash freeze for about an hour. Once firm, transfer the frozen orange brownies (or bars!) to an airtight freezer-safe container, separating layers with parchment paper to prevent sticking. They will keep beautifully in the freezer for up to 3 months. This method allows you to easily grab a single orange square whenever a craving strikes!
- What’s the best way to select fresh oranges for this recipe? For the most flavorful orange bars, choose oranges that feel heavy for their size – this indicates juiciness. Look for smooth, brightly colored skin with no soft spots or blemishes. A fragrant smell also suggests ripeness and good flavor.
- Why did my orange bars turn out dry? The most common culprit for dry bars is overbaking. Keep a close eye on them during the last few minutes of baking. Other factors can include using too much flour (always measure accurately!) or not having your butter and eggs at room temperature, which can affect the batter’s moisture absorption.
- How do I get really clean cuts when slicing my orange squares? Achieving perfect, clean cuts requires patience. First, ensure your bars are thoroughly chilled in the refrigerator for at least 30-60 minutes after glazing. Then, use a sharp, non-serrated knife. For extra clean cuts, dip your knife in hot water and wipe it dry between each slice. This warms the blade slightly, allowing it to glide through the glaze and bar without sticking.
Creative Substitutions for Your Orange Bars Recipe
While this Fresh Orange Bars recipe is fantastic as is, don’t hesitate to get creative with substitutions to tailor it to your taste or dietary needs.
Change up the fruit: Transform these into general citrus bars by swapping fresh oranges for other citrus fruits. Try vibrant grapefruit for a more pronounced tartness, delicate pomelos for a milder, sweeter citrus note, juicy tangerines for a sweet and easy-to-peel alternative, or even limes for a wonderfully zesty twist that leans towards a key lime pie flavor. Each fruit will bring its own unique character to the bar, offering a fresh experience every time.
Flavor the glaze: For a different topping experience, add a touch of pure vanilla extract to the orange glaze for a sweeter, more aromatic profile. Alternatively, if you want to dial back the orange intensity on top, you can create a simple vanilla glaze by replacing all the orange zest and juice in the glaze with milk or water and a generous amount of vanilla extract. Almond extract could also provide a lovely complementary flavor.
Flour alternatives: For a gluten-free version, you can experiment with a 1:1 gluten-free all-purpose flour blend. Ensure the blend contains xanthan gum for structure, or add a quarter teaspoon per cup of flour.
Sweetener variations: While granulated sugar is traditional, you could try using a blend of granulated and light brown sugar in the bar base for a slightly deeper, more caramel-like flavor, though this will slightly alter the color and classic orange bar profile.
Add extra toppings: Before the glaze sets, sprinkle some finely chopped candied orange peel, shredded coconut, or even a light dusting of toasted almonds for added texture and flavor complexity.
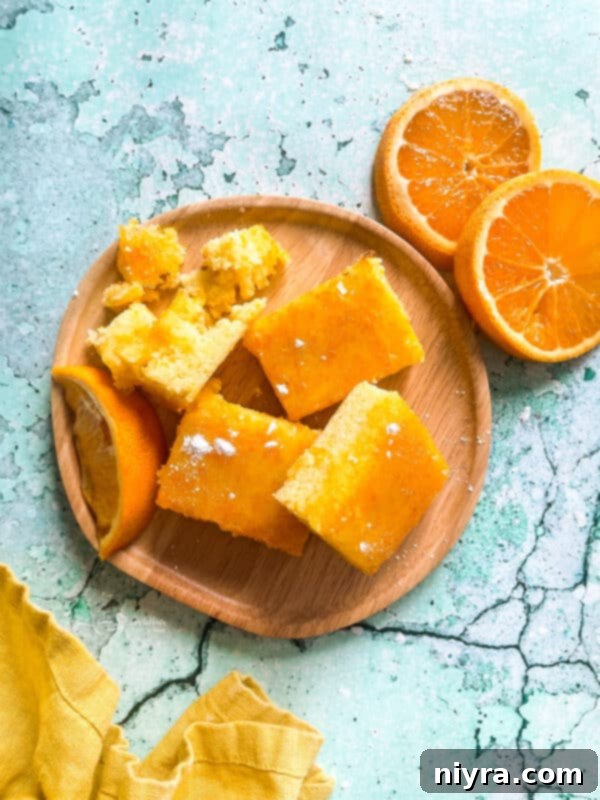
Expert Tips and Tricks for Perfect Fresh Orange Bars
Achieving bakery-quality Fresh Orange Bars is easy when you keep these helpful tips and tricks in mind. These small details can make a big difference in the final taste and texture of your orange squares.
Ensure your butter is at room temperature: This is paramount! Softened butter creams easily with sugar, incorporating air that leads to a light, tender, and uniform bar base. If your butter is too cold, it won’t cream properly; if it’s melted, the texture will be greasy and dense. Take it out of the fridge at least an hour before you plan to bake.
Line your baking dish with parchment paper: For effortless removal of the bars from the baking dish and perfectly clean slices, always line your pan with parchment paper. Leave an overhang on two sides to create handy “slings” that allow you to lift the entire batch of bars out of the pan once cooled, making cutting a breeze.
Don’t overmix the batter: Once you add the flour, mix only until just combined. Overmixing develops gluten, which can lead to tough, chewy bars rather than the desired tender, melt-in-your-mouth texture.
Do not overbake your bars: This is critical for preventing dry bars. The edges should be golden brown, and the center should be set but still have a slight wiggle. A toothpick inserted into the center should come out with moist crumbs, not wet batter, and certainly not completely clean.
Cool bars completely before glazing: Pouring glaze over warm bars will cause it to melt and absorb, resulting in a soggy top and no distinct glaze layer. Always allow your orange bars to cool completely to room temperature, and ideally chill them slightly, before applying the glaze.
For an even more intense orange flavor: Consider adding a teaspoon of pure orange extract to the bar batter along with the zest and juice. You can also add a few drops to the glaze for an extra citrus kick. This will amplify the natural orange notes without making them artificial.
Adjust baking time for different pan sizes: If you use a 9×9 inch pan instead of an 8×8, your bars will be thinner, and the baking time will likely be slightly shorter (around 18-22 minutes). Conversely, for a thicker bar, you might need a few extra minutes. Always monitor for doneness.
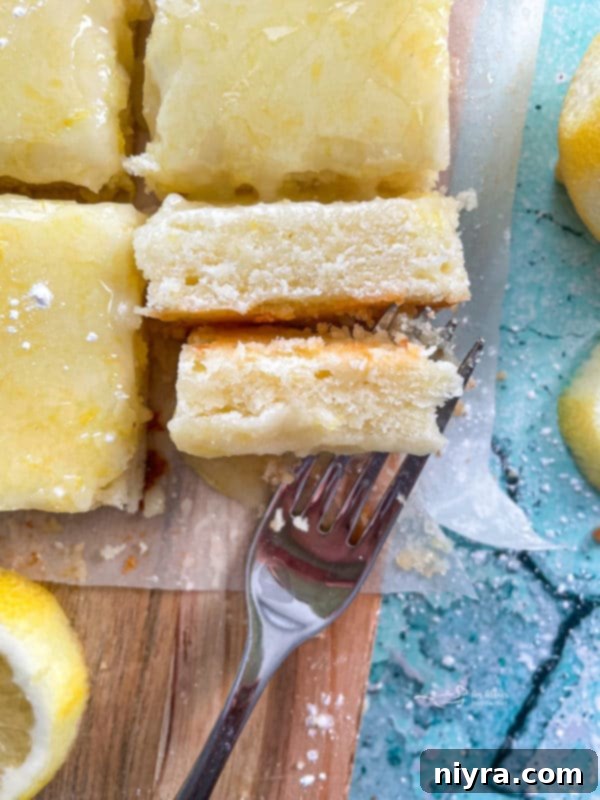
More Irresistible Dessert Bar Recipes to Love
While cookies, cakes, and pies certainly make wonderful desserts, bar recipes hold a special place in the hearts of many home bakers. They are often incredibly quick and easy to prepare, perfect for feeding a crowd, and delightfully portable for potlucks and picnics. If you’ve fallen in love with these Fresh Orange Bars, you’ll surely enjoy exploring more of these delightful and convenient dessert bar recipes. Here are some more delicious options to add to your baking list:
- Lemon Brownies (pictured above) – The original inspiration for these orange bars!
- Raisin Spice Bars – A comforting, warmly spiced treat perfect for cooler weather.
- Pumpkin Bars with Shortbread Crust – All the flavors of pumpkin pie in an easy-to-serve bar format.
- Lemon Blueberry Crumb Bars – A beautiful combination of tangy lemon and sweet blueberries.
- Sweet & Salty Brownies – The perfect balance of rich chocolate, subtle sweetness, and a hint of salt.
- S’Mores Cookie Bars – All the campfire fun of s’mores transformed into a convenient bar.
- Butterscotch Pecan Bars – A rich, chewy, and nutty delight for butterscotch lovers.
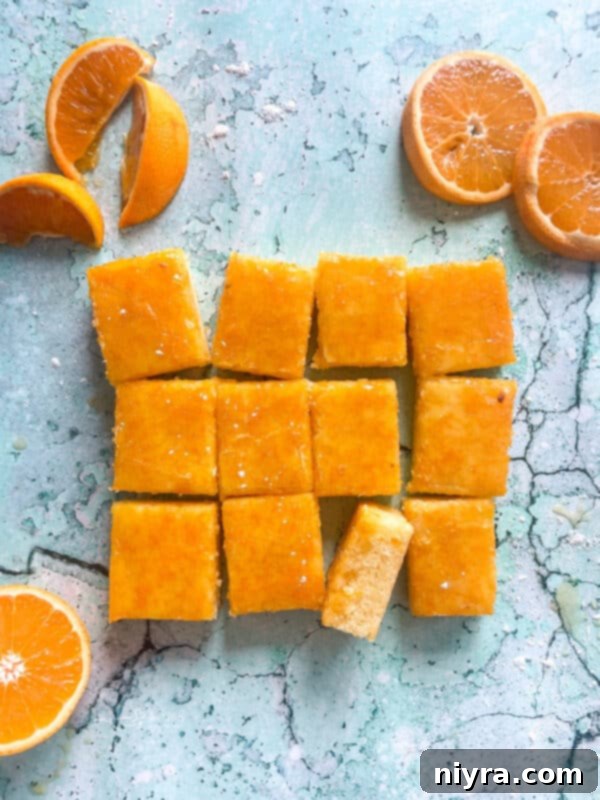

LIKE THIS RECIPE?
Don’t forget to give it a ⭐️⭐️⭐️⭐️⭐️ star rating and
leave a comment below the recipe!

Print Recipe
Fresh Orange Bars
Equipment
- Citrus Zester
- Manual Juicer Citrus / Lemon Squeezer
- Whisks for Cooking, 3 Pack Stainless Steel Whisk 8″+10″+12″
- Kitchenaid Stand Mixer
- KitchenAid Hand Mixer
- Wilton Performance Aluminum Square Cake and Brownie Pan, 8-Inch, 8, Silver
Ingredients
- FOR THE BARS:
- 1 stick unsalted butter softened
- 3/4 cup sugar
- 3/4 cup flour
- 1/4 teaspoon salt
- 2 eggs
- 2 Tablespoons orange Zest
- 2 Tablespoons orange Juice
- FOR THE GLAZE:
- 4 Tablespoons orange juice
- 8 teaspoons orange zest
- 1 1/2 cups powdered sugar
Instructions
- Preheat oven to 350 degrees F (175°C) and grease an 8×8 baking dish lined with parchment paper.
- Zest and juice your oranges and set them aside.
- FOR THE BARS: In a medium bowl, whisk together eggs, orange zest, and orange juice and set aside.
- In your mixer, cream together softened butter and sugar until light and fluffy. Add flour and salt, mixing until just combined.
- Add in the egg mixture and beat on medium speed for 2 minutes.
- Spread the batter into the prepared baking dish and bake for 20-25 minutes, or until the edges are golden brown and the center is set. Do not overbake or the bars will be dry.
- FOR THE GLAZE: While the bars cool completely, combine powdered sugar, orange zest, and orange juice in a small bowl and whisk until smooth.
- Pour the glaze evenly over the completely cooled bars and place in the refrigerator to set for at least 30 minutes.
- Once the glaze is firm, lift the bars from the pan using the parchment paper and cut them into squares to serve.
- Store any leftover Fresh Orange Bars in an airtight container in the refrigerator.
Notes
If you don’t have an 8×8 inch baking dish, you can use a 9×9 inch pan, but be aware that the bars will be thinner. In this case, you will need to adjust your baking time slightly, likely reducing it by 3-5 minutes, so keep a close watch to prevent overbaking.
