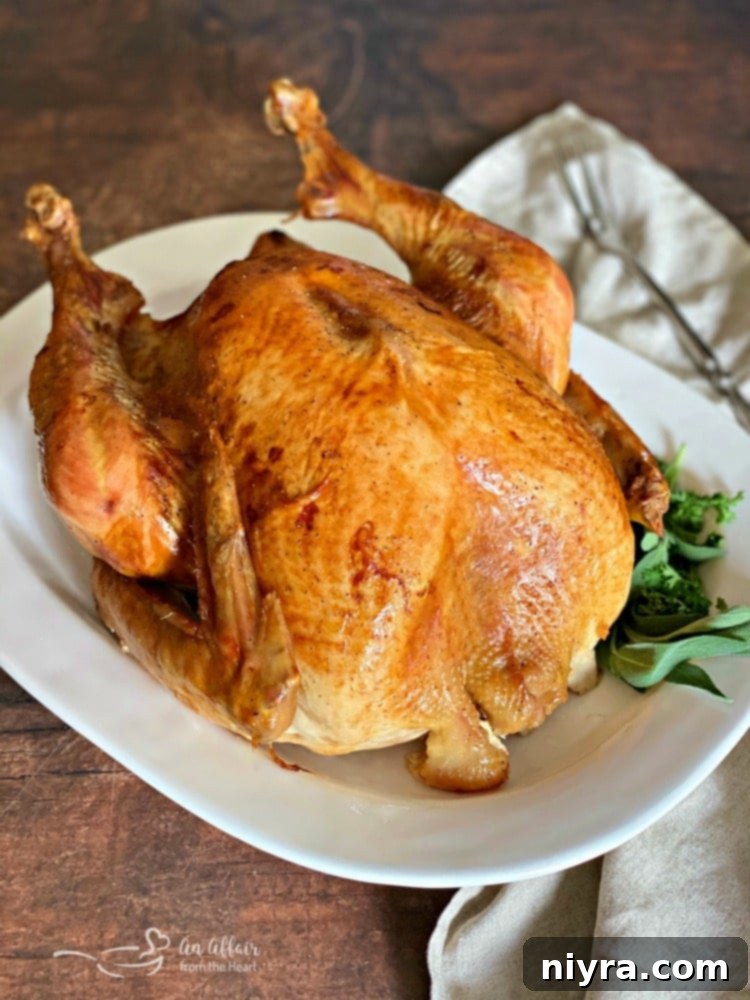
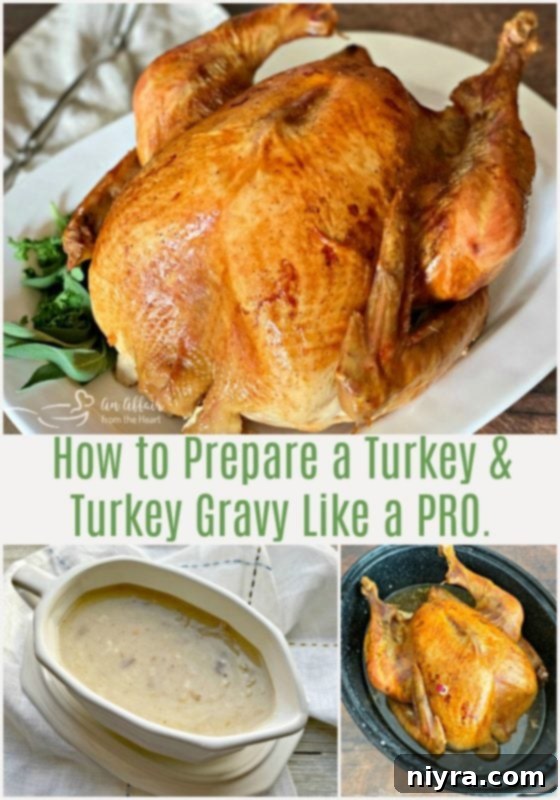
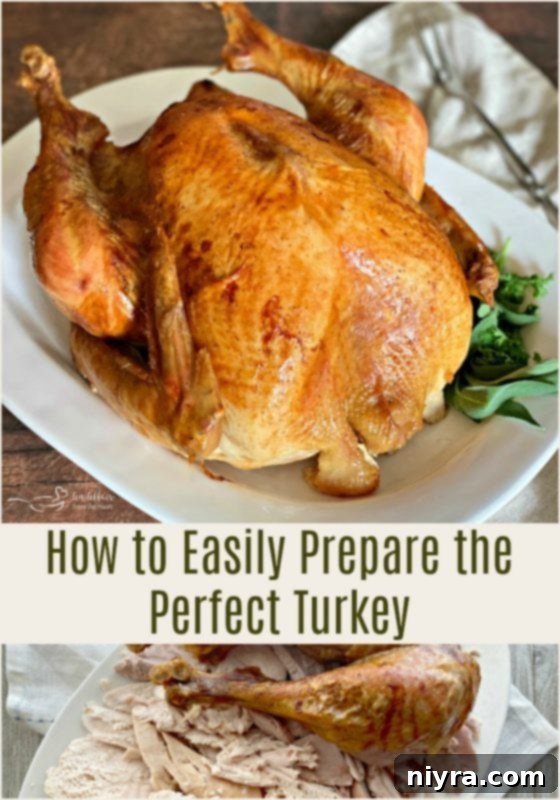
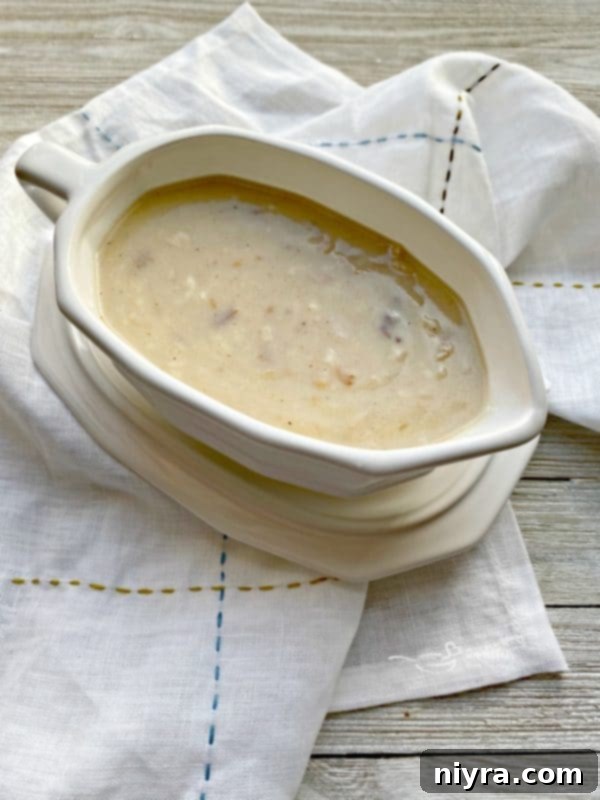
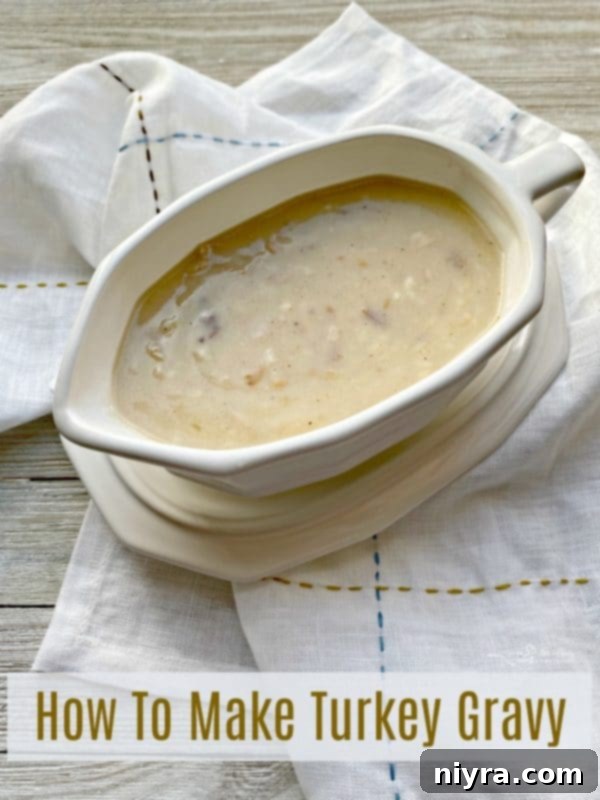
Unlock the secrets to preparing a perfectly roasted, golden turkey and rich, homemade turkey gravy that will impress your guests. Whether you’re a novice in the kitchen or a seasoned home cook, these simple yet comprehensive recipes will guide you to a memorable holiday meal. Forget the stress; delicious Thanksgiving turkey is easier to achieve than you think!
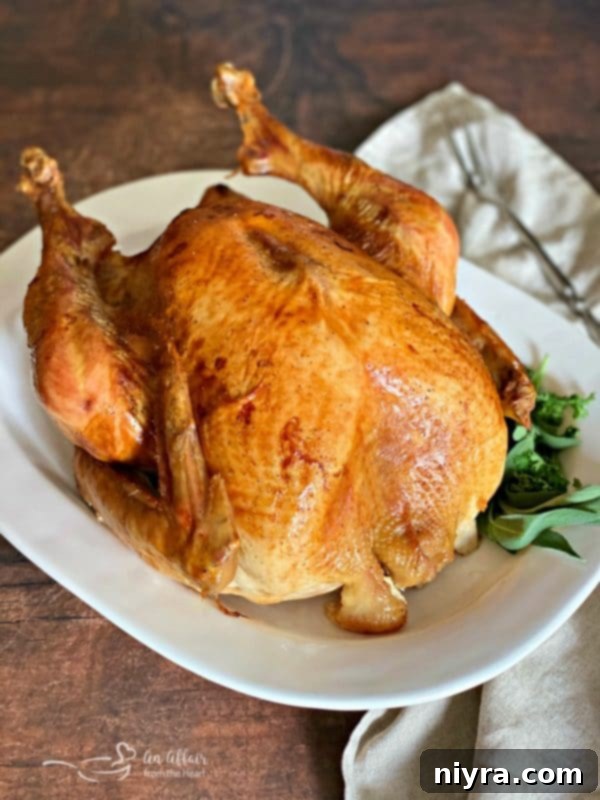
Just a couple of weeks ago, I had the immense pleasure of spending a full day with my mom, immersing ourselves in the cherished tradition of preparing her legendary Thanksgiving feast. We started bright and early at 8 AM, and the hours flew by as we worked side-by-side. While I’ve previously cooked all the individual components of this grand meal, I had never properly documented them with photographs. This time, we ensured every step was captured, creating a visual guide to my absolute favorite meal of the entire year. It was a day filled with laughter, shared stories, and the irreplaceable joy of family tradition.
This particular day is one I will forever hold dear. It’s a testament to the power of food to bring people together and create lasting memories. And, while I might be a little biased, I firmly believe my mom’s Thanksgiving dinner is truly the best. Her recipes, passed down through generations, are the heart and soul of our holiday celebrations, and I’m thrilled to share them with you.
Mastering the Art of Turkey and Turkey Gravy
As the holiday season rapidly approaches, the thought of preparing a grand meal can sometimes trigger a wave of panic for many. However, for me, it’s a source of pure joy! Thanksgiving is undoubtedly one of my most beloved holidays, and the prospect of gathering with family to share traditional dishes and create new memories always fills me with excitement. The food, of course, plays a starring role in these cherished traditions.
I understand that feeling prepared is half the battle when it comes to holiday cooking. The anticipation of hosting, coupled with the pressure to deliver a flawless meal, can be daunting. My aim is to demystify the process and alleviate some of that anxiety by sharing my tried-and-true secrets for a successful, stress-free holiday meal. Even seemingly small achievements, like baking a perfectly golden turkey and crafting rich, homemade turkey gravy, can significantly boost your confidence and set the tone for a fantastic celebration. There’s truly nothing like bringing that magnificent bird out of the oven, its aroma filling the home, and having a boat of luscious gravy ready to ignite everyone’s appetite. From that point on, you simply can’t go wrong.
Essential Equipment for Roasting the Best Turkey
To achieve a truly perfect turkey, you don’t need an arsenal of gourmet gadgets. Just a few key pieces of equipment, along with the right ingredients and techniques, will set you up for success.
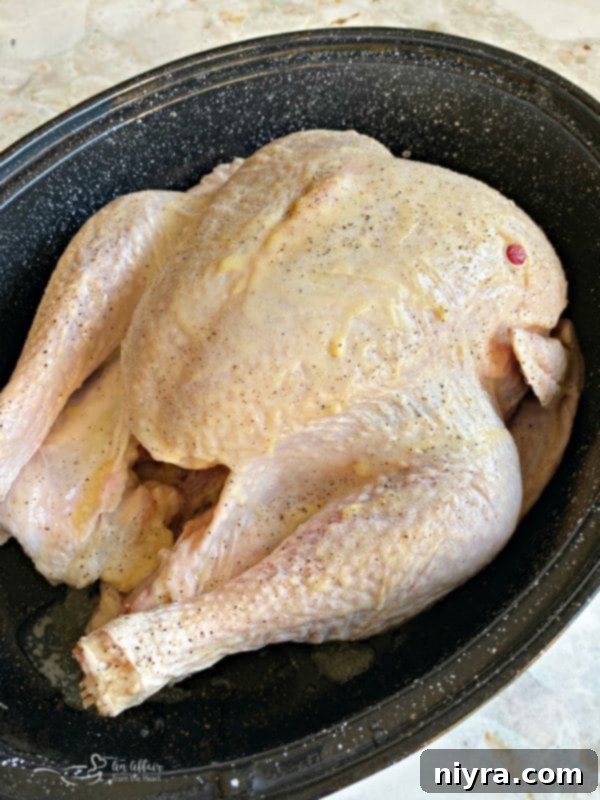
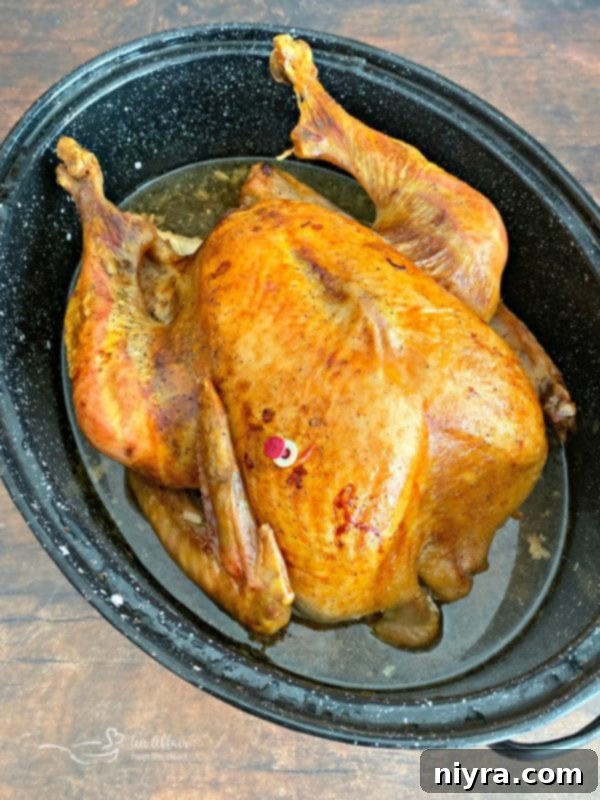
A turkey, basted generously with melted butter and seasoned with salt and freshly cracked pepper, ready for roasting.
The four fundamental components for a flawless turkey are: the turkey itself, a high-quality roasting pan (preferably with a lid to control moisture and browning), a reliable meat thermometer, and simple seasonings like butter, salt, and pepper to enhance the skin and flavor. Investing in a good instant-read meat thermometer, such as a Thermapen, is crucial for ensuring the turkey is cooked to a safe internal temperature without being overdone, guaranteeing a juicy result every time. A sturdy baster also comes in handy for distributing those flavorful pan juices over the bird.
Perfectly Roasting Your Thanksgiving Turkey
Roasting a turkey doesn’t have to be an intimidating task. The core principles are straightforward: proper seasoning, ensuring a beautifully crispy and golden skin, and accurately monitoring the internal temperature for optimal doneness. Let’s break down each step to ensure your turkey is the star of your holiday table.
Thawing Your Turkey Safely and Effectively
Before you even think about seasoning, ensure your turkey is fully thawed. This is a critical first step that often requires planning ahead. You cannot safely thaw a large turkey overnight at room temperature. For optimal safety and convenience, plan to thaw your turkey in the refrigerator for several days prior to baking. A general rule of thumb is 24 hours of thawing time for every 4-5 pounds of turkey. So, a 15-pound bird would need approximately 3-4 days in the fridge.
If you find yourself in a time crunch, a faster method involves thawing the turkey in a sink filled with cold water. It’s crucial, however, that you never leave the turkey to thaw overnight in the sink. To use this method, keep the turkey in its original leak-proof packaging (or place it in a large, clean, leakproof plastic bag) and submerge it in a sink filled with cold water. The water should be changed every 30 minutes to maintain a cold temperature, and the bag should be turned occasionally to ensure even thawing. Expect this process to take approximately 30 minutes per pound. For a 15-pound turkey, this would mean around 7-8 hours. Always ensure the water remains cold to prevent bacterial growth.
Achieving Golden, Crispy Skin and Flavorful Meat
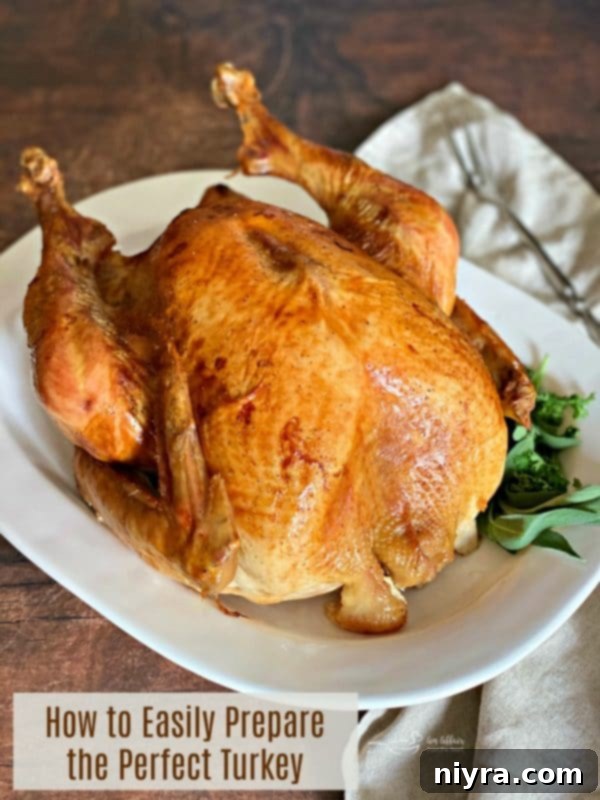
For that coveted golden-brown, crispy skin, brushing the turkey with melted butter is a simple yet incredibly effective technique. The butter not only adds richness but also helps the skin caramelize beautifully in the oven. When it comes to seasoning, I find that a generous sprinkling of salt and freshly ground black pepper is all you truly need to highlight the turkey’s natural flavor. Don’t be shy with the seasoning; remember, it’s a large bird!
Traditionally, I stuff my turkey with a savory Sausage & Sage Stuffing. It’s a family favorite and, for me, one of the best parts of the entire meal. If the idea of cooking stuffing inside the bird makes you hesitant, that’s perfectly fine. You can easily cook your stuffing separately in a baking dish. Just be sure to consult the package instructions for cooking times, as a stuffed turkey will require longer to cook than an unstuffed one to ensure the stuffing reaches a safe internal temperature of 165°F (74°C).
While some turkeys now come with pop-up thermometers, I rarely rely on them exclusively. A quality meat thermometer is an indispensable tool for accurate temperature readings. Insert it into the thickest part of the turkey thigh, making sure it doesn’t touch the bone. Position it so you can easily read the temperature without frequently opening the oven door. This ensures your turkey reaches the perfect internal temperature of 185°F (85°C) in the thigh for safety and optimal tenderness.
Optimal Cooking Times and Techniques for a Juicy Turkey
The key to a perfectly cooked turkey is a consistent oven temperature and diligent monitoring. Preheat your oven to 325°F (160°C). As a general guideline, expect to cook an unstuffed turkey for approximately 13 to 15 minutes per pound. For instance, a 15-pound bird typically takes around 4 hours to cook.
Begin by roasting your turkey uncovered. This initial exposure to heat helps the skin crisp up and achieve that beautiful golden hue. Baste the turkey every hour or so during this phase with its own pan juices or additional melted butter to keep the skin moist and promote even browning. Roughly halfway through the estimated cooking time (or after about 2 hours for a 15-pound bird), cover the turkey. You can use the lid of your roasting pan or create a “tent” with aluminum foil. This helps to prevent the skin from burning while allowing the meat to cook through gently and retain moisture. Continue basting every hour until the internal temperature reaches 185°F (85°C) when measured in the thickest part of the thigh, without touching the bone.
The Crucial Resting Period
Once your turkey reaches the desired internal temperature, resist the urge to carve it immediately. This resting period is one of the most vital steps for a truly juicy turkey. Carefully remove the turkey from the oven and transfer it to a large cutting board or serving platter. Tent it loosely with foil and allow it to rest for at least 20-30 minutes, or even up to an hour for larger birds. This allows the juices, which have been forced to the center of the bird during cooking, to redistribute throughout the meat, resulting in a more tender and flavorful carving experience. While the turkey rests, you can proceed with making your delicious homemade gravy.
Before carving, carefully tilt the turkey slightly to allow any remaining hot juices from the cavity to drain into your roasting pan. These incredibly flavorful pan juices are the foundation for your rich, homemade gravy.
At my mom’s Thanksgiving dinner, everyone has a special role as we prepare to bring the feast to the table. My brother expertly carves the turkey, my husband takes on the glorious task of mashing the potatoes, and my mom orchestrates the final placement of all the delectable side dishes. My designated and much-loved duty, year after year, has always been crafting the perfect gravy. There’s something so satisfying about transforming those rich pan drippings into a silky, flavorful sauce that ties the entire meal together.
Crafting the Perfect Homemade Turkey Gravy
When it comes to homemade turkey gravy, there are two main schools of thought: with or without giblets. Both approaches yield wonderful results, and it truly boils down to personal preference. My family’s tradition, and my personal preference, is to include the giblets. I find they add an incredible depth of flavor and richness that elevates the gravy to another level.
Preparing the Giblets for Enhanced Flavor
If you choose to use the giblets (the neck, liver, heart, and gizzards typically found in a small packet inside the turkey cavity), begin by placing them in a saucepan. Cover them with turkey or chicken stock, adding a good sprinkling of salt and pepper. For even more flavor, I often add a small diced onion and the leaves from a bunch of celery stalks. Bring this mixture to a boil, then reduce the heat and simmer for about an hour, adding a cup of water halfway through. Once fully cooked, remove the giblets and allow them to cool slightly. Strain the stock into a separate container, setting it aside. Chop the cooled giblets finely, removing any skin or bones from the neck meat, and then add the chopped meat back into the strained stock. This flavorful giblet stock can be prepared a day in advance and stored in the refrigerator until you are ready to make your gravy.
Transforming Pan Juices into Luscious Gravy
Once the turkey is out of the roasting pan and resting, carefully place the roasting pan directly on your stovetop over medium heat. If your pan is too large for one burner, use two. Pour the prepared giblet stock (including the chopped giblets) into the pan juices. Bring the mixture to a gentle boil, scraping up any browned bits from the bottom of the pan – these are packed with flavor!
To thicken the gravy, prepare a smooth flour and milk mixture. In a mason jar, combine 1 ¼ cups of all-purpose flour with 2 cups of milk. Secure the lid and shake vigorously until completely smooth and lump-free, or use an immersion blender for an even quicker result. Gradually add this flour-milk mixture to the simmering pan juices, stirring constantly with a whisk. Continue to stir and simmer until the gravy reaches your desired thickness. You might not need all of the mixture, as the amount of pan juices can vary with each turkey. Taste the gravy and adjust seasoning with salt and pepper as needed. For an extra layer of flavor, consider adding a splash of dry white wine or a touch of fresh thyme.
Once perfectly thickened and seasoned, pour your rich, homemade turkey gravy into a beautiful gravy boat and serve immediately. I always keep any extra gravy on low heat on the stovetop, ready to replenish the gravy boat as soon as it empties – because good gravy always disappears fast!
My Family’s Favorite Thanksgiving Side Dishes
No Thanksgiving meal is complete without an array of delicious side dishes that perfectly complement the star turkey and gravy. Here are some of our family’s most beloved recipes, each a cherished tradition that has graced our holiday table for years.
I sincerely hope these recipes and tips help you enjoy the holidays to the fullest. May your turkey be golden, your gravy be rich, and your appetites be thoroughly satisfied. Remember, the true essence of the holiday season isn’t found in culinary perfection, but in the precious quality time spent with your beloved family and friends. Have a happy, blessed, and stress-free holiday season!
Ready to dive into these easy instructions and recipes to prepare a show-stopping turkey and delectable turkey gravy? Let’s get cooking!

LIKE THIS RECIPE?
Don’t forget to give it a ⭐️⭐️⭐️⭐️⭐️ star rating and
leave a comment below the recipe!
Print Recipe
How to Prepare Turkey & Turkey Gravy Like a Pro
You don’t have to be a seasoned cook to be able to prepare a turkey and turkey gravy for a big meal. It’s really so much easier than you think! These how-to recipes will teach you how to make a perfectly golden turkey, with homemade turkey gravy.
15 mins
4 hrs
4 hrs 15 mins
Course: Thanksgiving
Cuisine: American
Keyword: holiday turkey, How to prepare a turkey and homemade turkey gravy, Thanksgiving turkey, turkey gravy
Servings: 15 pound Turkey
Calories: 273 kcal
Author: Michaela Kenkel
Equipment
- Wusthof 9740-1 CLASSIC Two Piece Carving Set
- Norpro Deluxe Stainless Steel Baster with Injector and Cleaning Brush
- Thermapen Mk4 Instant-read Thermometer
- Granite Ware Covered Oval Roaster, 13 inches, Black
Ingredients
- 1 15 pound whole turkey with giblets
- 32 ounces Chicken or Turkey Stock
- 1 cup water
- 1 stick melted butter
- 1 1/4 cup flour
- 2 cups milk
- Salt & Pepper
Instructions
- Remove the giblets from the defrosted turkey and set aside. Rinse the turkey inside and out with cool water.
- Place turkey in a roaster, breast side up.
- Brush turkey all over with melted butter. Season generously with salt and pepper.
- If you are stuffing the bird, now is the time to do so.
- Bake according to the weight of your turkey per package instructions. Bake uncovered until the turkey becomes golden brown (approximately halfway through baking time, or about 2 hours for a 15-pound bird). Baste the turkey a couple of times per hour while it bakes. Then, cover it with a lid or a foil “tent” and continue baking until a reliable meat thermometer inserted into the thickest part of the thigh (avoiding bone) reaches an internal temperature of 185 degrees F (85°C). Do not solely rely on a pop-up timer; check with your meat thermometer periodically. Continue basting throughout the baking process.
- Typically, I prepare the giblets the day before I make my turkey, but you can also do it while the turkey is cooking. The giblets and the flavorful stock they provide will be added to the turkey gravy.
- In a pot on the stovetop, cover the giblets with 32 ounces of chicken or turkey stock, and season them with a good sprinkling of salt and pepper. I also add a small diced onion and the leaves from a bunch of celery stalks. Cover them and bring to a boil. Reduce heat and simmer for one hour, adding one cup of water halfway through.
- Remove the giblets from the pot, allow them to cool slightly, then finely chop the meat, removing any skin or bones. Strain the stock, pour it into a mason jar, add the chopped giblet meat, and store in the fridge until you are ready to make your gravy.
- When the turkey is done, remove it from the roaster and let it rest for carving. Place the roaster on the stove over medium heat (use two burners if necessary). Bring the turkey juices from the pan to a boil, scraping up any browned bits from the bottom. Add in the prepared giblet stock.
- In a separate jar, mix the flour and milk by shaking vigorously or using an immersion blender to ensure there are no lumps. Slowly pour this mixture into the simmering pan juices in the roaster, stirring constantly with a whisk to thicken your gravy. You might not need all of the milk mixture, as some turkeys will produce more juice than others. Taste and adjust salt and pepper as needed.
Notes
Remember to make adjustments based on the exact size of your turkey.
Baking time will differ if your turkey is stuffed or unstuffed. The cooking times provided are generally for an unstuffed bird.
Hint: Keep any extra gravy hot on the stove while you eat to easily refill your gravy boat when it becomes empty!
Nutrition
Serving: 1 | Calories: 273kcal | Carbohydrates: 10g | Protein: 21g | Fat: 16g | Saturated Fat: 7g | Polyunsaturated Fat: 8g | Cholesterol: 117mg | Sodium: 167mg
