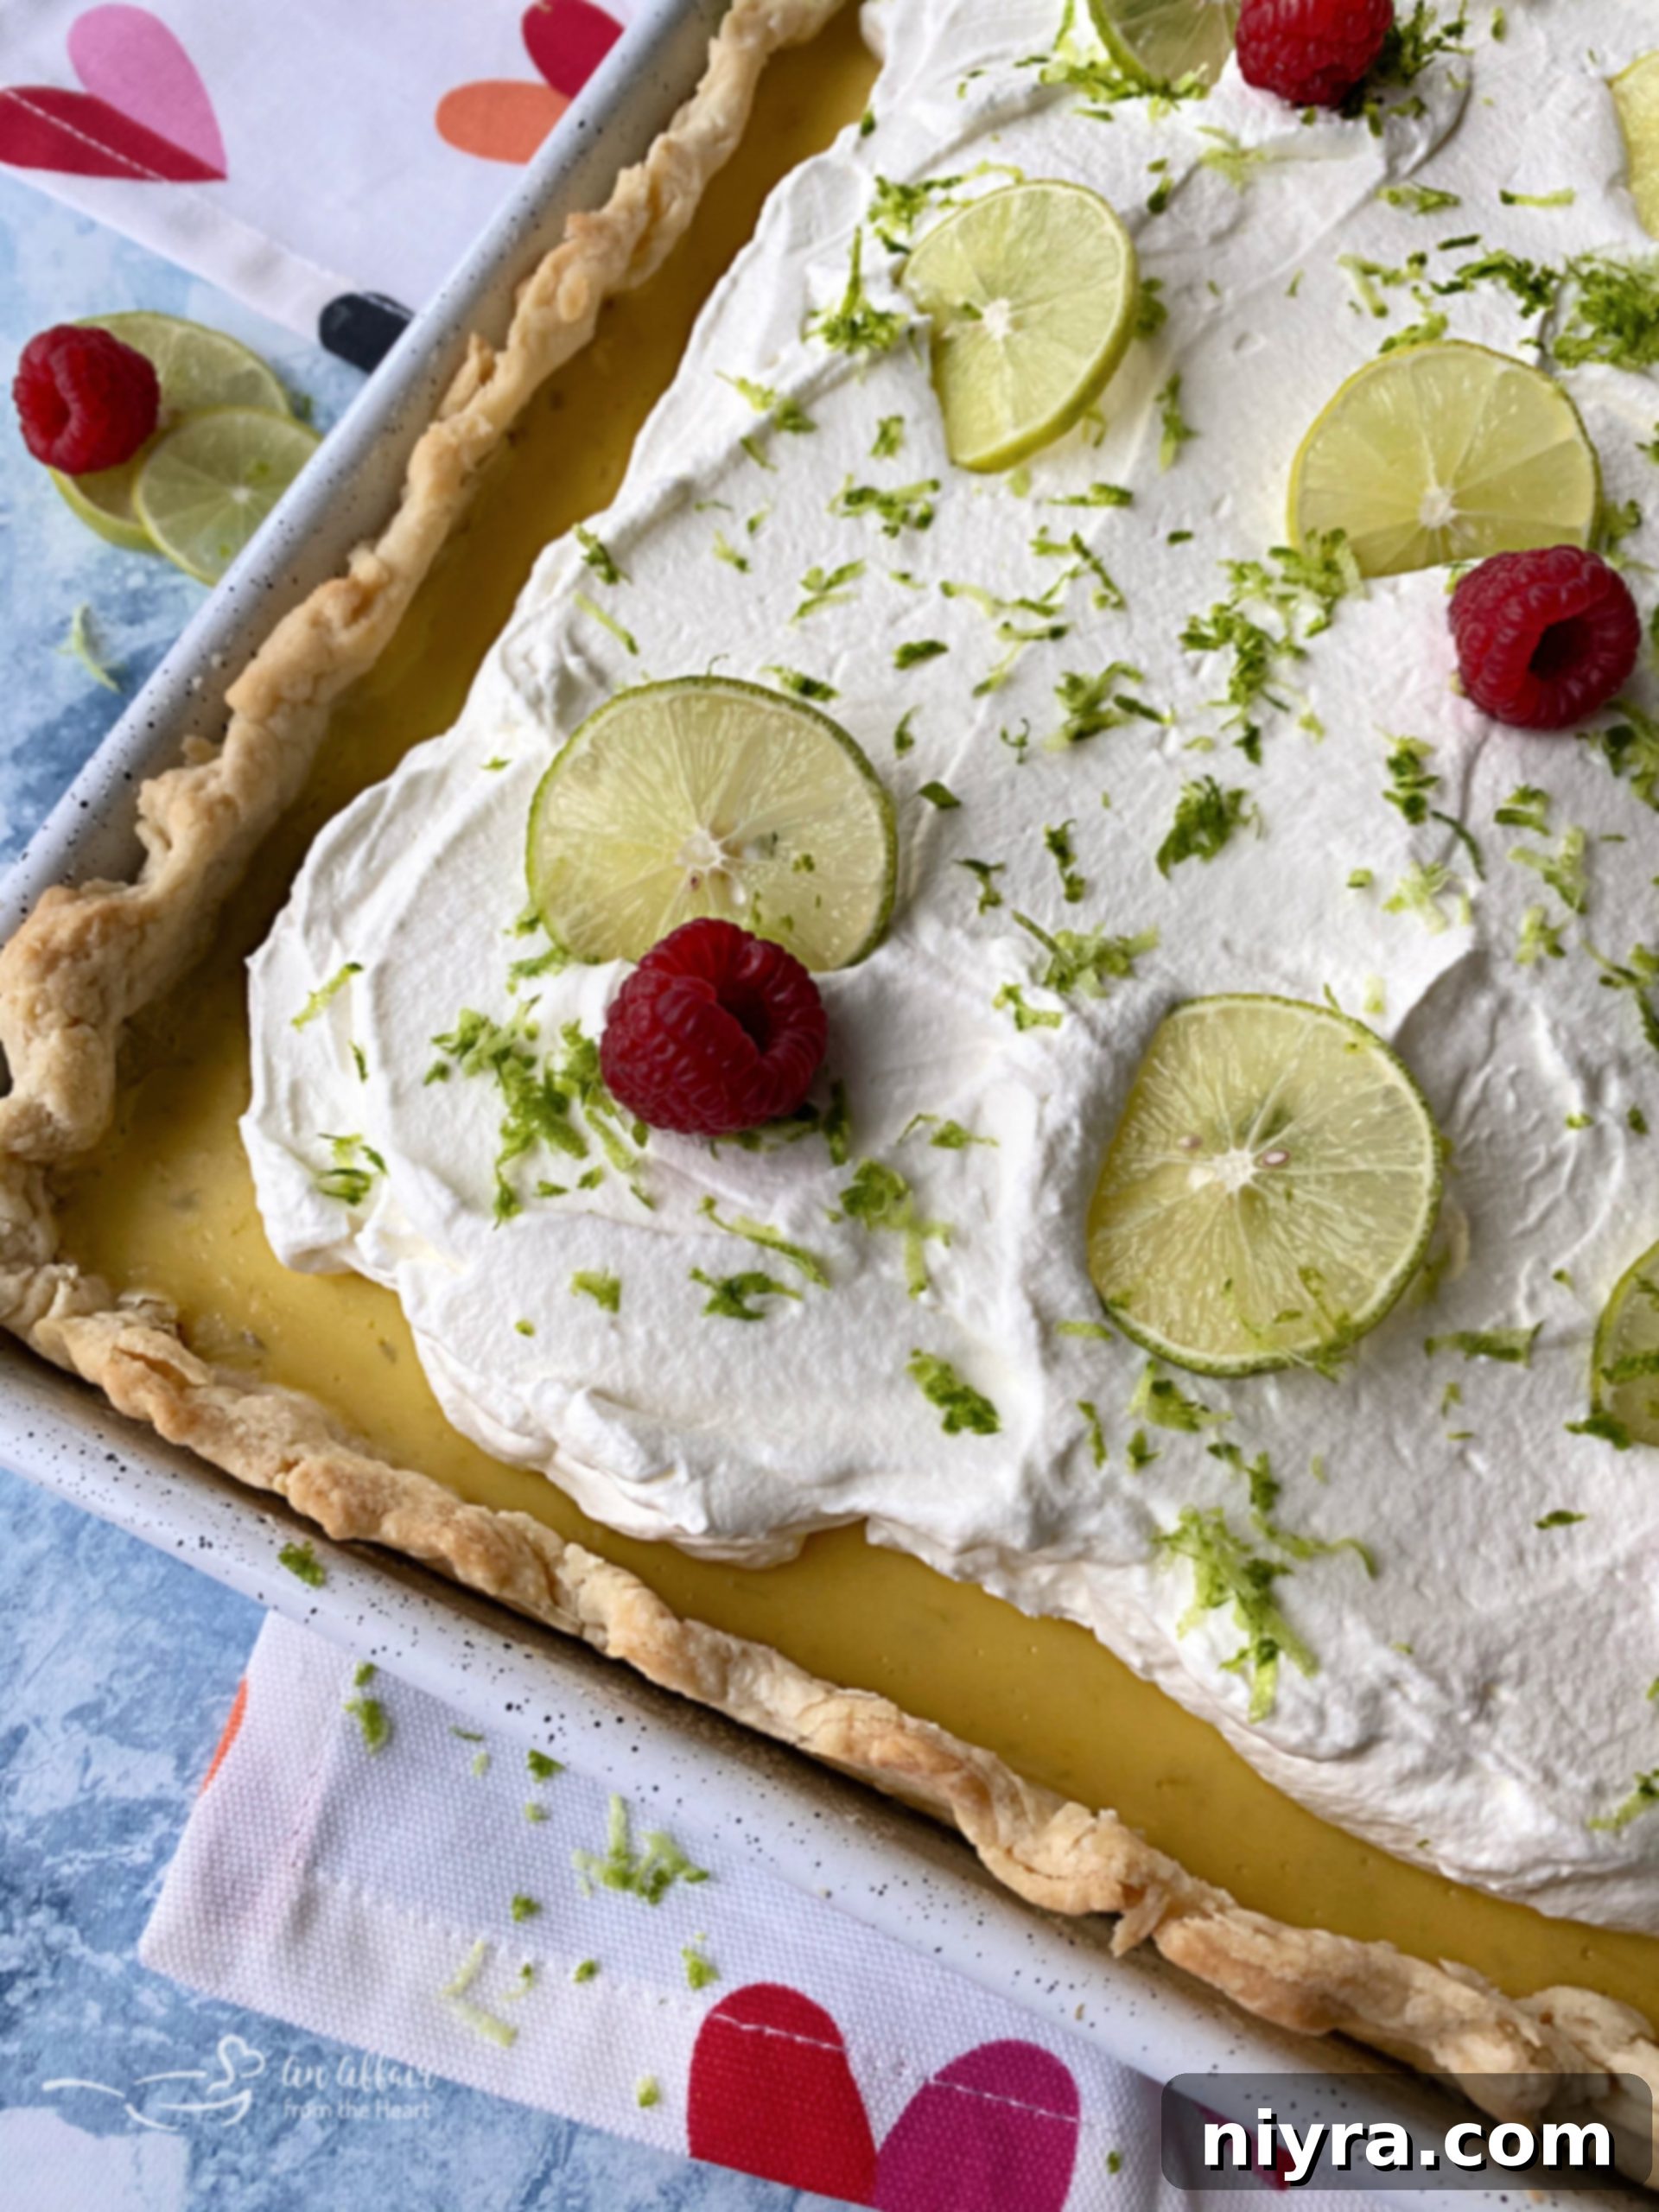
Key Lime Slab Pie offers a delightful and convenient twist on the beloved classic Key Lime Pie. This exquisite dessert features a vibrant, tangy custard crafted with both fresh Key Lime zest and juice, all baked into a perfectly flaky, from-scratch pie crust. Crowned with a generous layer of luscious whipped cream, it presents beautifully and promises to infuse any occasion with a burst of bright, tropical flavor.
Discovering the Zesty Delight of Key Lime Slab Pie
My journey to perfecting this Key Lime Slab Pie recipe is deeply intertwined with a longing to visit the fabled Florida Keys. Though I haven’t yet savored an “authentic” slice of Key Lime Pie on its supposed home turf in Key West, it remains high on my travel bucket list. It’s not just the promise of this iconic dessert that beckons, but the breathtaking beauty of the Florida Keys themselves—picturesque landscapes that look like postcards come to life. These are more than enough reasons to yearn for a trip to this stunning corner of the world.
While traditional Key Lime Pie recipes often call for a graham cracker crust, this particular recipe takes a different, equally delicious route: a homemade, flaky pastry crust. Over the years, I’ve dedicated myself to honing my pie crust skills, aiming to honor the baking traditions passed down from my grandma and Aunt Carol. The satisfaction of creating a tender, golden, and perfectly flaky crust from scratch is immense, and it provides an exceptional foundation for the bright Key Lime filling in this slab pie. Of course, if a graham cracker crust is your preference, adapting this recipe is simple enough to accommodate it, but there’s something truly special about a homemade pastry crust.
Crafting the Ultimate Key Lime Slab Pie
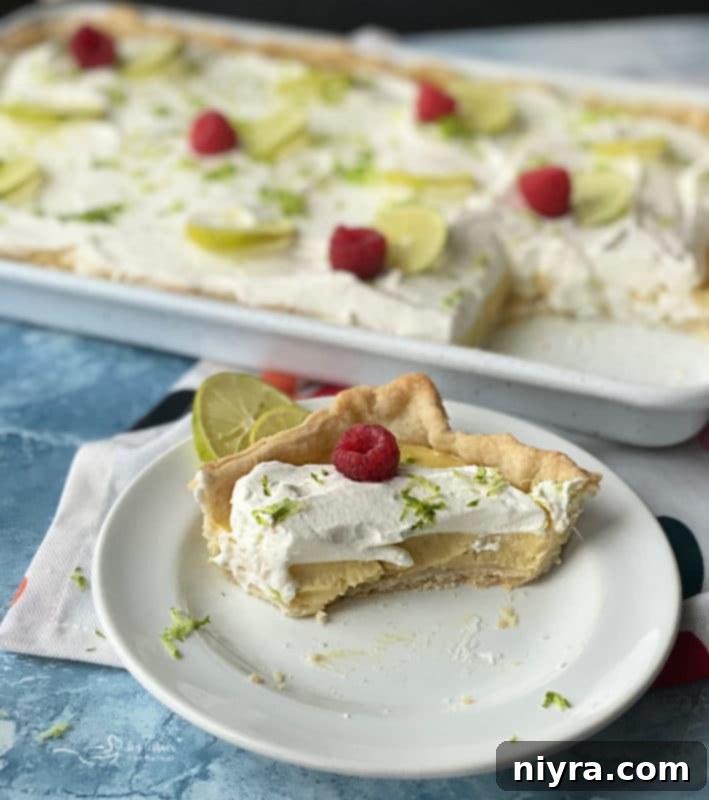
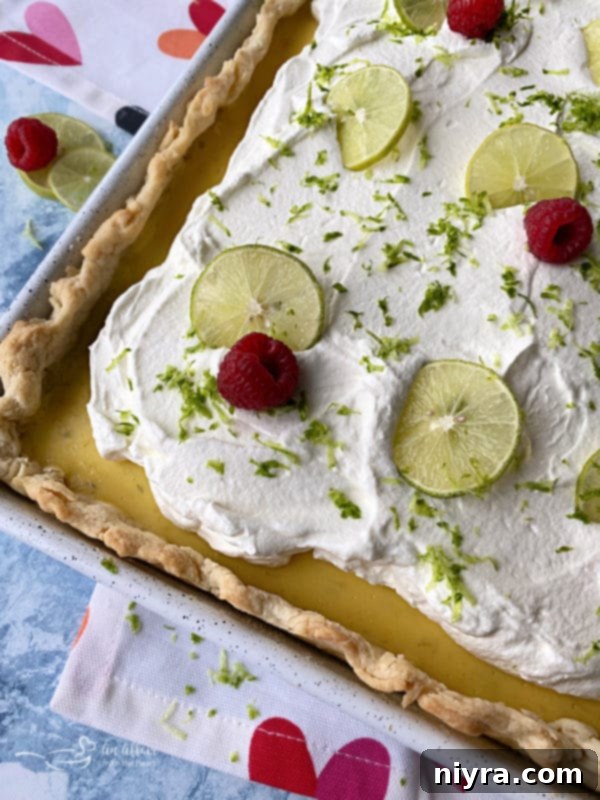
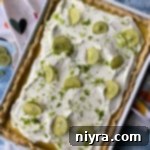
Isn’t this pie simply gorgeous? This Key Lime Slab Pie truly became the radiant centerpiece during an otherwise dreary and cold January week. Its vibrant color and fresh aroma brought a much-needed touch of sunshine. To elevate its visual appeal and add a hint of unexpected sweetness, I garnished the top with some fresh raspberries just before serving. This slight deviation from the purely traditional look only added to its charm and made it an even more delightful treat.
Many people harbor a common misconception that authentic Key Lime Pie should be green. However, the truth might surprise you: genuine Key Lime Pie is actually yellow! This natural hue comes directly from the Key Limes themselves, which, when fully ripe, possess a distinct yellowish tint to their juice and zest. If you encounter a strikingly green Key Lime Pie, it’s highly probable that food coloring has been added to achieve that color. My recipe embraces the natural, beautiful yellow of the Key Lime, allowing its authentic essence to shine through.
The Intriguing Origins of Key Lime Pie
The story behind Key Lime Pie’s origins is as rich and layered as the dessert itself, often sparking lively debates. The most widely accepted theory places its birthplace in Key West, Florida, likely in the late 19th or early 20th century. Local fishermen, sponge divers, and homesteaders in the Keys are credited with creating this simple, yet ingenious, confection. The remote location meant fresh milk and refrigeration were scarce, leading to the use of readily available ingredients: Key Limes, eggs, and sweetened condensed milk, a staple at the time.
However, this narrative faced a challenge when the Borden Milk Company, in 1931, claimed to have developed the first Key Lime Pie in their New York City test kitchen. Their motivation was clear: to boost sales of their sweetened condensed milk. This declaration ignited outrage among Floridians, who fiercely defended their claim to the custard-based delicacy. The debate continues to this day, with passionate advocates on both sides. Depending on who you ask, the definitive origin may forever remain a delightful mystery, much like the ongoing friendly dispute between Omaha and NYC over the invention of the Reuben sandwich. (As an Omaha native, I’m firmly in the camp that Reubens originated at the Blackstone Hotel in Omaha, but that’s a delicious story for another day!)
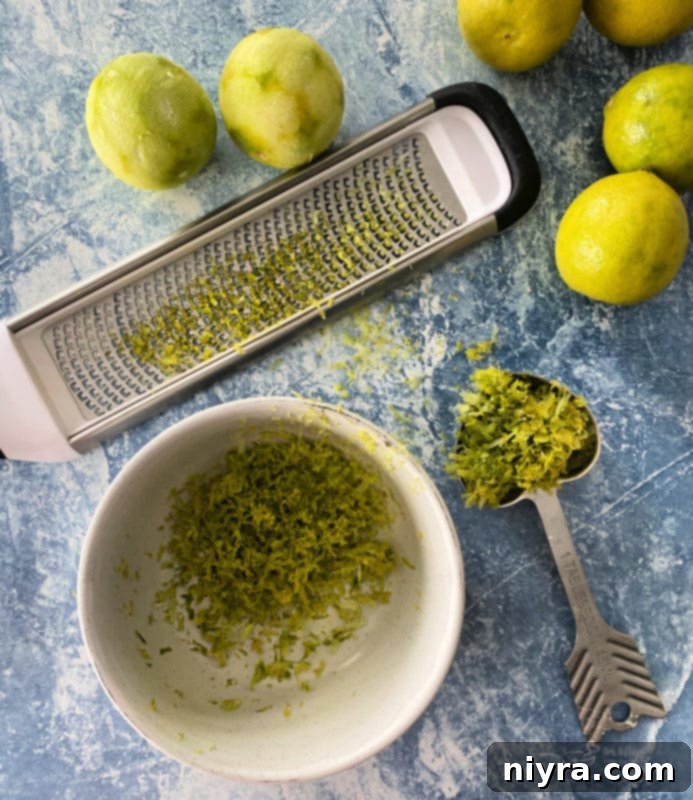
Key Limes vs. Persian Limes: Understanding the Difference
While often used interchangeably by some, Key Limes and Persian Limes (the common limes found in most grocery stores) are distinct varieties, each with unique characteristics that significantly impact flavor. Key Limes, also known as West Indian or Mexican limes, are noticeably smaller than their Persian counterparts. Don’t let their diminutive size fool you, though; they pack a more intense, aromatic, and complex flavor profile. Their thinner, smoother skin, coupled with a higher seed count, sets them apart. A key visual difference is their color: Key Limes tend to be more yellowish when ripe, whereas Persian limes remain vibrant green.
Historically, Key Limes were widely cultivated in the Florida Keys. However, a devastating hurricane in the 1920s wiped out many commercial Key Lime crops. They were subsequently replaced with more resilient and easier-to-grow Persian lime varieties, which now dominate the U.S. market. Despite this, Key Limes remain a culinary treasure, especially for traditional desserts like Key Lime Pie, where their distinct tart-sweet balance is irreplaceable. Their juice, often more abundant for their size, contributes a nuanced flavor that can’t quite be replicated by other limes.
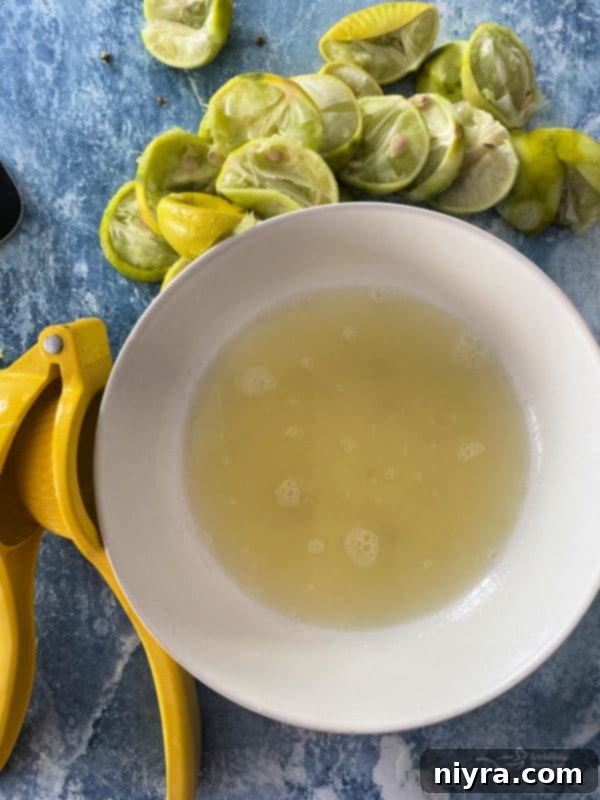
Can You Substitute Regular Lime Juice for Key Lime Juice?
The question of substituting regular lime juice for Key Lime juice is a common one, and while technically possible – the “Lime Police” won’t come knocking – it’s a substitution best avoided if you’re aiming for an authentic Key Lime Pie experience. The flavor profile of Key Limes is truly unique and integral to the pie’s character.
Key Limes are renowned for their distinct, intensely tart yet subtly sweeter flavor compared to the more acidic, brighter notes of Persian limes. This sweetness develops as Key Limes ripen; they are typically picked when immature and green, but their true flavor blossoms as they turn yellow and their acidity mellows. This maturation process is what gives them that perfect balance for desserts. If you find yourself in a bind and absolutely must substitute, a common recommendation is to use a blend of half regular lime juice and half lemon juice. This combination attempts to mimic the complex tartness and brightness of Key Limes, though it won’t fully replicate the unique floral and aromatic notes. Ultimately, for the purest, most sensational Key Lime Slab Pie, always reach for fresh Key Limes. Your taste buds will undoubtedly thank you for it!
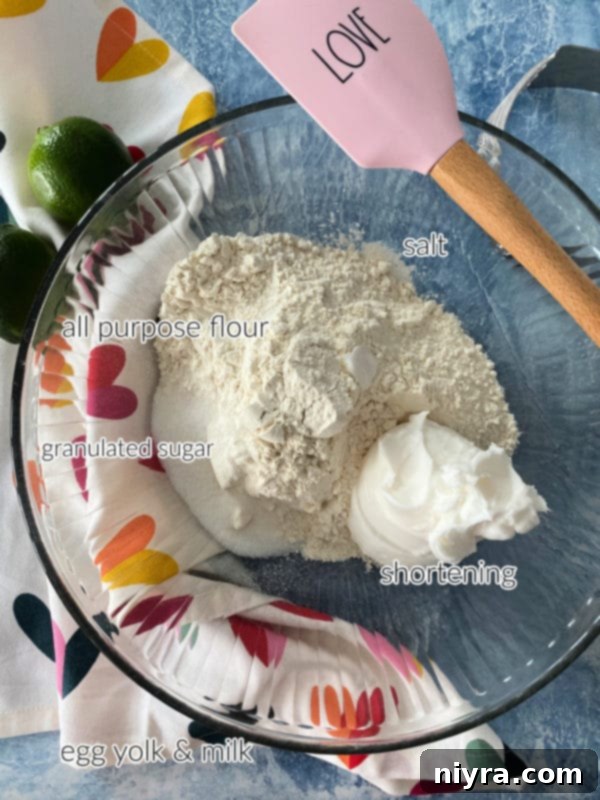
Ingredients for the Flaky Key Lime Slab Pie Crust
Creating the perfect foundation for your Key Lime Slab Pie begins with a flaky, homemade crust. This simple yet essential component elevates the entire dessert. To achieve this delightful texture, you’ll need just a few key ingredients:
- All-purpose flour
- A touch of granulated sugar for a hint of sweetness and browning
- A pinch of salt to balance the flavors
- Cold shortening, which is crucial for achieving that desirable flakiness
- One egg yolk, adding richness and helping bind the dough
- And cold milk, to bring everything together into a pliable dough.
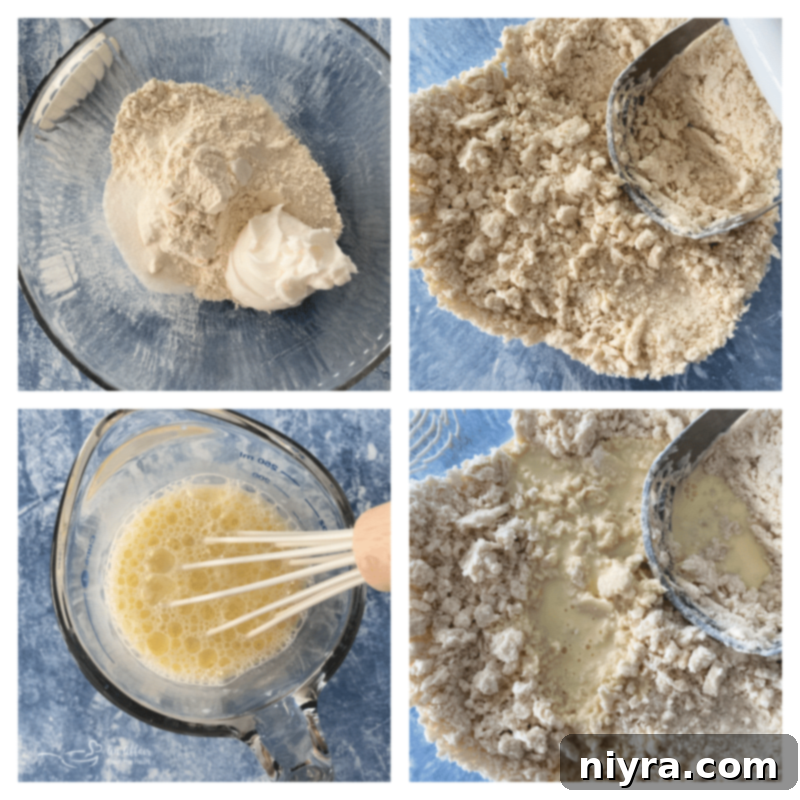
To start, combine your dry ingredients—flour, sugar, and salt—in a large mixing bowl. Then, cut in the cold shortening using a pastry blender or your fingertips. Work quickly to prevent the shortening from melting too much, aiming for a mixture that resembles coarse crumbs. In a separate small bowl or measuring cup, whisk the egg yolk with the milk. Gradually add this liquid mixture to the flour and shortening, mixing just until a soft dough begins to form. Overmixing can lead to a tough crust, so stop as soon as the ingredients are combined.
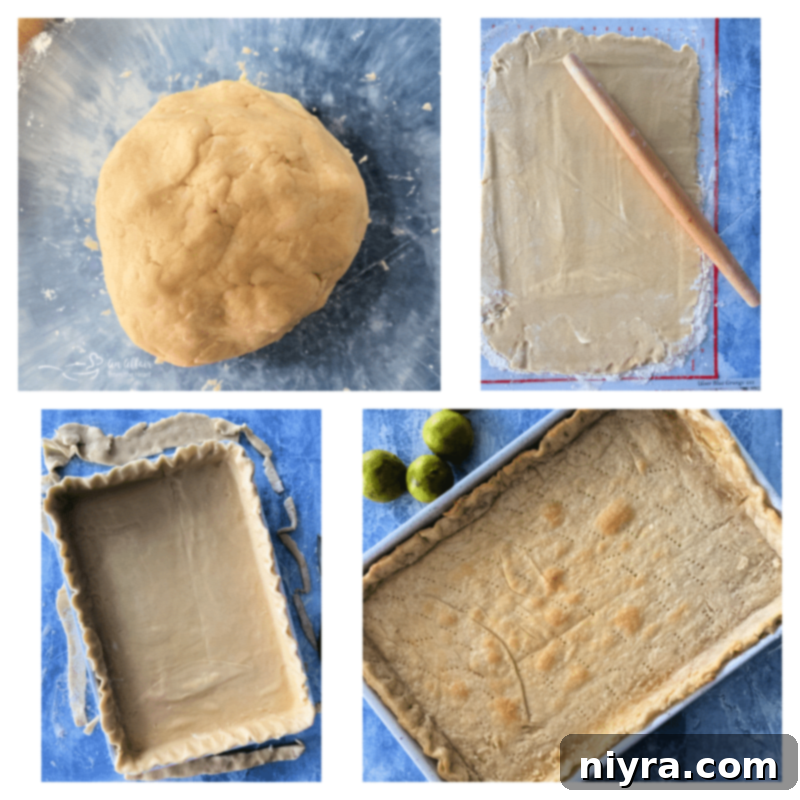
Once the dough comes together, gently form it into a ball. Lightly flour a clean work surface and roll out the dough into a large rectangle, sized to fit your sheet pan. Carefully transfer the rolled dough into your pan, gently pressing it into the corners and up the sides. Trim any excess dough and crimp the edges to create a decorative border. Before baking, use a fork to prick holes generously across the bottom and sides of the crust; this prevents it from puffing up excessively during baking. Bake until it’s a light golden brown, then remove and let it cool completely before adding the custard.
Ingredients for the Irresistible Key Lime Custard
The heart of our Key Lime Slab Pie is its rich, tangy, and silky-smooth custard. This luscious filling perfectly balances the tartness of Key Limes with a delightful sweetness. Here’s what you’ll need to create this exquisite custard:
- Fresh egg yolks, which contribute to the custard’s creamy texture and golden color.
- Sweetened condensed milk, a key ingredient that provides both sweetness and thickness without the need for additional sugar or extensive cooking.
- Freshly squeezed Key Lime juice, providing the signature zesty, aromatic flavor.
- And finely grated Key Lime zest, which intensifies the lime flavor and adds a beautiful fragrance to the custard.
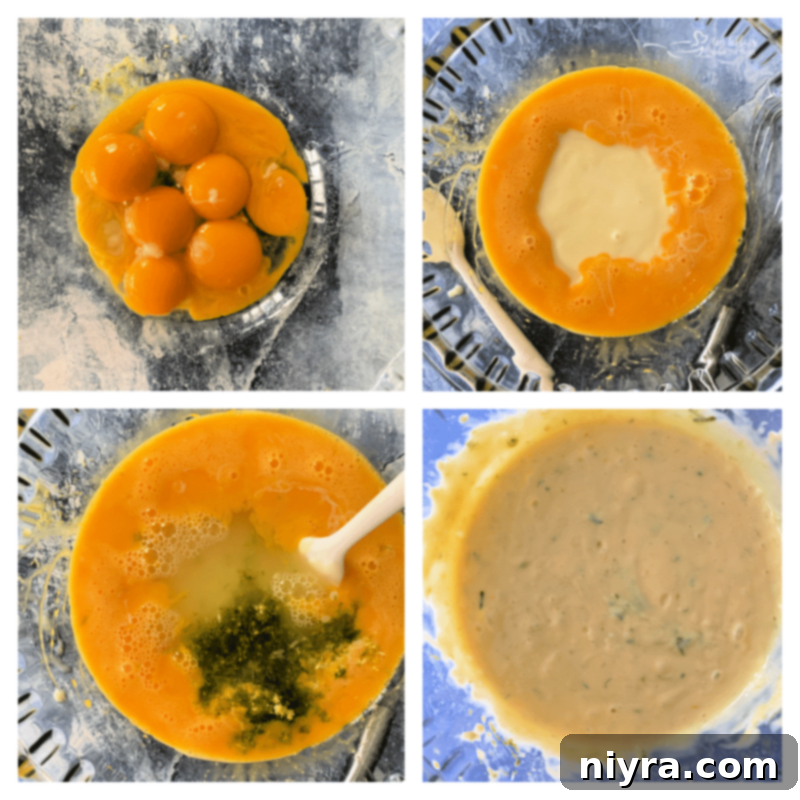
To prepare the vibrant Key Lime custard, begin by whisking the egg yolks in a large mixing bowl until they are smooth and slightly pale. Next, gradually pour in the sweetened condensed milk, stirring continuously until fully incorporated and the mixture is uniform. Finally, add the freshly squeezed Key Lime juice and the finely grated Key Lime zest. Stir everything together gently until all ingredients are well combined. The mixture should be smooth, thick, and wonderfully fragrant, ready to be poured into your pre-baked crust.
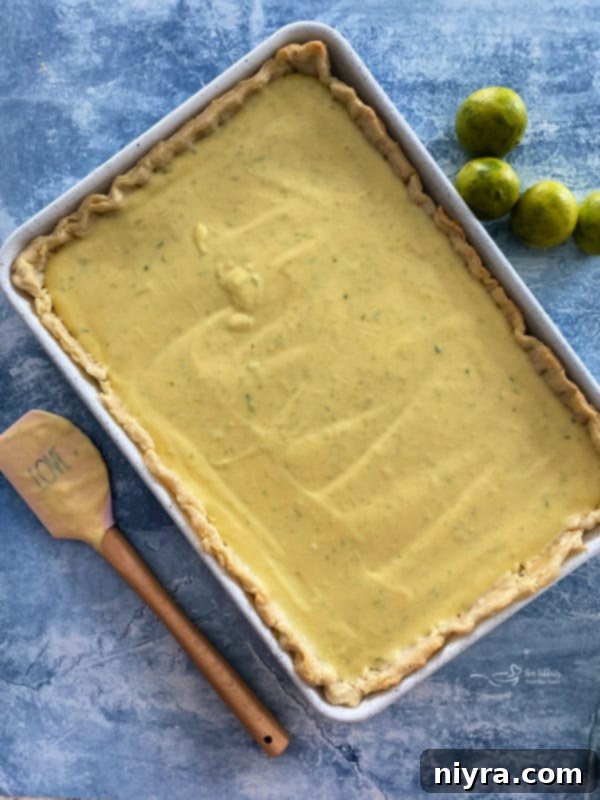
Once your Key Lime custard is perfectly prepared, carefully pour it into the cooled, pre-baked pie crust, spreading it evenly across the surface. Bake the pie until the custard is set, typically around 20 minutes, though it should still have a slight gentle wobble in the center when lightly shaken. This indicates it’s perfectly cooked without being overbaked, which can result in a rubbery texture. After removing from the oven, let the pie cool on the counter for about 30 minutes, then transfer it to the refrigerator for at least 3 hours. This crucial chilling period allows the custard to firm up completely and ensures optimal flavor and texture when served.
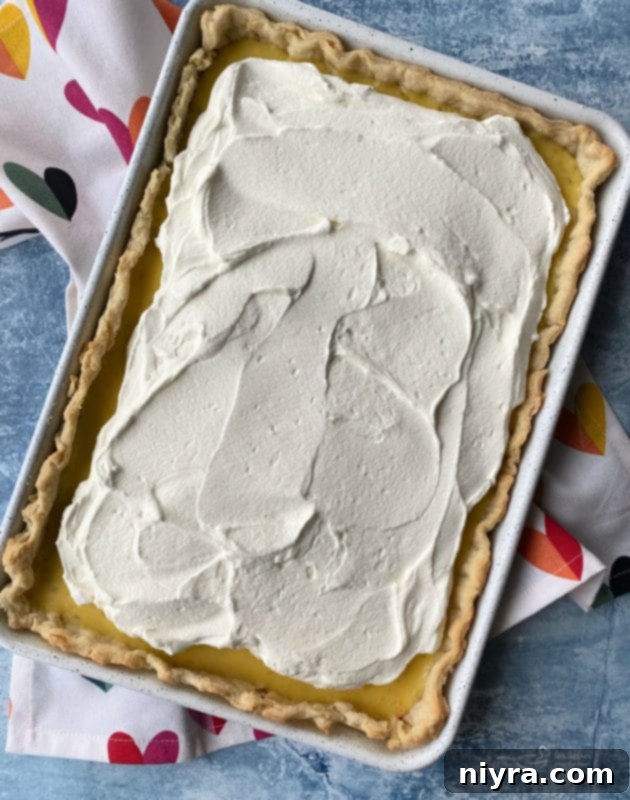
Once your Key Lime Slab Pie is thoroughly chilled and set, it’s time for the crowning glory: a cloud of freshly whipped cream. In a clean, cold mixing bowl, combine heavy whipping cream with a touch of powdered sugar. Using an electric mixer fitted with a whisk attachment, beat the mixture on medium-high speed until stiff peaks form. Spread this light and airy whipped cream generously over the chilled custard, creating a beautiful, soft layer that complements the pie’s tangy sweetness perfectly.
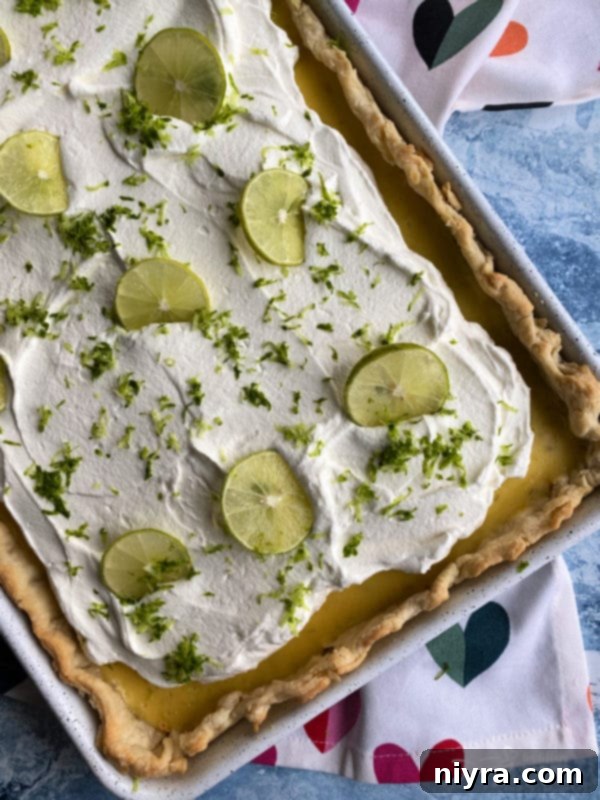
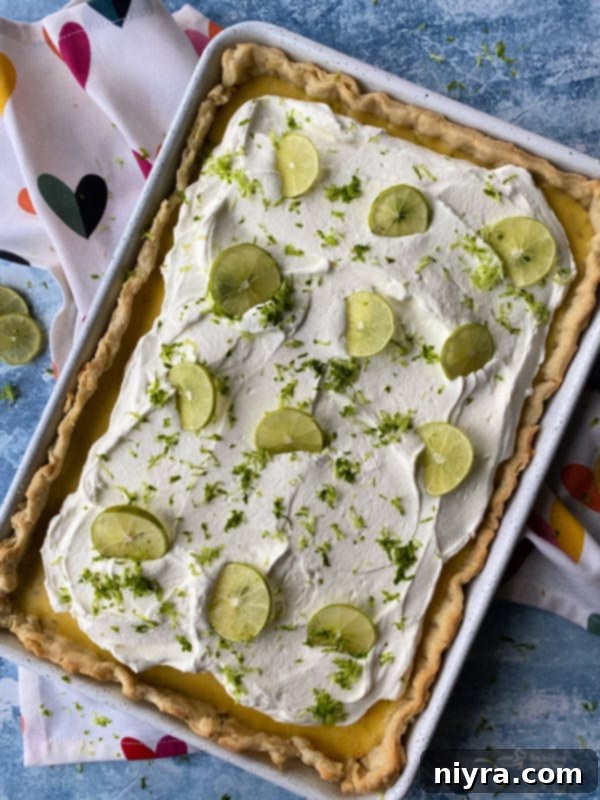
For an elegant finishing touch, garnish your Key Lime Slab Pie with delicate lime zest and thin slices of fresh lime. These not only enhance the visual appeal but also add another burst of refreshing lime aroma and flavor. Feel free to arrange them artistically for a stunning presentation.
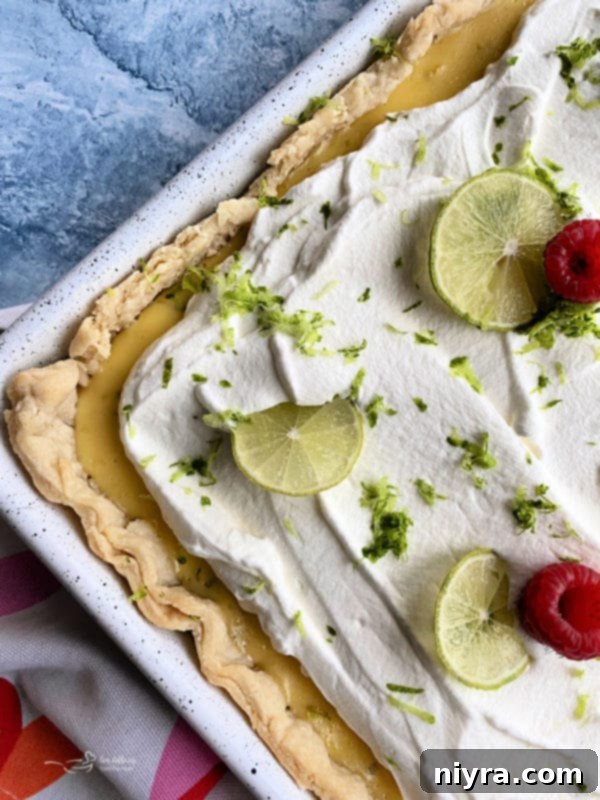
And if you’re like me and enjoy a pop of color and an extra layer of flavor, don’t hesitate to add some fresh raspberries! Their vibrant hue and subtle tartness create a beautiful contrast against the creamy white whipped topping and zesty yellow custard, making each slice even more irresistible.
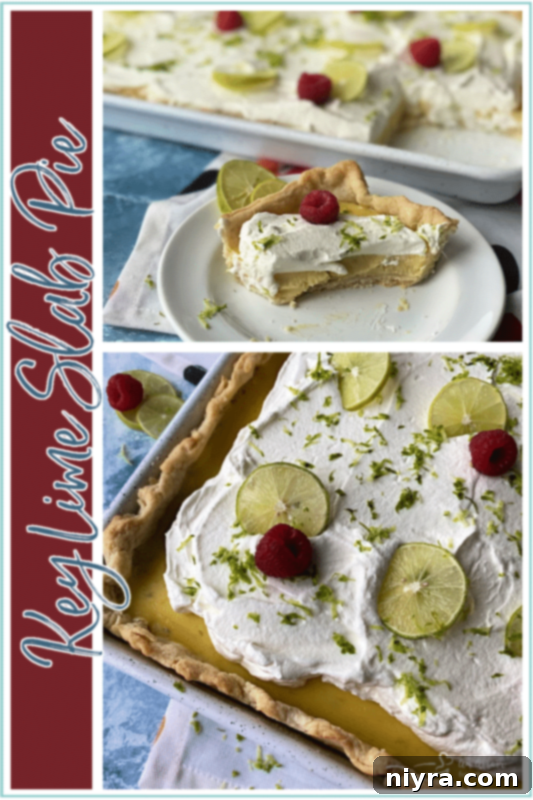
Love This Recipe? Pin It for Later!
If you’re as excited to bake this incredible Key Lime Slab Pie as I am to share it, make sure you save this recipe for future reference! Pin it to your favorite Pinterest recipe board right now so you can easily find it whenever that Key Lime craving strikes. Don’t let this sensational dessert slip away!
For the Love of All Things Lime: More Zesty Recipes to Explore
If you share my passion for all things lime, you’re in for a treat! The bright, zesty flavor of lime, especially Key Lime, can transform a wide array of dishes and drinks. From refreshing beverages to savory sides and other sweet delights, there’s no shortage of ways to incorporate this vibrant citrus into your culinary repertoire. Here are some of my top favorite lime-infused recipes that are sure to tantalize your taste buds and add a burst of freshness to your day:
- Key Lime Pie Smoothie (pictured above, a delicious way to enjoy pie flavors in a glass!)
- Cherry Limeade Baked Donuts (a sweet and tangy breakfast or dessert)
- Cilantro Lime Rice (the perfect aromatic side dish for Mexican cuisine)
- Key Lime Fizz Cocktail (a sparkling, refreshing adult beverage)
- Lime in the Coconut Bread (a tropical delight, perfect with coffee)
- Cherry Limeade Sweet Rolls (a vibrant and irresistible twist on classic rolls)
- Brazilian Lemonades (often called “Mini Vacation Cocktails” for a reason!)
- Copy Cat Sonic Cherry Limeade Slush (recreate a drive-thru favorite at home)
- Key Lime Cupcakes (individual servings of Key Lime bliss)
- Key Lime & Grilled Pineapple Parfaits (a light, refreshing, and elegant dessert)
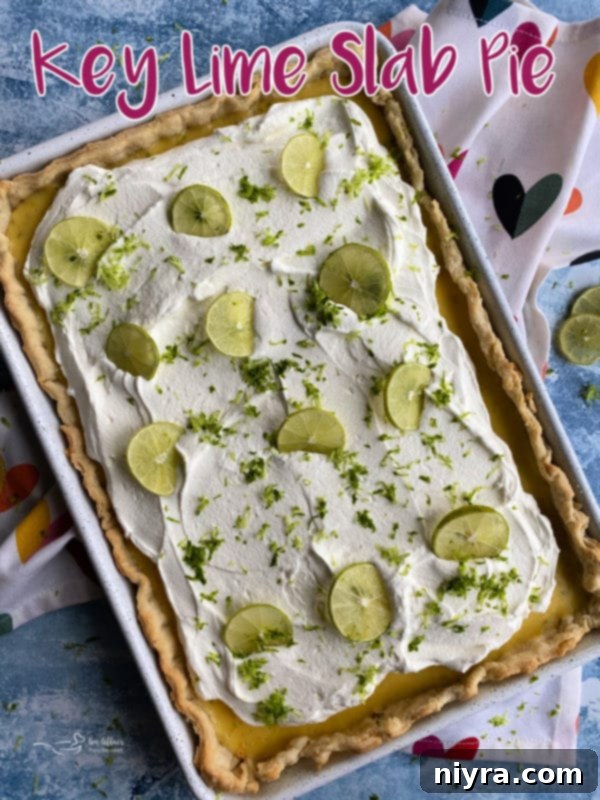
For now, let’s transport ourselves to the sunny shores of the Florida Keys through the magic of baking. Prepare to create this incredibly sensational Key Lime Slab Pie – a non-traditional format with all the beloved, authentic flavors that make Key Lime Pie a true American classic. Happy baking! 
LIKE THIS RECIPE?
Don’t forget to give it a ⭐⭐⭐⭐⭐ star rating and
leave a comment below the recipe!
Key Lime Slab Pie Recipe
This delightful Key Lime Slab Pie brings the vibrant, tangy flavor of classic Key Lime Pie to a crowd-friendly format, perfect for any gathering. Featuring a rich, zesty Key Lime custard nestled in a homemade flaky crust and topped with a cloud of whipped cream, it’s a refreshing dessert that truly brightens any day.
Recipe Details
- Prep Time: 10 minutes
- Cook Time: 35 minutes
- Additional Time: 3 hours (chilling)
- Total Time: 3 hours 45 minutes
- Course: Dessert, Pie
- Cuisine: American
- Keyword: Key Lime Pie, Slab Pie, Homemade Pie, Dessert, Flaky Crust, Easy Slab Pie
- Servings: 12 servings
- Calories: Approximately 443 kcal per serving
- Author: Michaela Kenkel
Equipment Needed
- Wilton Performance Pans Aluminum Jelly Roll and Cookie Pan, 10.5 x 15.5-Inch
- Citrus Zester
- Manual Juicer Citrus / Lemon Squeezer
- Large mixing bowls
- Pastry blender or fork
- Whisk
- Electric mixer (stand or hand) with whisk attachment
- Measuring cups and spoons
Ingredients
For the Crust
- 2 1/2 cups all-purpose flour
- Pinch of salt
- 1 Tablespoon granulated sugar
- 1 cup cold shortening, cut into small pieces
- 1 large egg yolk
- 1 cup cold milk
For the Key Lime Custard & Topping
- 8 large egg yolks
- 2 (14 ounce) cans sweetened condensed milk
- 3/4 cup fresh Key Lime juice
- 3 Tablespoons Key Lime zest (plus more for garnishing)
- 1 1/2 cups heavy whipping cream
- 1/2 cup powdered sugar
- Sliced key limes and fresh raspberries for garnish (optional)
Instructions
- Preheat oven to 425 degrees Fahrenheit (220°C).
- To make the pie crust: In a large mixing bowl, combine flour, sugar, and salt. Cut in the cold shortening using a pastry blender or your fingertips until the mixture resembles coarse crumbs. In a separate measuring cup, whisk the egg yolk, then add enough milk to make a total of 2/3 cup. Whisk together. Pour the egg/milk mixture into the flour mixture and combine with your hands until a soft, slightly sticky dough forms. Form the dough into a ball.
- Lightly flour a clean surface and roll out the dough into a rectangle approximately 19×14 inches. Carefully transfer the rolled dough onto a 15x10x1-inch sheet pan (jelly roll pan). Trim any excess crust at the pan’s edge and crimp to form a decorative crust edge. Prick holes generously into the bottom and sides of the crust with a fork to prevent bubbling.
- Bake the crust in the preheated oven for 10-15 minutes, or until it achieves a light golden brown color. Remove from the oven and allow it to cool completely on a wire rack.
- Reduce oven temperature to 325 degrees Fahrenheit (160°C).
- Prepare the custard: In a clean mixing bowl, whisk the egg yolks until smooth and slightly lightened in color. Gradually whisk in the sweetened condensed milk, followed by the fresh Key Lime juice and Key Lime zest. Continue mixing until all ingredients are thoroughly combined and the custard is smooth.
- Carefully pour the prepared Key Lime custard evenly into the cooled, pre-baked pie crust.
- Bake for 20 minutes, or until the custard is set but still has a slight jiggle in the center. Avoid overbaking, which can make the custard rubbery.
- Remove the slab pie from the oven and let it cool on the counter for about 30 minutes. Once cooled slightly, transfer it to the refrigerator to chill for at least 3 hours, or until thoroughly set and cold. This chilling step is crucial for the pie to firm up properly.
- Prepare the topping: In a cold mixing bowl, combine the heavy whipping cream and powdered sugar. Using an electric mixer with a whisk attachment, whip on medium-high speed until stiff peaks form.
- Spread the whipped cream evenly over the chilled Key Lime Slab Pie custard.
- Garnish with fresh Key Lime slices, additional Key Lime zest, and fresh raspberries if desired, for an extra touch of beauty and flavor.
- Keep any leftover Key Lime Slab Pie refrigerated in an airtight container for best freshness.
Nutrition Information (Approximate per Serving)
Serving: 1 slice | Calories: 443 kcal | Carbohydrates: 32g | Protein: 7g | Fat: 32g | Saturated Fat: 15g | Polyunsaturated Fat: 15g | Cholesterol: 184mg | Sodium: 50mg | Fiber: 1g | Sugar: 10g
