The Easiest & Most Delicious No-Knead Crusty Dutch Oven Bread (Just 4 Ingredients!)
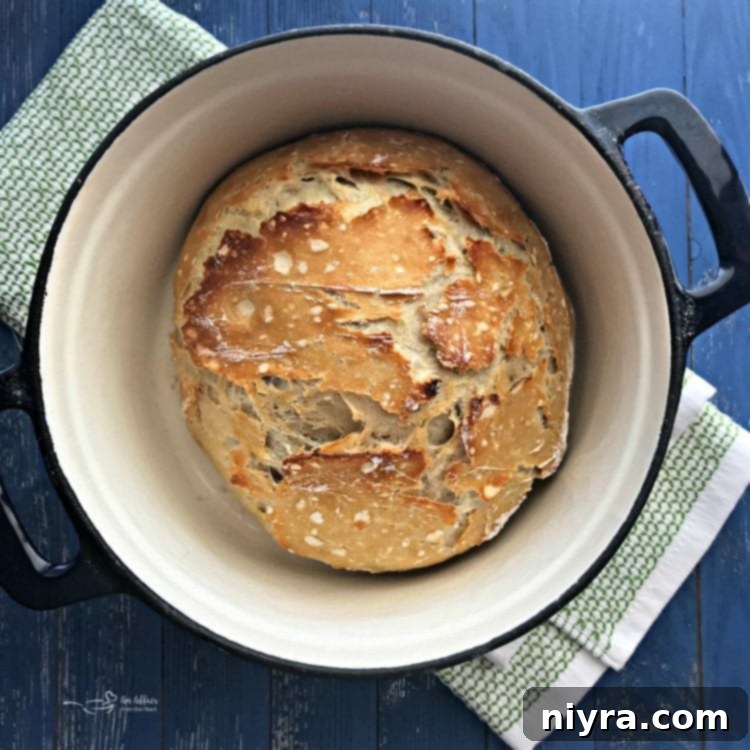
There’s an undeniable magic in the aroma of freshly baked bread filling your home. It’s a scent that promises comfort, warmth, and deliciousness. For many, the idea of baking homemade bread, especially a crusty loaf, can seem daunting, often associated with endless kneading, complex techniques, and the unpredictable nature of yeast. However, I’m thrilled to share a game-changing recipe that will shatter those misconceptions: this incredible No-Knead Crusty Dutch Oven Bread. It’s truly the easiest bread I’ve ever made, requiring only four basic ingredients and delivering perfect, professional-quality results every single time.
Imagine pulling a golden-brown, crackling loaf from your oven, its crust singing with warmth, and its interior soft and airy. That’s exactly what you’ll achieve with this simple yet revolutionary method. Forget about stand mixers, intensive labor, or complicated steps. This recipe celebrates simplicity, allowing a long, slow fermentation to do all the work for you. It’s perfect for both seasoned bakers looking for a hassle-free option and absolute beginners who are intimidated by yeast. Trust me, once you try this Dutch oven bread, you’ll wonder why you ever bought store-bought loaves!
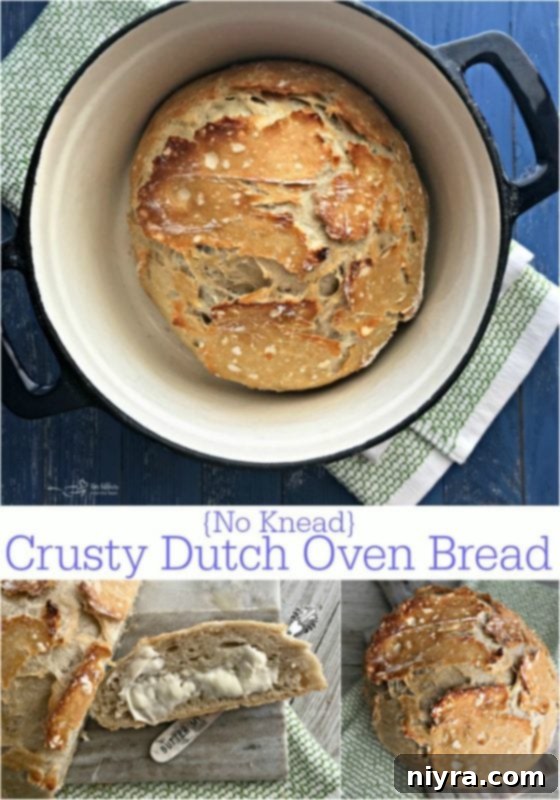
Pin This Recipe for Later!
Why Choose No-Knead Bread? The Secret to Effortless Perfection
The concept of “no-knead” bread might sound too good to be true, especially if you’re used to traditional bread-making methods. However, it’s a scientifically proven technique that yields incredible results with minimal effort. Instead of rigorous kneading to develop gluten, this method relies on time. A long fermentation period (typically 12-18 hours) allows the gluten in the flour to naturally develop and strengthen, creating a complex structure that gives the bread its signature chew and texture. This slow process also enhances the flavor profile, resulting in a much richer, more nuanced taste compared to quick-rise breads.
For busy individuals or those new to baking, no-knead bread is a revelation. It frees you from the physical demands of kneading dough and simplifies the entire process. You simply mix the ingredients, let time do its magic, and then bake. It’s an incredibly forgiving recipe, making it an ideal starting point for anyone looking to conquer their fear of baking with yeast. The simplicity doesn’t compromise on quality; in fact, many find no-knead bread superior in both crust and crumb to more labor-intensive recipes.
The Magic of Baking Bread in a Dutch Oven
While the no-knead method is fantastic on its own, pairing it with a Dutch oven elevates the bread to another level of perfection. A heavy, lidded pot like a cast iron Dutch oven creates a miniature steamy oven within your main oven. Here’s why that’s crucial:
- Perfect Crust Development: When the dough is placed into a preheated Dutch oven and covered, the trapped steam immediately surrounds the bread. This steam keeps the surface of the dough moist, preventing it from forming a crust too quickly. This allows the bread to expand fully (the “oven spring”) before the crust sets. Once the lid is removed, the moist surface rapidly dries and bakes to a beautiful, golden-brown, incredibly crispy crust – much like artisan loaves baked in professional bread ovens.
- Even Heat Distribution: Cast iron is excellent at retaining and distributing heat evenly. This consistent temperature ensures that your bread bakes uniformly, preventing hot spots that can lead to uneven cooking or burning.
- Superior Texture: The steamy environment not only contributes to the crust but also impacts the interior crumb. It helps create a light, open, and airy texture with those desirable large holes often found in artisanal bread.
If you’ve been considering investing in a Dutch oven, this recipe is the perfect excuse. It truly transforms home bread baking into an art form accessible to everyone.
What Do I Need for this No-Knead Crusty Dutch Oven Bread?
The beauty of this recipe lies in its incredibly simple ingredient list. You likely have most, if not all, of these staples in your pantry right now:
- All-Purpose Flour: The foundation of our bread. While bread flour can be used for a chewier crumb, all-purpose flour works wonderfully and is more readily available.
- Active Dry Yeast: The leavening agent that makes our bread rise and contributes to its flavor during the long fermentation. Ensure your yeast is fresh and active for best results.
- Salt: Essential for flavor and also plays a crucial role in controlling yeast activity and strengthening gluten structure. Don’t skimp on the salt!
- Water: Room temperature water is ideal for activating the yeast without shocking it. The specific amount is key to achieving the right dough consistency.
That’s it! Just four ingredients stand between you and a magnificent loaf of homemade bread. No eggs, no sugar, no butter – just pure, rustic goodness.
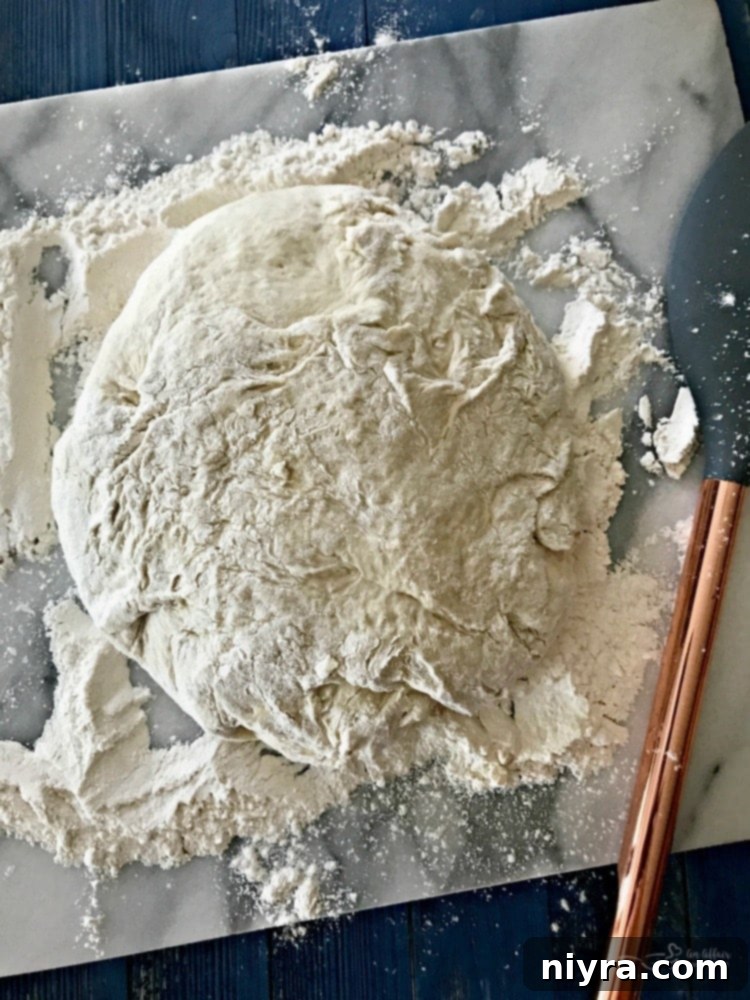
Step-by-Step Guide to Baking Your Perfect Loaf
The process is incredibly straightforward, but planning ahead is essential due to the long rise time. Here’s a more detailed breakdown:
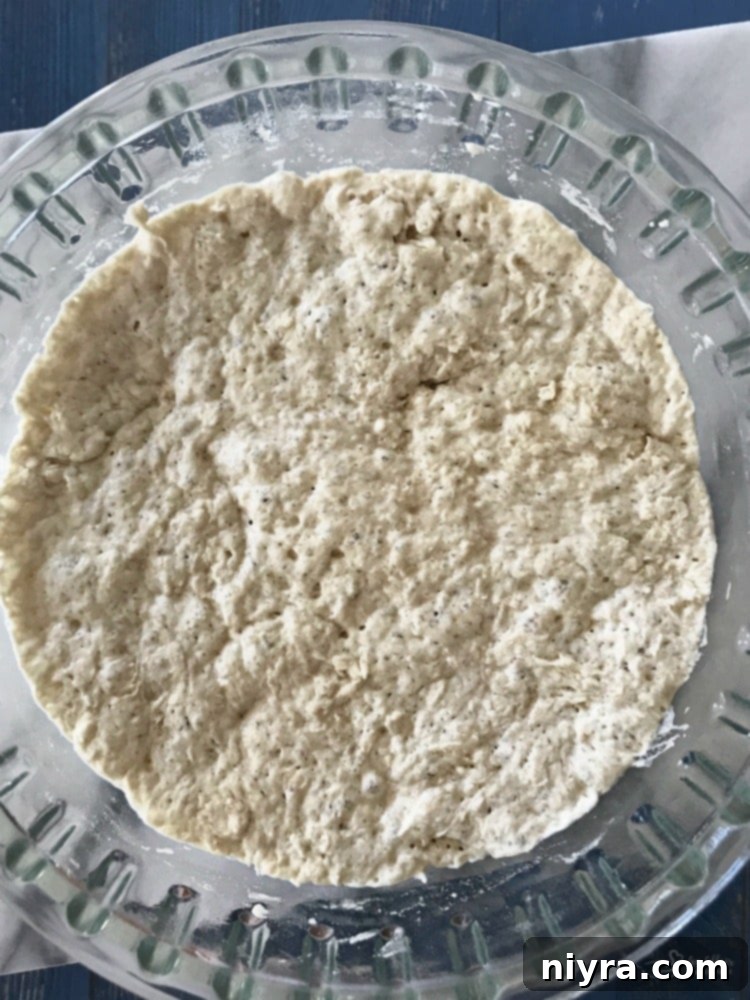
- Mixing the Dough: In a large bowl, combine the all-purpose flour, salt, and active dry yeast. Give them a quick whisk to ensure they’re well distributed. Then, add the room temperature water. Using a rubber spatula, mix until all the flour is fully incorporated and there are no dry spots. The dough will be shaggy and sticky – this is exactly what you want! Do not overmix.
- The Long Rise (Fermentation): Cover the bowl tightly with plastic wrap to prevent the dough from drying out. Place it on your counter at room temperature for 12 to 18 hours. During this extended period, the yeast will slowly work its magic, fermenting the sugars in the flour, developing incredible flavor, and creating those beautiful air pockets. You’ll know it’s ready when the dough has visibly increased in volume, is bubbly on the surface, and smells slightly yeasty.
- Preheating the Oven and Dutch Oven: This step is critical for achieving that signature crust. When you’re ready to bake, place your lidded Dutch oven inside your oven and preheat both to 450°F (232°C). Allow them to preheat for at least 30 minutes, or even longer, to ensure the Dutch oven is scorching hot.
- Shaping the Dough: Generously flour your work surface and your hands. Carefully scrape the sticky dough out of the bowl onto the floured surface. Using floured hands, gently fold the edges of the dough towards the center a few times to create a rough ball shape. Avoid overworking the dough; minimal handling is best.
- Baking in the Dutch Oven: Once the oven and Dutch oven are fully preheated, carefully remove the hot Dutch oven from the oven using oven mitts. Remove the lid. Gently drop your shaped dough ball into the hot Dutch oven. Replace the lid securely.
- Baking Phase One (Covered): Place the covered Dutch oven back into the preheated oven and bake for 30 minutes. The lid traps the steam released from the dough, creating the ideal environment for a magnificent oven spring and a tender crumb.
- Baking Phase Two (Uncovered): After 30 minutes, carefully remove the lid from the Dutch oven. Continue to bake for another 15 to 20 minutes, or until the crust is a deep golden brown and sounds hollow when tapped. This uncovered baking period allows the crust to crisp up beautifully.
- Cooling: Once baked, remove the bread from the Dutch oven and transfer it to a wire rack to cool completely. This cooling process is essential! Slicing into hot bread can result in a gummy texture. Let it rest for at least 30 minutes, or ideally, an hour, for the best texture and flavor.
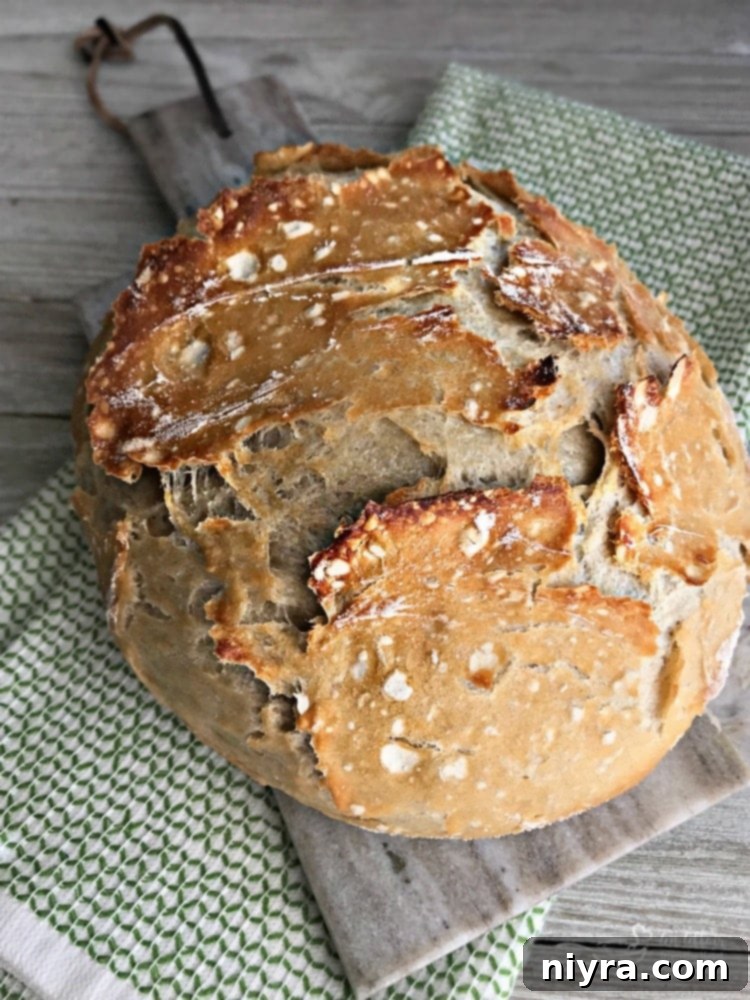
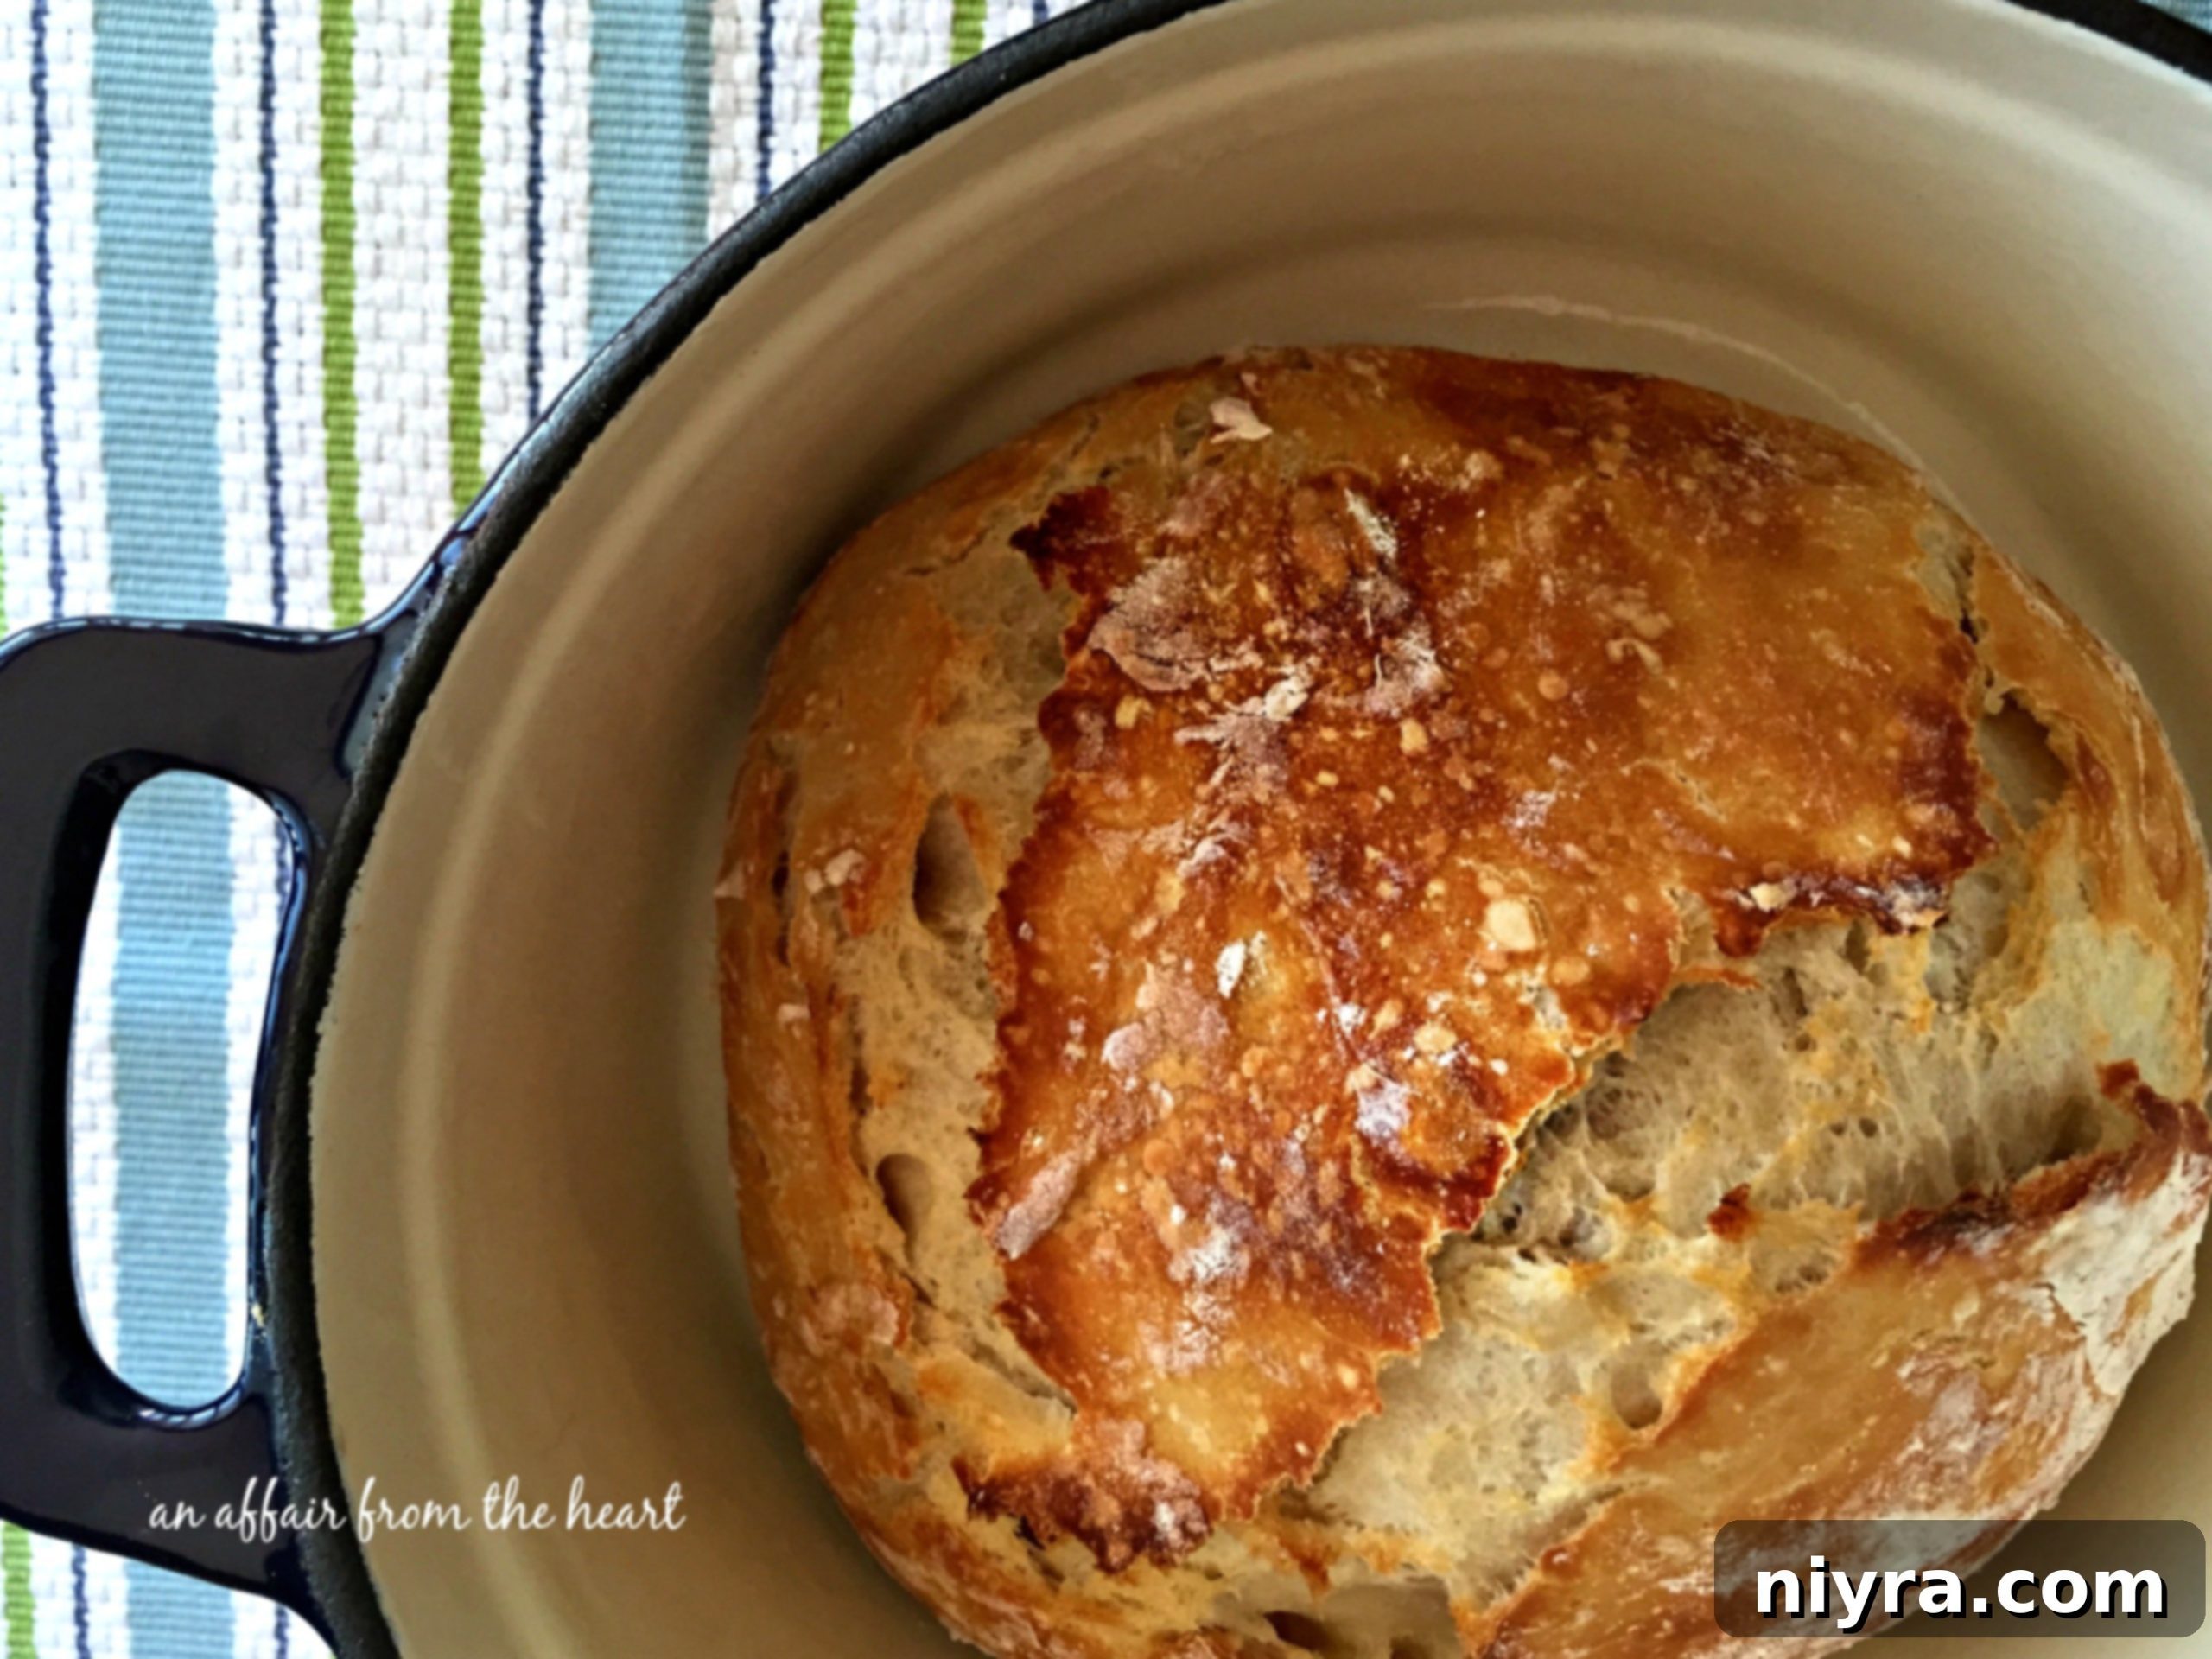
Isn’t it absolutely gorgeous?
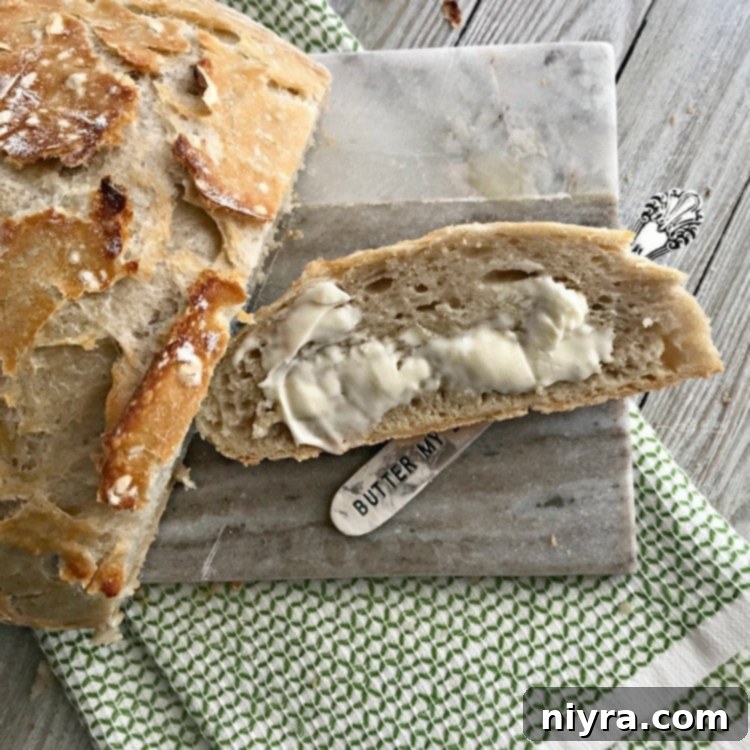
Serve warm with a generous smear of butter, or alongside your favorite meal.
Serving Suggestions & Storage Tips
This versatile No-Knead Crusty Dutch Oven Bread is perfect for almost any occasion. Serve it warm with a pat of butter, a drizzle of olive oil, or a sprinkle of flaky sea salt. It’s the ideal accompaniment for:
- Hearty soups and stews, perfect for dunking.
- Pasta dishes like the Chicken Linguine Carbonara I paired it with.
- Your favorite dips and spreads.
- Open-faced sandwiches or bruschetta.
- As a side for a simple salad.
Any leftover bread makes sensational toast the next morning! Simply slice it and pop it in the toaster for a second life of crispy goodness.
To store your homemade bread, allow it to cool completely, then store it at room temperature in a paper bag for up to two days to maintain its crust. For longer storage, you can wrap it tightly in plastic wrap or foil, or slice and freeze for up to a month. Thaw at room temperature or toast directly from frozen.
Troubleshooting Common No-Knead Bread Questions
- My dough didn’t rise: This is often due to inactive or expired yeast, or water that was too hot or too cold. Ensure your yeast is fresh and your water is at room temperature. Also, very cold room temperatures can slow the rise, so find a warm spot if needed.
- My crust isn’t crispy: The most common culprits are not preheating the Dutch oven enough, or not baking uncovered for long enough. Make sure your oven and Dutch oven are screaming hot before the bread goes in, and don’t be afraid to let it get a nice deep golden brown during the uncovered phase.
- My dough is too sticky to handle: This is normal for no-knead dough. Flour your hands and work surface very generously. A bench scraper can also be a helpful tool for maneuvering the dough. Remember, minimal handling is key.
This Dutch oven bread really is as easy as it seems, I promise. The only real requirement is patience for the long fermentation, but the hands-on time is minimal. It’s 100% worth the wait for that unbeatable homemade taste and texture.
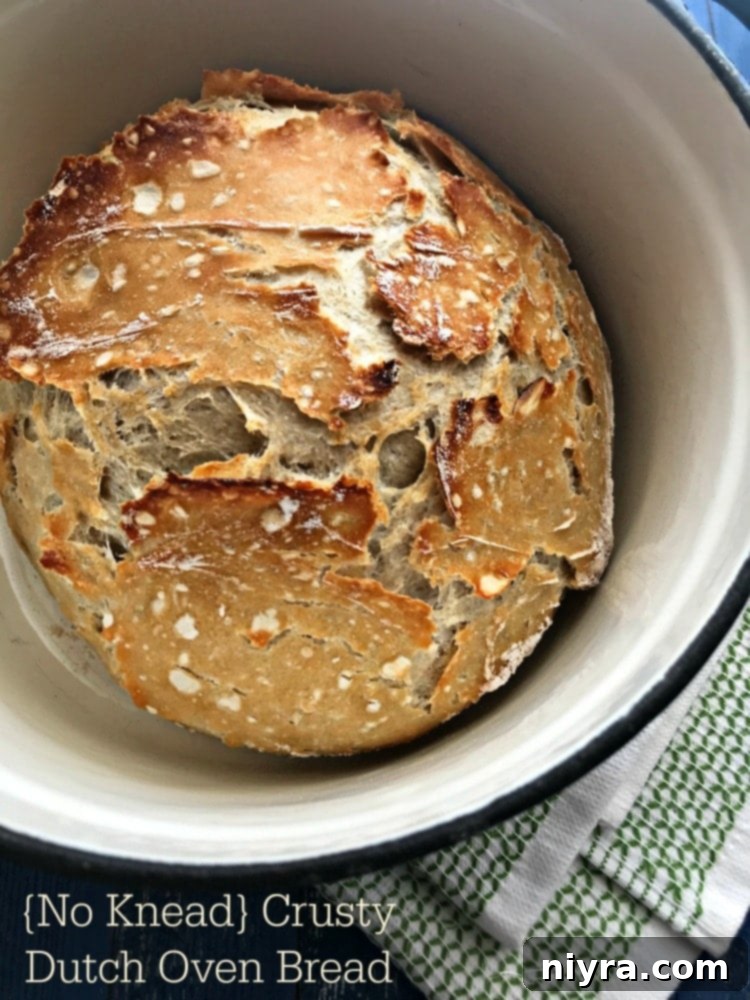
Looking for More Easy Yeast Bread Recipes?
If this recipe inspires you to dive deeper into the wonderful world of baking with yeast, here are a few other fantastic recipes to try your hand at:
- Peasant Bread
- No-Knead English Muffin Bread
- Cloverleaf Rolls
- Perfect Dinner Rolls
Now, who’s ready to get baking? This recipe proves that exceptional homemade bread doesn’t require a culinary degree or hours of labor. Just a few simple ingredients, a little patience, and the magic of a Dutch oven will yield a loaf that will impress everyone. Give it a try, and let me know what you think!

LIKE THIS RECIPE?
Don’t forget to give it a ⭐️⭐️⭐️⭐️⭐️ star rating and
leave a comment below the recipe!

Print Recipe
{No Knead} Crusty Dutch Oven Bread
Ingredients
- 3 cups all purpose flour
- 1¾ teaspoon salt
- ½ teaspoon active dry yeast
- 1½ cups water at room temperature
Instructions
- In a big bowl mix together flour, salt and yeast. Add water to the bowl and using a rubber spatula mix it until it is all incorporated. Cover the bowl with plastic wrap and sit on your counter for 12 to 18 hours.
- When ready to bake, preheat oven and your cast iron dutch oven to 450 F degrees. (your dutch oven needs to have a lid, preheat along with the oven)
- Flour your work surface and your hands really well. With your floured hands gently remove the dough from the bowl and shape it into a ball.
- Remove pot from oven when preheated, and remove the lid.
- Take the ball of dough and drop it into the pot. Cover the pot with the lid and place it back in the oven.
- Bake for 30 minutes with the lid on, then remove the lid and bake for another 15 to 20 minutes or until golden brown.
- Remove from the oven and let cool.
- Slice and enjoy!
