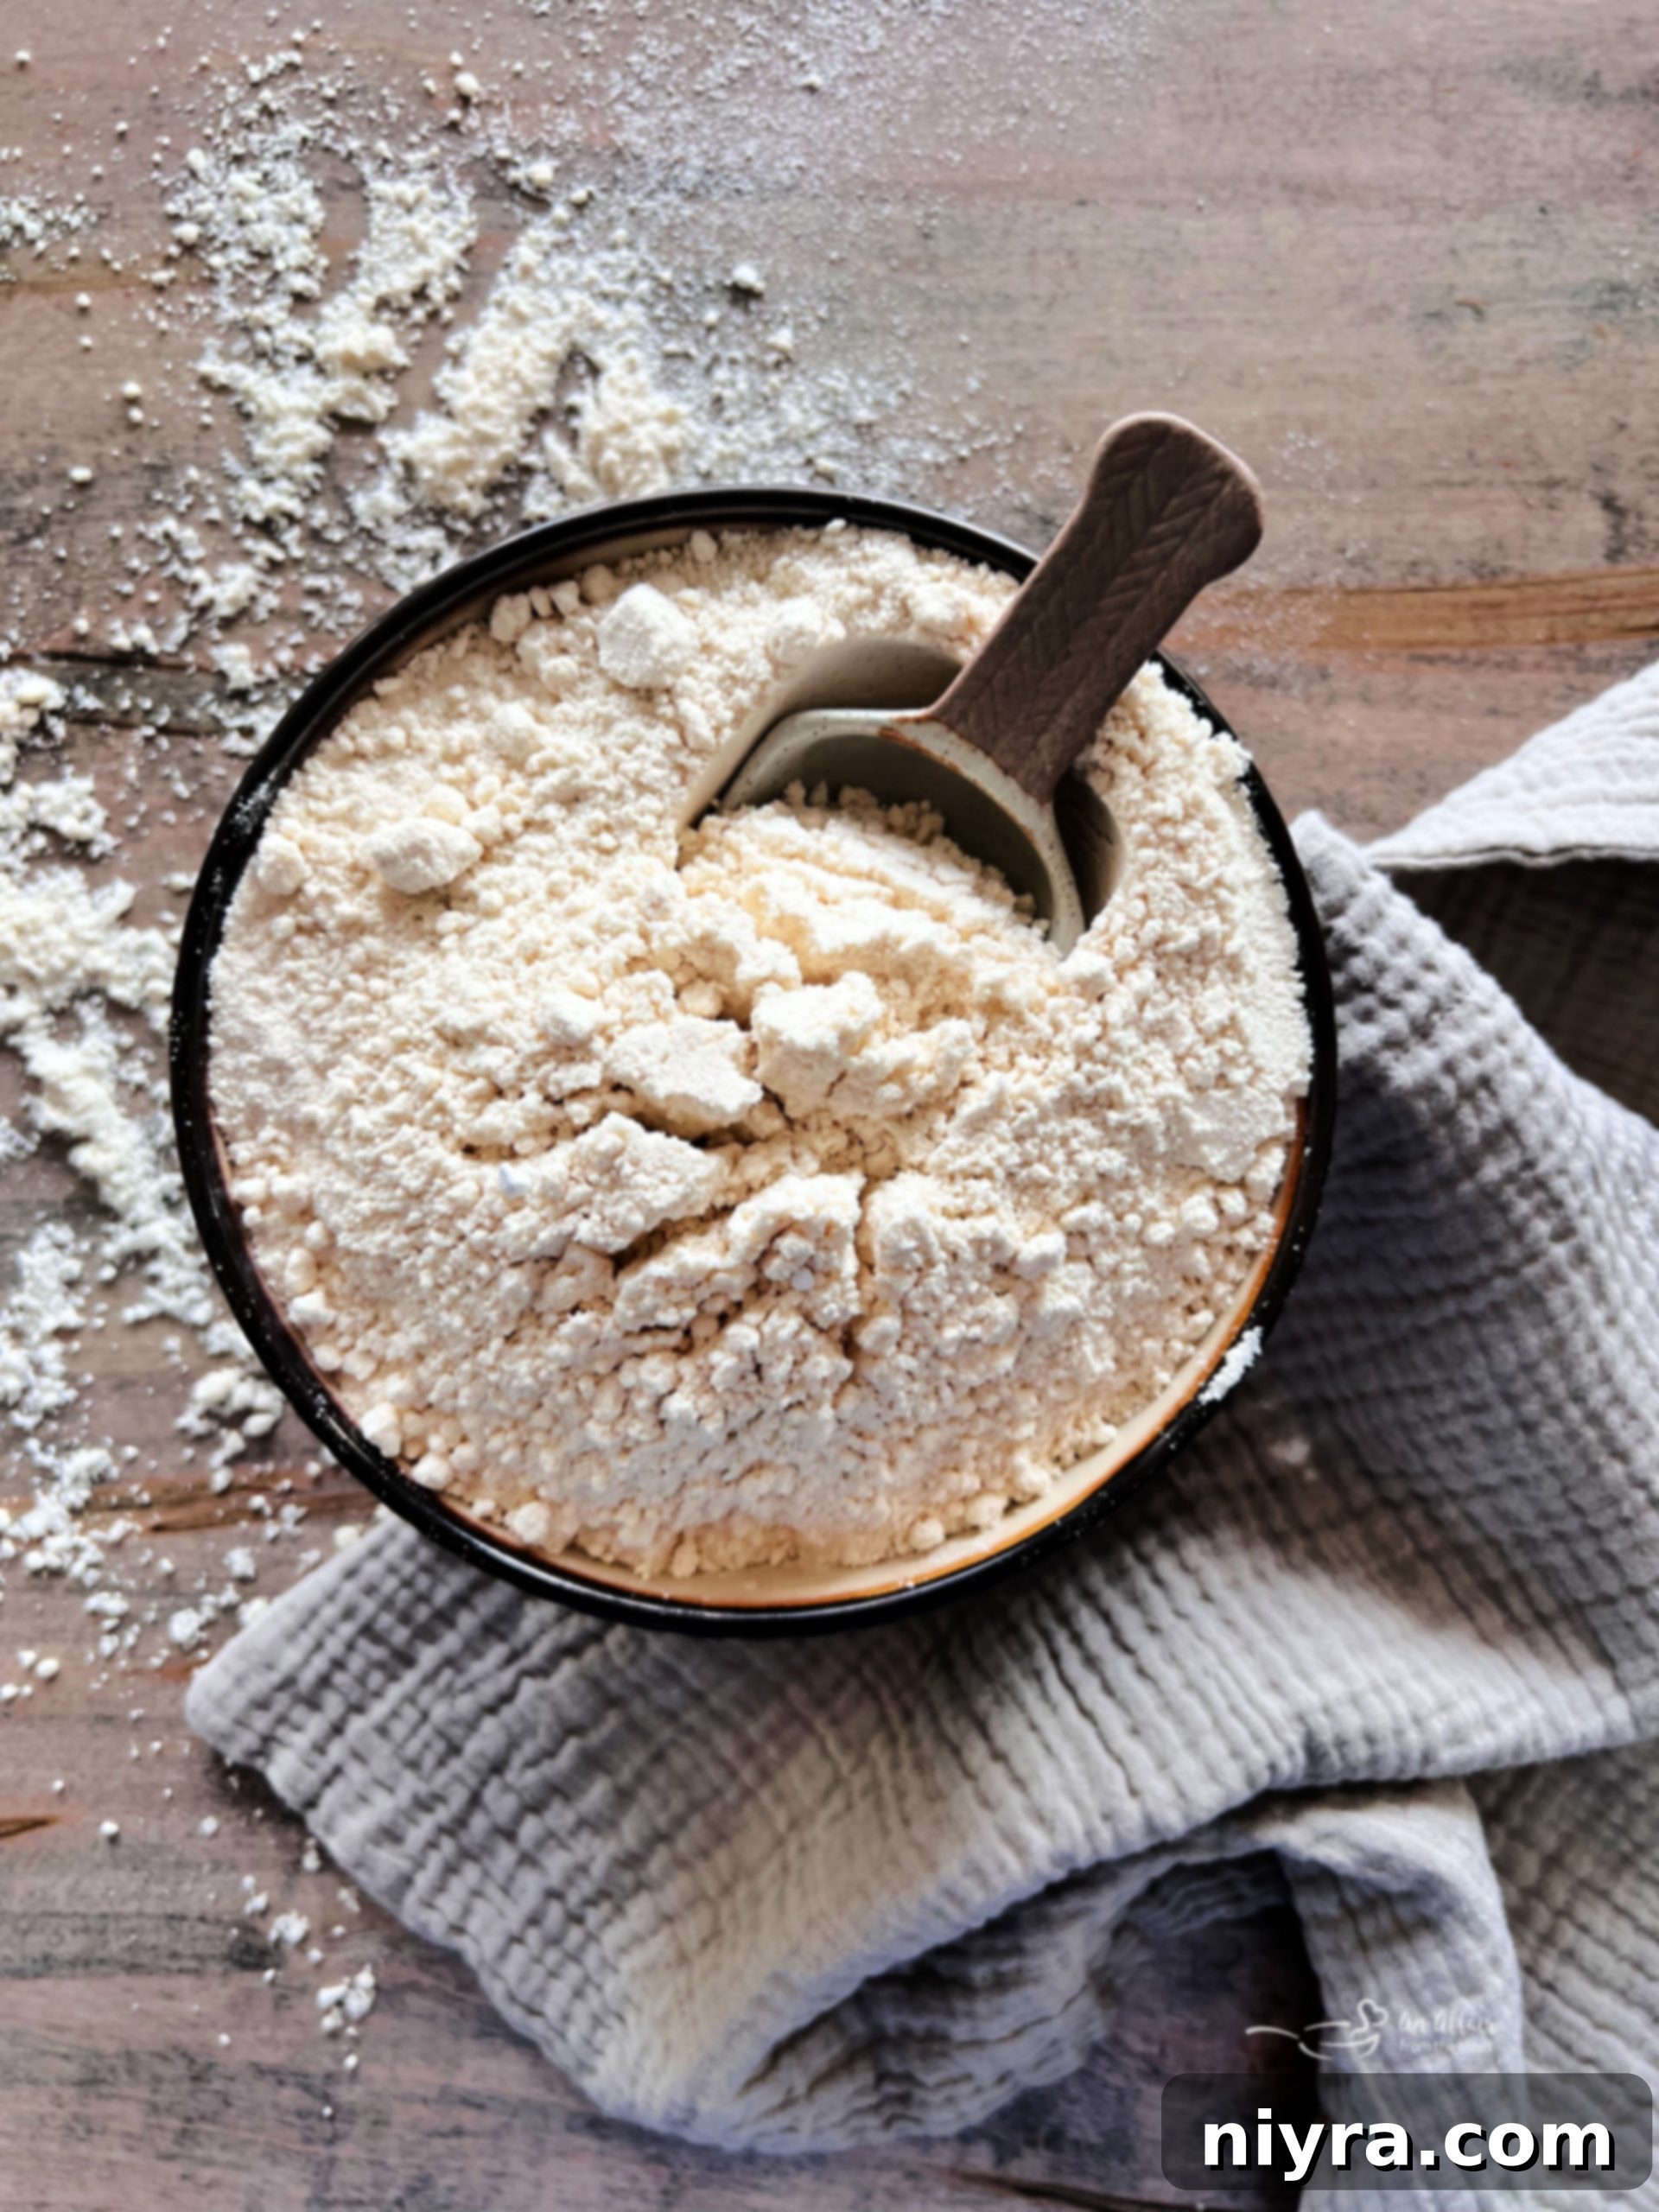
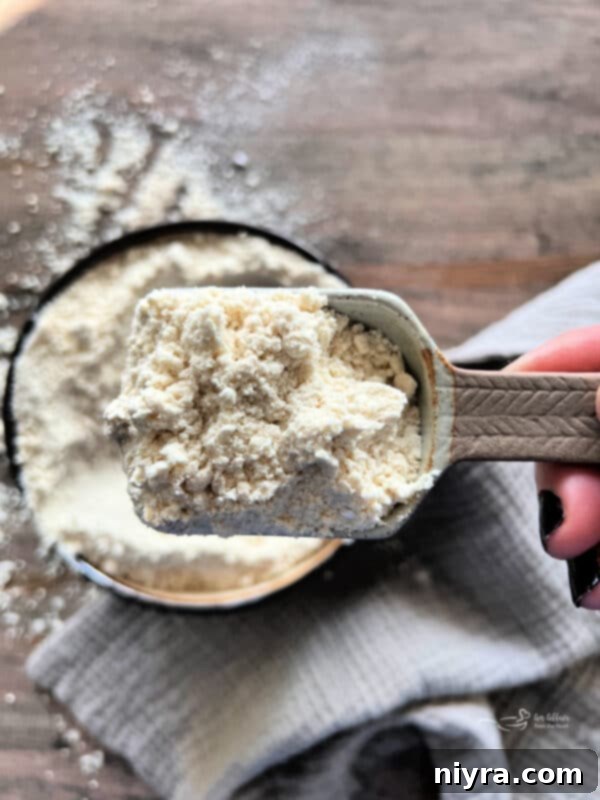
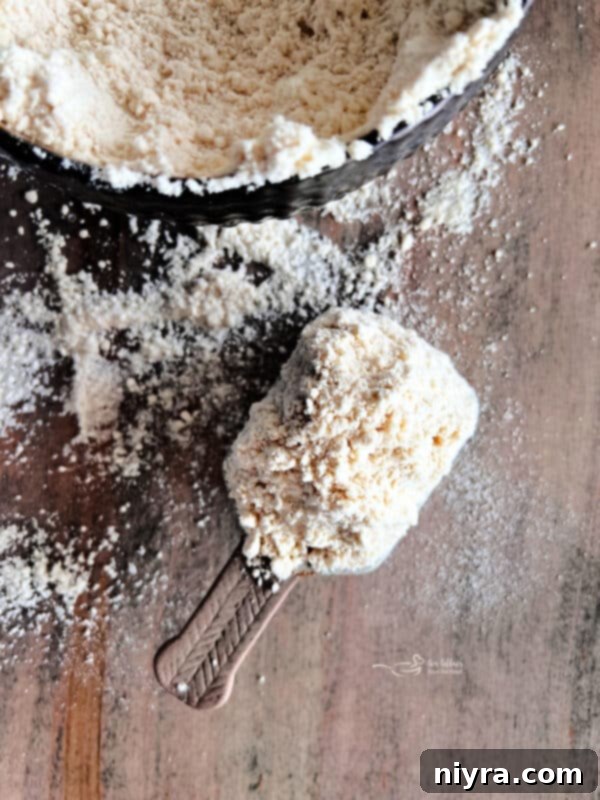
Have you ever found yourself in the midst of a culinary inspiration, only to realize your pantry is missing that one crucial ingredient – Bisquick baking mix? The craving for fluffy pancakes, golden biscuits, or a quick, savory pot pie hits, you reach for the familiar box, and the disheartening lightness confirms your fear: you’ve run out! This common predicament can quickly derail your breakfast plans or dinner ideas. But what if you didn’t have to make a last-minute dash to the grocery store? Imagine whipping up your favorite treats with an equally versatile and incredibly fresh alternative, made right in your own kitchen from everyday ingredients. The good news is, you absolutely can! In just a few minutes, you can create your very own **Homemade Bisquick Mix** using simple pantry staples and a straightforward recipe.
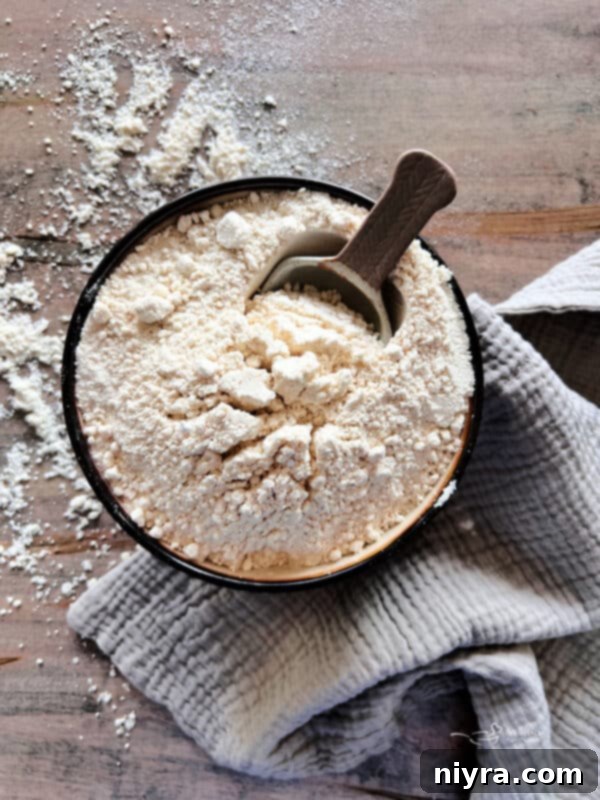
Preparing this DIY baking mix is so incredibly easy, efficient, and cost-effective, you’ll wonder why you ever relied solely on the store-bought version. It’s a game-changer for any home cook!
Unlock Endless Baking Possibilities with Easy Homemade Bisquick Mix
For decades, Bisquick has been a household name, synonymous with convenience and versatility in baking. Its appeal lies in being a pre-mixed shortcut, allowing you to create a wide array of delicious recipes with minimal effort. While Bisquick biscuits and pancakes are undoubtedly at the top of many people’s lists, the utility of this baking mix extends far beyond breakfast staples. With your homemade Bisquick mix, you can effortlessly prepare fluffy dumplings, comforting chicken pot pies, crispy corn dogs, sweet coffee cakes, and even delectable donuts. The possibilities are truly endless, transforming everyday cooking into an exciting culinary adventure.
Crafting your own DIY homemade Bisquick baking mix not only provides a fresh, preservative-free alternative but also offers significant economic benefits. This easy Bisquick substitute can be made at a mere fraction of the cost of any pre-made store-bought mix. By controlling the ingredients, you also gain the power to customize it for healthier dietary choices or specific preferences, making it an even smarter option for your family.
Understanding Bisquick: Its History and Components
Bisquick, a product of Betty Crocker, revolutionized home baking when it was first introduced in the 1930s. The inspiring tale behind its creation begins on a train journey. An astute executive from Betty Crocker noticed how the chef in the bar car consistently managed to serve fresh biscuits every morning. When asked his secret, the chef revealed he had pre-mixed the dry ingredients with lard the night before, allowing him to quickly add liquid and bake them fresh. This simple yet ingenious method sparked a revelation, leading to the birth of a multi-million dollar idea – a ready-to-use baking mix for the masses.
The fundamental convenience of Bisquick stems from its clever combination of premixed dry ingredients, including flour, leavening, and fat. Traditionally, commercial Bisquick uses hydrogenated oil, which is a solid fat, to achieve its long shelf life and consistent performance. For our homemade Bisquick recipe, we recommend using shortening due to its excellent baking properties and stability. However, you have the flexibility to choose other fats like lard, butter, or even coconut oil. Each of these alternatives will work wonderfully, offering slightly different flavors and textures, and maintaining similar storage and shelf life characteristics for your DIY mix. The beauty of making it yourself is the control it gives you over what goes into your food.
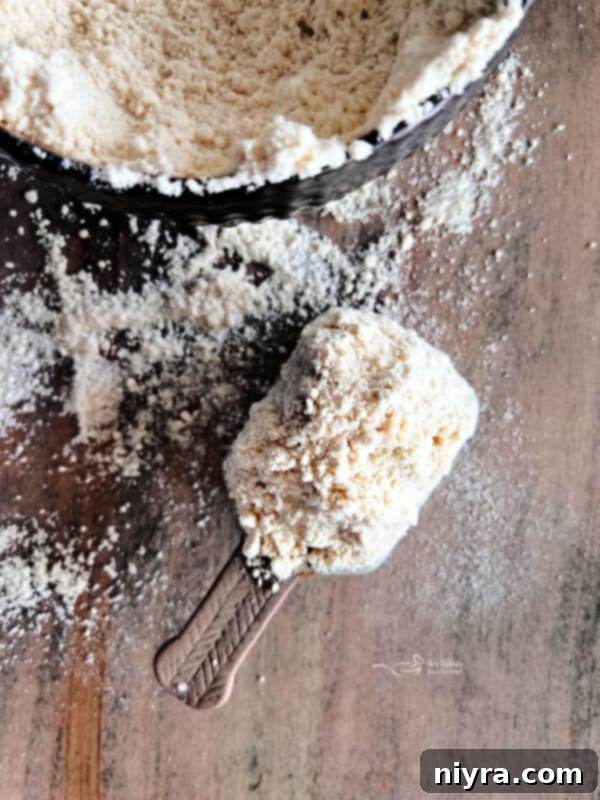
Beyond cost savings and convenience, making your own Bisquick mix allows for healthier modifications. You can create a more nutritious version by incorporating part whole wheat flour or spelt flour, boosting fiber content and nutritional value. For those mindful of fat intake, consider lightening the oil component by using heart-healthier options like canola, sunflower, or safflower oil. This customization ensures your baking mix aligns perfectly with your dietary goals without sacrificing flavor or quality.
Essential Ingredients for Your Homemade Bisquick Recipe
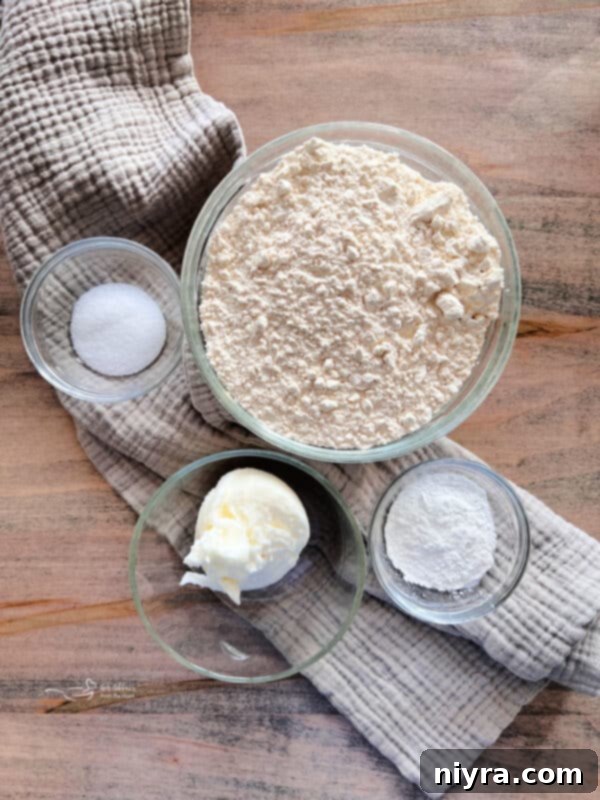
Ready to embark on this incredibly simple yet rewarding recipe? You’ll find that all the ingredients are readily available, likely already in your pantry. The complete measurements and detailed instructions are provided in the printable recipe card at the bottom of this article. Here’s a brief overview of what you’ll need:
Flour: The foundational component of our baking mix. I typically use all-purpose flour for its versatility and consistent results. However, don’t hesitate to experiment with different types of flour. A combination of all-purpose with a portion of spelt flour or whole wheat flour can add a nutty flavor and increase nutritional benefits. For a gluten-free alternative, you can successfully substitute with your preferred gluten-free all-purpose flour blend.
Baking Powder: This is the crucial leavening agent that makes your baked goods light and fluffy. It reacts when combined with liquid and heat, creating carbon dioxide bubbles that help pancakes and biscuits rise beautifully. Ensure your baking powder is fresh for optimal results – a simple test is to mix a teaspoon with a quarter cup of hot water; if it bubbles vigorously, it’s good to go!
Vegetable Shortening: My preferred fat for this homemade mix due to its neutral flavor, excellent flakiness-promoting properties, and impressive shelf stability at room temperature. It integrates well into the dry mix, creating pockets of fat that result in tender baked goods. As alternatives, you can use lard for a traditional flavor, coconut oil for a subtle tropical note, or even cold, unsalted butter. If using butter, ensure it’s very cold and cut into small pieces to achieve that desired flaky texture, and note that the storage requirements for your mix will change.
Salt: A small but mighty ingredient, salt doesn’t just add flavor; it enhances the sweetness and complexity of other ingredients, balancing the overall taste of your finished baked goods. A touch of salt elevates everything.
Crafting Your Own Bisquick Mix: A Simple Guide
Making your own Bisquick mix is surprisingly straightforward and requires minimal time. Follow these easy steps to prepare your versatile baking staple:
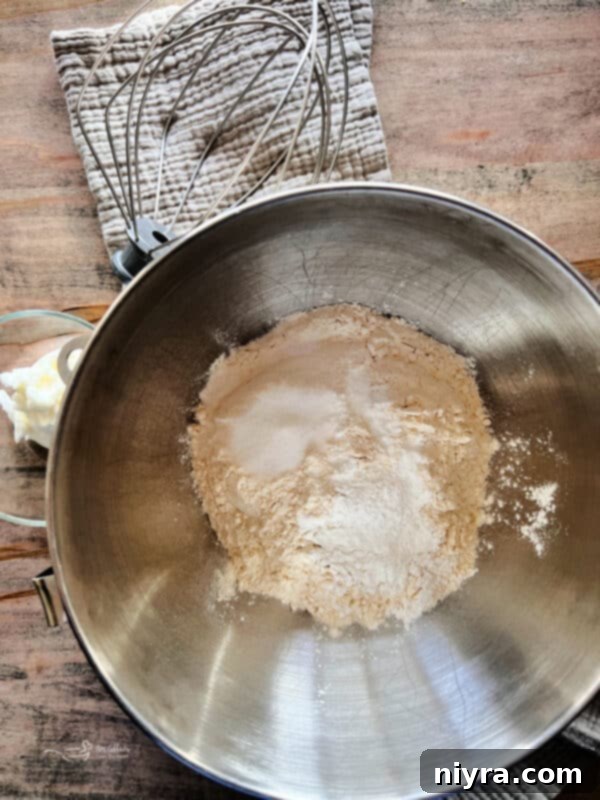
First, in the bowl of your standing mixer, fitted with the whisk attachment, combine the flour, baking powder, and salt. Whisk these dry ingredients together thoroughly for about a minute or two, ensuring they are well aerated and uniformly distributed. This step is crucial for even leavening in your future baked goods. Sifting the flour beforehand can also help achieve a lighter, lump-free mix.
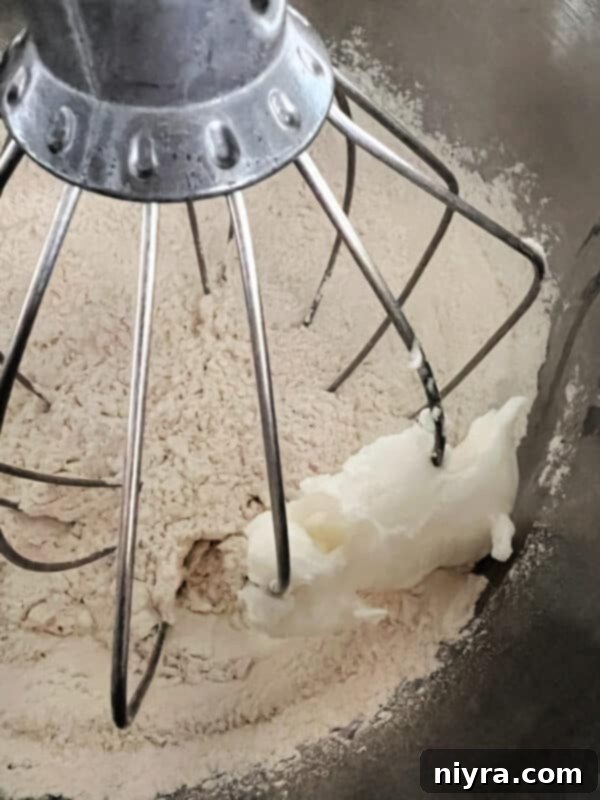
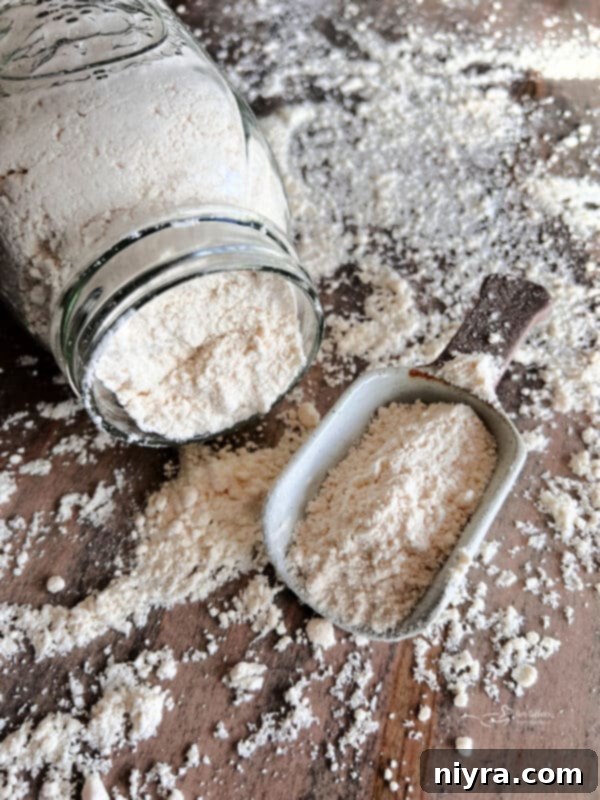
Next, add the cold vegetable shortening to the dry mix. It’s important to add the shortening in small increments, allowing it to break down and blend thoroughly with the flour mixture. Continue whisking on a medium-low speed until the shortening is completely incorporated, and the mixture resembles coarse crumbs, similar to cornmeal. This typically takes just a minute or two. Be careful not to overmix; the goal is to coat the flour particles with fat, not to create a paste.
Alternatively, if you don’t have a standing mixer, you can achieve the same results by combining the flour mixture and cold shortening in a large bowl. Use a pastry cutter (or two forks, or even your fingertips) to cut the shortening into the flour until the mixture achieves that same crumbly texture. The key is to handle the fat as little as possible to keep it cold and prevent it from melting.
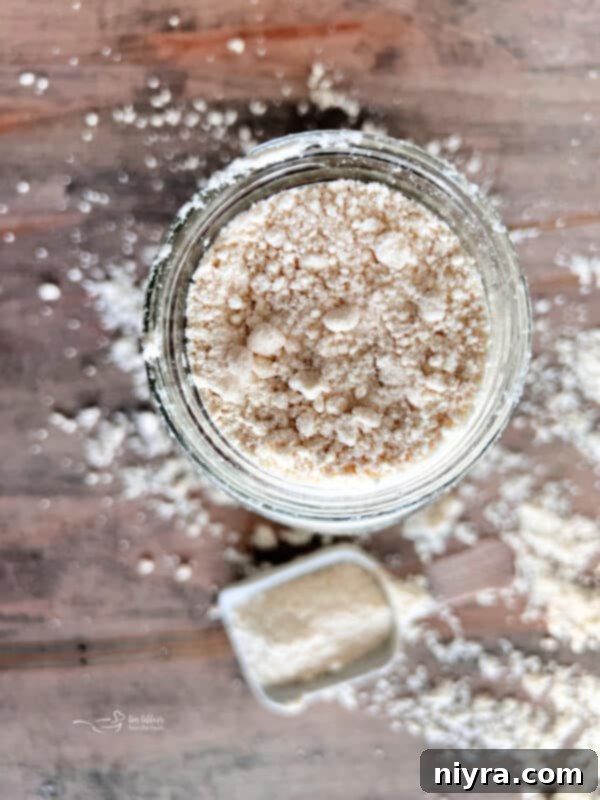
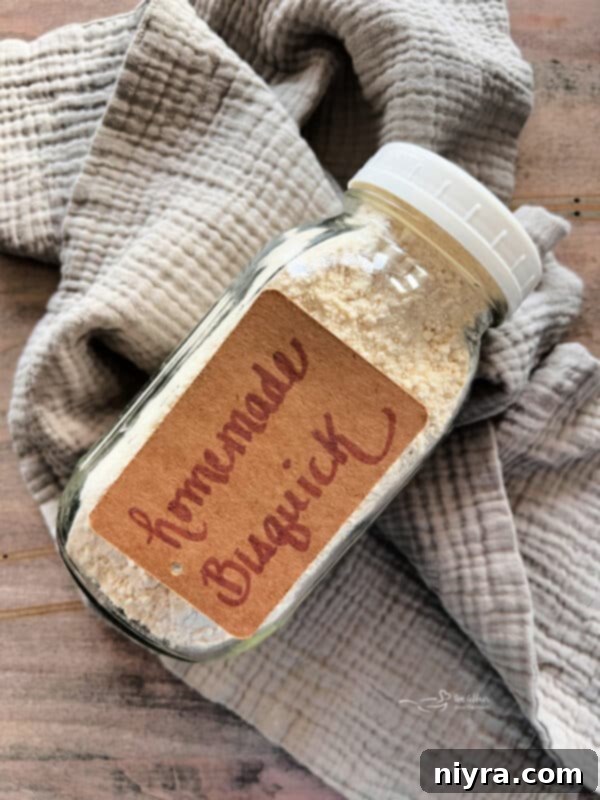
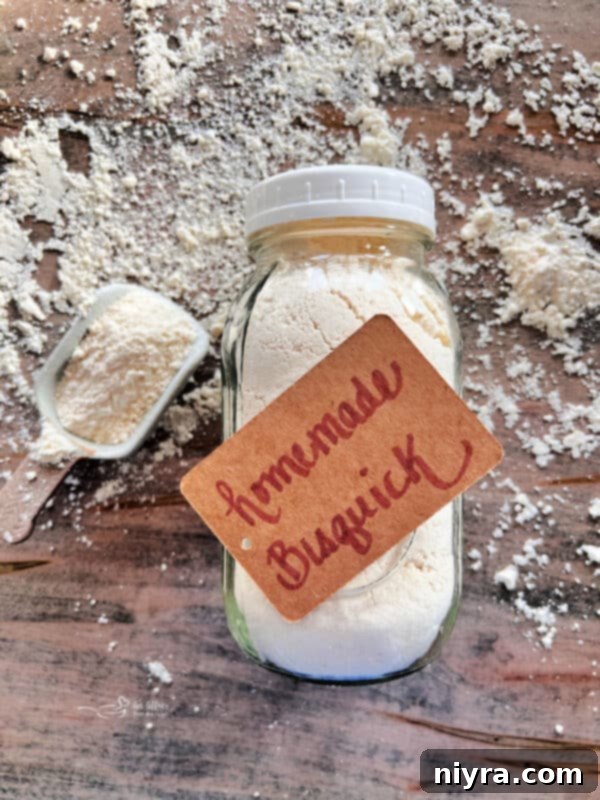
Finally, transfer your freshly made Bisquick mix to an airtight container. I find mason jars to be excellent for this purpose, as they provide a secure seal and look great in the pantry. Store the mix in a cool, dark place, such as your pantry, where it will remain fresh for up to three months. Labeling your container with the date of preparation is a good habit to ensure you always use the freshest mix.
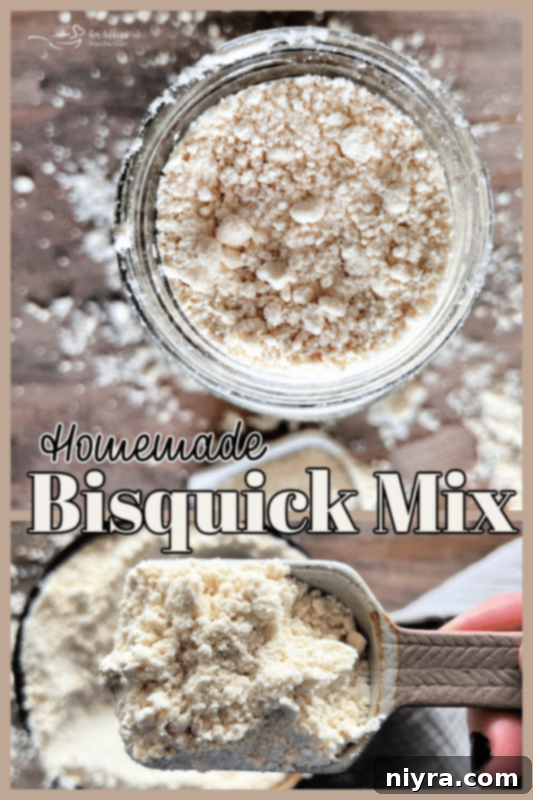
Love It? Pin It!
If you’re excited about this Homemade Bisquick recipe and its endless possibilities, make sure to save it for later! Pin it to your favorite Pinterest recipe board before you leave, so you can easily find it whenever a baking craving strikes.
Frequently Asked Questions About Homemade Bisquick Mix
- How do you make Homemade Bisquick? Homemade Bisquick is remarkably simple to prepare. It’s a precise combination of all-purpose flour, baking powder for leavening, a solid fat like shortening (or butter/lard), and a touch of salt to enhance flavor.
- What can I use if I don’t have Bisquick? If you find yourself without commercial Bisquick, you have a couple of excellent options. You can either use a store-bought pancake mix (though the results might vary slightly depending on the specific mix) or, even better, whip up your own homemade substitute by combining flour, baking powder, shortening (or other fat), and salt as detailed in this recipe.
- Is Bisquick just flour and baking soda? No, Bisquick is not just flour and baking soda. It specifically uses baking powder, which contains both an acid and a base for leavening, unlike baking soda which needs an additional acid. It also includes a fat (traditionally hydrogenated oil or shortening) and salt.
- What are the original ingredients in Bisquick? The original commercial Bisquick recipe typically features bleached white flour, cornstarch, dextrose, palm oil (a type of shortening), various leavening agents, canola oil, salt, sugar, DATEM (an emulsifier), and distilled monoglycerides. Our homemade version simplifies this with fewer, more natural ingredients.
- Is Bisquick just flour and baking powder? While flour and baking powder are key components, Bisquick also contains fat (like shortening) and salt. These additional ingredients are crucial for achieving the mix’s characteristic texture and flavor.
- Can I make a gluten-free version of this homemade Bisquick mix? Absolutely! Simply substitute the all-purpose flour with an equal amount of your favorite gluten-free all-purpose flour blend. Ensure your chosen blend already contains xanthan gum, or add a quarter teaspoon per cup of gluten-free flour if it doesn’t.
- How long does homemade Bisquick mix last? The shelf life of your homemade Bisquick mix depends on the type of fat you use. If made with vegetable shortening, lard, or coconut oil, it can be stored in an airtight container in a cool, dark pantry for up to 3 months. If using butter, it must be stored in the refrigerator and will be good for about 3 weeks.
Delving Deeper: Understanding Shortening in Baking
Shortening is a broad term for any fat that is solid at room temperature and is used to make baked goods “short” or tender. Historically, it often referred to hydrogenated oils – liquid vegetable oils that have been processed to become solid or semi-solid. This process significantly increases their stability and raises their melting point, making them ideal for baking and storage in dry mixes. Unlike butter, shortening has a very high burn point, meaning it can withstand higher temperatures without browning, much like lard.
Why is hydrogenated oil used in commercial products like Bisquick, and why do we recommend shortening for the homemade version? The hydrogenation process in commercial Bisquick is often more extensive, resulting in a fat that is almost powdery at room temperature, which perfectly integrates into a dry mix for extended shelf life. For our homemade recipe, vegetable shortening offers similar benefits: it is stable at room temperature, allowing your mix to keep for several months in the pantry. If refrigerated, the shelf life can even extend to six months!
The unique structure of shortening makes it exceptional for baked goods such as biscuits and pancakes. When shortening is cut into flour, it creates tiny pockets of fat. As these pockets melt during baking, they release steam, which separates the layers of dough, resulting in an incredibly light, fluffy, and tender texture. This effect is far superior to what you would achieve with liquid fats like vegetable oil, which tend to create a denser product, or butter, which, while delicious, has a lower melting point and can lead to a less airy crumb.
Creative Substitutions for Your Homemade Baking Mix
One of the greatest advantages of making your own Bisquick mix is the flexibility to customize ingredients to suit your dietary needs or flavor preferences. Here are some popular substitutions:
Flour Alternatives: While all-purpose flour is standard, you can easily use a combination of flours to enhance nutrition or taste. Consider replacing a portion of the all-purpose flour with spelt flour for a slightly nutty flavor, or whole wheat flour for increased fiber and a heartier texture. For those with gluten sensitivities, a gluten-free all-purpose flour blend works perfectly to create a gluten-free Bisquick mix, ensuring everyone can enjoy your delicious baked goods.
Fat Substitutions: Instead of vegetable shortening, you have several excellent options, each contributing a unique quality. Cold, unsalted butter, cut into small pieces, will impart a rich, buttery flavor but will require refrigeration of the mix. Lard offers a traditional, savory depth, particularly wonderful for biscuits. Coconut oil can provide a subtle, pleasant aroma and is a popular plant-based choice. For a slightly different approach, you could even use liquid oils like canola, sunflower, or safflower oil, though these will create a softer, less flaky texture and typically require the mix to be stored in the refrigerator or used immediately.
Expert Tips and Tricks for Perfect Homemade Bisquick
Mixing Methods: Don’t have a stand mixer? No problem! The food processor method is a fantastic alternative – simply pulse all ingredients together until the shortening is well incorporated and the mixture resembles coarse crumbs. For a more traditional approach, a pastry blender is your best friend. You can also use two forks or even your clean fingertips to cut the cold shortening into the flour mixture. The key is to work quickly to prevent the fat from warming up too much, which helps create those desirable flaky layers.
Sifting for Success: For an even lighter, lump-free mix, consider sifting your flour and baking powder together before adding the fat. This ensures even distribution and better aeration, leading to superior baked results.
Measuring Fat Accurately: When measuring shortening or other solid fats, pack it firmly into your measuring cup to ensure you get the correct amount, then level it off with a straight edge. Accuracy here impacts the texture of your final baked goods.
Label and Date: Always label your airtight container with the date you prepared the mix. This helps you keep track of its freshness and ensures you use it within its optimal shelf life.
Test Your Baking Powder: Old baking powder can lead to flat, dense results. Before mixing, test its freshness by adding a teaspoon to half a cup of hot water. If it fizzes vigorously, it’s fresh and ready to use!
Optimal Storage for Your Homemade Bisquick Mix
Proper storage is essential to maintain the freshness and efficacy of your homemade baking mix. The way you store it largely depends on the type of fat you’ve chosen:
Pantry Storage (for shortening, coconut oil, or lard): If you’ve used vegetable shortening, coconut oil, or lard, your homemade baking mix will be quite stable at room temperature. Store it in an airtight container – such as a glass mason jar or a sturdy plastic container – in a cool, dark place like your pantry. Under these conditions, the mix will remain fresh and effective for up to 3 months. Remember, because it lacks the chemical stabilizers found in commercial mixes, its shelf life will naturally be shorter, but the fresh ingredients make up for it in taste and quality.
Refrigerator Storage (for butter): If you opt for butter as your fat, the mix must be stored in the refrigerator due to butter’s perishability. Keep it in an airtight container to prevent it from absorbing odors from other foods. When refrigerated, your butter-based mix will stay fresh for approximately 3 weeks. This option offers a delightful buttery flavor but requires more careful storage management.
Freezer Storage: For even longer preservation, especially if you make a large batch or use butter, you can freeze your homemade Bisquick mix. Place it in a freezer-safe, airtight container or heavy-duty freezer bag. It can last for up to 6 months in the freezer. When ready to use, simply thaw it in the refrigerator overnight before baking.
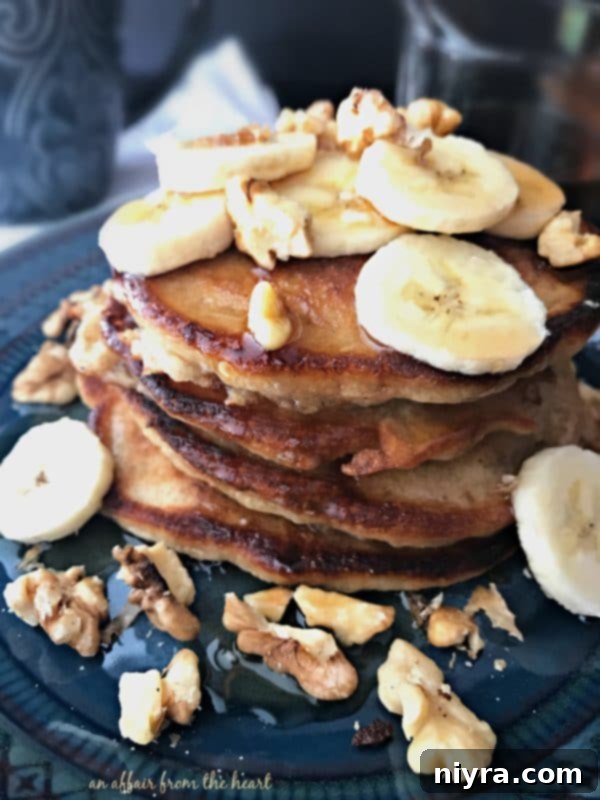
Delicious Recipes That Utilize Your Homemade Bisquick Baking Mix
Now that you have a fresh batch of homemade Bisquick mix, you might be wondering what culinary wonders you can create. This versatile substitute for Bisquick flour can be used in almost any recipe calling for the commercial version. Here are just a few of my favorite recipes that truly shine with this homemade mix, ranging from breakfast delights to comforting dinners and sweet treats:
- Banana Bread Pancakes (pictured above): Start your day with these incredibly flavorful pancakes that capture the essence of banana bread in a fluffy breakfast treat.
- Chocolate Pancakes with Raspberry Sauce: Indulge in a decadent breakfast with rich chocolate pancakes, perfectly complemented by a vibrant raspberry sauce.
- Banana Pecan Rolls: A delightful twist on classic cinnamon rolls, these feature the comforting flavors of banana and crunchy pecans.
- Easy Berry Bisquick Muffins: Quick to prepare and bursting with fresh berries, these muffins are perfect for a snack or a light breakfast.
- Impossible Pie with Bacon & Swiss: A savory and satisfying “impossible” pie that forms its own crust, made even better with the addition of smoky bacon and sharp Swiss cheese.
- Recipe for Bisquick Peach Cobbler: Enjoy the sweet, juicy flavors of summer in a comforting cobbler, made effortlessly with your baking mix.
- Pumpkin Spice Bars: Perfect for autumn, these moist and flavorful bars are infused with warm pumpkin spice, a delightful seasonal treat.
- Copy Cat Red Lobster Cheddar Bay Biscuits: Recreate the beloved cheesy, garlicky biscuits from your favorite seafood restaurant at home.
- Recipe for Bisquick Sausage Balls: These savory bites, featuring cream cheese and sausage, are a fantastic appetizer or breakfast item.
- Sour Cream Bisquick Biscuits: Achieve incredibly tender and flavorful biscuits with the tangy addition of sour cream.
- Lasagna Pot Pie: An innovative and hearty twist, combining the comforting layers of lasagna with the convenience of a pot pie.
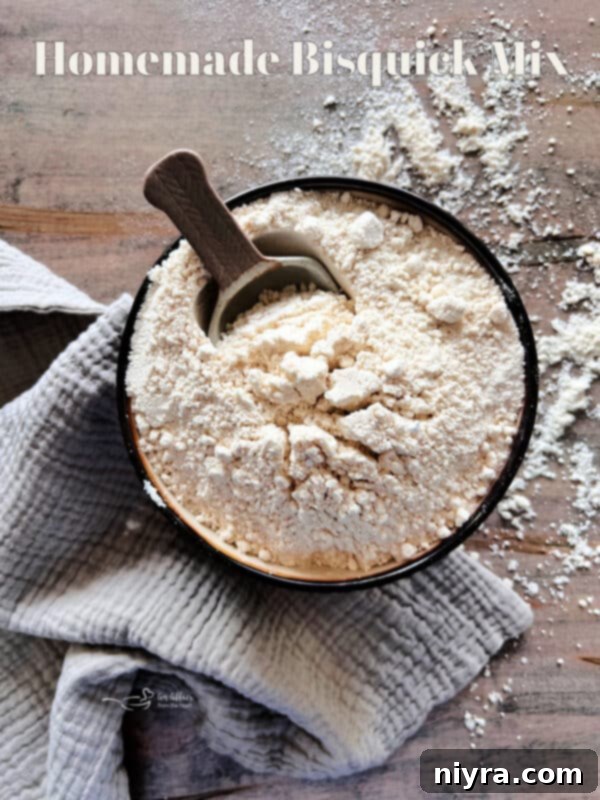
The next time a recipe calls for Bisquick, instead of making a special trip to the store, confidently reach for your homemade alternative. You’ll save time, money, and enjoy the satisfaction of knowing exactly what goes into your family’s favorite treats. Happy baking!

LIKE THIS RECIPE?
Don’t forget to give it a ⭐️⭐️⭐️⭐️⭐️ star rating and
leave a comment below the recipe!
4.58 from 33 votes
Print Recipe
Make Your Own Bisquick
Equipment
- Mason Jars 32 oz wide mouth
- Spring Chef Dough Blender, Top Professional Pastry Cutter with Heavy Duty Stainless Steel Blades, Medium Size, Black
- Kitchenaid Stand Mixer
- KitchenAid Hand Mixer
Ingredients
- 6 cups flour
- 3 Tablespoons baking powder
- 1 cup vegetable shortening
- 1 Tablespoon salt
Instructions
- In your standing mixer with the whisk attachment, whisk together flour, baking powder, and salt.
- Add in shortening, in small increments, and continue whisking until completely incorporated. A minute or two is all you need.
- Store in an airtight container, in a cool and dark place for up to 3 months.
Notes
Nutrition
This recipe was originally posted on September 30, 2015. It was updated to improve user experience and expand content on November 27, 2023.
