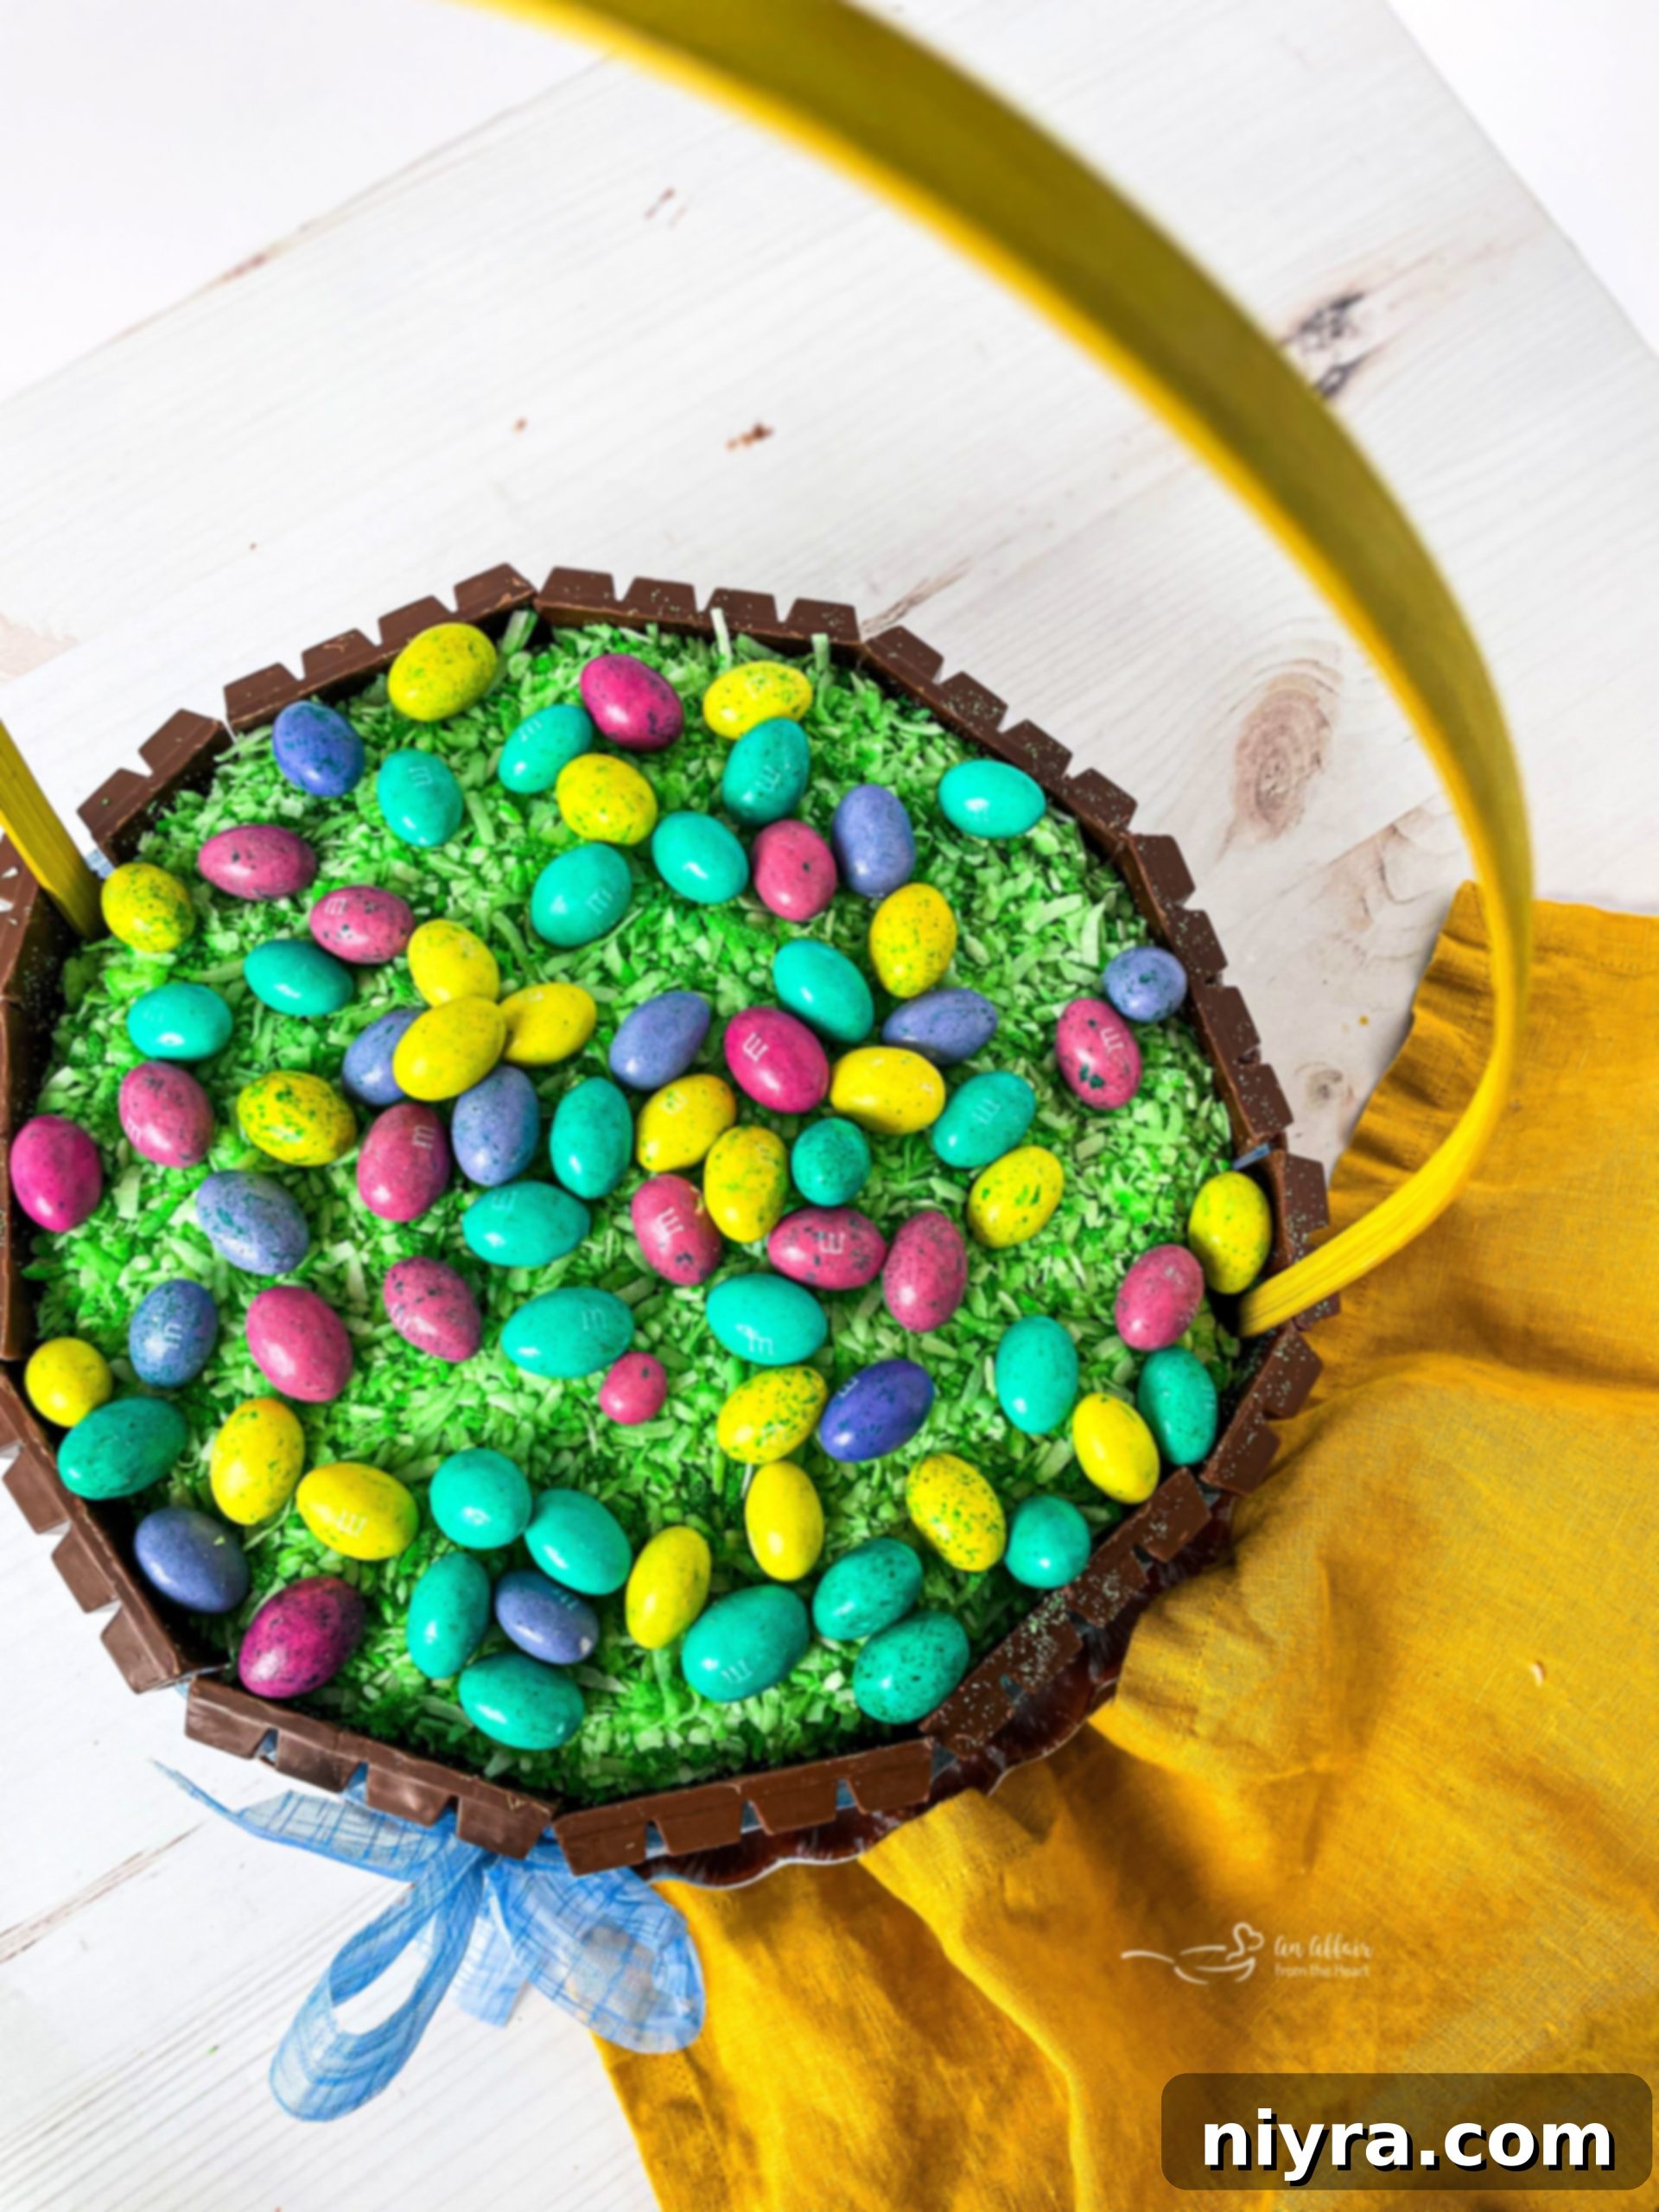
Transform your Easter celebration into an unforgettable event with an impressive yet surprisingly simple **Kit Kat Easter Basket Cake**. This delightful dessert combines layers of moist yellow cake with rich chocolate frosting, encircled by crisp Kit Kat bars, and adorned with festive candies to mimic a charming Easter basket. Perfect for captivating your guests, this versatile recipe can effortlessly adapt to any occasion, making it an ideal **Kit Kat birthday cake** or a show-stopping centerpiece for any seasonal gathering.
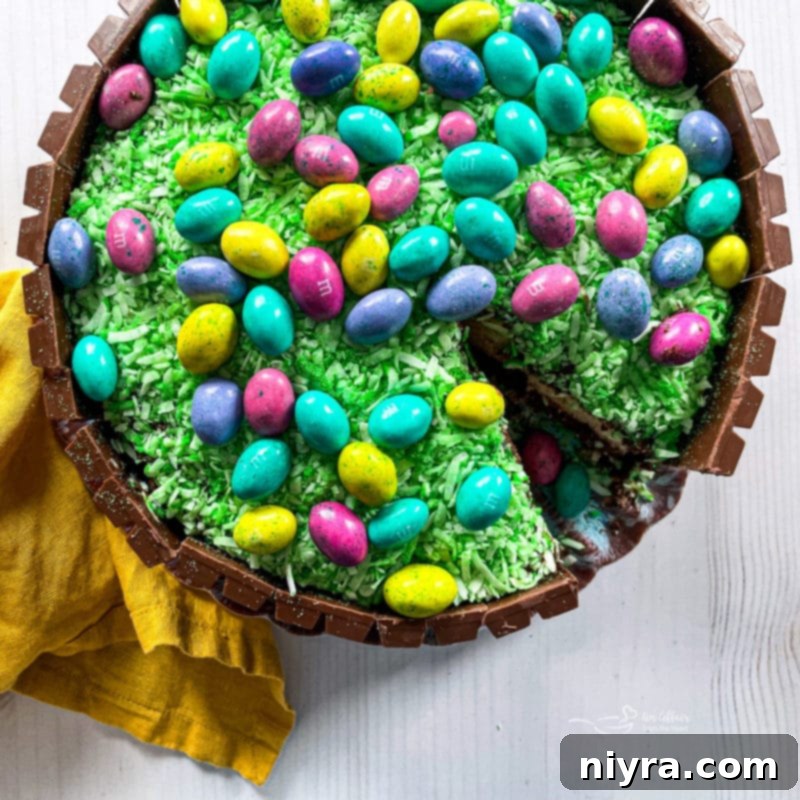
If you’re searching for an eye-catching homemade dessert that requires minimal effort but delivers maximum impact, this **Kit Kat Cake for Easter** is truly a dream come true. It’s an approachable baking project that yields spectacular results, perfect for both novice and experienced bakers alike.
Crafting this adorable dessert requires just a handful of readily available ingredients: a box of yellow cake mix, your favorite chocolate frosting (homemade or store-bought), an ample supply of Kit Kat candy bars, a decorative ribbon, festive M&M Easter eggs, a handle from an old Easter basket (or a craft store find), and either shredded coconut or fun edible Easter grass. These simple components come together to create a show-stopping cake that tastes as good as it looks.
Looking for other delightful dessert ideas? Explore recipes like our Bubblegum Cupcakes or a classic Carrot Bundt Cake for more baking inspiration!
The Inspiration Behind This Charming Easter Creation
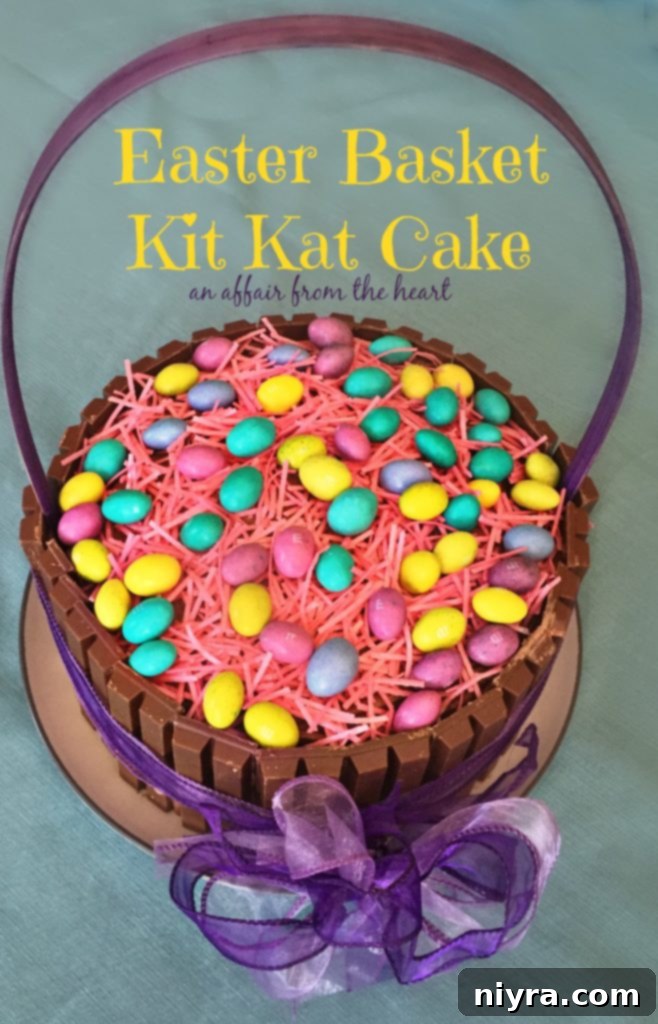
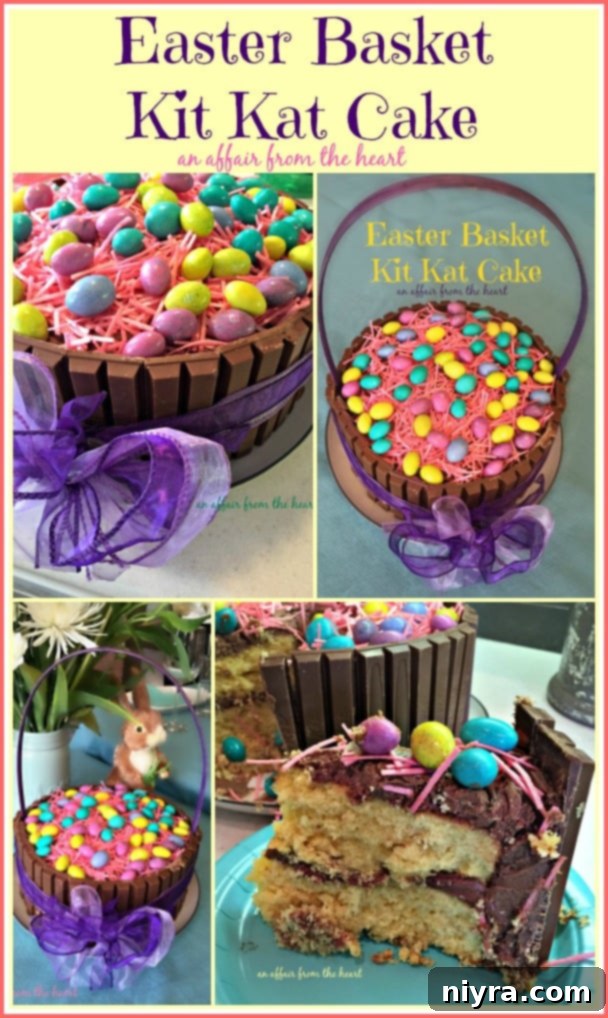
One memorable Easter, I decided to take the popular Kit Kat Cake concept and infuse it with a festive Easter theme, transforming it into an adorable basket. The outcome genuinely delighted me, not only for its charming appearance but also for the surprising ease of its creation. What began as a fun experiment quickly became a family favorite, gracing our Easter dessert table many times since its first appearance in 2016. Each year, it continues to bring joy, and this year, I’m thrilled to share updated preparation photos to illustrate just how straightforward it is to bring this edible masterpiece to life.
Versatile Kit Kat Cake Designs for Every Occasion
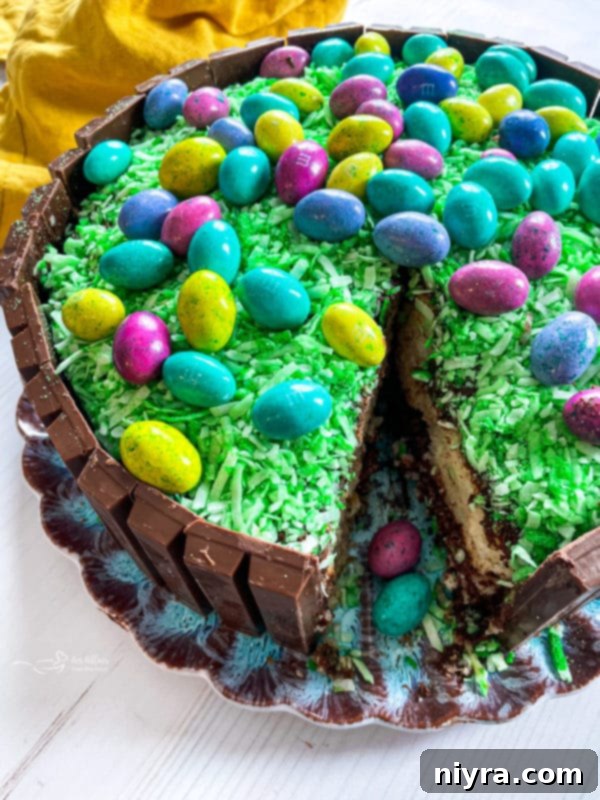
While this delectable dessert was initially conceived for Easter, its design is incredibly adaptable for numerous other celebrations. By simply omitting the Easter basket handle, you transform it into a classic **Kit Kat Cake**, suitable for any day of the year. Do you have a **Kit Kat chocolate lover** celebrating a birthday? Easily customize this recipe by swapping the yellow cake mix for a rich chocolate cake mix to create an indulgent **Kit Kat Chocolate Cake**. The magic of this cake lies in its customizability. Changing the color of the M&M’s – or substituting them with other candies like Reese’s Pieces (a personal favorite!) – instantly makes it festive for any holiday. M&M’s, in particular, offer special color blends for nearly every holiday, from red and green for Christmas to orange and black for Halloween. Feel free to experiment with different cake and frosting flavors too; this is *your* cake, so make it uniquely yours!
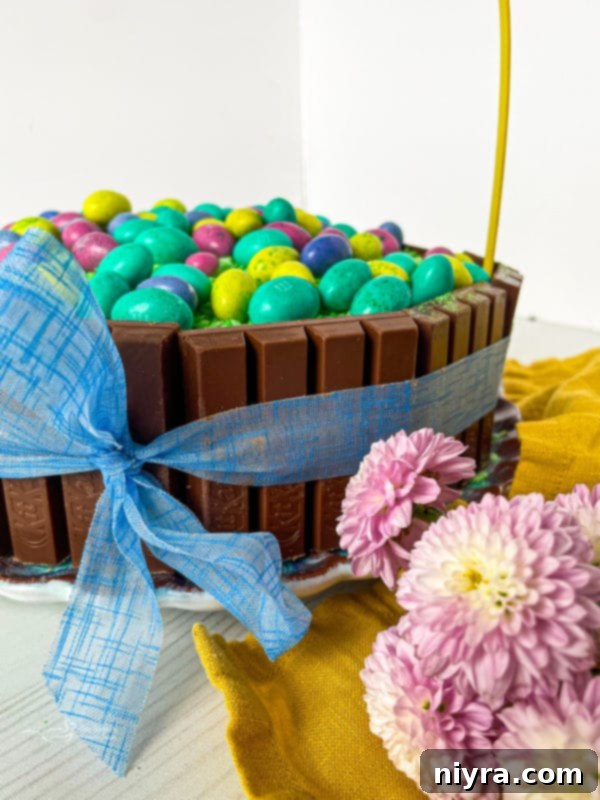
A Sweet Treat for Everyone: Kit Kats and Allergies
One of the many appealing aspects of Kit Kats, beyond their delightful crunch and chocolatey flavor, is their versatility and **nut-free** status in the United States. While some international Kit Kat varieties might feature different flavors or ingredients, the standard Kit Kat bars widely available in the U.S. do not contain peanut butter. Furthermore, the packaging explicitly states that these sweet treats are not manufactured in facilities that handle peanuts, making them a safer option for friends and family members with peanut allergies. This inclusivity means that even more people can enjoy a slice of your stunning Kit Kat cake without worry.
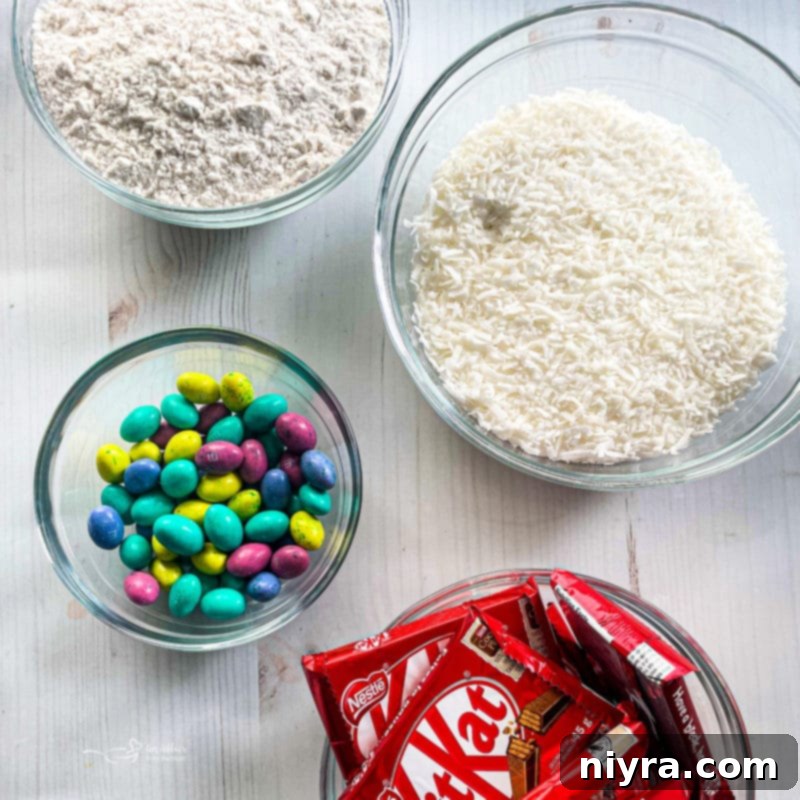
Essential Ingredients for Your Kit Kat Cake Creation
- Kit Kat Candies: Approximately 11 standard Kit Kat candy bars are typically needed to encircle a 9-inch layer cake. Adjust the quantity based on your cake’s circumference to ensure full coverage.
- Yellow Cake Mix: A classic choice that provides a light, fluffy base. Prepare it according to the box instructions for convenience. Feel free to substitute with any other cake mix flavor, such as chocolate or funfetti, or even a homemade cake from scratch.
- M&M’s: For an authentic Easter theme, M&M Easter eggs are highly recommended. However, standard M&M’s or any other small chocolate candies will work perfectly and can be chosen to match various holiday themes.
- Chocolate Frosting: Whether you opt for a rich homemade chocolate frosting or a convenient store-bought tub, chocolate is the ideal flavor to complement the Kit Kats and yellow cake. It also acts as the “glue” for the Kit Kat bars.
- Edible Easter Grass: This whimsical addition truly enhances the Easter basket illusion. Strawberry, blueberry, and green apple are popular flavored options. As an alternative, you can use shredded coconut, tinted green with food coloring, for a similar visual effect.
- Ribbon: About half a roll of decorative ribbon is all you need. Choose a color and pattern that complements your chosen candies and theme for different occasions.
- Easter Basket Handle: Essential for the basket aesthetic. You can repurpose one from an old basket or find a suitable decorative handle at a craft store.
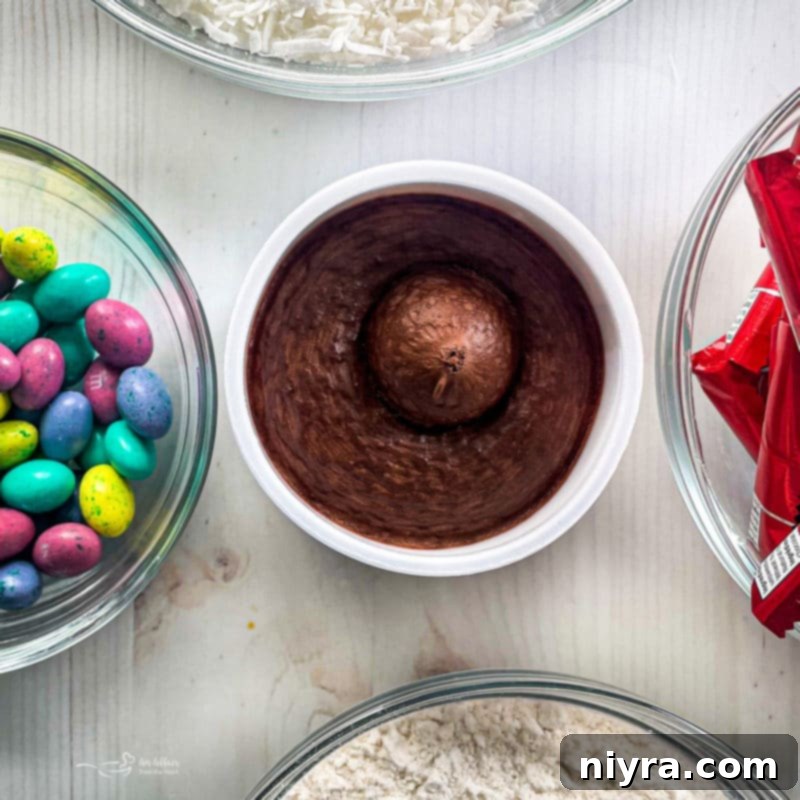
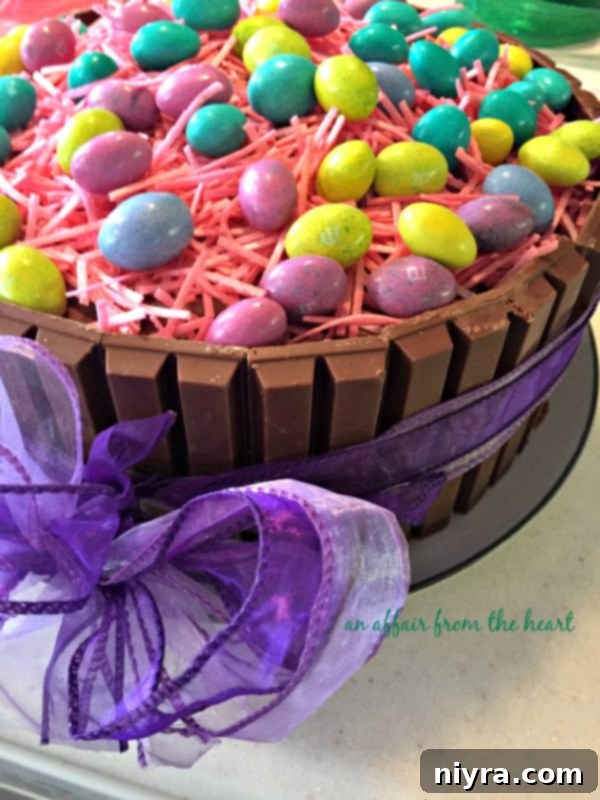
Choosing Your “Grass” Element
The edible Easter grass was a delightful discovery I made the first year I created this cake. This unique product, often imported from Germany, is readily available online through retailers like Amazon. My preference leans towards the strawberry-flavored pink variety, but you can also find blueberry and green apple options to match your taste and aesthetic. While the edible grass adds an undeniable cuteness factor, most times I achieve a similar charming effect using shredded coconut tinted green with a few drops of food coloring. This is a great budget-friendly and widely available alternative. For those who prefer to avoid additional flavors on top of the cake, a layer of green buttercream piped as grass provides a beautiful and delicious finish.
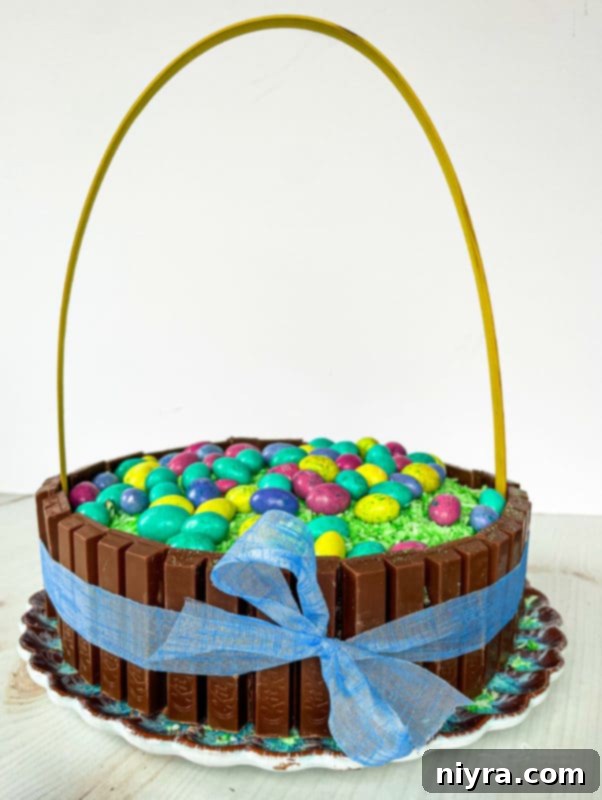
Step-by-Step Guide: How to Assemble Your Kit Kat Easter Basket Cake
1. Prepare the Cake Layers
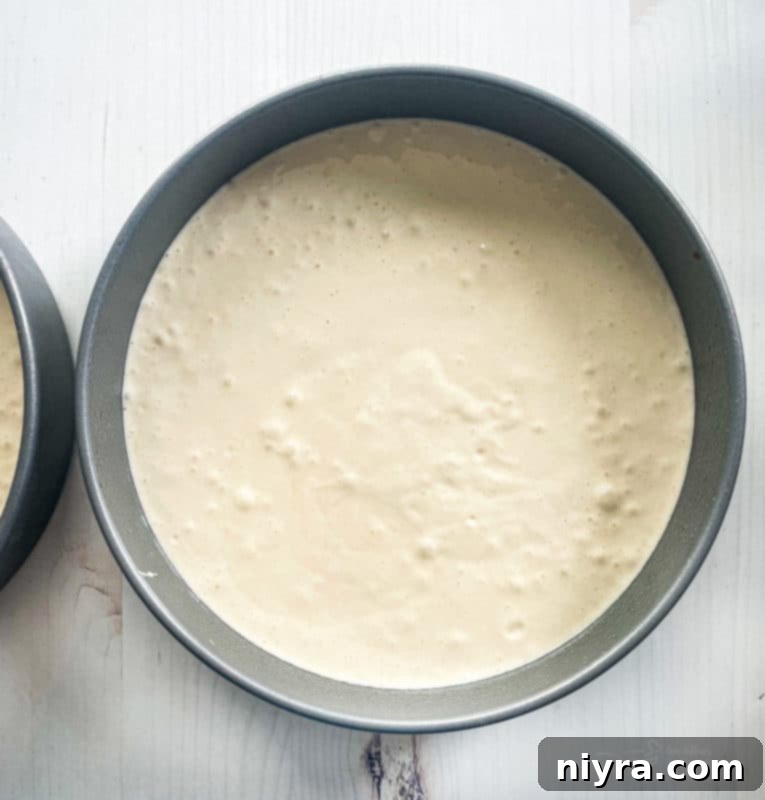
Begin by preparing your chosen cake mix according to the package instructions. For this recipe, two 9-inch round cake pans work best. Ensure your pans are properly greased and floured to prevent sticking, or line them with parchment paper for easy release. Divide the batter evenly between the two pans.
2. Bake and Cool Thoroughly
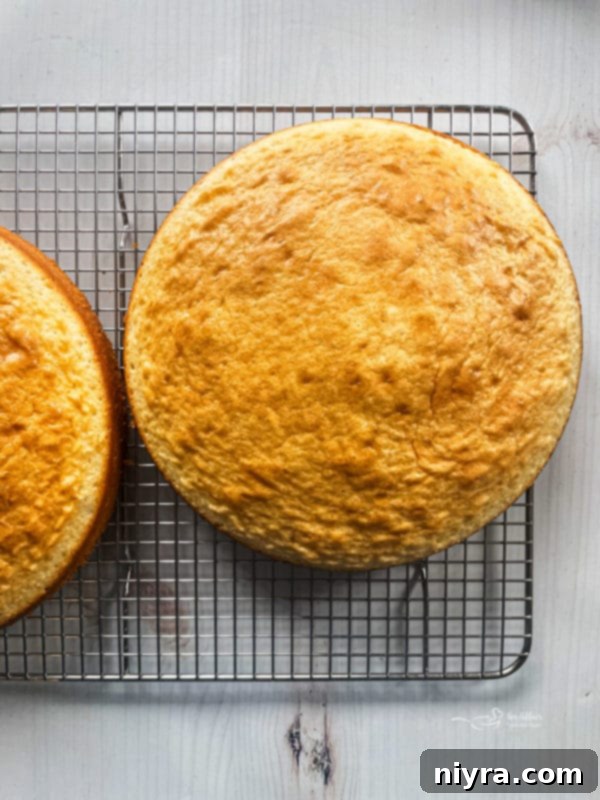
Bake the cake layers as directed by your mix instructions. Once baked, remove the cakes from the oven and allow them to cool in their pans for about 10-15 minutes before inverting them onto a wire cooling rack. It is crucial for the cake layers to cool completely before frosting, as warm cake will melt your frosting and cause a messy outcome. You can even chill them slightly in the refrigerator for easier handling.
3. Frost the Cake
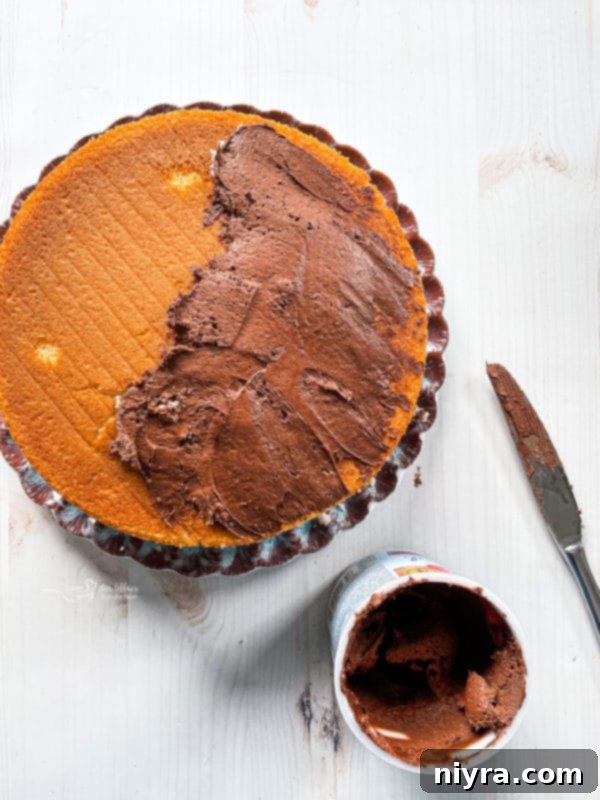
Once cooled, place one cake layer onto your serving platter or cake stand. Spread a generous layer of your chosen chocolate frosting over the top. Carefully place the second cake layer on top, aligning it perfectly. Then, use the remaining frosting to cover the top and sides of the entire cake, aiming for a smooth, even coating. This frosting acts as the adhesive for your Kit Kat bars, so ensure ample coverage on the sides.
4. Add the Kit Kats
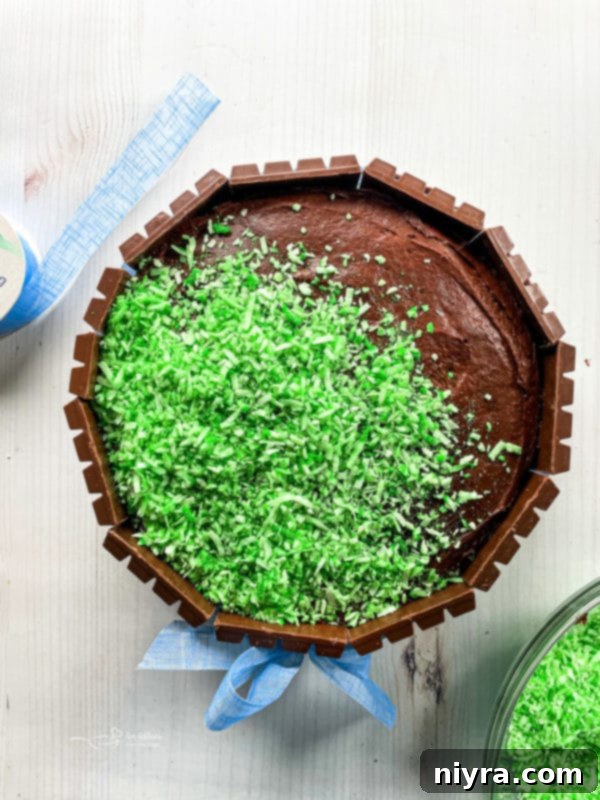
Carefully unwrap your Kit Kat bars. If using standard bars, gently break them into individual sticks or groups of two. Begin attaching the Kit Kat pieces vertically to the frosted sides of the cake. I found that placing them two sticks at a time made the process easier and quicker. Press each Kit Kat bar gently but firmly into the frosting, ensuring they are nearly touching each other to create a continuous “basket” wall. This close placement not only looks better but also helps stabilize the bars and allows for smoother slices when serving.
5. Secure with Ribbon
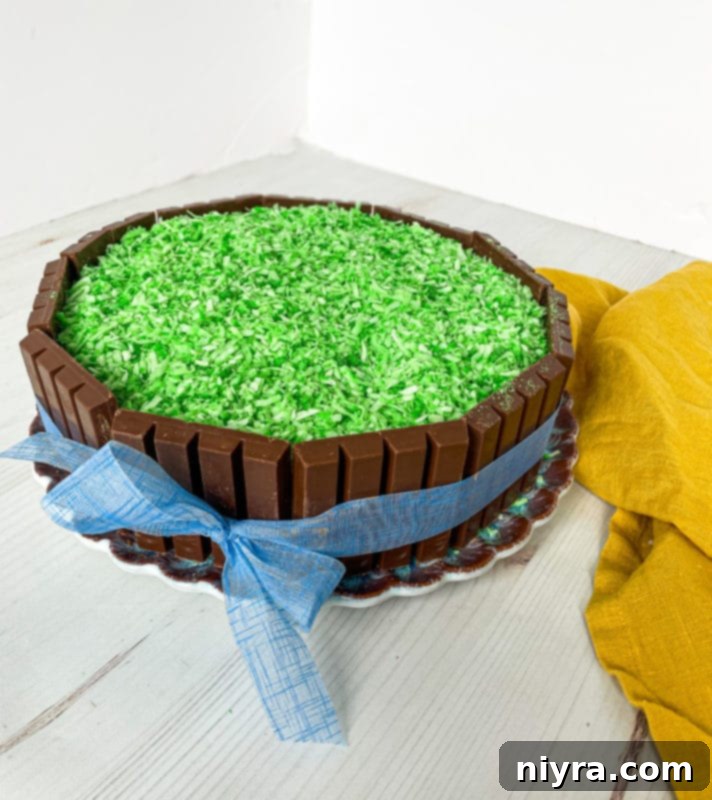
Once all the Kit Kat bars have been arranged around the cake, take your decorative ribbon and wrap it snugly around the entire circumference. Tie it securely in the front with a pretty bow. The ribbon serves a crucial purpose: it helps to keep the Kit Kat bars firmly in position, preventing them from “springing” outwards, especially once the basket handle is added. A tight, well-tied ribbon ensures structural integrity and a polished finish.
6. Add the Handle and Decorations
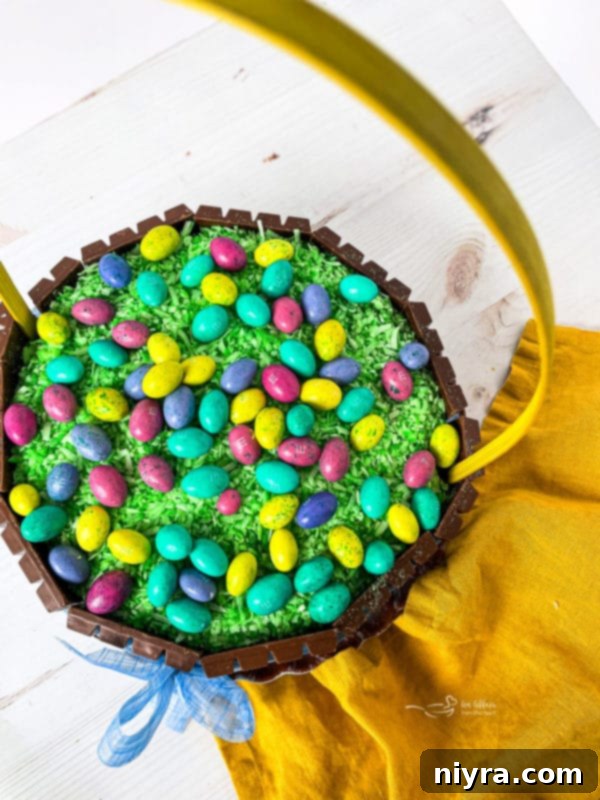
Gently insert the Easter basket handle into the top of the cake, pushing it down firmly through the cake layers until it rests on the serving plate. This ensures stability. Finally, complete your Easter basket masterpiece by spreading the edible Easter grass (or tinted shredded coconut) over the top of the cake. Then, artfully arrange your chocolate candy eggs, or any other festive candies, on top of the “grass” to create a vibrant and inviting display. Your guests will be absolutely wowed by this delightful creation!
Tips for the Perfect Kit Kat Cake
- Level Cakes are Key: For a professional look, ensure your cake layers are level. You can trim any domes with a serrated knife once cooled.
- Chill for Stability: After frosting and before adding Kit Kats, a quick 15-20 minute chill in the refrigerator can firm up the frosting, making it easier to attach the candies without sliding.
- Secure the Handle: If your handle feels wobbly, you can insert a skewer or two through the cake alongside the handle base for extra support.
- Vary the Candies: While M&M Easter eggs are perfect for the theme, don’t be afraid to use other small, round candies like jelly beans, malted milk balls, or even mini chocolate bunnies for added charm.
- Transportation: If transporting the cake, ensure it is on a sturdy, flat surface. Consider inserting skewers through the Kit Kat bars into the cake if traveling a long distance, removing them before serving.
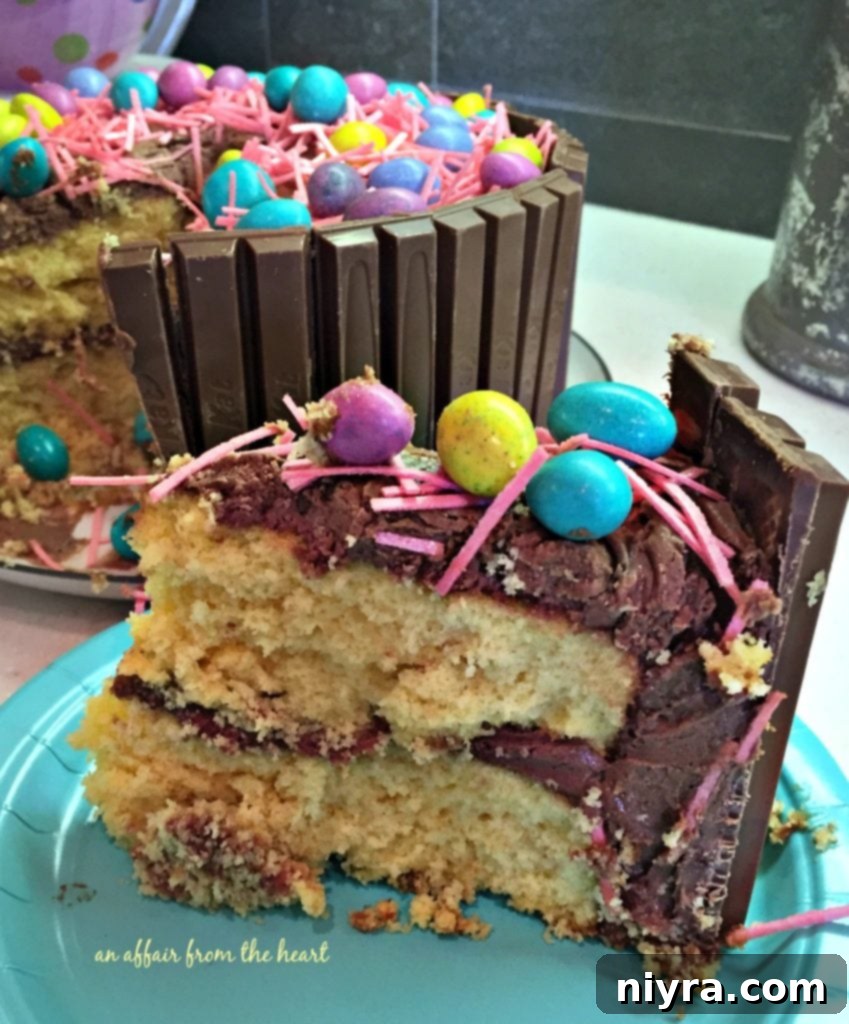
Once assembled, your stunning **Kit Kat Easter Basket Cake** is ready to be admired and then enjoyed! Cut into generous slices to serve. Any leftovers should be covered tightly and stored in the refrigerator to maintain freshness. This cake keeps well for several days, allowing you to enjoy its charm and deliciousness over multiple sittings.
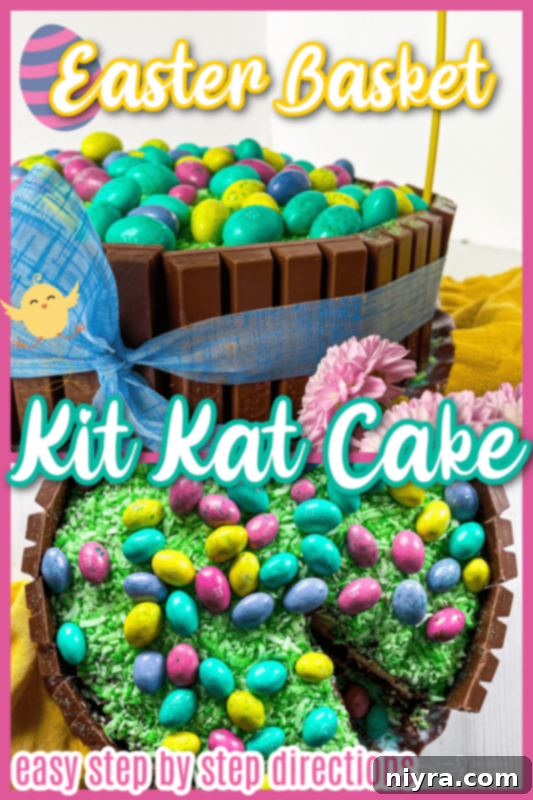
Love it? Pin it!
Don’t forget this adorable **Easter recipe**! Make sure to pin it to your favorite recipe board on Pinterest so you can easily find it again for your next celebration!
More Delightful Dessert Recipes You’ll Adore
- Black Forest Cake
- Fresh Apple Cake
- Blueberry Banana Bundt Cake
- Lemon Blueberry Trifle
- Hamburger Cupcakes
- Chocolate Chip Cookie Dough Ice Cream Cake
- Pink Lemonade Cake
- Cinnamon Crunch Coffee Cake
- Banana Bread Coffee Cake
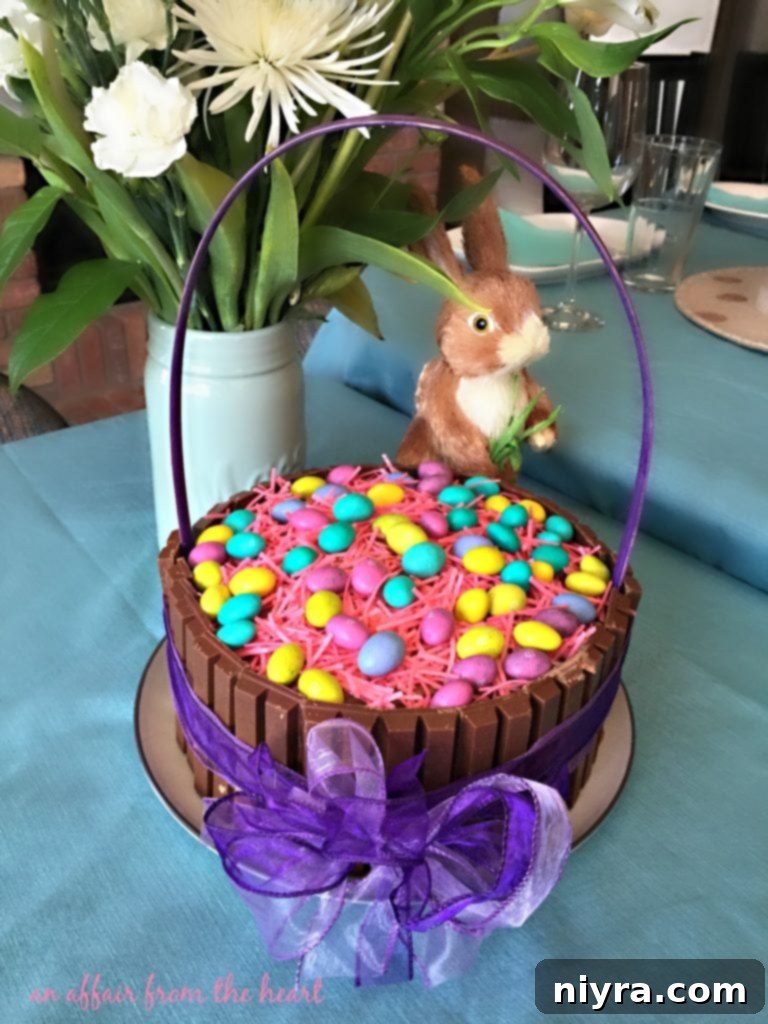
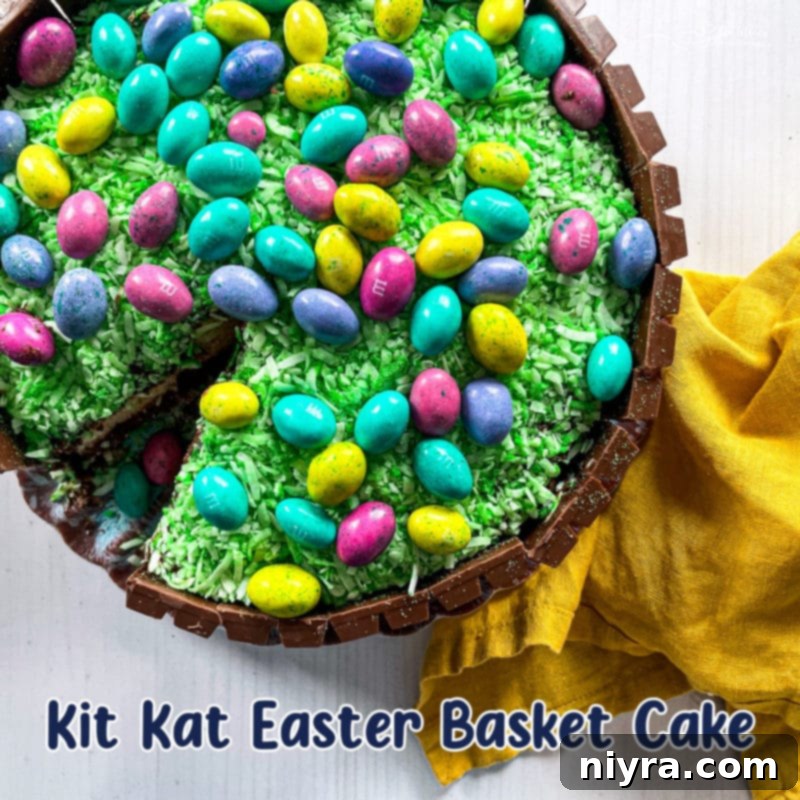
Let’s create this unforgettable **Easter Basket Kit Kat Cake** together! Enjoy the process and the delightful outcome. 
LIKE THIS RECIPE?
Don’t forget to give it a ⭐️⭐️⭐️⭐️⭐️ star rating and
leave a comment below the recipe!
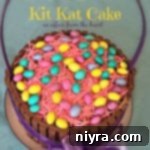
Easter Basket Kit Kat Cake
Yellow cake with chocolate frosting, encircled with Kit Kat bars and all dressed up for Easter!
Prep Time: 5 mins | Cook Time: 25 mins | Additional Time: 1 hr | Total Time: 1 hr 30 mins
Cuisine: Dessert | Keyword: Easter Basket Kit Kat Cake
Servings: 10 | Calories: 490 kcal | Author: Michaela Kenkel
Ingredients
- 1 yellow cake mix, prepared according to box instructions
- 1 bag M&M eggs
- 1 bag Edible Easter grass
- 1/2 roll of ribbon
- 1 Easter basket handle
- 11 Kit Kat candy bars
- Chocolate Frosting (homemade or store-bought)
Instructions
- Prepare cake according to box instructions. Bake in two 9-inch layer cake pans, then cool completely on a wire rack.
- Place the bottom layer on your serving platter and frost the top with a layer of chocolate frosting. Add the top cake layer. Continue frosting the top and sides of the entire cake, ensuring even coverage.
- Begin adding Kit Kat bars to the sides of the cake, pressing them gently into the frosting. Placing them two sticks at a time can make this easier. Ensure each Kit Kat bar is nearly touching the next to create a continuous wall.
- Once the cake is encircled with Kit Kats, securely tie a ribbon around the cake, leaving the bow in the front. Make sure the ribbon is tight to help hold the Kit Kat bars in position.
- Insert the Easter basket handle into the cake, pushing it all the way down to the plate for stability.
- Top the cake with Edible Easter Grass (or tinted shredded coconut) and then arrange the M&M eggs or other chocolate candy eggs on top of the grass.
- Slice and serve this delightful dessert to wow your guests!
Notes
- Use whatever cake mix flavor you like, or your favorite homemade recipe.
- Use regular M&M’s if you can’t find the Easter eggs.
- It took about 10.5 Kit Kat bars to encircle a 9-inch cake. Adjust the quantity if using different size pans.
- The handle can be left off if you prefer a classic Kit Kat cake, allowing you to decorate however you like for any occasion.
Nutrition
Serving: 1 | Calories: 490kcal | Carbohydrates: 80g | Protein: 7g | Fat: 17g | Saturated Fat: 10g | Polyunsaturated Fat: 2g | Cholesterol: 27mg | Sodium: 445mg | Fiber: 2g | Sugar: 52g
This recipe was originally posted on April 1, 2016. It has been updated to improve user experience and re-shared on March 25, 2022, with enhanced details and preparation photos to guide you through every step.
