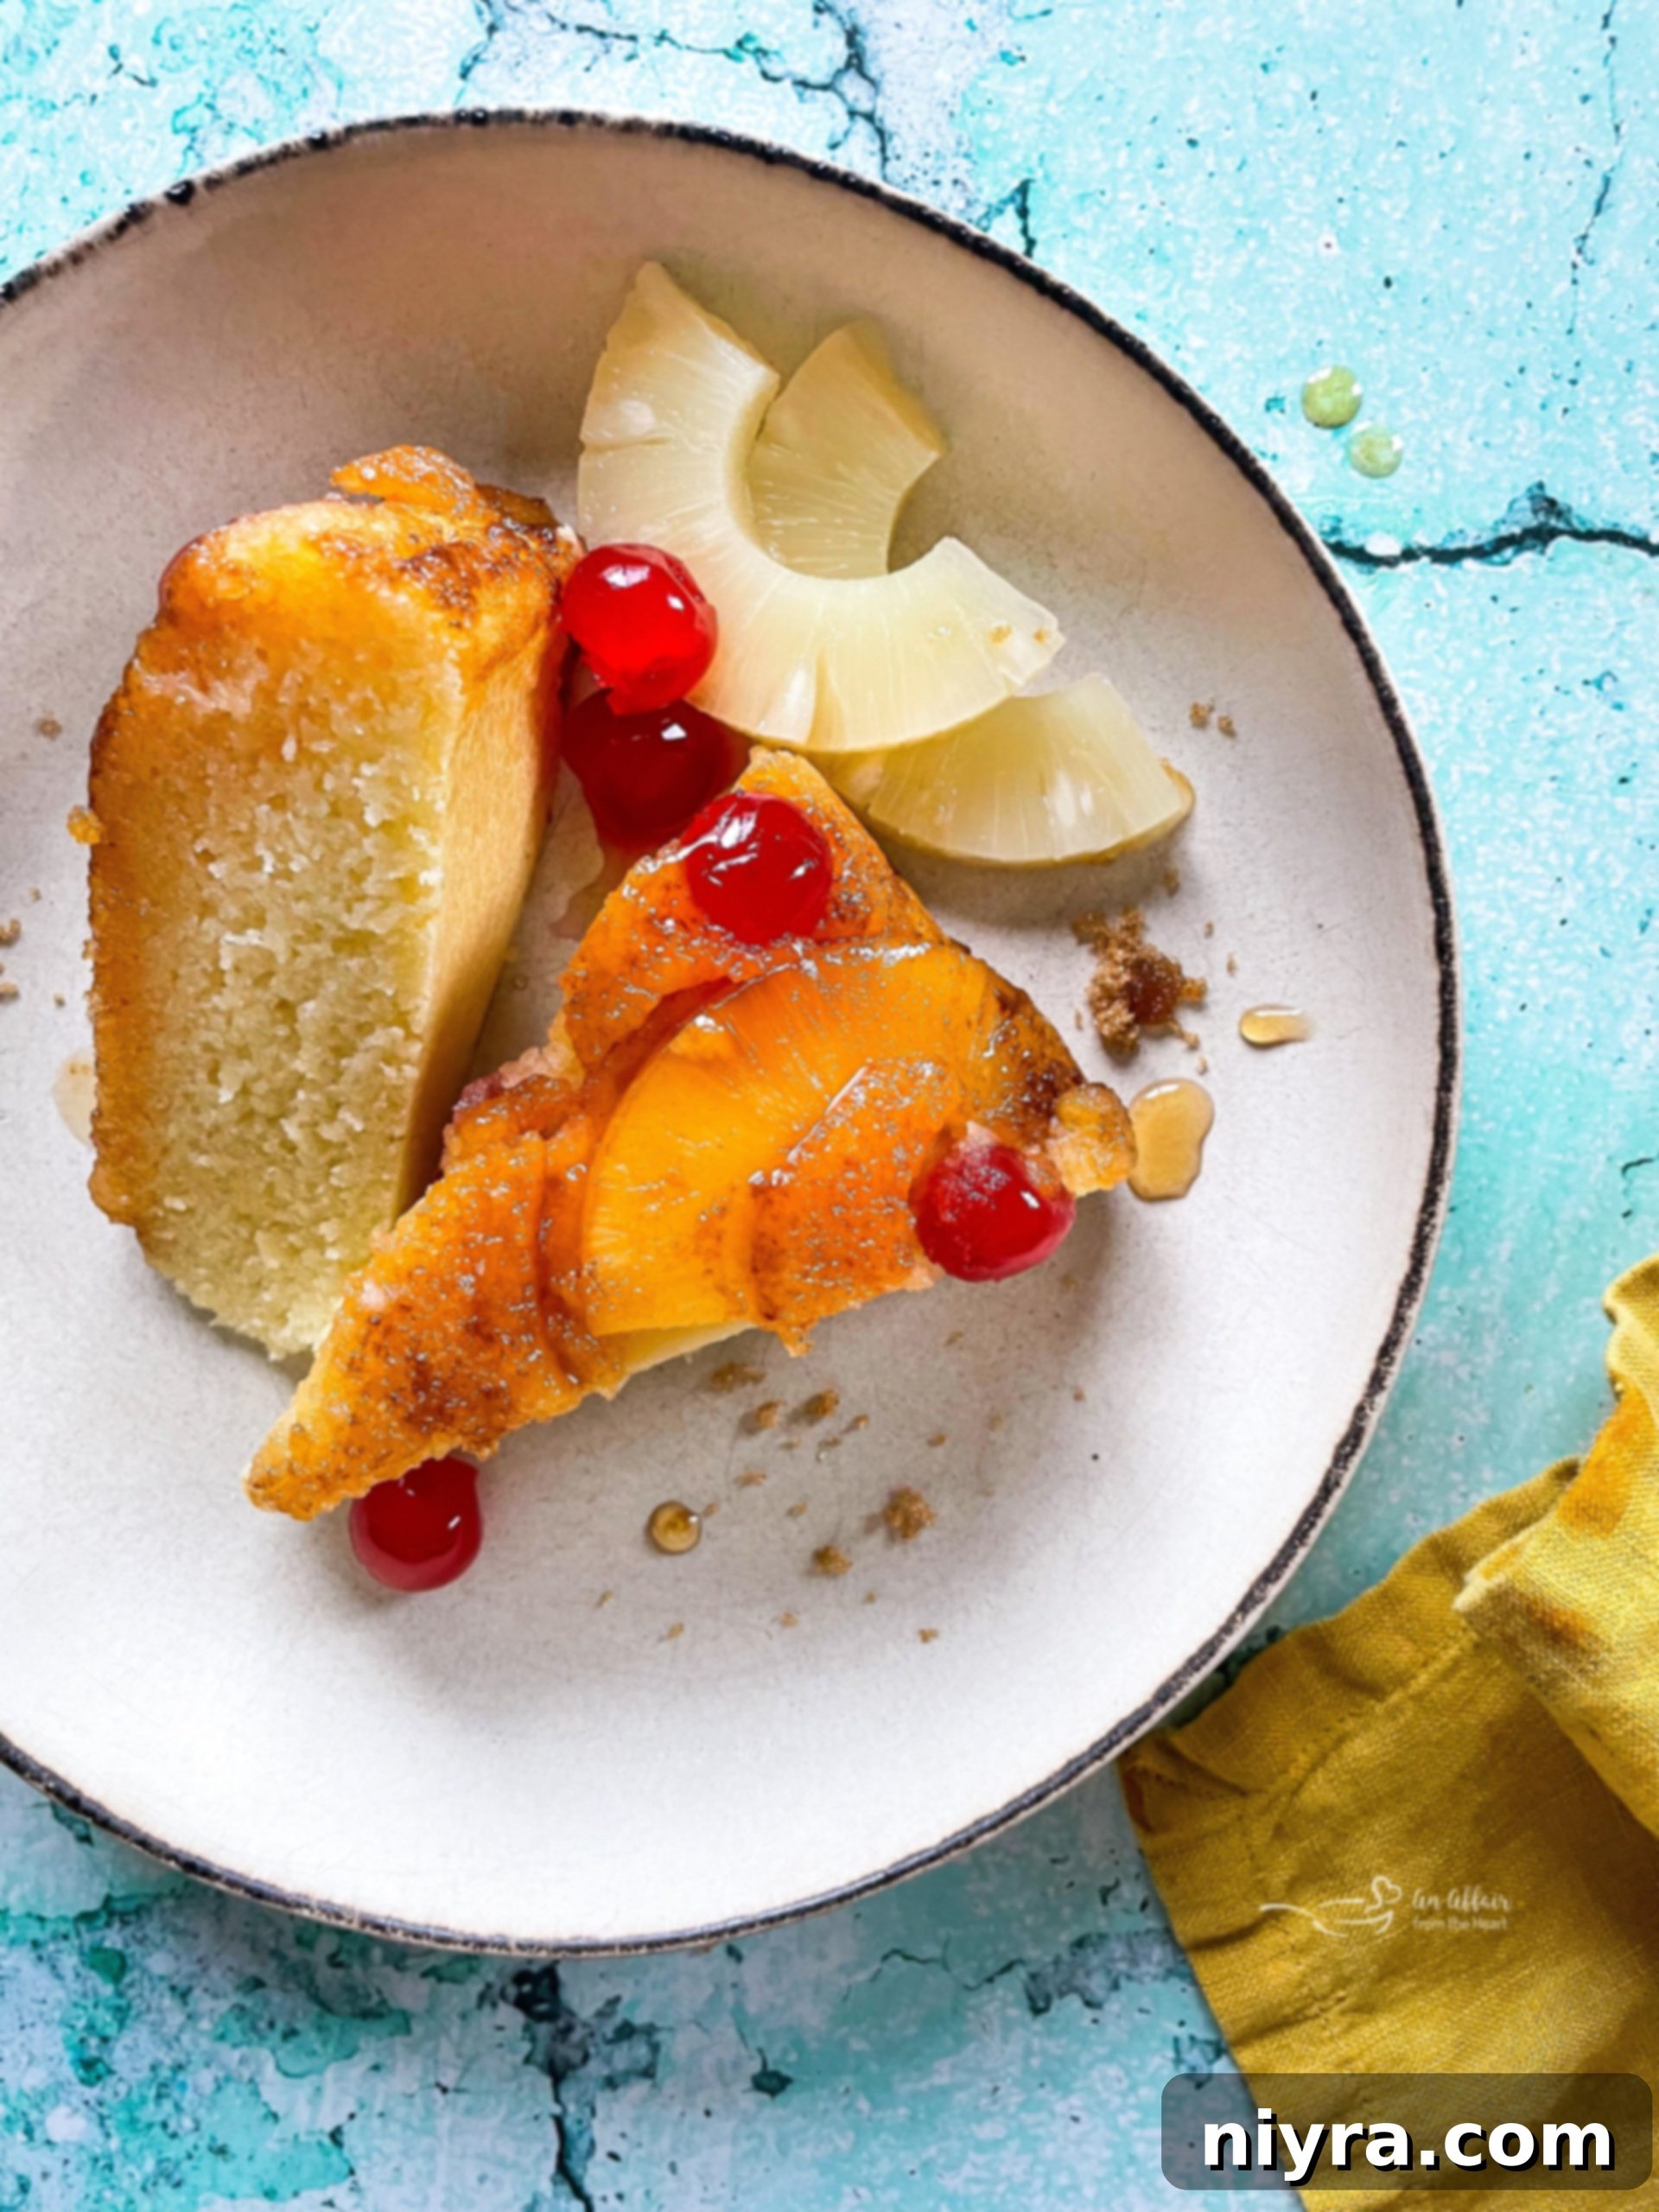
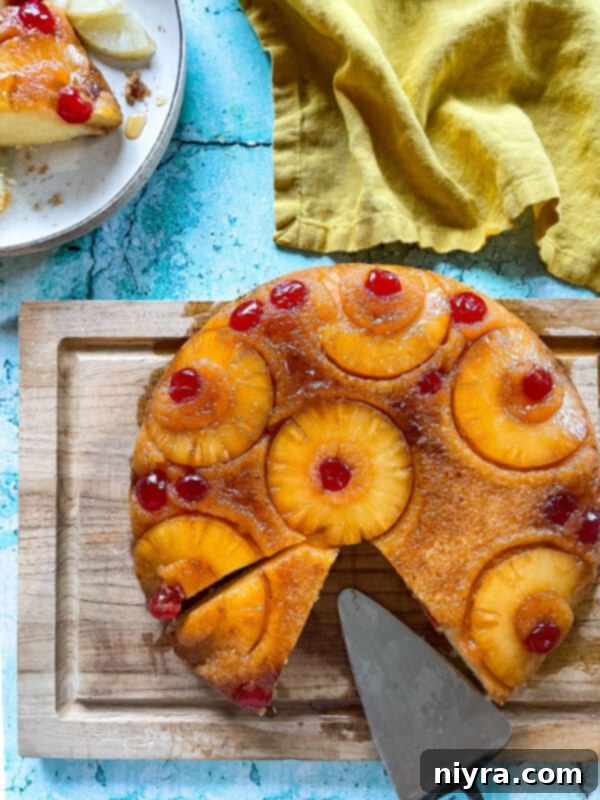
Discover the ultimate classic with this Vintage Pineapple Upside Down Cake recipe. A cherished favorite for generations, this timeless dessert has delighted palates for over a century. Prepare to bake the Best Pineapple Upside Down Cake you’ve ever tasted – a truly homemade delight that will transport you back to simpler times with just one mouth-watering bite. This exquisite recipe allows you to create a perfect round pineapple upside-down cake entirely from scratch, no boxed mix required. We are confident your family and friends will absolutely adore this spectacular treat.
Growing up, I have vivid memories of my mom effortlessly preparing an easy pineapple upside-down cake, often using a boxed cake mix in a trusty 9×13 pan. It was always a highlight, a dessert that instantly brightened any occasion. There’s just something inherently cheerful and inviting about its sunny appearance, isn’t there?
This particular cake made a strong reappearance in my thoughts a few years ago while I was immersed in the delightful Janet Evanovich – Stephanie Plum book series. If you appreciate quirky, laugh-out-loud love stories and mysteries, you’ll undoubtedly enjoy them; they offer a wonderful blend of everything.
In the series, Stephanie, a character with an undeniable sweet tooth, can always be enticed to dinner at her parents’ and grandmother’s house, especially if her mom promises a delicious Pineapple Upside Down Cake. That’s when I knew it was time to share a stellar homemade version on my website. My journey with this delightful dessert began back in 2015 when I first perfected this from-scratch recipe.

Why You’ll Adore This Classic Pineapple Upside Down Cake
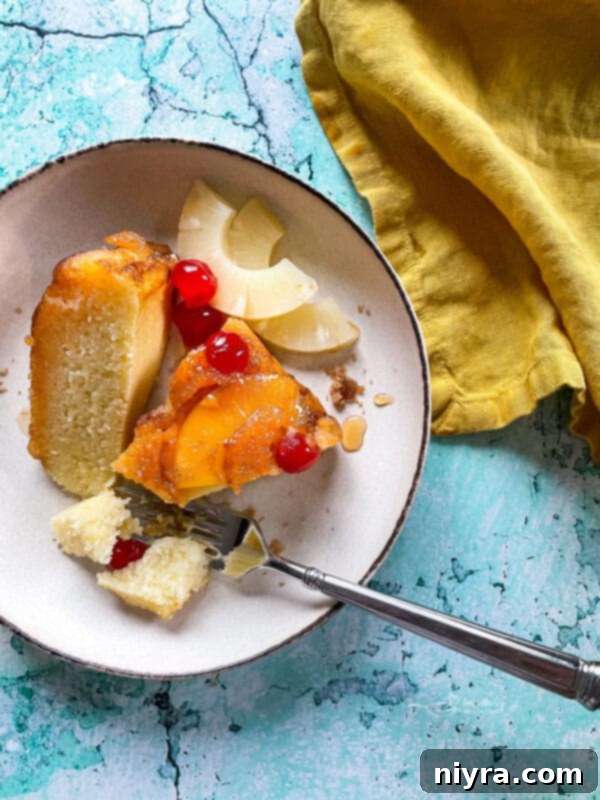
What’s not to love about a truly classic pineapple upside-down cake? This recipe creates an astonishingly flavorful and visually stunning dessert. Imagine a soft, moist, and buttery cake batter, perfectly complemented by a luscious topping of sticky, caramelized pineapple slices and vibrant maraschino cherries. This homemade, from-scratch pineapple upside-down cake promises to exceed all your expectations. Its glossy pineapple and cherry adornments give it such a sophisticated, almost fancy appearance, yet it’s wonderfully simple to make. Each forkful delivers a perfect balance of sweet, tangy, and rich flavors that will leave you craving more.
The Sweet History of Pineapple Upside Down Cake
The history of the pineapple upside-down cake is as charming as the cake itself, deeply rooted in American culinary innovation. This delightful dessert truly gained widespread popularity in the 1920s, a pivotal time when canned pineapple rings became readily available and affordable across the United States. Before this, preparing pineapple was a laborious task, limiting its use in everyday cooking. The convenience of pre-sliced, ready-to-use canned pineapple transformed its accessibility for home bakers. A significant moment in its rise to fame was a recipe contest held by the Dole Food Company in 1925, specifically to promote the versatility of canned pineapple. Thousands of recipes poured in, and the winning entry, submitted by a woman from Virginia, was none other than a recipe for pineapple upside-down cake. This contest cemented its status as an American household staple, a legacy that continues to this day.
Essential Ingredients for Your Perfect Pineapple Upside Down Cake
Crafting this beautiful, flavorful cake is surprisingly simple, relying on fundamental pantry ingredients that combine to create an extraordinary dessert bursting with sweet pineapple goodness. Each ingredient plays a crucial role in achieving the perfect balance of texture and taste.
For the complete printable recipe with precise measurements, please scroll to the bottom of this blog post.

- All-purpose flour: This is the foundation of our cake, providing structure and tender crumb. It’s a fundamental pantry staple every kitchen should always have on hand.
- Baking powder: Our leavening agent, ensuring the cake rises beautifully and achieves a light, airy texture. Another essential for any baker’s pantry.
- Fine salt: Enhances all the other flavors, bringing balance to the sweetness. While any salt works, fine salt dissolves more readily into the batter for even distribution.
- Unsalted butter: We prefer unsalted butter for baking as it allows precise control over the overall saltiness of the recipe. If you only have salted butter, simply reduce the amount of added fine salt by about a quarter teaspoon.
- Granulated sugar: Provides the primary sweetness for the cake batter, a ubiquitous ingredient in nearly all baking.
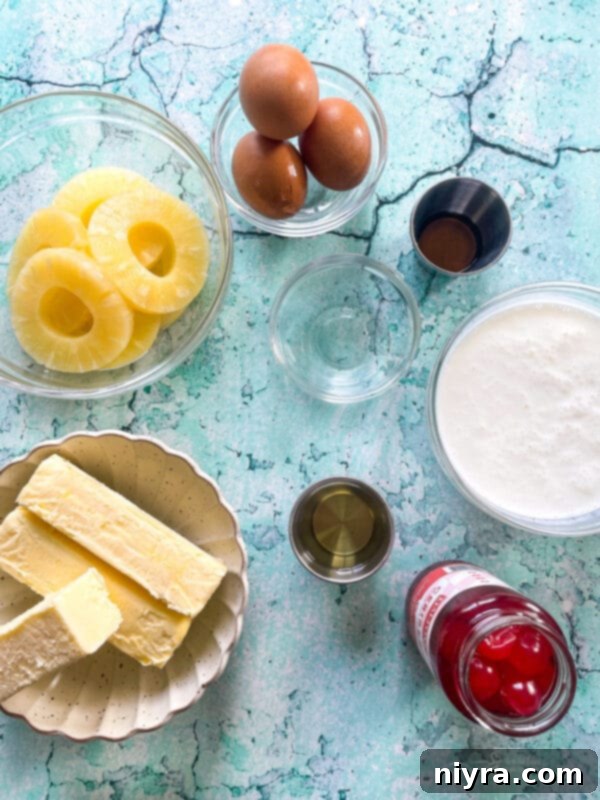
- White vinegar: A common ingredient in many baking recipes, vinegar reacts with baking soda (or sometimes baking powder, though less directly) to aid in leavening and can contribute to a tender crumb. If white vinegar isn’t available, apple cider vinegar can be used as an effective substitute.
- Vanilla extract: Pure vanilla extract offers the richest, most authentic flavor, deeply enhancing the cake’s overall aroma and taste. However, imitation vanilla extract can also be used and yields good results.
- Eggs: Act as a binder, provide moisture, and contribute to the cake’s structure and richness. Large eggs are typically assumed in most baking recipes.
- Low-fat buttermilk: Critical for a moist and tender cake, buttermilk’s acidity reacts with baking powder for a lighter texture. If you don’t have buttermilk, you can easily make a substitute: for every 1 cup of buttermilk needed, pour 1 tablespoon of white vinegar (or lemon juice) into a measuring cup, then fill the rest with regular milk to the 1-cup mark. Let it sit for 5-10 minutes until it slightly curdles.
- Brown sugar: Essential for the rich, sticky, caramelized topping, brown sugar adds a deep molasses flavor and creates that signature golden-brown crust. Light brown sugar was used for this particular cake, contributing to its delicious depth.
- Brandy: Adds a subtle layer of complex flavor to the caramelized topping. For an alcohol-free alternative, or if brandy isn’t on hand, apple juice works wonderfully as a substitute, offering a complementary fruity note.
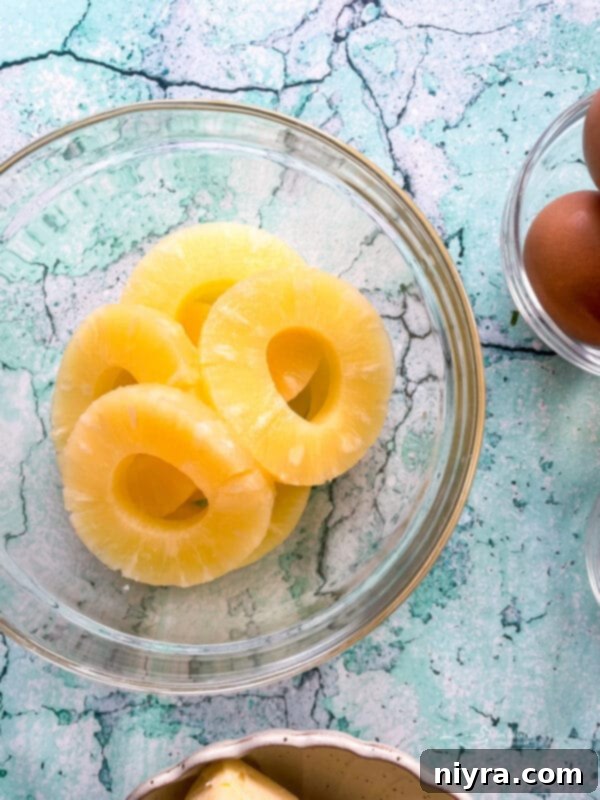
- Canned pineapple rings: The star of the show! Pineapple rings are ideal for their uniform shape, allowing for a beautiful arrangement on the cake’s bottom. Remember to drain them very well; you can even save the delicious pineapple juice for a morning smoothie or another recipe!
- Maraschino cherries: These bright red cherries provide a pop of color and a distinct, sweet-tart flavor that perfectly complements the pineapple. While maraschino cherries are traditional and highly recommended, in a pinch, you could experiment with well-drained dried or frozen cherries.
How To Bake Your Best Pineapple Upside Down Cake
Creating this beloved dessert is a rewarding experience. Follow these straightforward steps to achieve a perfectly moist cake with a stunning caramelized topping.

PREP: Get Ready to Bake
Begin by preheating your oven to 350°F (175°C). In a medium-sized bowl, carefully sift together the all-purpose flour, baking powder, and fine salt. Sifting helps to aerate the flour and ensures there are no lumps, resulting in a smoother batter. Once sifted, set this dry mixture aside. This simple step ensures all your dry ingredients are evenly distributed before mixing with the wet components.

MIX: Crafting the Silky Batter
In the bowl of your stand mixer, fitted with the paddle attachment, cream together 12 tablespoons of softened unsalted butter, granulated sugar, white vinegar, and 2 teaspoons of vanilla extract. Beat this mixture on medium-high speed for about 3-4 minutes, until it becomes light, fluffy, and pale in color. This creaming process incorporates air, which is crucial for a tender cake.
Next, add the eggs, one at a time, beating well after each addition until fully incorporated. This gradual addition prevents the mixture from curdling and ensures a smooth emulsion.

With the mixer on low speed, alternately add the dry ingredients (flour mixture) and the low-fat buttermilk in three separate batches, beginning and ending with the dry ingredients. After each addition, mix just until combined. Use a rubber spatula to scrape down the sides of the bowl as needed, ensuring all ingredients are fully incorporated without overmixing. Once all ingredients are added, increase the mixer speed to medium and beat the batter for about 3 minutes until it is smooth and uniform. Set this velvety cake batter aside.

HEAT: Creating the Caramelized Topping
Now, it’s time to prepare the delectable caramelized topping. In a small saucepan, or directly in your cast-iron skillet if you plan to bake the cake in it (which saves on dishwashing!), melt the remaining butter over medium heat. This shortcut is excellent for efficiency.
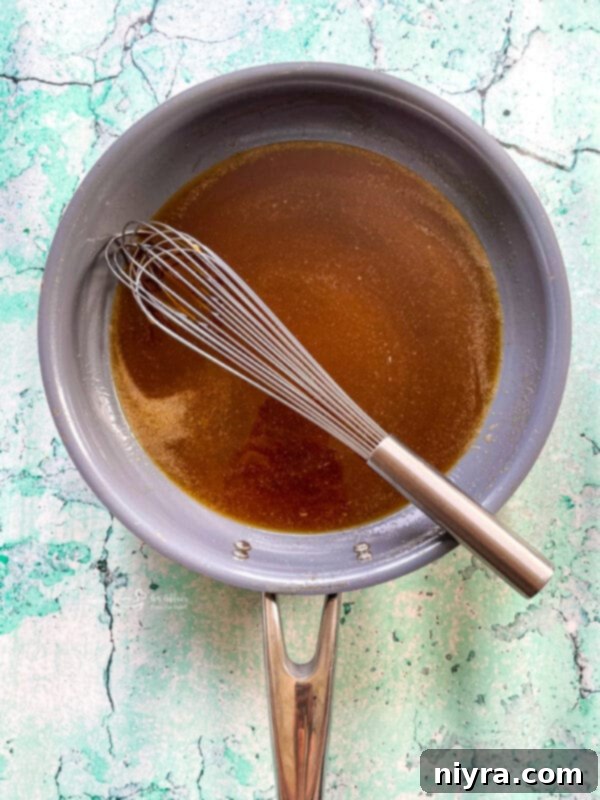
Once the butter is melted, whisk in the remaining vanilla extract, brown sugar, and brandy (or apple juice, if substituting) until the sugar is completely dissolved and the mixture is smooth and syrupy. This forms the rich, buttery caramel that will coat your pineapple and seep into the cake as it bakes.

ARRANGE: The Stunning Visuals
Remove the skillet or saucepan from the heat. Carefully arrange the drained pineapple slices on the bottom of the skillet in a single, even layer. You can create a beautiful pattern or simply ensure the bottom is well-covered. Then, evenly distribute the bright maraschino cherries among the pineapple slices, placing one in the center of each pineapple ring and scattering others where there are gaps. This step creates the “upside-down” design that will be revealed after baking.
BAKE: The Final Transformation
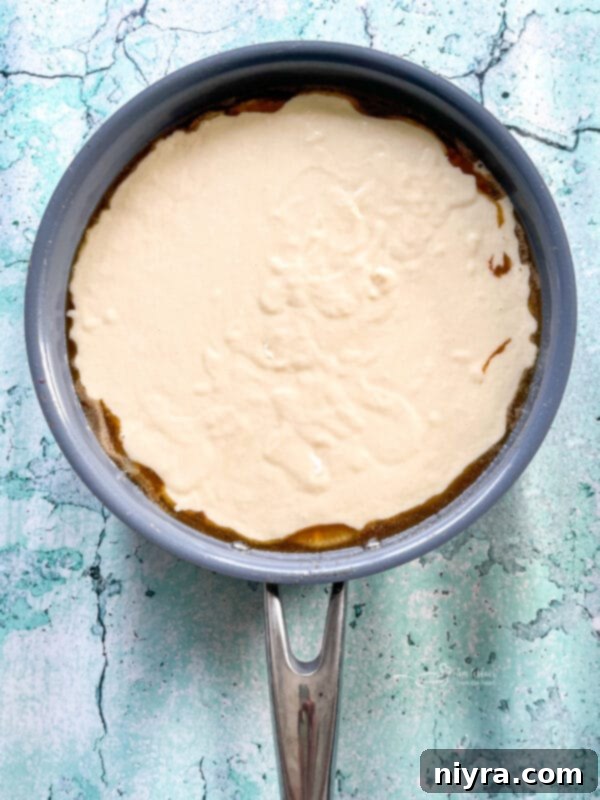
Gently pour the prepared cake batter evenly over the arranged pineapple rings and cherries, making sure not to disturb their pattern. Spread the batter carefully with a spatula to ensure a smooth, level top.

Bake the cake in your preheated oven for approximately 45-50 minutes, or until it is beautifully golden brown and set. Oven temperatures can vary, so it’s always best to test for doneness. Insert a toothpick into the center of the cake; if it comes out clean, your cake is ready. Avoid overbaking to maintain moisture.

Once baked, let the cake cool in the skillet for at least 30 minutes. This crucial cooling period allows the caramelized topping to set slightly and prevents the cake from breaking apart when inverted. After cooling, place a serving plate upside down over the skillet, then carefully and confidently flip the skillet and plate together. The moment the skillet is lifted to reveal its stunning, glossy loveliness is truly magical – I swear I heard angels sing!
Love It? Pin It for Later!
Don’t let this perfectly tender, buttery cake recipe slip away! Make sure to save it for your next baking adventure. Pin it to your favorite dessert or baking board on Pinterest right now, so you can easily find it whenever that pineapple craving strikes!
Expert Tips & Tricks for Baking the Best Pineapple Upside Down Cake
Achieving a truly outstanding pineapple upside-down cake is easier with a few insider tips:
- Room Temperature Ingredients: Always ensure your eggs and butter are at room temperature. This allows them to cream together properly, creating a smooth, emulsified batter that traps air for a lighter, more tender cake.
- Thorough Draining: This is critical! Drain your canned pineapple slices and maraschino cherries exceptionally well. Excess moisture can lead to a soggy cake, particularly in the topping layer. You can even gently blot them with paper towels for extra dryness.
- Choose the Right Pan: A heavy-bottomed, oven-safe skillet (like cast iron) or a round cake pan is ideal. If using a cake pan, line the bottom with parchment paper after greasing to ensure an easy release and perfectly intact topping.
- Don’t Overmix: After adding the flour mixture, mix just until the ingredients are combined. Overmixing develops the gluten in the flour, which can lead to a tough, dry cake.
- Cooling Time is Key: Resist the urge to flip the cake immediately after removing it from the oven. Allowing it to cool in the pan for 20-30 minutes helps the caramelized topping to set properly and prevents it from sticking or breaking apart when inverted.
- Prepare Your Serving Plate: Have your serving plate ready and slightly warmed before inverting the cake. This can sometimes aid in a cleaner release.
How to Store Your Delicious Pineapple Upside Down Cake
To enjoy your homemade pineapple upside-down cake for as long as possible, proper storage is key. At room temperature, covered loosely with plastic wrap or a cake dome, it will stay fresh and moist for about two days. For longer storage and to maintain its freshness, place the cake in an airtight container and refrigerate it. Stored this way, your cake will keep beautifully for up to 5 days. For the best flavor and texture, allow refrigerated slices to come to room temperature for about 15-20 minutes before serving.
Frequently Asked Questions About Pineapple Upside Down Cake
- What pan works best for this homemade pineapple upside-down cake recipe? For optimal results and a beautiful presentation, a 10-inch round cake pan or a heavy-duty cast-iron skillet is highly recommended for baking this cake. The cast iron skillet offers excellent heat distribution and a charming rustic appeal.
- Why is my pineapple upside down cake soggy? A soggy cake often indicates excessive moisture from the pineapple and cherries. To prevent this, ensure both fruits are thoroughly drained before arranging them in the pan. Gently pressing them with a paper towel to remove any residual liquid can also be very helpful.
- Why is it called pineapple upside down cake? The name perfectly describes its unique baking method. The cake is assembled and baked with the fruit topping (pineapple and cherries) at the bottom of the pan. Once baked and cooled, it’s inverted onto a serving plate, revealing the vibrant, caramelized fruit layer on top.
- What does pineapple upside down cake taste like? This cake offers a delightful symphony of flavors. It features a super moist, buttery, and tender cake base, beautifully complemented by a rich, caramel-like topping infused with the sweet and tangy essence of pineapple. The maraschino cherries add a subtle fruity counterpoint.
- What is an upside down cake? An upside-down cake is a type of cake baked with its decorative elements, typically fruit, placed at the bottom of the pan. After baking, the cake is inverted (flipped over), so these decorative elements become the top layer, creating a visually appealing and flavorful crust.
- Can you make a gluten-free pineapple upside down cake? Absolutely! To transform this recipe into a delicious gluten-free pineapple upside-down cake, simply substitute the all-purpose flour with a high-quality gluten-free all-purpose flour blend. Brands like Cup4Cup or Bob’s Red Mill 1-to-1 baking flour are excellent choices and often yield fantastic results without needing additional adjustments.
- Can you use fresh pineapple in Pineapple Upside-Down Cake? Yes, you certainly can! Since the recipe calls for draining canned pineapple to remove excess liquid, fresh pineapple will work just as well. Simply slice your fresh pineapple into rings or half-moons and ensure it is well-patted dry before arranging it in the pan to prevent a soggy cake.
- How long do you let a pineapple upside-down cake sit upside down? After inverting the cake onto your serving plate, it’s best to let the cake sit right side up for at least 10-15 minutes (and up to 30 minutes) before lifting the pan. This allows the caramelized topping to fully release and settle onto the cake without tearing.
Love Pineapple? So Do We! Explore More Pineapple Recipes to Love
Pineapple isn’t just incredible for baking; its versatile sweetness and tang make it a fantastic addition to savory dishes too! If you’re a fellow pineapple enthusiast, you’re in for a treat. Here are some more of our absolute favorite recipes featuring this tropical fruit, perfect for any meal or occasion:
- Two-Ingredient Pineapple Angel Food Cake (pictured above) – An unbelievably easy and light dessert!
- Pineapple Upside Down Cake Martini – A grown-up twist on the classic flavor.
- Hawaiian BBQ Chicken Sandwiches – A savory and sweet weeknight dinner.
- Ham Balls with Pineapple Sauce – A delightful appetizer or main course.
- Pineapple Coconut Tunnel Cake – Another fantastic cake for coconut lovers.
- Pineapple Pretzel Fluff – A light and fluffy no-bake dessert or side dish.

This from-scratch Pineapple Upside Down Cake is more than just a dessert; it’s a journey back to cherished memories and the simple joy of homemade goodness. Its buttery-sweet flavor and irresistibly moist texture will truly make you swoon. Now that you’re equipped with all the knowledge and tips, let’s get straight to the full recipe for this easy and unforgettable dessert!

Homemade Pineapple Upside Down Cake

This {from scratch} Pineapple Upside Down Cake will have you reminiscing about your childhood. Its buttery sweet goodness will make you swoon!
Cuisine: American | Keyword: Pineapple Upside Down Cake | Servings: 12 servings | Calories: 430kcal | Author: An Affair from the Heart
Ingredients
- 1 3/4 cups all-purpose flour
- 2 teaspoons baking powder
- 1/4 teaspoon fine salt
- 1 1/3 cups unsalted butter, divided
- 1 cup granulated sugar
- 1 Tablespoon white vinegar
- 3 teaspoons vanilla extract, divided
- 3 large eggs
- 1 1/3 cup low-fat buttermilk
- 10 Tablespoons light brown sugar (approx. 5/8 cup)
- 2 Tablespoons brandy (can substitute with 2 Tablespoons apple juice)
- 7 slices canned pineapple rings, well-drained
- 1 1/2 cup stemmed maraschino cherries, well-drained
Instructions
- Preheat your oven to 350° F (175°C).
- In a medium bowl, sift together the flour, baking powder, and salt. Set this dry mixture aside. In your mixer bowl (with a paddle attachment), cream together 12 Tablespoons of softened butter, granulated sugar, white vinegar, and 2 teaspoons of vanilla extract until light and fluffy (this should take about 3-4 minutes). Add each egg one at a time to the butter mixture, beating well after each addition until fully incorporated. On low speed, alternately add the prepared flour mixture and the buttermilk in 3 batches, beginning and ending with the flour mixture. Scrape down the sides of the bowl with a rubber spatula as needed to ensure everything is well combined. Increase the mixer speed to medium and beat the batter until smooth, approximately 3 minutes. Set the finished batter aside.
- In a 10-inch nonstick skillet (or a round cake pan if preferred), melt the remaining butter over medium heat. Whisk in the remaining 1 teaspoon of vanilla, the brown sugar, and the brandy (or apple juice) until the sugar is dissolved and the mixture is smooth and syrupy. Remove the skillet from the heat. Carefully arrange the well-drained pineapple slices on the bottom of the skillet in a single layer. Evenly arrange the drained maraschino cherries among the pineapple slices.
- Gently pour the cake batter over the pineapple rings and cherries, spreading it carefully to create an even layer.
- Bake the cake for approximately 45-50 minutes, or until it is golden brown and a toothpick inserted into the center comes out clean. Baking times may vary depending on your oven.
- Allow the cake to cool in the skillet for at least 30 minutes. This is crucial for the topping to set. After cooling, carefully place a serving plate over the skillet and confidently invert the cake onto the plate.
Nutrition
Serving: 1 | Calories: 430kcal | Carbohydrates: 54g | Protein: 5g | Fat: 22g | Saturated Fat: 13g | Polyunsaturated Fat: 8g | Cholesterol: 102mg | Sodium: 202mg | Fiber: 1g | Sugar: 38g
This recipe was originally posted on July 12, 2015. It has been thoroughly updated and enhanced to improve user experience, optimize for SEO, and provide more comprehensive information, then reshared on June 28, 2022.
This original recipe was discovered and adapted from the wonderful blog A Spoonful of Thyme, as part of a former blogging group known as the Secret Recipe Club. It’s a testament to the enduring appeal of well-crafted recipes!
