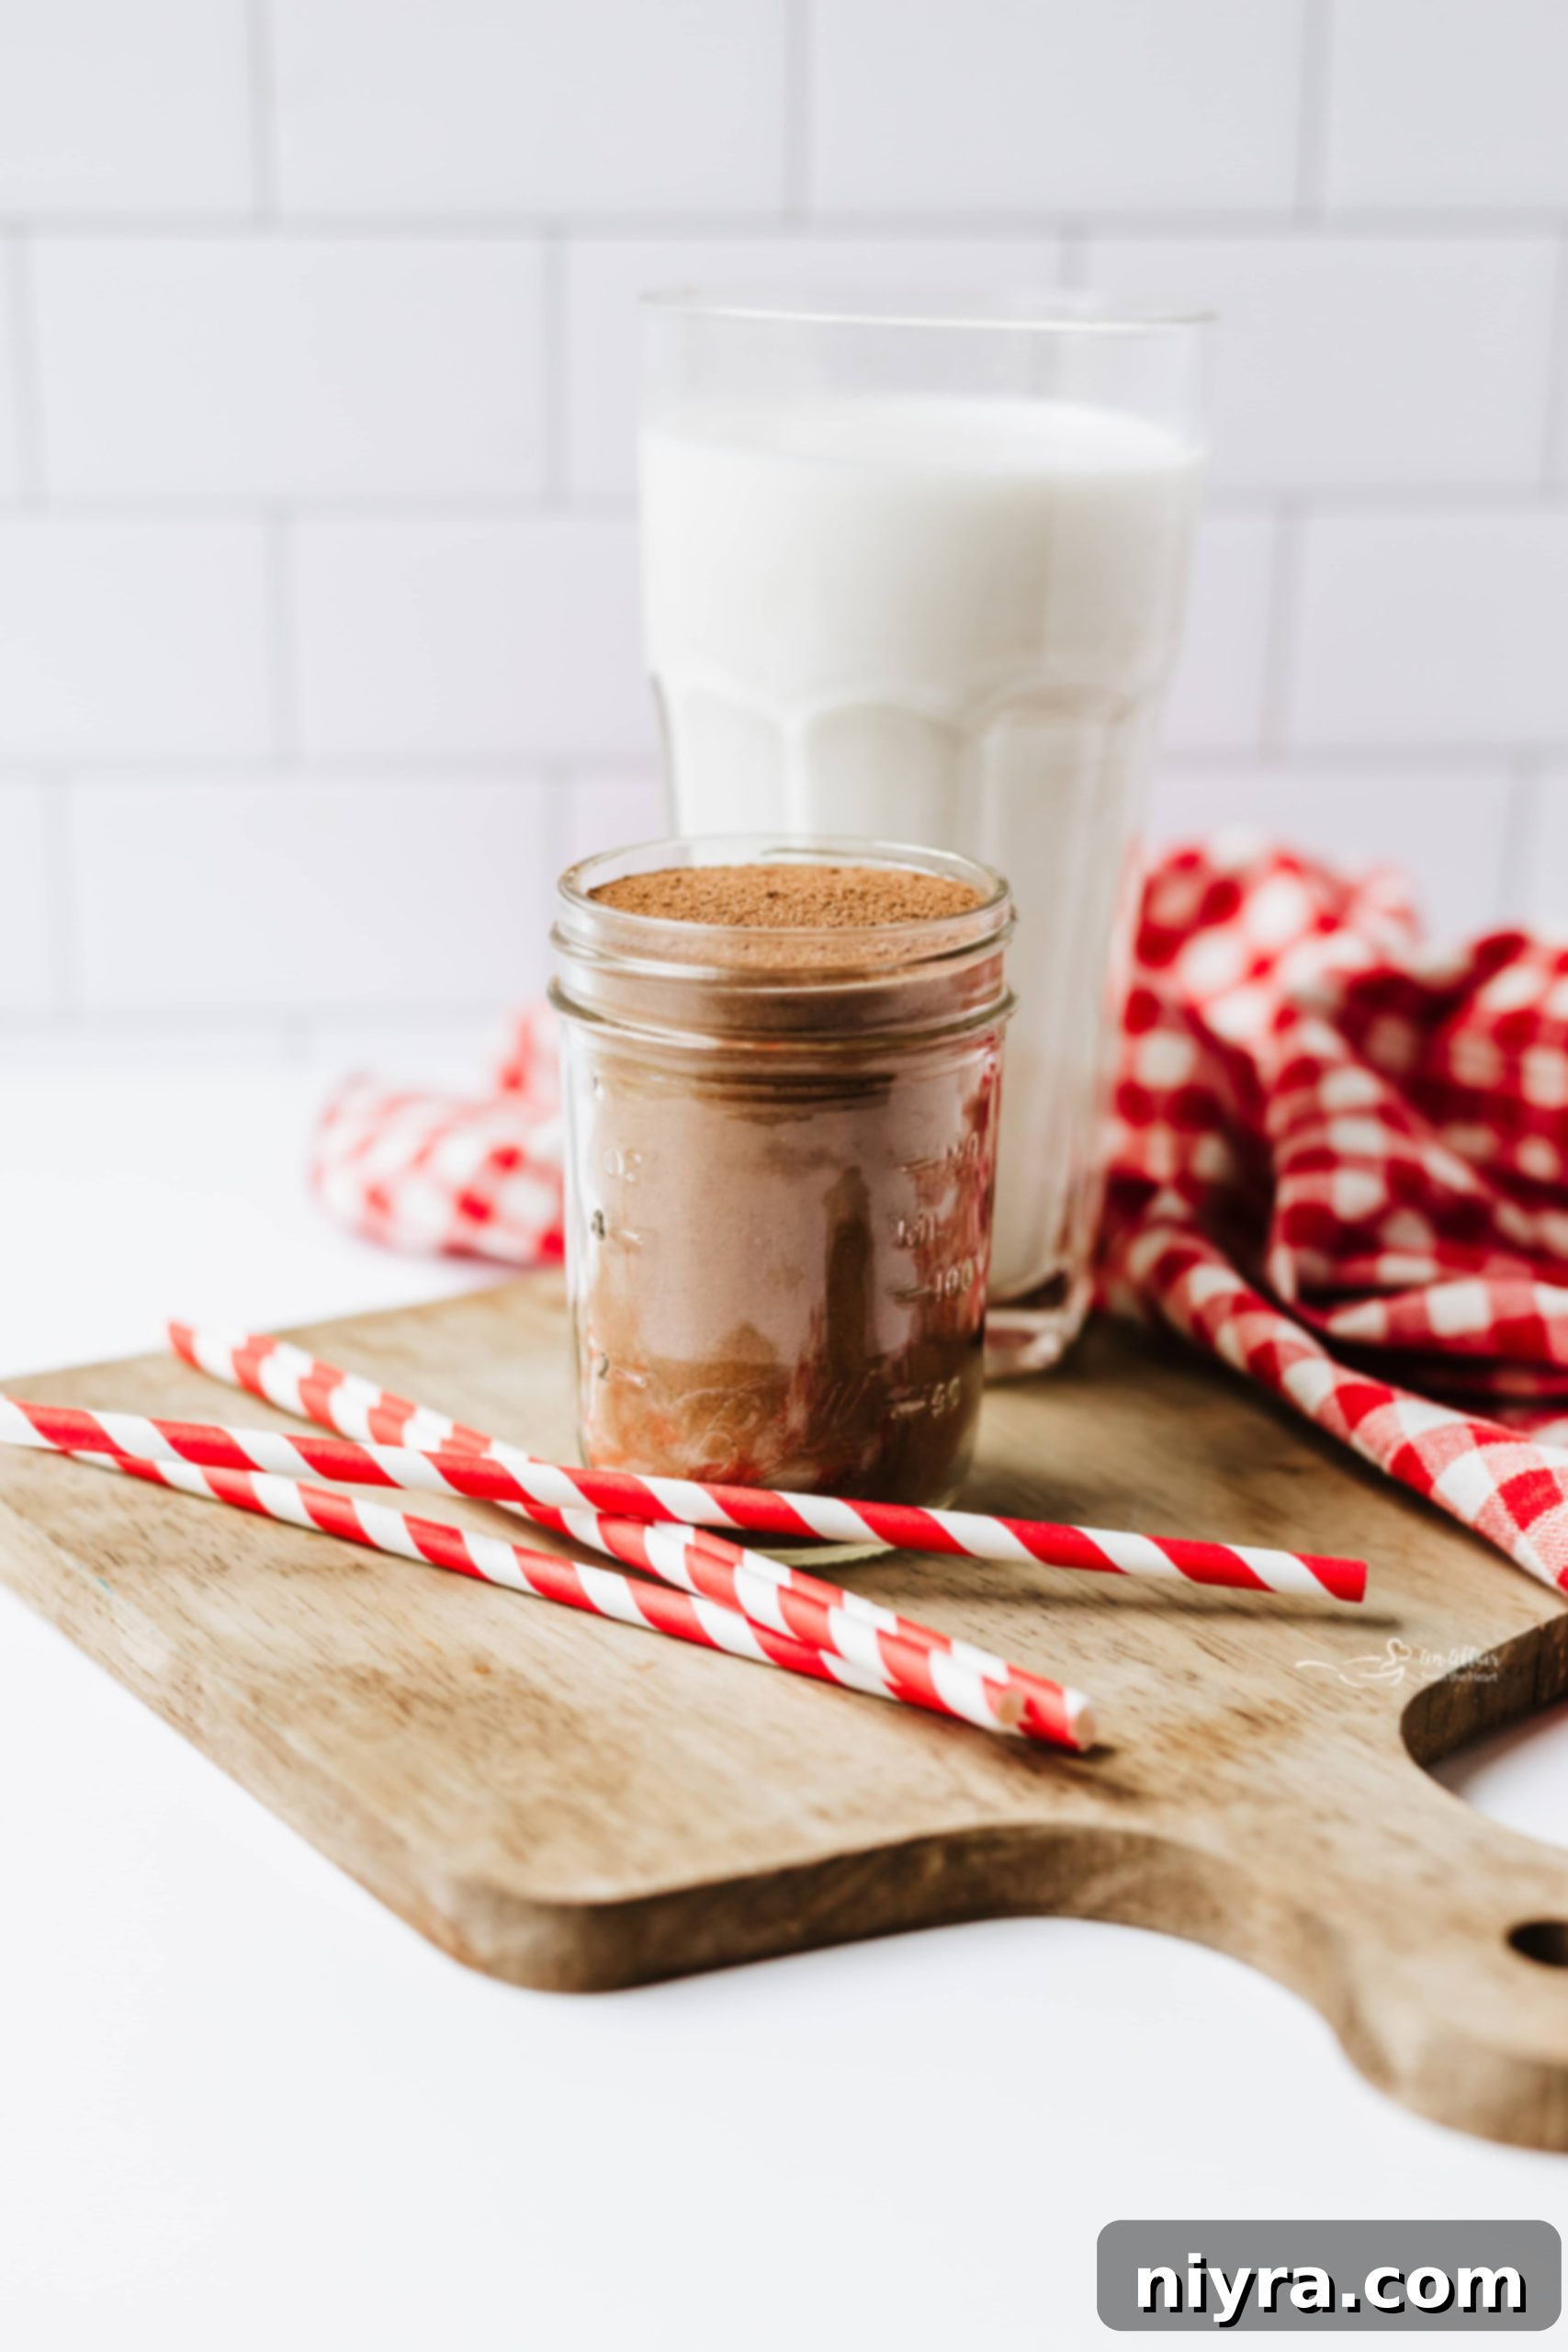
For many, the simple act of stirring a spoonful of chocolate milk powder into a cold glass of milk instantly transports them back to childhood. That distinctive, comforting taste of Nesquik is etched in our memories, a beloved classic that evokes pure nostalgia. What if you could capture that exact essence, or even enhance it, right in your own kitchen? This homemade Nesquik recipe makes it not just possible, but incredibly easy, using a mere three basic ingredients you likely already have on hand. Say goodbye to unpronounceable additives and unnecessary fillers; what you’ll create is a rich, authentic chocolate mix that dissolves beautifully, whether you prefer your milk hot or refreshingly cold.
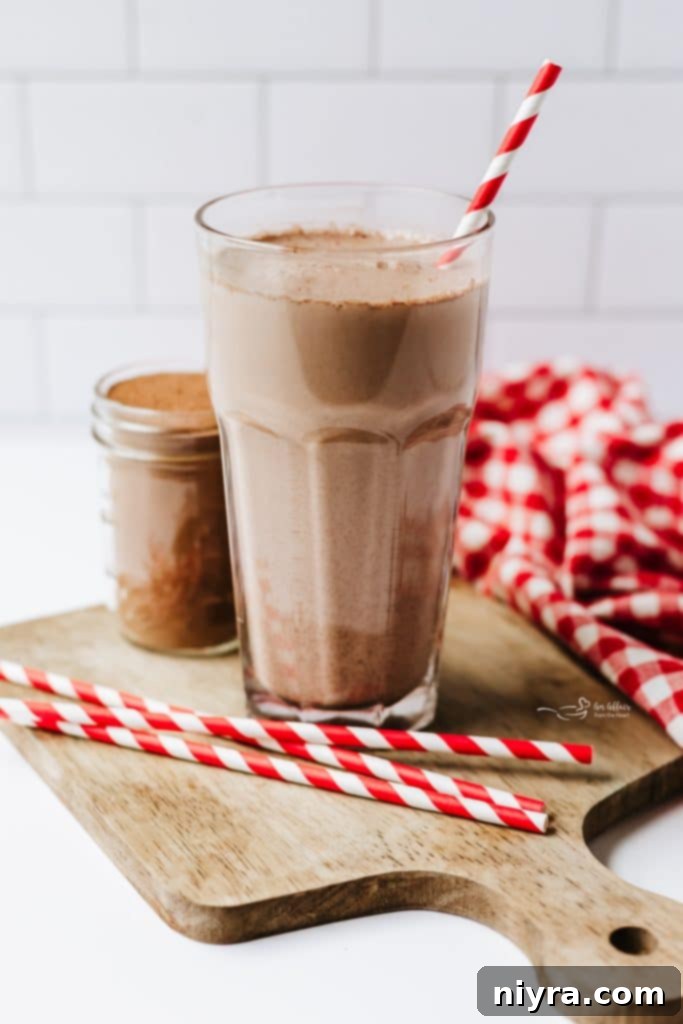
There was a special joy in being a child and hearing my Mom announce that chocolate milk was on the menu. I can vividly recall the ritual: carefully prying off the metal lid of the Nesquik container and scooping the powdery goodness into a frosty glass of milk. My own children shared that same delight in chocolate milk, but it’s been years since I’ve bought the store-brand version. The revelation of how simple it is to whip up my own has been a game-changer. Not only is it incredibly convenient with just three staple ingredients always in my pantry, but it also means I can avoid any “crazy things I can’t pronounce” that often lurk in commercial products. This DIY chocolate milk powder offers a wholesome alternative without compromising on that cherished flavor.
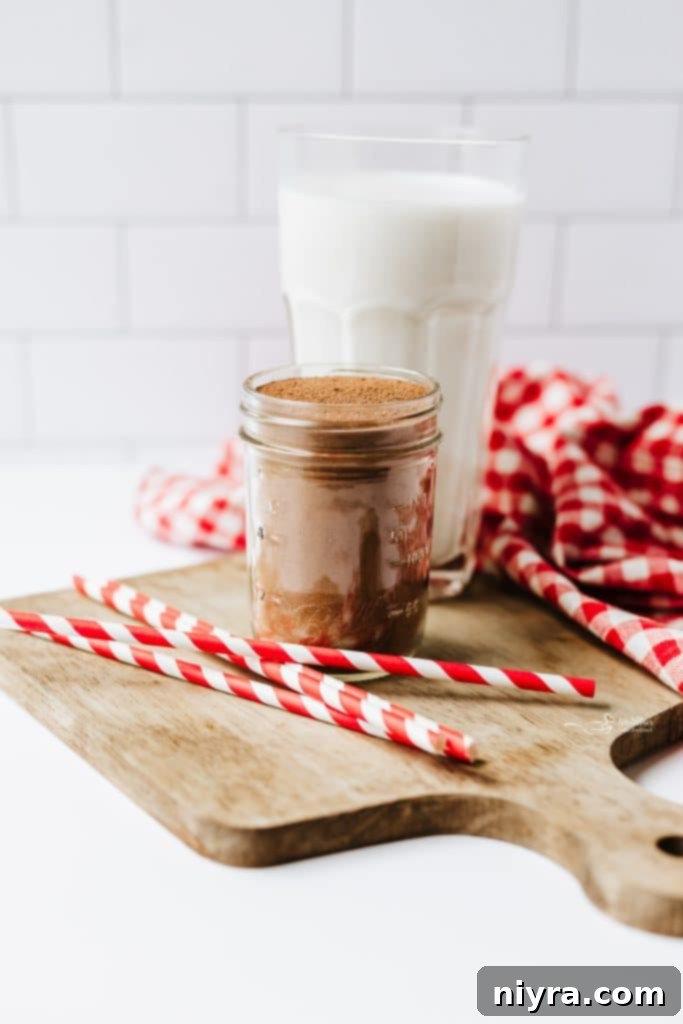
Craft Your Own Homemade Nesquik Powder
This chocolate milk mix recipe is truly effortless, coming together in mere minutes with minimal fuss. The beauty of crafting your own lies in its simplicity and the control it offers. By opting for homemade, you effectively bypass the artificial ingredients, preservatives, and excessive fillers often found in commercial alternatives. You also gain the ability to tailor the sweetness to your exact preference, making it a more wholesome and personalized treat for your family.
But the advantages extend beyond just healthier ingredients. This DIY Nesquik is incredibly versatile, making it much more than just a chocolate milk additive. While it certainly creates the most delicious chocolate milk imaginable, its potential is vast. Whisk it into warm milk for an instant, comforting hot chocolate on a chilly evening. Sprinkle it generously over vanilla ice cream for a quick and decadent chocolate topping. You can even incorporate this rich cocoa blend into your favorite dessert recipes, elevating the flavor of brownies, cookies, or even cakes. It delivers that same unmistakable, nostalgic taste you fondly remember from the classic Nesquik container, but with the added satisfaction and superior quality that only a homemade creation can provide. It’s truly a better-for-you version, made with love right in your own kitchen.
Essential Ingredients for Your Copycat Nesquik Mix
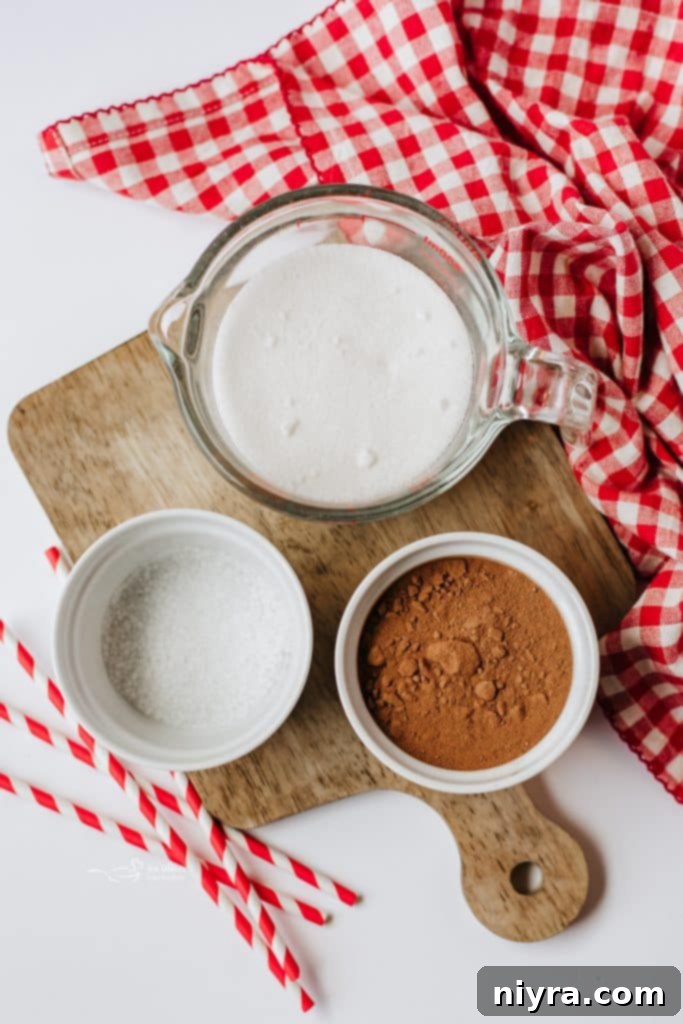
The magic of this homemade chocolate powder lies in its short, simple ingredient list. You only need three pantry staples to achieve that iconic flavor. For precise measurements and detailed instructions, please refer to the printable recipe card located at the bottom of this post.
- Granulated Sugar: This forms the sweet base of our DIY chocolate milk powder. While standard granulated sugar works perfectly, you can experiment with brown sugar for a deeper, more caramel-like flavor. Keep in mind that brown sugar has a finer texture and may require slightly longer sifting or mixing to fully incorporate and prevent clumping. For those seeking a sugar-free alternative, erythritol or stevia blends can be used, though they might alter the taste and texture slightly. The key is to achieve a fine, uniform consistency for optimal dissolvability.
- Unsweetened Cocoa Powder: The heart of any chocolate mix is its cocoa, and quality truly matters here. Using a good quality unsweetened cocoa powder will yield the richest, smoothest, and most authentic chocolate taste. You have options: natural cocoa powder offers a lighter color and slightly fruity notes, while Dutch-processed cocoa powder, which has been treated with an alkali, provides a darker hue and a mellower, less acidic chocolate flavor. Both work well, but Dutch-processed often gives a result closer to commercial chocolate drinks due to its smoother profile. Ensure it’s unsweetened so you control the sugar content entirely.
- Pinch of Salt: Often overlooked, a small pinch of salt plays a crucial role in enhancing the overall flavor of your homemade chocolate drink mix. It beautifully balances the sweetness of the sugar and significantly amplifies the deep, complex notes of the cocoa, making the chocolate taste even more pronounced and delicious. While optional, we highly recommend including it for that extra depth of flavor.
Whipping Up Your Own Chocolate Nesquik: A Quick Guide
Preparing this homemade chocolate milk mix is incredibly straightforward. In under five minutes, you’ll have a batch ready, bringing you one step closer to savoring a delightful glass of chocolate milk or a warm mug of cocoa.
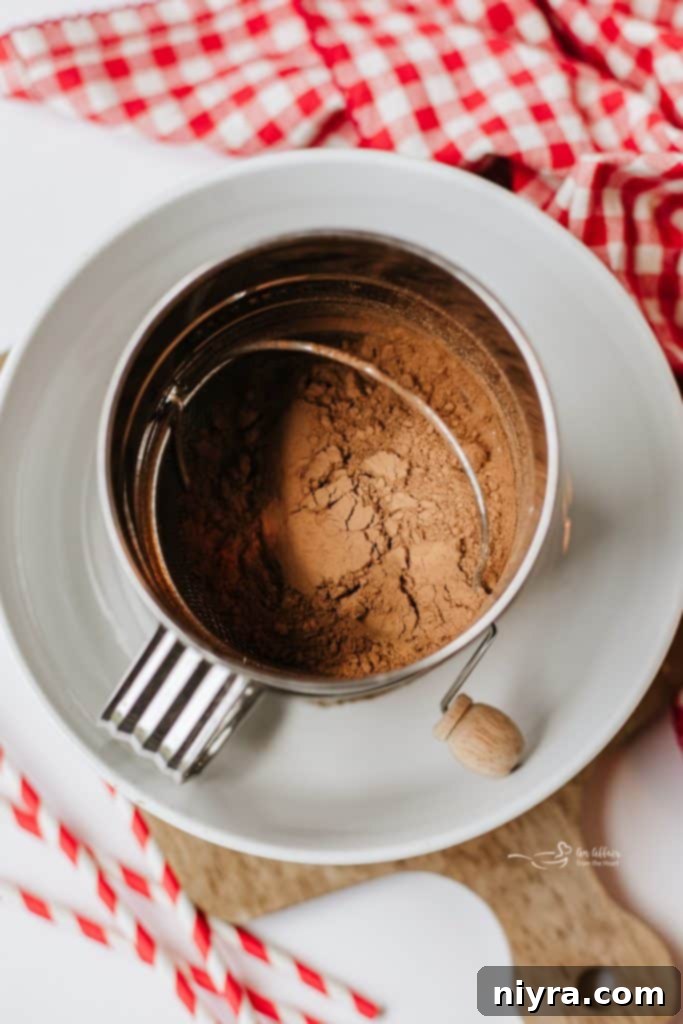
The process begins by combining your granulated sugar, unsweetened cocoa powder, and a pinch of salt. Place these ingredients into a fine-mesh sifter, ensuring you have a clean, dry bowl positioned directly underneath to catch the sifted mixture. This simple tool is the unsung hero of this recipe, guaranteeing a superior end product.
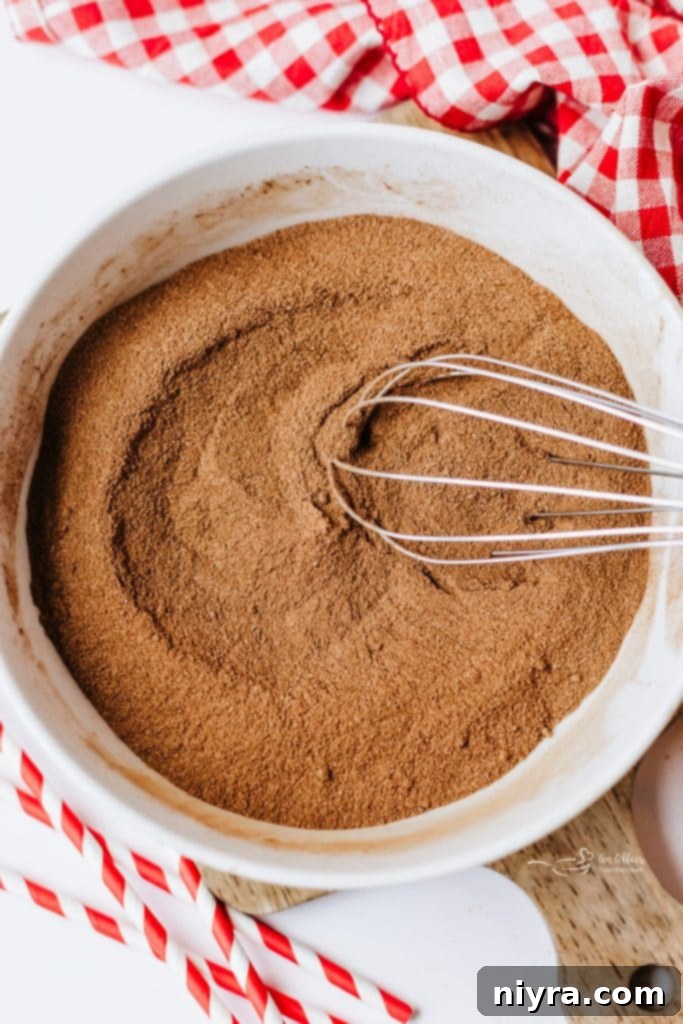
Gently sift the ingredients together. This step is absolutely crucial for achieving the perfect texture. Continue sifting until the mixture is exceptionally fine and all the ingredients are thoroughly blended, with no visible lumps of sugar or cocoa. The sifter works wonders by aerating the powders and breaking down any stubborn clumps, resulting in a super-smooth, lump-free homemade chocolate powder that will dissolve beautifully every single time. It’s the secret weapon for replicating that store-bought smoothness.
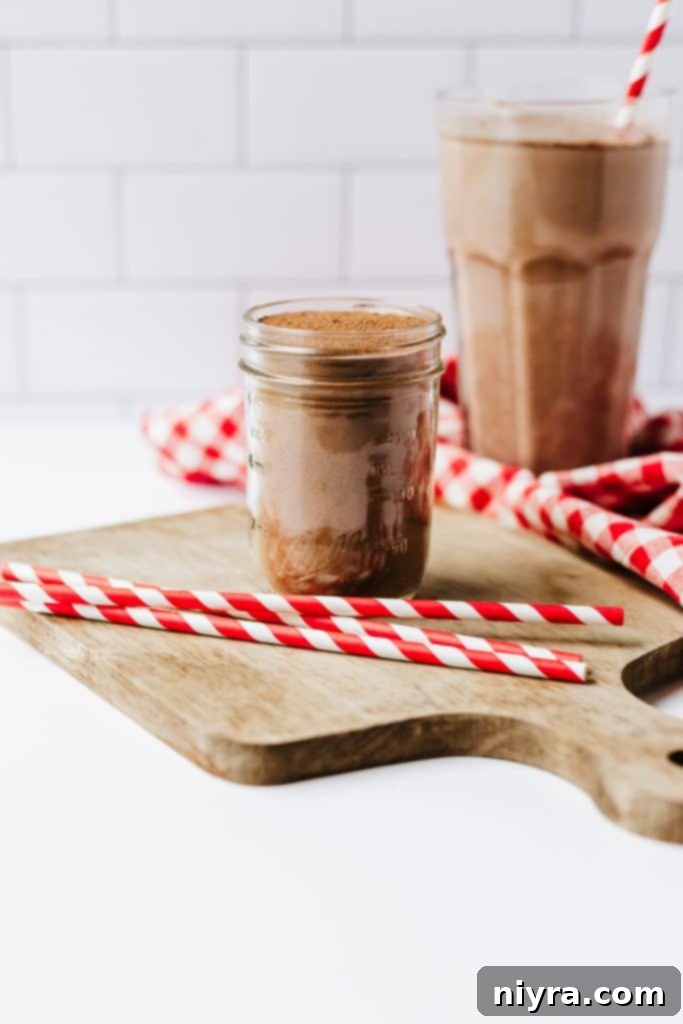
Once your exquisite chocolate milk mix is perfectly sifted, carefully transfer it into a mason jar or any other airtight container. This will keep it fresh and ready for whenever a chocolate craving strikes.
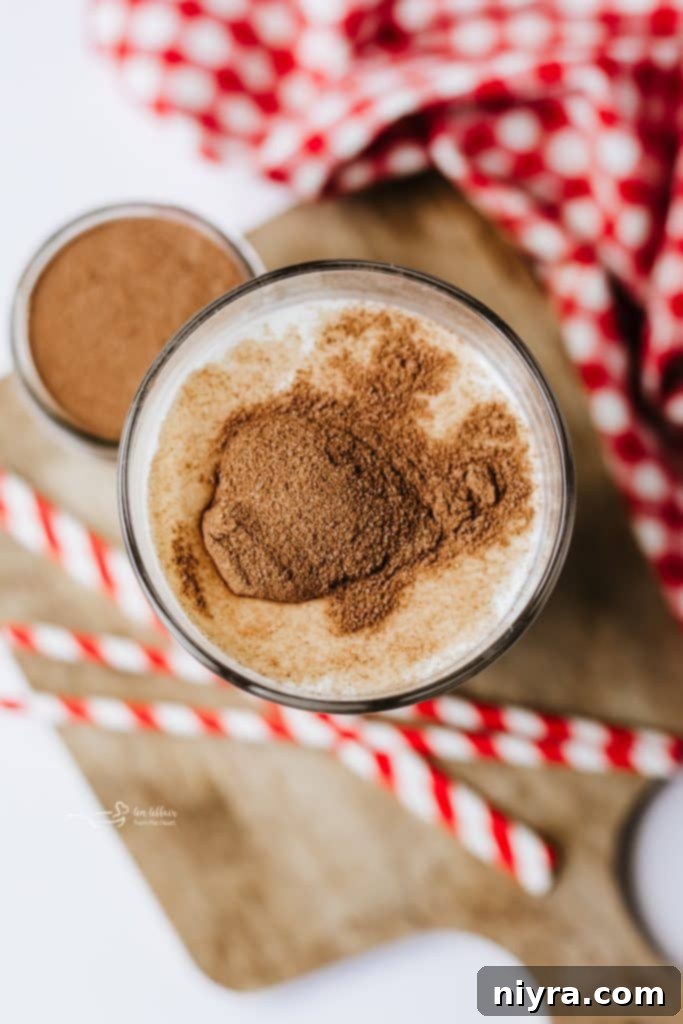
To prepare your drink, simply stir 1 tablespoon of this rich, homemade mix into one cup (8 ounces) of cold milk for the ultimate chocolate milk experience. For a comforting, instant hot chocolate, use warm milk instead. The finely sifted powder ensures a smooth, lump-free drink every time, delivering that classic taste with a homemade touch.
Storing Your Homemade Chocolate Milk Powder Recipe
- Proper storage is key to maintaining the freshness and potency of your homemade Nesquik powder. Always store it in an airtight container, such as a mason jar, to protect it from moisture and air.
- Place your stored mix in a cool, dry pantry or cupboard. Avoid areas prone to humidity or direct sunlight, which can degrade the quality of the cocoa powder and sugar over time.
- When stored correctly, this DIY chocolate drink mix will remain fresh and delicious for several months. This generous shelf life makes it an ideal pantry staple, always ready for a quick chocolate fix or to elevate your favorite desserts.
- This recipe yields approximately 1 1/2 cups of chocolate mix, which is enough to prepare about 24 delightful glasses of chocolate milk when mixed according to the proportions detailed in the recipe card. This makes it not only delicious but also a very economical choice compared to regularly purchasing pre-made mixes.
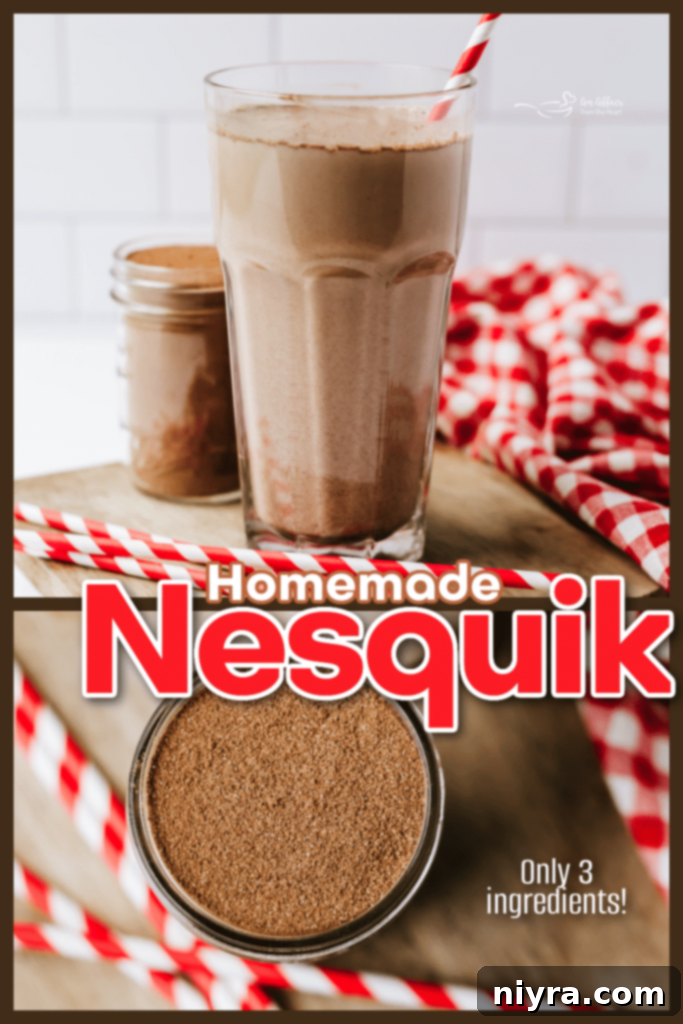
Love This Recipe? Pin It for Later!
If you adore this copycat Nesquik recipe and plan to make it again and again, make sure it’s easy to find! Pin it to your favorite Pinterest recipe board. This way, you’ll always have this fantastic homemade chocolate milk powder recipe close at hand whenever you need a quick, delicious, and healthier alternative to store-bought mixes.

Expert Tips for the Best Chocolate Milk Mix
Achieving the perfect glass of chocolate milk or a comforting mug of hot cocoa with your homemade mix is simple, but a few clever tricks can elevate your experience:
- For an exceptionally smooth, frothy beverage, especially with cold milk, consider using a milk frother. This tool quickly breaks down the powder, ensuring it dissolves completely without any lumps, creating a creamy texture reminiscent of a cafe-style drink.
- Here’s a fantastic trick for super-smooth dissolving: start with hot water. Combine 1 tablespoon of hot water with 1 tablespoon of your homemade Nesquik powder at the bottom of your glass. Stir vigorously until a smooth, thick chocolate paste forms. The hot water rapidly dissolves the cocoa powder, preventing clumps. Then, simply pour 8 ounces of cold milk over the top and stir again. You’ll be amazed at how smoothly it combines!
- Don’t limit this delicious mix to just drinks! Sprinkle a spoonful over vanilla ice cream for an instant, rich chocolate topping that’s far superior to store-bought syrups. It also works wonderfully on yogurt, oatmeal, or even as a light dusting over baked goods.
- This chocolate milk mix is incredibly adaptable to any type of milk you prefer. Whether you enjoy whole milk, skim milk, almond milk, soy milk, oat milk, or cashew milk – you name it! – this mix will blend beautifully, allowing everyone to enjoy their favorite chocolate treat.
- Makes a thoughtful and delicious gift! This homemade chocolate milk mix is an ideal present for any chocolate lover in your life. Package it beautifully in a charming mason jar, perhaps with a decorative label. Pair it with a pretty glass or mug, and a set of fun decorative straws to create a delightful gift basket. It’s perfect for birthdays, Christmas, Valentine’s Day, or just as a thoughtful “thinking of you” gesture. Everyone appreciates a homemade gift that brings warmth and comfort!
More Delicious Recipes to Love
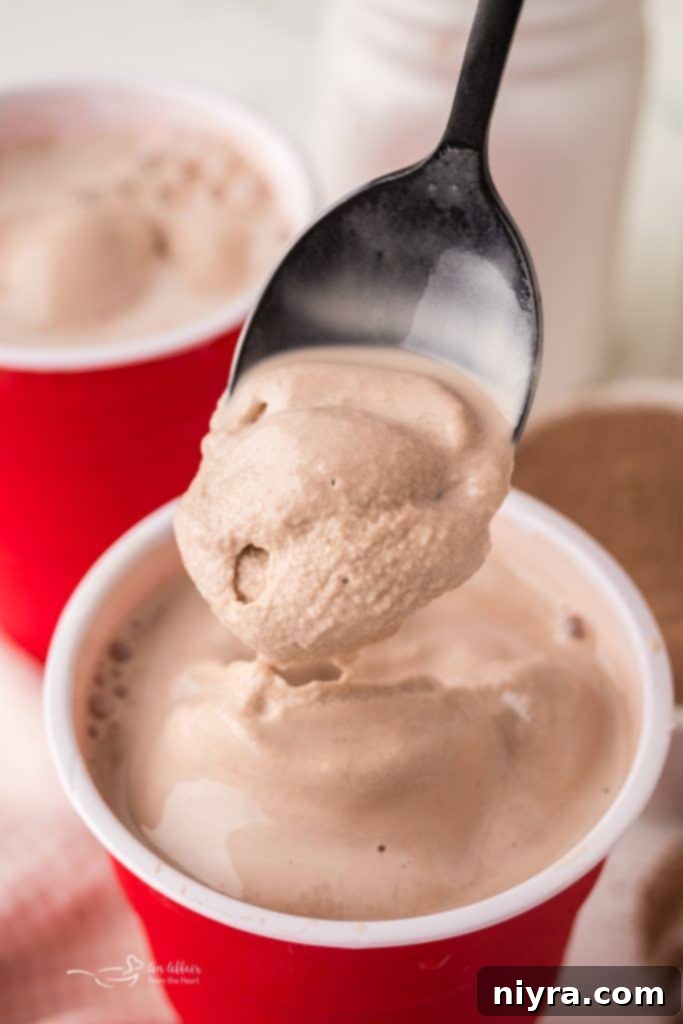
Once you have a batch of your incredible Homemade Nesquik on hand, you’ll find endless ways to use it beyond just chocolate milk. I frequently incorporate my mix into my popular Copycat Wendy’s Frostys (pictured above), where it adds a wonderfully rich and authentic chocolatey depth that truly elevates the flavor. But the possibilities don’t stop there!
Experiment by stirring it into breakfast staples like fluffy pancakes for a delightful morning treat, or use it to create these irresistibly yummy no-bake cookies that come together in minutes. This versatile chocolate powder can truly transform a variety of dishes. And if you’re looking for more comforting and delicious drink recipes, be sure to explore these other favorites:
- My go-to Homemade Hot Cocoa Mix for cozy evenings.
- The soothing and comforting Copycat Starbucks Medicine Ball Tea recipe.
- Indulgent Banana Cream Pie Shakes for a sweet escape.
- This uniquely delightful Peanut Butter Hot Cocoa that combines two beloved flavors.
In conclusion, embarking on the journey to make your own homemade Nesquik recipe is a simple, enjoyable, and deeply nostalgic experience. With just a few common pantry ingredients, you can effortlessly whip up a chocolate milk mix that rivals the original in taste and, arguably, surpasses it in quality and purity. Knowing exactly what goes into your mix—no fillers, no artificial flavors—provides a satisfying peace of mind. From creating perfect hot chocolates and refreshing milkshakes to drizzling over ice cream or incorporating into your favorite baked goods, this incredibly easy recipe beautifully demonstrates that sometimes, the classics truly are the best, especially when crafted with care in your own kitchen.

LIKE THIS RECIPE?
Don’t forget to give it a ⭐️⭐️⭐️⭐️⭐️ star rating and
leave a comment below the recipe!

Print Recipe
Homemade Nesquik Recipe
Ingredients
- 1 1/2 cups granulated sugar
- 2/3 cup good quality cocoa powder
- 2 pinches salt (optional)
Instructions
To Make the Chocolate Milk Powder:
- Place cocoa powder, sugar and salt into a sifter and sift into a bowl. Give it a whisk to make sure the ingredients are incorporated. Place in a mason jar or other airtight container for storing.
To Make Chocolate Milk or Cocoa:
- Use 1 Tablespoon of Homemade Nesquik to 8 ounces of hot or cold milk.
Notes
Nutrition is based on 1 Tablespoon of the chocolate milk powder only. You will need to calculate your numbers based on the milk you choose.
I find that if you put one Tablespoon of HOT water in the bottom of the glass, then add one Tablespoon of the Nesquik and stir it smooth, then pour COLD milk over the top, it mixes much smoother.
