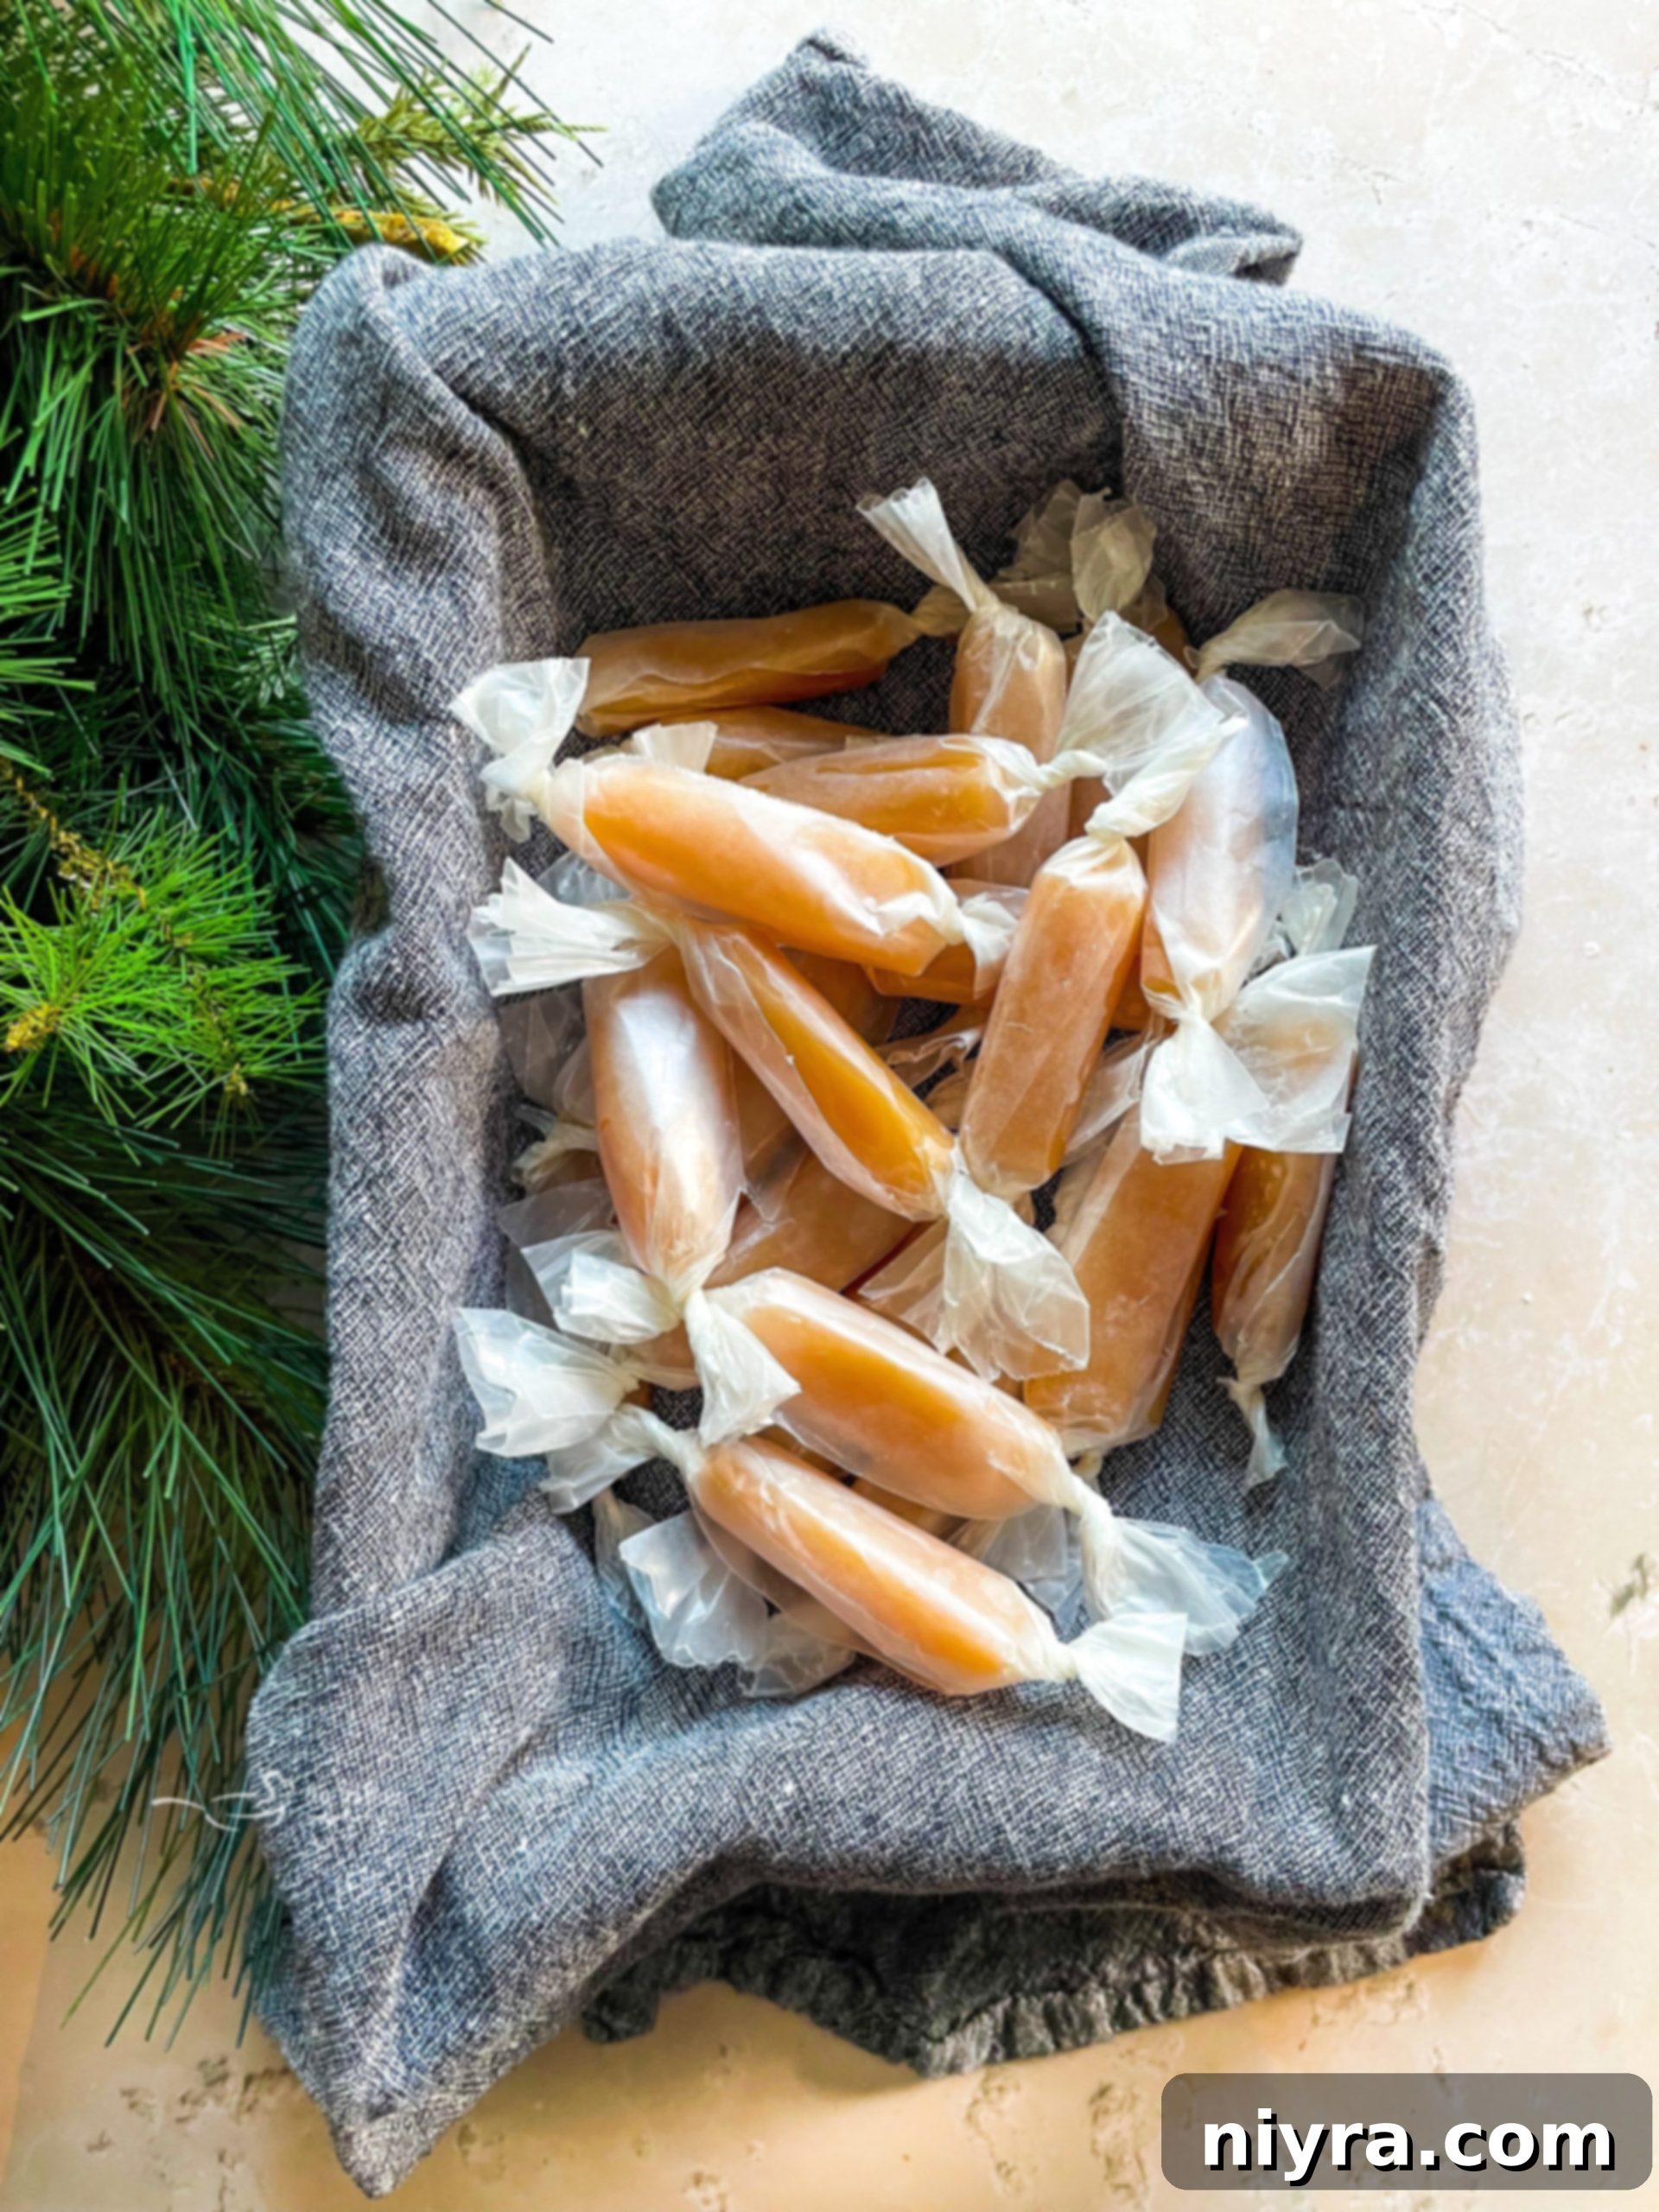
Crafting Perfect Homemade Caramels: A Melt-in-Your-Mouth Delight
The holiday season, or indeed any time of year, is the perfect excuse to indulge in the sweet art of candy making. Among the myriad of sugary delights, Homemade Caramels stand out as a timeless classic. Many believe making them from scratch is a complex task, but you’ll be delighted to discover just how simple it is. With a handful of basic ingredients and a touch of patience, you can create these incredibly soft, delightfully chewy, and utterly luxurious morsels that truly melt in your mouth, leaving a lingering, rich sweetness.
Candy making at home is a wonderfully rewarding experience, especially when the result is as irresistible as these creamy caramels. There’s something incredibly satisfying about transforming simple pantry staples into a decadent treat. This recipe promises not only a delicious outcome but also a fun and engaging process, making it perfect for both seasoned bakers and ambitious beginners.
The Irresistible Allure of Homemade Caramel Candy
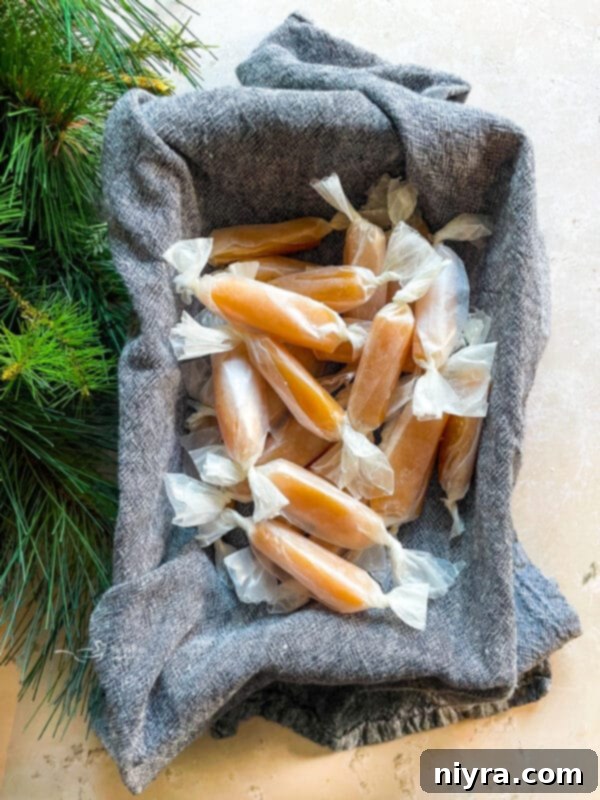
There’s a special joy in homemade treats, and caramels are no exception. The rich, buttery flavor and the uniquely soft, chewy texture are unparalleled. Unlike mass-produced candies, homemade caramels allow you to control every ingredient, ensuring a pure, unadulterated taste sensation. They’re not just a treat for your taste buds; they’re also a feast for the eyes and a delightful aroma that fills your kitchen.
This easy caramel recipe brings together heavy cream, unsalted butter, and corn syrup to create an indulgent experience that is both rich and comforting. These small, golden squares are fantastic for various occasions. They make exquisite holiday gifts for hostesses, teachers, or anyone deserving of a sweet gesture. Individually wrapped in wax paper and adorned with pretty ribbons, they transform into charming, personalized presents. Beyond gifting, they are the perfect after-dinner indulgence or a sweet pick-me-up any time you crave something extraordinary. The beauty of these caramels lies in their versatility and their impressive shelf life, allowing you to enjoy them for months to come.
If you’re a fellow sweet tooth like me, you’ll adore exploring other delightful confections. Consider trying these other fantastic candy recipes: Candy Corn Salted Nut Rolls, Cinnamon Rock Candy,or Candy Bar Fudge. Each offers a unique adventure in homemade sweetness!
Essential Ingredients for Your Caramel Masterpiece
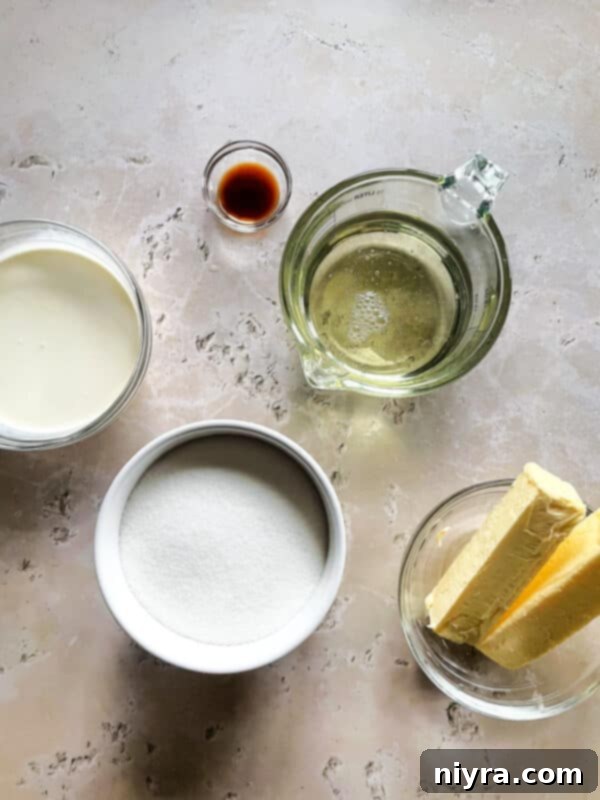
Creating the best homemade caramels starts with selecting quality ingredients. Each component plays a vital role in achieving that perfect chewy texture and decadent flavor. You’ll find the complete measurements and detailed instructions in the printable recipe card towards the end of this post, but let’s take a closer look at what you’ll need:
- Granulated White Sugar: This is the foundation of your caramel, providing the essential sweetness and structure. While brown sugar can be substituted, it will lend a slightly different, more molasses-like flavor.
- Heavy Cream: Crucial for the rich, creamy texture and luxurious mouthfeel of these caramels. Don’t skimp on the heavy cream; it’s what prevents the caramels from becoming too hard or grainy.
- Butter: I typically opt for unsalted butter as it allows me to control the saltiness, especially if I’m adding flaky sea salt later. However, salted butter can also work, just be mindful of any additional salt you might add. Butter contributes significantly to the caramel’s depth of flavor and its smooth, tender bite.
- Corn Syrup (Light or Dark): This is a key “interfering agent” in candy making. Corn syrup helps prevent the sugar from crystallizing, which is vital for achieving that perfectly smooth, non-grainy caramel texture. Light corn syrup will give you a classic golden caramel, while dark corn syrup will produce a slightly richer color and a deeper, more robust flavor. Both work beautifully.
- Vanilla Extract: Pure vanilla extract is my preference for its superior aroma and flavor, which beautifully complements the rich caramel notes. If imitation vanilla is all you have, it will still work, but true vanilla offers an unmatched depth.
- Flaked Sea Salt (Optional): For those who adore the delightful contrast of sweet and salty, a sprinkle of flaky sea salt transforms these into gourmet salted caramels. It truly elevates the flavor profile, making them even more addictive.
The Art of Crafting Soft Caramel Candy: A Step-by-Step Guide
Making soft and chewy caramel candy requires attention and patience, but the process is surprisingly straightforward. Follow these steps carefully to ensure a perfect batch every time.
Step One: Prepare Your Baking Dish. Begin by thoroughly buttering a 9×13 inch baking dish. For even easier removal and cutting, I highly recommend lining the baking dish with parchment paper first, then buttering the parchment paper. This simple trick makes a huge difference when it’s time to take your cooled caramels out.
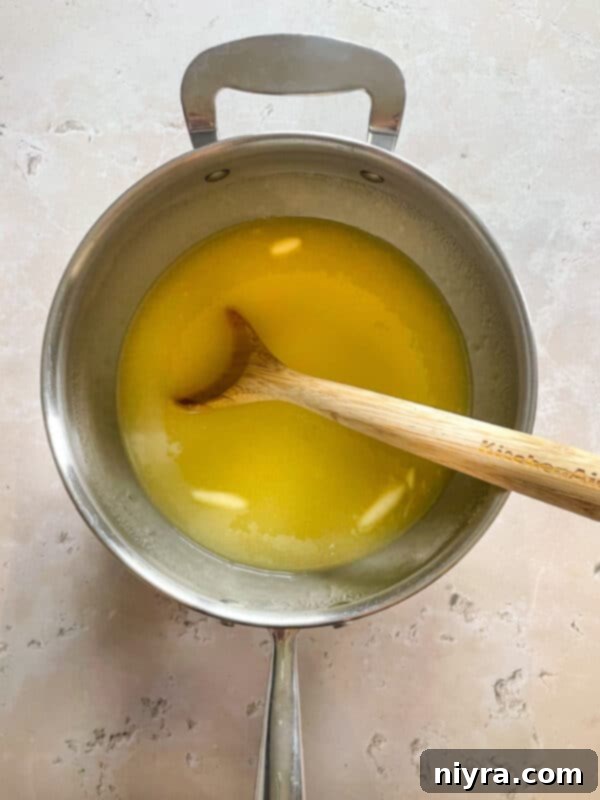
Step Two: Combine the Base Ingredients. In a large, heavy-bottomed saucepan, combine all ingredients except the vanilla extract. A heavy pan is crucial here as it distributes heat more evenly, preventing scorching. Ensure your pan is large enough to accommodate the mixture as it will bubble up during cooking.
Step Three: Dissolve the Sugar. Place the saucepan over medium heat. Stir the mixture continuously until all the sugar has completely dissolved. It’s important to keep stirring to prevent the sugar from sticking to the bottom and burning. Scrape the bottom and sides of the pan diligently to ensure even cooking and to avoid any crystals forming.
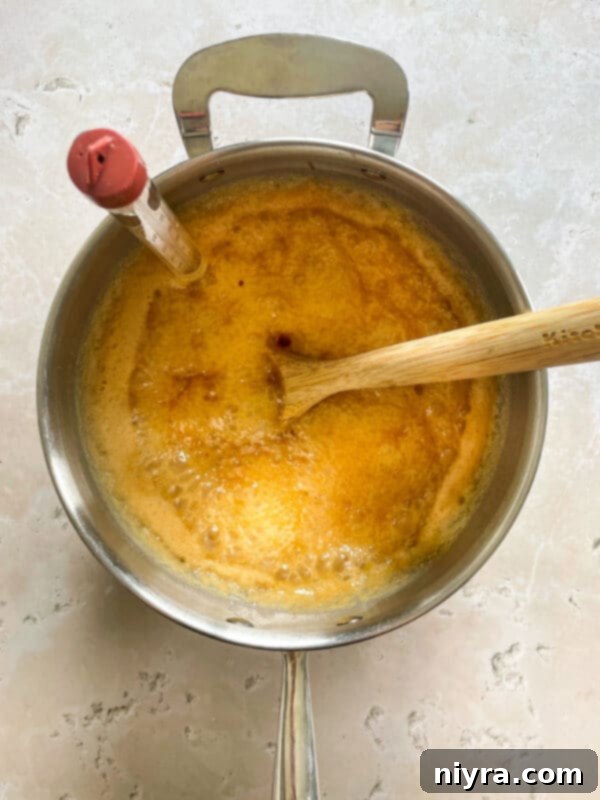
Step Four: Cook to the Firm Ball Stage. Reduce the heat to low. Continue to cook, stirring constantly and patiently, until the mixture reaches the firm ball stage. This is where a reliable candy thermometer is your best friend. The ideal temperature for firm ball stage is between 245°F and 250°F (118°C and 121°C). Do not let the temperature exceed 250°F, as this can result in hard caramels. This stage usually takes about 45 minutes of consistent cooking and stirring. Patience is truly a virtue here; rushing this step can compromise the texture of your caramels.
Step Five: Incorporate Vanilla. Once the caramel mixture reaches the correct temperature, immediately remove the pan from the heat. Stir in the vanilla extract. The vanilla adds a beautiful aromatic finish that enhances the overall flavor profile.
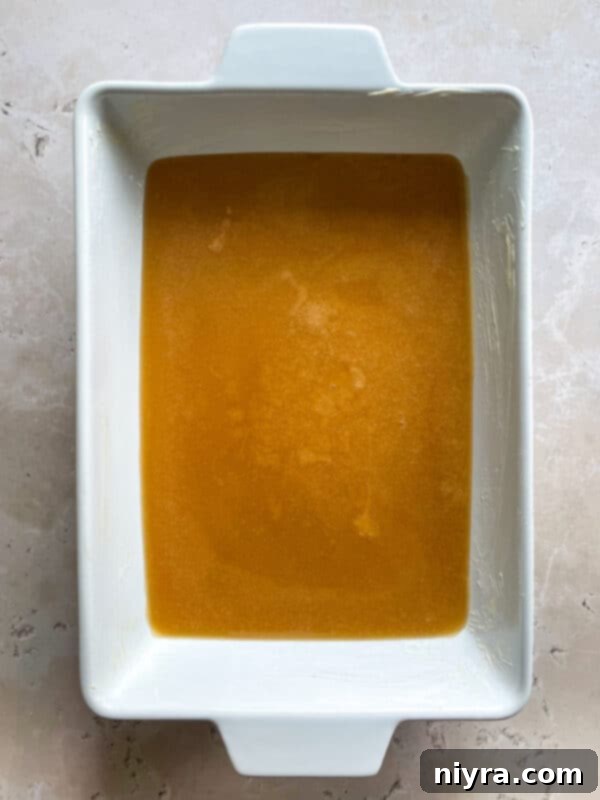
Step Six: Pour and Cool. Carefully pour the hot caramel mixture into your prepared baking dish. Use a spatula to spread it evenly across the bottom. If you’re a fan of salted caramels, now is the perfect time to sprinkle some flaky sea salt evenly over the top of the warm caramel. This small addition adds a magnificent flavor dimension.
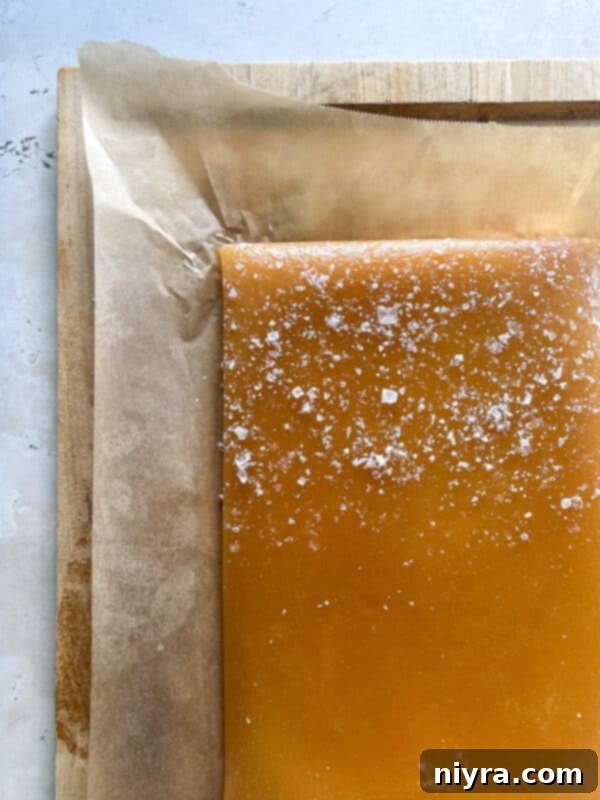
Allow the caramel to cool completely at room temperature. This cooling process is crucial for the caramels to set properly. Resist the urge to cut them prematurely.
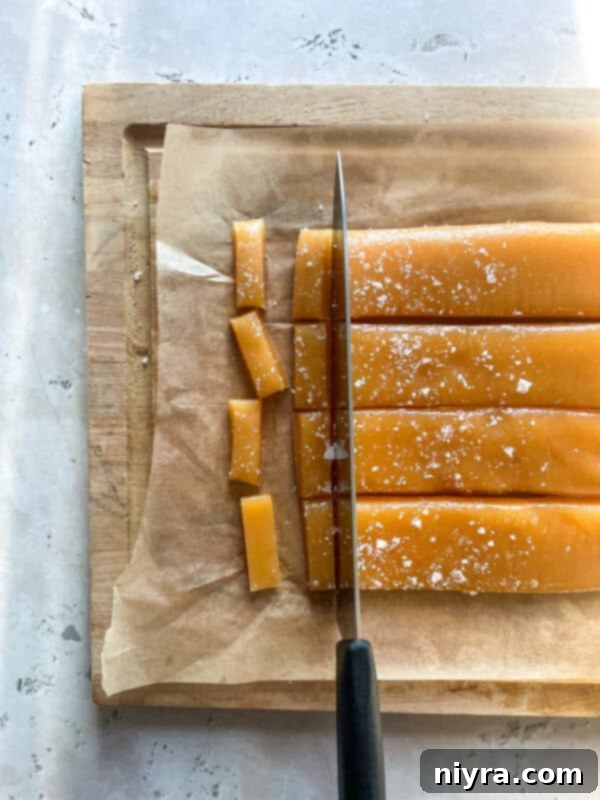
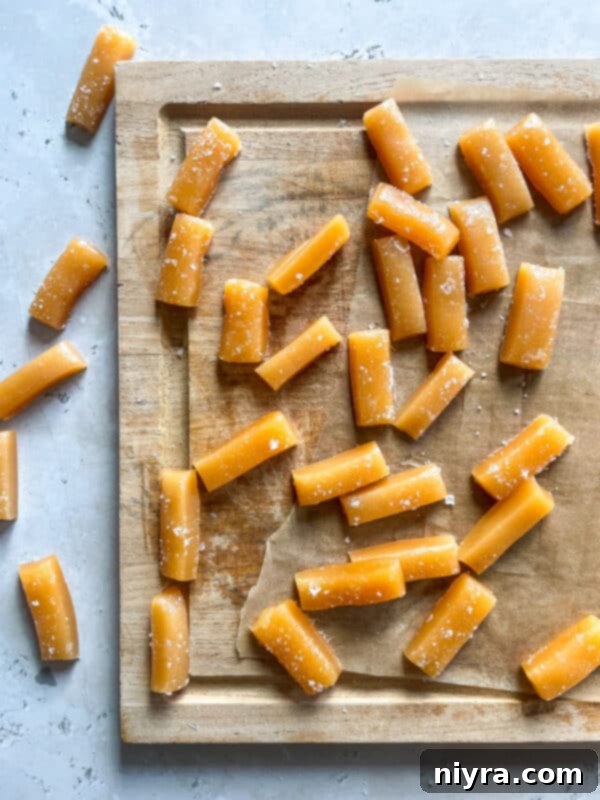
Step Seven: Cut and Wrap. Once the caramel is firm and completely cooled, lift it out of the baking dish using the parchment paper. Place it on a clean cutting board. Using a sharp, buttered knife, cut the caramel into desired small pieces. The sharp knife will help create clean cuts without sticking.
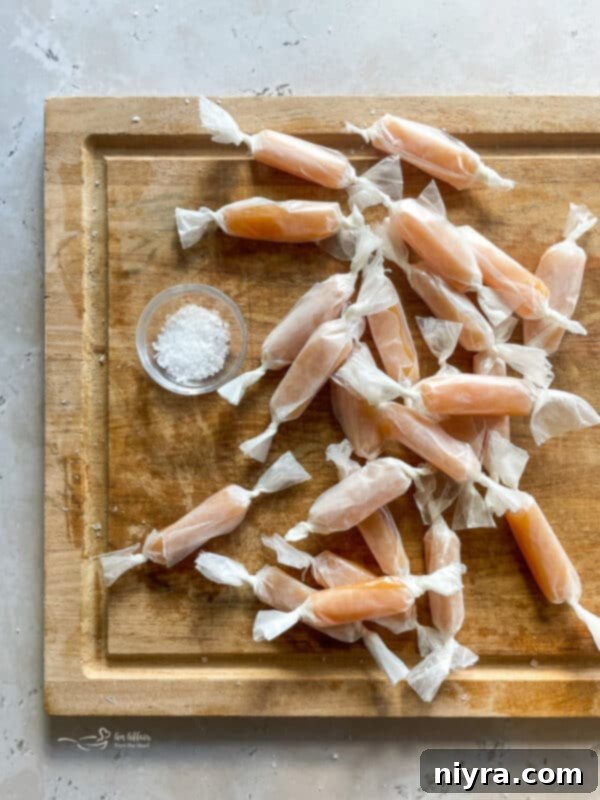
Finally, wrap each individual caramel piece in small squares of wax paper. This prevents them from sticking together and makes them easy to handle and enjoy. These make perfect little candy wrappers, ready for sharing or savoring!

Love This Recipe? Pin It for Later!
If you’re as excited about this easy caramel recipe as I am, don’t let it get lost! Be sure to pin these irresistibly chewy homemade caramels to your favorite Pinterest recipe board. That way, you’ll always have this fantastic recipe at your fingertips for your next sweet craving or gifting occasion!
Frequently Asked Questions About Homemade Caramels
Even with the best instructions, questions can arise during candy making. Here are some common queries and their answers to help you achieve caramel perfection.
Q: Why did my homemade caramels turn out hard?
A: If your caramel candy is too hard, it’s typically because the mixture was cooked to too high a temperature. Overcooking causes more moisture to evaporate, resulting in a firmer, almost brittle texture. Ensure you remove the caramel from the heat as soon as it reaches the firm ball stage (245°F – 250°F).
Q: How long do caramels stay fresh?
A: Homemade caramel candy boasts an impressive shelf life! When stored in an airtight container at room temperature, away from direct light or heat, these creamy caramels can last for up to 6 months. For longer storage, you can even freeze them for up to a year, thawing them at room temperature before enjoying.
Q: Why are my homemade caramels too soft or sticky?
A: Conversely, if your caramels are too soft or excessively sticky, it usually means they did not reach a high enough temperature during cooking. Insufficient cooking means too much moisture remains, preventing them from setting properly. The ideal temperature range for a soft, yet firm caramel is 245°F – 250°F (firm ball stage).
You can often remedy soft caramels by placing the mixture back into a clean saucepan and reheating it to the correct temperature range (245°F to 250°F). If you don’t have a candy thermometer, you can perform a cold water test: drop a teaspoon of the hot caramel mixture into a cup of very cold water. If it forms a firm, pliable ball that holds its shape when removed from the water, it has reached the firm ball stage. If it’s too soft, continue cooking and re-test.
Q: Why do caramels need corn syrup?
A: Corn syrup is an essential ingredient in caramel making because it acts as an ‘interfering agent.’ It disrupts the natural tendency of sugar molecules to crystallize. Without corn syrup, your caramels would likely turn out grainy and less smooth. It ensures that beautiful, smooth, and chewy texture we all love.
Q: What is the key to making consistently soft and chewy caramels?
A: The secret to consistently soft and chewy caramels lies in precise temperature control and constant stirring. Using a good quality candy thermometer is indispensable. Ensuring the mixture reaches exactly the firm ball stage (245°F – 250°F) and stirring continuously to prevent scorching and crystallization are the most critical factors for success.
Simple Substitutions for Your Caramel Recipe
While the recipe is designed for optimal results, some ingredient adjustments can be made based on preference or availability.
- You can substitute brown sugar for granulated white sugar, but be aware that the resulting caramels will have a slightly deeper color and a more robust, molasses-like flavor. This variation can be quite delicious for a different taste experience!
- Dark corn syrup works just as effectively as light corn syrup. It will impart a richer, more intense caramel color and flavor, adding another layer of complexity to your homemade treats.
Expert Tips & Tricks for Perfect Soft Caramels
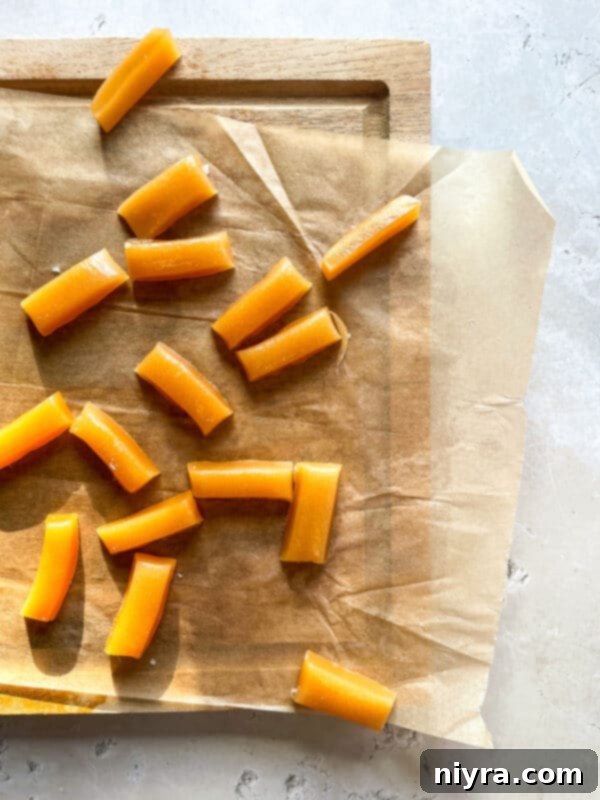
Making truly exceptional soft caramels is within reach with these helpful hints:
- Preparation is Key: Always prepare your baking pan meticulously. Greasing it generously or, even better, lining it with parchment paper and then buttering the parchment, will prevent your delicious caramels from sticking and make them easy to remove and cut.
- Invest in a Candy Thermometer: This is arguably the most crucial tool for candy making. A reliable candy thermometer ensures you accurately measure the caramel’s temperature, which is essential for achieving the perfect consistency – neither too hard nor too soft.
- Stir Continuously and Be Present: The sugar mixture needs constant attention. Stir it consistently to prevent it from scorching on the bottom of the pan and to ensure even cooking. Never leave your caramel unattended; a moment’s distraction can lead to a burnt mess.
- Cool Completely Before Cutting: Patience is key during the cooling process. Allow the caramel to cool fully at room temperature for several hours, or even overnight, before attempting to cut it. This ensures the caramels set properly and can be cut cleanly without distortion.
- Proper Storage: Once cut, wrap each caramel individually in wax paper or parchment paper. Store them in an airtight container at room temperature to maintain their freshness and prevent them from drying out or sticking together.
- Cleanliness Matters: Before you even start cooking, make sure your saucepan and stirring utensils are impeccably clean. Any residual food particles can act as nucleation sites for sugar crystals, leading to grainy caramels.
- Use a Heavy-Bottomed Pan: A thick-bottomed pan distributes heat more evenly, reducing the risk of scorching and ensuring the caramel cooks consistently.
Explore More Delicious Candy Recipes
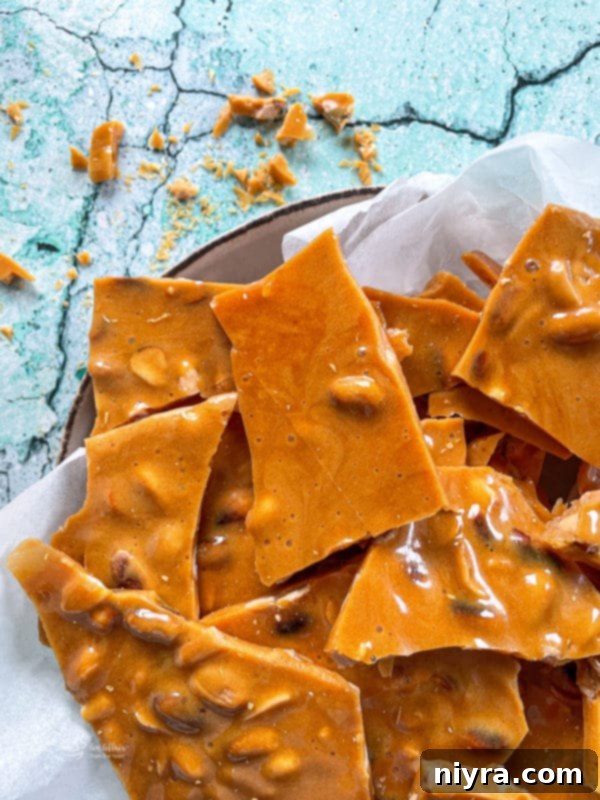
If you’ve enjoyed making these delightful caramels, you might be interested in expanding your candy-making repertoire. Here are some other cherished recipes to sweeten your days:
- Peanut Brittle (pictured above) – A crunchy, nutty classic.
- Never Fail Fudge – Rich, creamy, and consistently perfect.
- Turtle Fudge – A decadent combination of chocolate, caramel, and pecans.
- White & Dark Chocolate Peppermint Bark – A festive and refreshing treat.
- Or, browse ALL of my Candy Recipes for even more sweet inspiration!
Your New Favorite Homemade Treat Awaits!
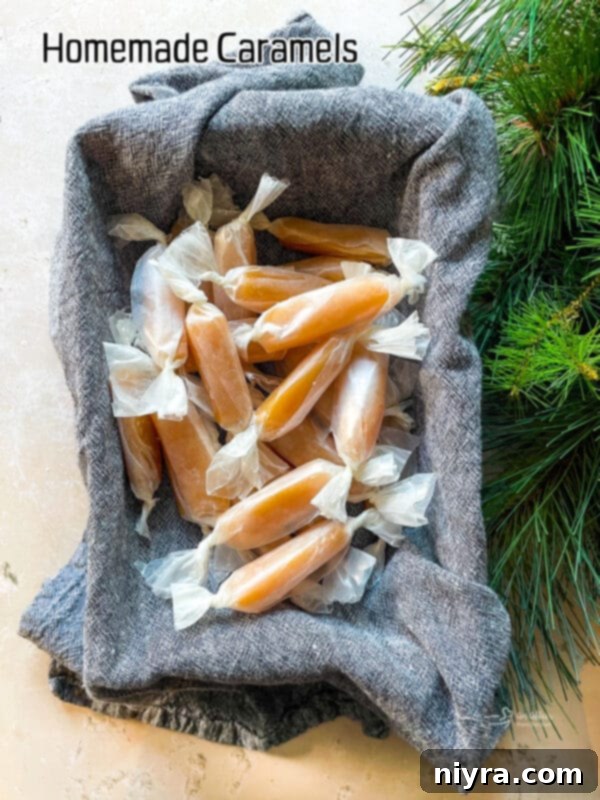
There’s truly nothing quite like the experience of biting into a perfectly crafted homemade caramel – that initial resistance, followed by the soft give, and finally, the slow melt of rich, buttery sweetness on your tongue. These homemade caramels are more than just a delightful treat; they’re a testament to the joy of creating something truly special with your own hands. Whether you’re making them for festive occasions, as thoughtful gifts, or simply to satisfy a craving, this recipe will quickly become a cherished favorite. So, gather your ingredients, follow these steps, and prepare for a little taste of heaven any day of the year!

LIKE THIS RECIPE?
Don’t forget to give it a ⭐️⭐️⭐️⭐️⭐️ star rating and
leave a comment below the recipe!

Print Recipe
Homemade Caramels
Equipment
- Zyliss Comfort Utility Knife
- OXO 3- Piece Wooden Spoon Set
- Cuisinart Chef’s Classic Nonstick 1-Quart Saucepan with Lid
- 9×13 Pyrex Baking Dish with a Lid
Ingredients
- 2 cups sugar
- 1 cup heavy cream
- 1 cup butter
- 1 ½ cups light corn syrup
- 1 teaspoon pure vanilla extract
- flaky sea salt optional
Instructions
- Line a 9×13 baking dish with parchment paper and butter it. Set aside.
- Combine all ingredients, except the vanilla, in a heavy pan.
- Stir cooking over medium heat until the sugar dissolves. Make sure to keep stirring taking care not to let it scorch.
- Turn the heat down to low and continue to cook, stirring constantly, until the mixture reaches the firm ball stage (245 degrees F.) Do not let the temperature exceed 250 degrees F. Be patient, this will take about 45 minutes.
- Remove from the heat, and stir in the vanilla extract.
- Pour into the prepared baking dish. Spread evenly.
- Cool.
- Cut into pieces with a sharp knife and wrap them in pieces of wax paper. (makes the perfect little candy wrappers!)
Notes
Nutrition
Calories: 113kcal |
Carbohydrates: 17g |
Fat: 6g |
Saturated Fat: 4g |
Polyunsaturated Fat: 2g |
Cholesterol: 16mg |
Sodium: 51mg |
Sugar: 17g
