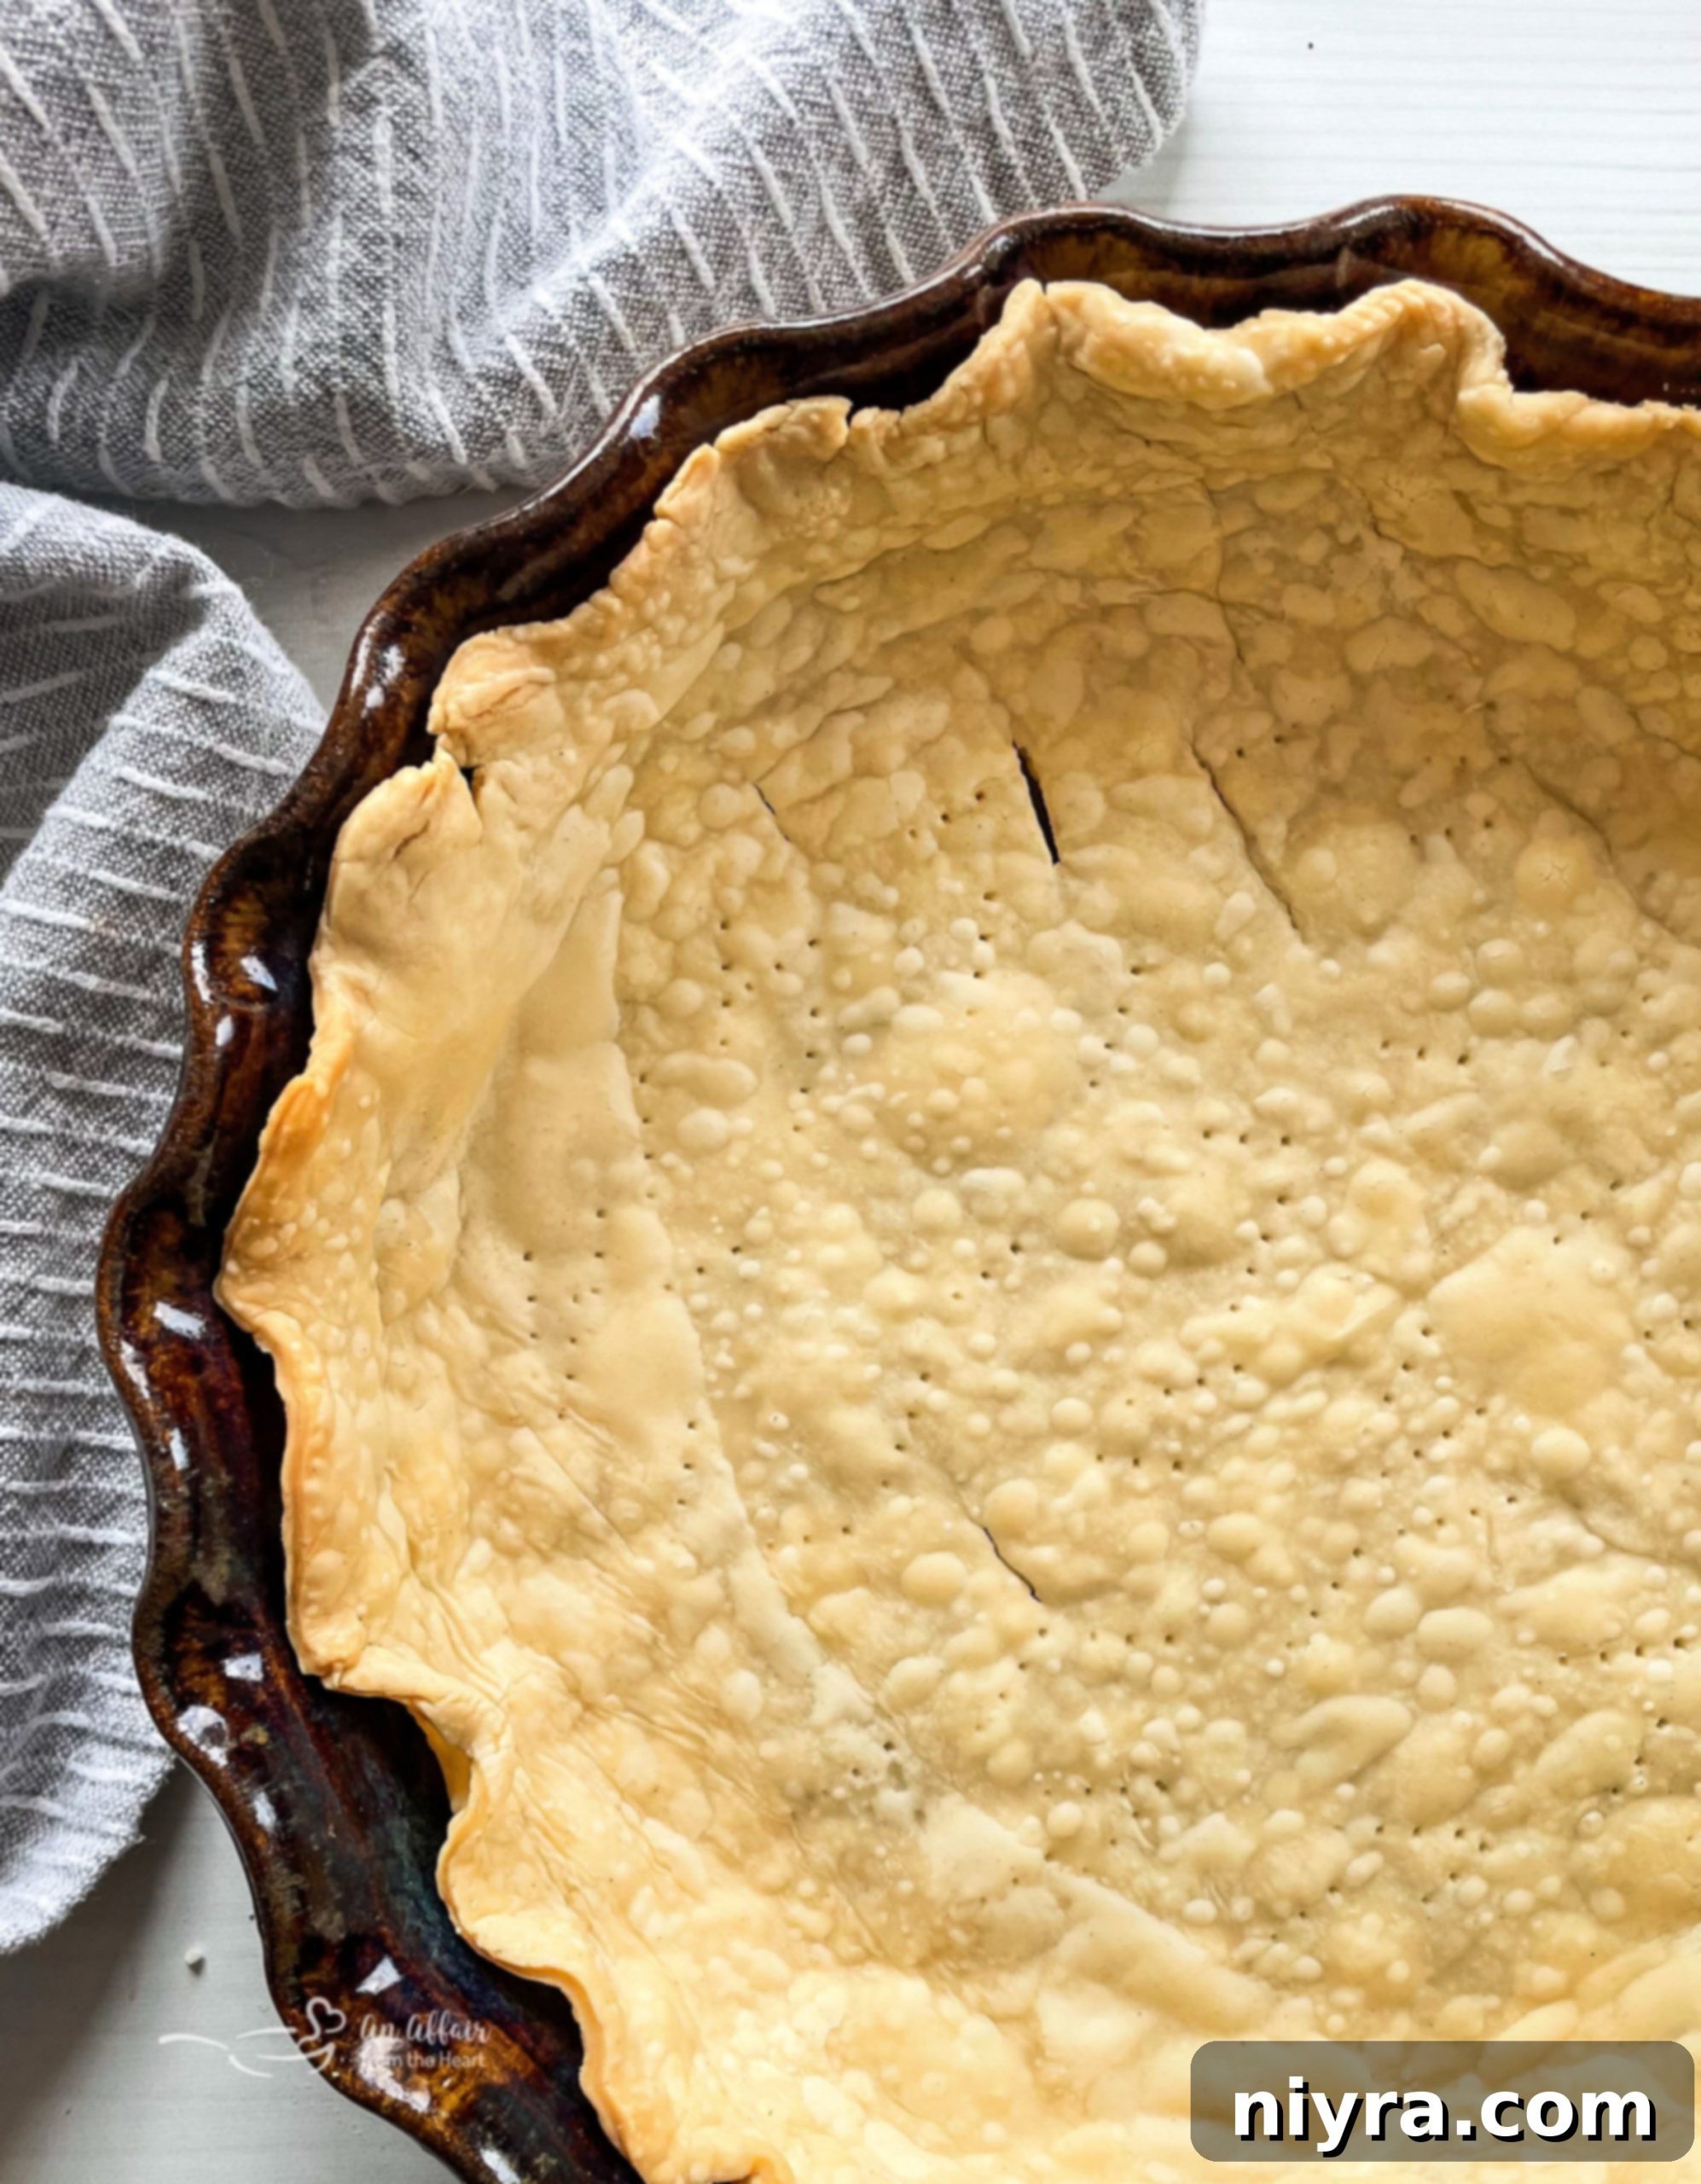
There’s an undeniable charm and comforting nostalgia associated with Grandma’s famous pies. Central to this culinary legend is her remarkable homemade pie crust – always achieving that perfect golden-brown hue and an irresistibly flaky texture that provides the ideal foundation for any filling. What many don’t realize is that this seemingly magical creation requires just a handful of basic pantry ingredients and can be mastered in your own kitchen with surprising ease. Say goodbye to store-bought crusts and embrace the simple joy of baking from scratch.
Unlock the Secret to the Perfect Homemade Pie Crust: A Grandma’s Guide
Nothing quite compares to the unparalleled taste and texture of a truly **homemade pie crust**. For generations, the art of crafting a tender, flaky, and delicious pie crust has been passed down, often becoming a cherished family tradition. These recipes, like the pies they hold, are treasured heirlooms, and for any homemade pie to truly live up to the standard set by our grandmothers, creating your own **homemade pie dough** is absolutely essential. It’s more than just a base; it’s the heart and soul of the pie, dictating its overall success and flavor profile.
Forget the notion that making pie crust from scratch is a daunting task reserved only for seasoned bakers. This guide will walk you through the process, demystifying each step and sharing the timeless wisdom that ensures a consistently perfect result. We’ll explore how simple ingredients, combined with proven techniques, can transform humble flour into a golden, buttery canvas for your favorite sweet and savory fillings.
Essential Ingredients for Your Flaky Homemade Pie Dough
One of the most appealing aspects of this classic pie crust recipe is its simplicity. You’ll likely discover that most of the necessary ingredients are already staples in your pantry. If not, a quick trip to the grocery store is a small investment for such a rewarding culinary experience. The beauty of this recipe lies in its minimalist approach, proving that you don’t need a complex array of ingredients to achieve extraordinary results. You just need these four fundamental components, one of which you certainly won’t need to purchase:
- Sifted All-Purpose Flour: The foundation of our crust. Sifting ensures lightness and helps prevent a dense, tough texture.
- Fine Sea Salt: Crucial for enhancing the flavor of the crust itself, providing balance to sweet fillings and complementing savory ones.
- Crisco Shortening (or preferred solid fat): The key to ultimate flakiness. Shortening’s high melting point and pure fat content create pockets of steam during baking, leading to that desirable layered texture.
- Ice-Cold Water: Absolutely non-negotiable. Cold water is vital for keeping the shortening solid and preventing premature gluten development, both essential for a tender, flaky crust.
Crafting Your Easy Homemade Pie Dough: The Art of Simplicity
With such a short list of ingredients – primarily three dry components plus water – you might assume the process is straightforward. And indeed, it is! However, like many truly simple culinary endeavors, the secret to a phenomenal homemade pie crust lies in mastering the minute details. Once you understand and implement these subtle techniques, you’ll discover that purchasing pre-made pie crusts becomes a thing of the past. The difference in taste and texture is so profound, you’ll wonder why you ever settled for less.
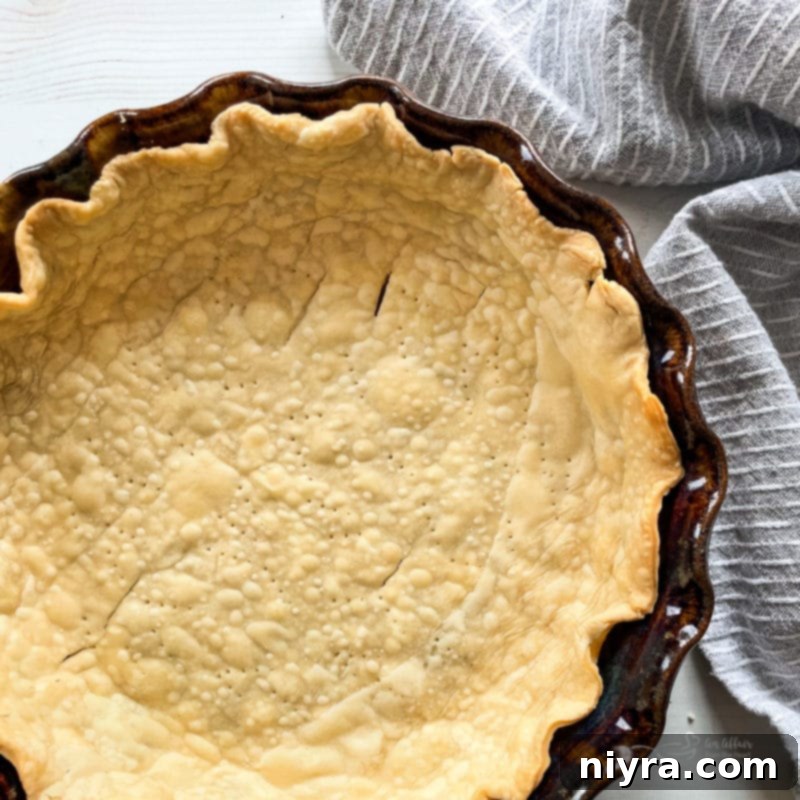
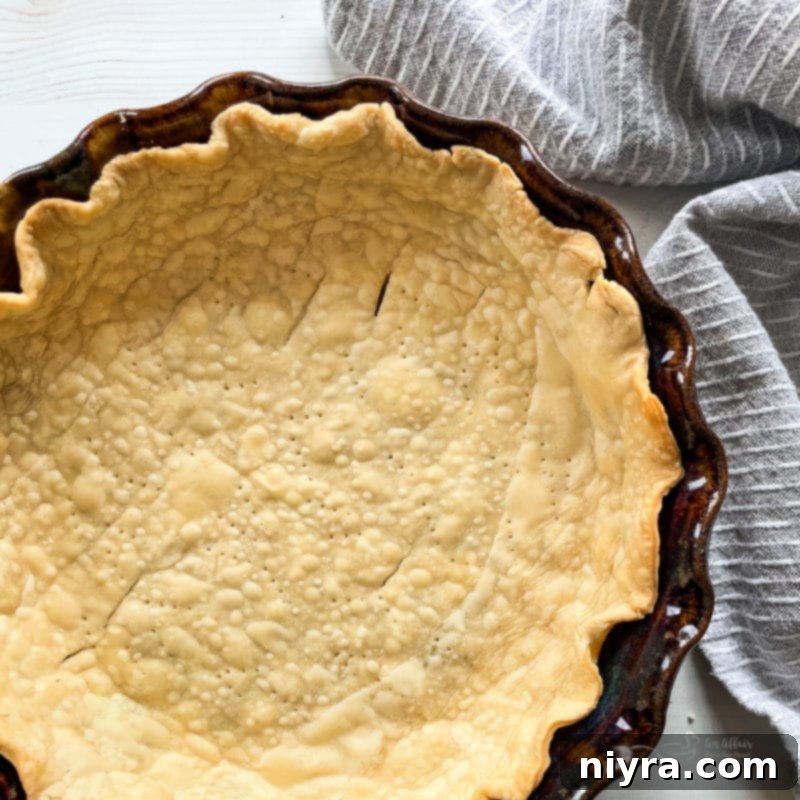
A perfectly baked, lightly golden pie crust serves as an exquisite edible platter for an endless variety of dishes. Imagine it cradling a fluffy brunch-time quiche, a hearty and comforting chicken pot pie, or any kind of sweet fruit filling your heart desires. The versatility is immense, making this foundational recipe a cornerstone of any home baker’s repertoire. As the old adage reminds us, “The classics never grow old,” and this pie crust recipe is a testament to that enduring truth.
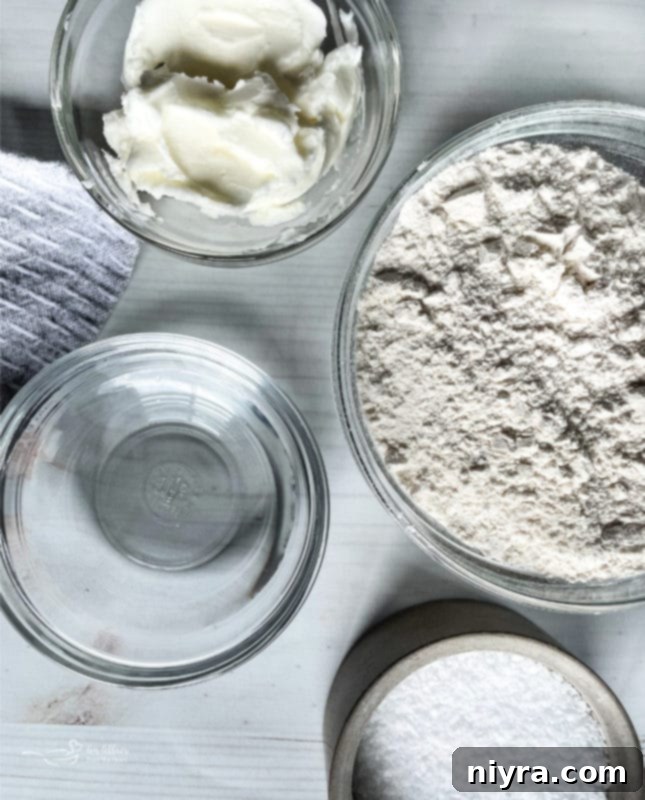
Begin with the Dry Ingredients for Simple Pie Crusts
The journey to a sublime pie crust starts with combining your dry components: flour, salt, and shortening. While shortening might technically possess some “wet” characteristics, in the context of pie crust making, we treat it as part of the initial dry mixture. The crucial step here is to thoroughly blend these ingredients *before* introducing any liquid. This ensures that the fat is evenly distributed throughout the flour, setting the stage for that coveted flaky texture.
The Importance of Sifted Flour
Achieving a light and airy crust is paramount, and it all begins with how you handle your flour. The finer and more aerated the flour, the lighter and more tender your final crust will be. Flakiness and tenderness are the hallmarks of any truly great pie crust, and much of this lightness stems from properly sifted flour. Sifting removes any lumps, aerates the flour, and ensures a consistent texture, allowing the fat to coat the individual flour particles more effectively. If you don’t have a sifter on hand, you can opt for “pastry flour,” which is ground to a finer consistency than standard all-purpose flour. Alternatively, whisking your all-purpose flour vigorously for a minute or two can mimic some of the benefits of sifting. Remember to measure your flour *after* sifting for accuracy.
While you’re sifting the flour, go ahead and sift the salt along with it. This small step helps to distribute the salt more completely and evenly throughout the flour mixture, ensuring every bite of your crust is perfectly seasoned.
Incorporating Shortening into Your Pie Crust Dough
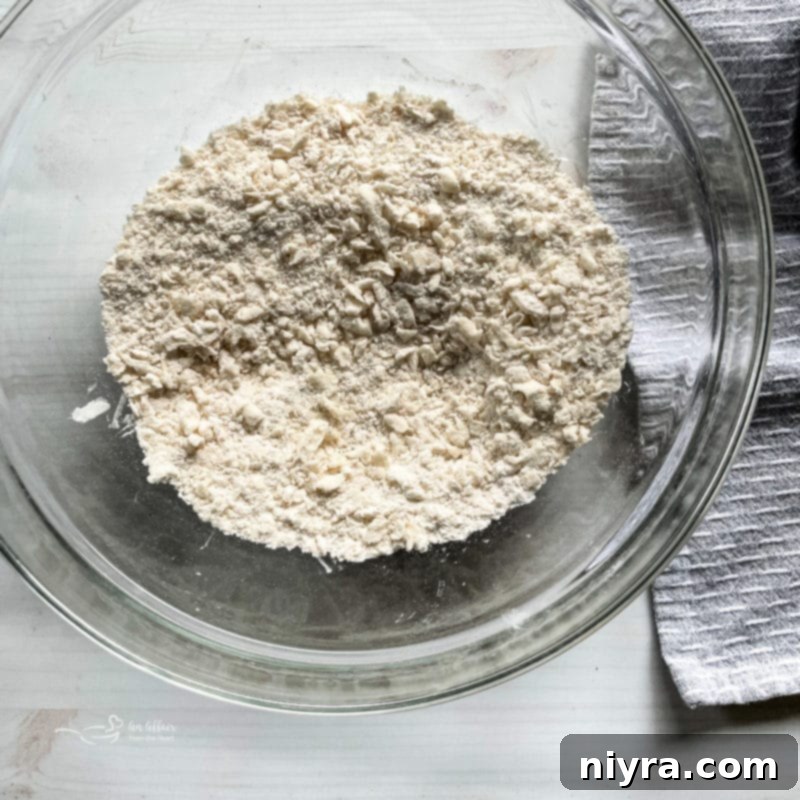
Once your flour and salt are thoroughly combined, it’s time to introduce the shortening. This step, often referred to as “cutting in” the fat, is where the magic of flakiness truly begins. The goal is to break the solid shortening into small, pea-sized bits and evenly disperse them throughout the flour mixture. It’s important not to overmix or overwork the flour and shortening at this stage. The more you blend, the more the gluten strands in the flour begin to develop, which can lead to a tough, rather than tender, crust. Furthermore, you don’t want the shortening to melt completely into the flour; instead, you want it to coat the flour particles, forming distinct layers that will later create steam pockets during baking. This process is about creating pockets of fat, not integrating it into a uniform paste – remember, you’re not making bread, you’re crafting a delicate crust.
Using a pastry blender is ideal for this task, as it helps to incorporate the shortening without excessive handling, which could warm the fat. If you don’t have one, two forks or even your fingertips can work, but be quick and efficient to avoid melting the shortening with the heat from your hands. The texture should resemble coarse meal with visible pea-sized pieces of shortening.
The Chill Factor: Using Ice Water to Form Your Dough Ball
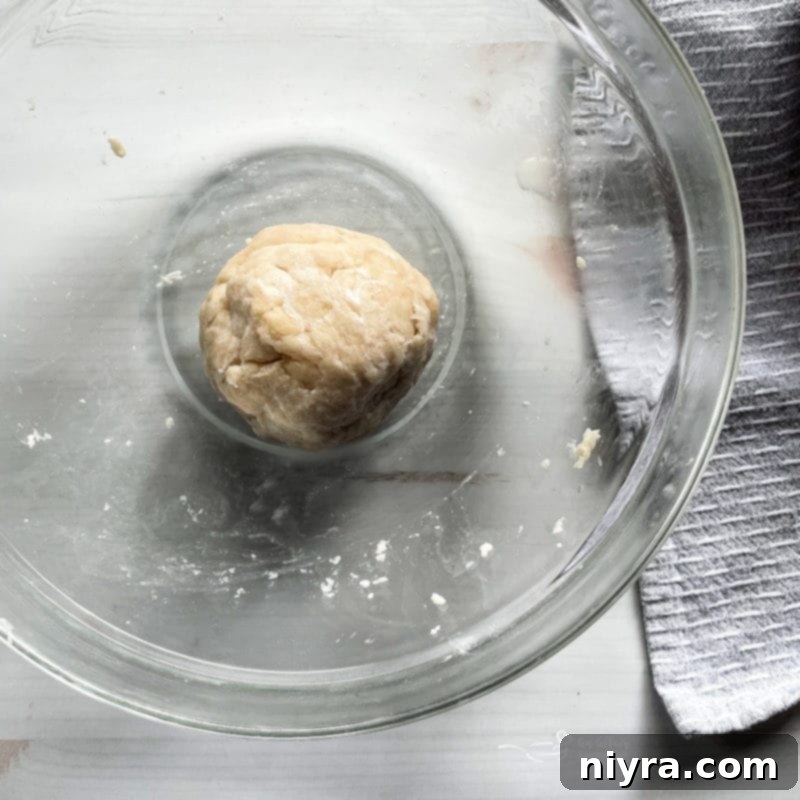
With the shortening perfectly integrated into the flour, the next crucial step is to gradually add chilled water. The water acts as a binding agent, bringing everything together to form a cohesive dough ball. You’ll need to work the mixture just enough to gather it, but again, resist the urge to overwork it. Excessive kneading will develop the gluten, leading to a tough crust.
The temperature of the water is critical: use ice-cold water, as cold as you can get it. Some bakers even add a few ice cubes to their water to ensure it stays frigid. Why is cold water so important? It prevents the shortening from melting completely into the dough. When those tiny, solid pieces of shortening melt in the hot oven, they release steam, creating the airy pockets that define a truly flaky pie crust. If the shortening melts prematurely during mixing, your crust will be less flaky and more dense. Seriously, make your water as cold as possible – **cold water is absolutely critical for achieving that coveted flaky pie crust!** Add the water a tablespoon at a time, gently mixing until the dough just comes together into a shaggy ball. It should feel slightly sticky but not wet.
Shaping and Finishing Your Pie Crust Edges
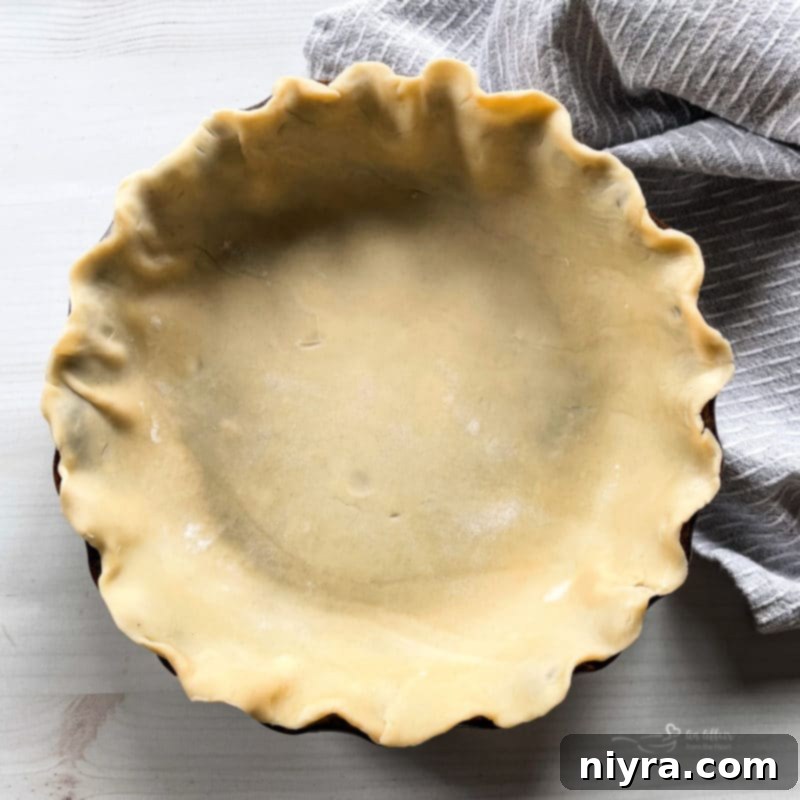
Now that you have your beautifully formed dough ball, it’s time to prepare it for your pie plate. On a lightly floured surface, gently roll out the dough into a circle, aiming for a consistent thickness. Alternatively, you can carefully press it into your pie tin or pan. Ensure the dough is of even thickness throughout, typically a little less than a quarter-inch, to guarantee it cooks uniformly alongside your chosen filling. A too-thin crust might become soggy, while a too-thick crust could be undercooked in the center.
When rolling, intentionally make the dough circle slightly larger than the actual pie tin. This generous sizing allows for a graceful overlap, giving you ample dough to create those iconic pie crust edges. Whether you prefer a classic rolled edge, an elegant fluted design, or a simple crimped fork edge, having that extra dough makes shaping much easier and more aesthetically pleasing. Once the dough is in the pan and trimmed, you can refrigerate it for about 30 minutes. This helps the gluten relax, preventing the crust from shrinking during baking, and solidifies the fat, enhancing flakiness.
With your crust perfectly shaped, you are now ready to fill and bake your pie. However, for certain recipes, an additional preparatory step known as “blind baking” (or pre-baking) the dough is necessary.
Mastering the Art of Blind Baking a Pie Crust
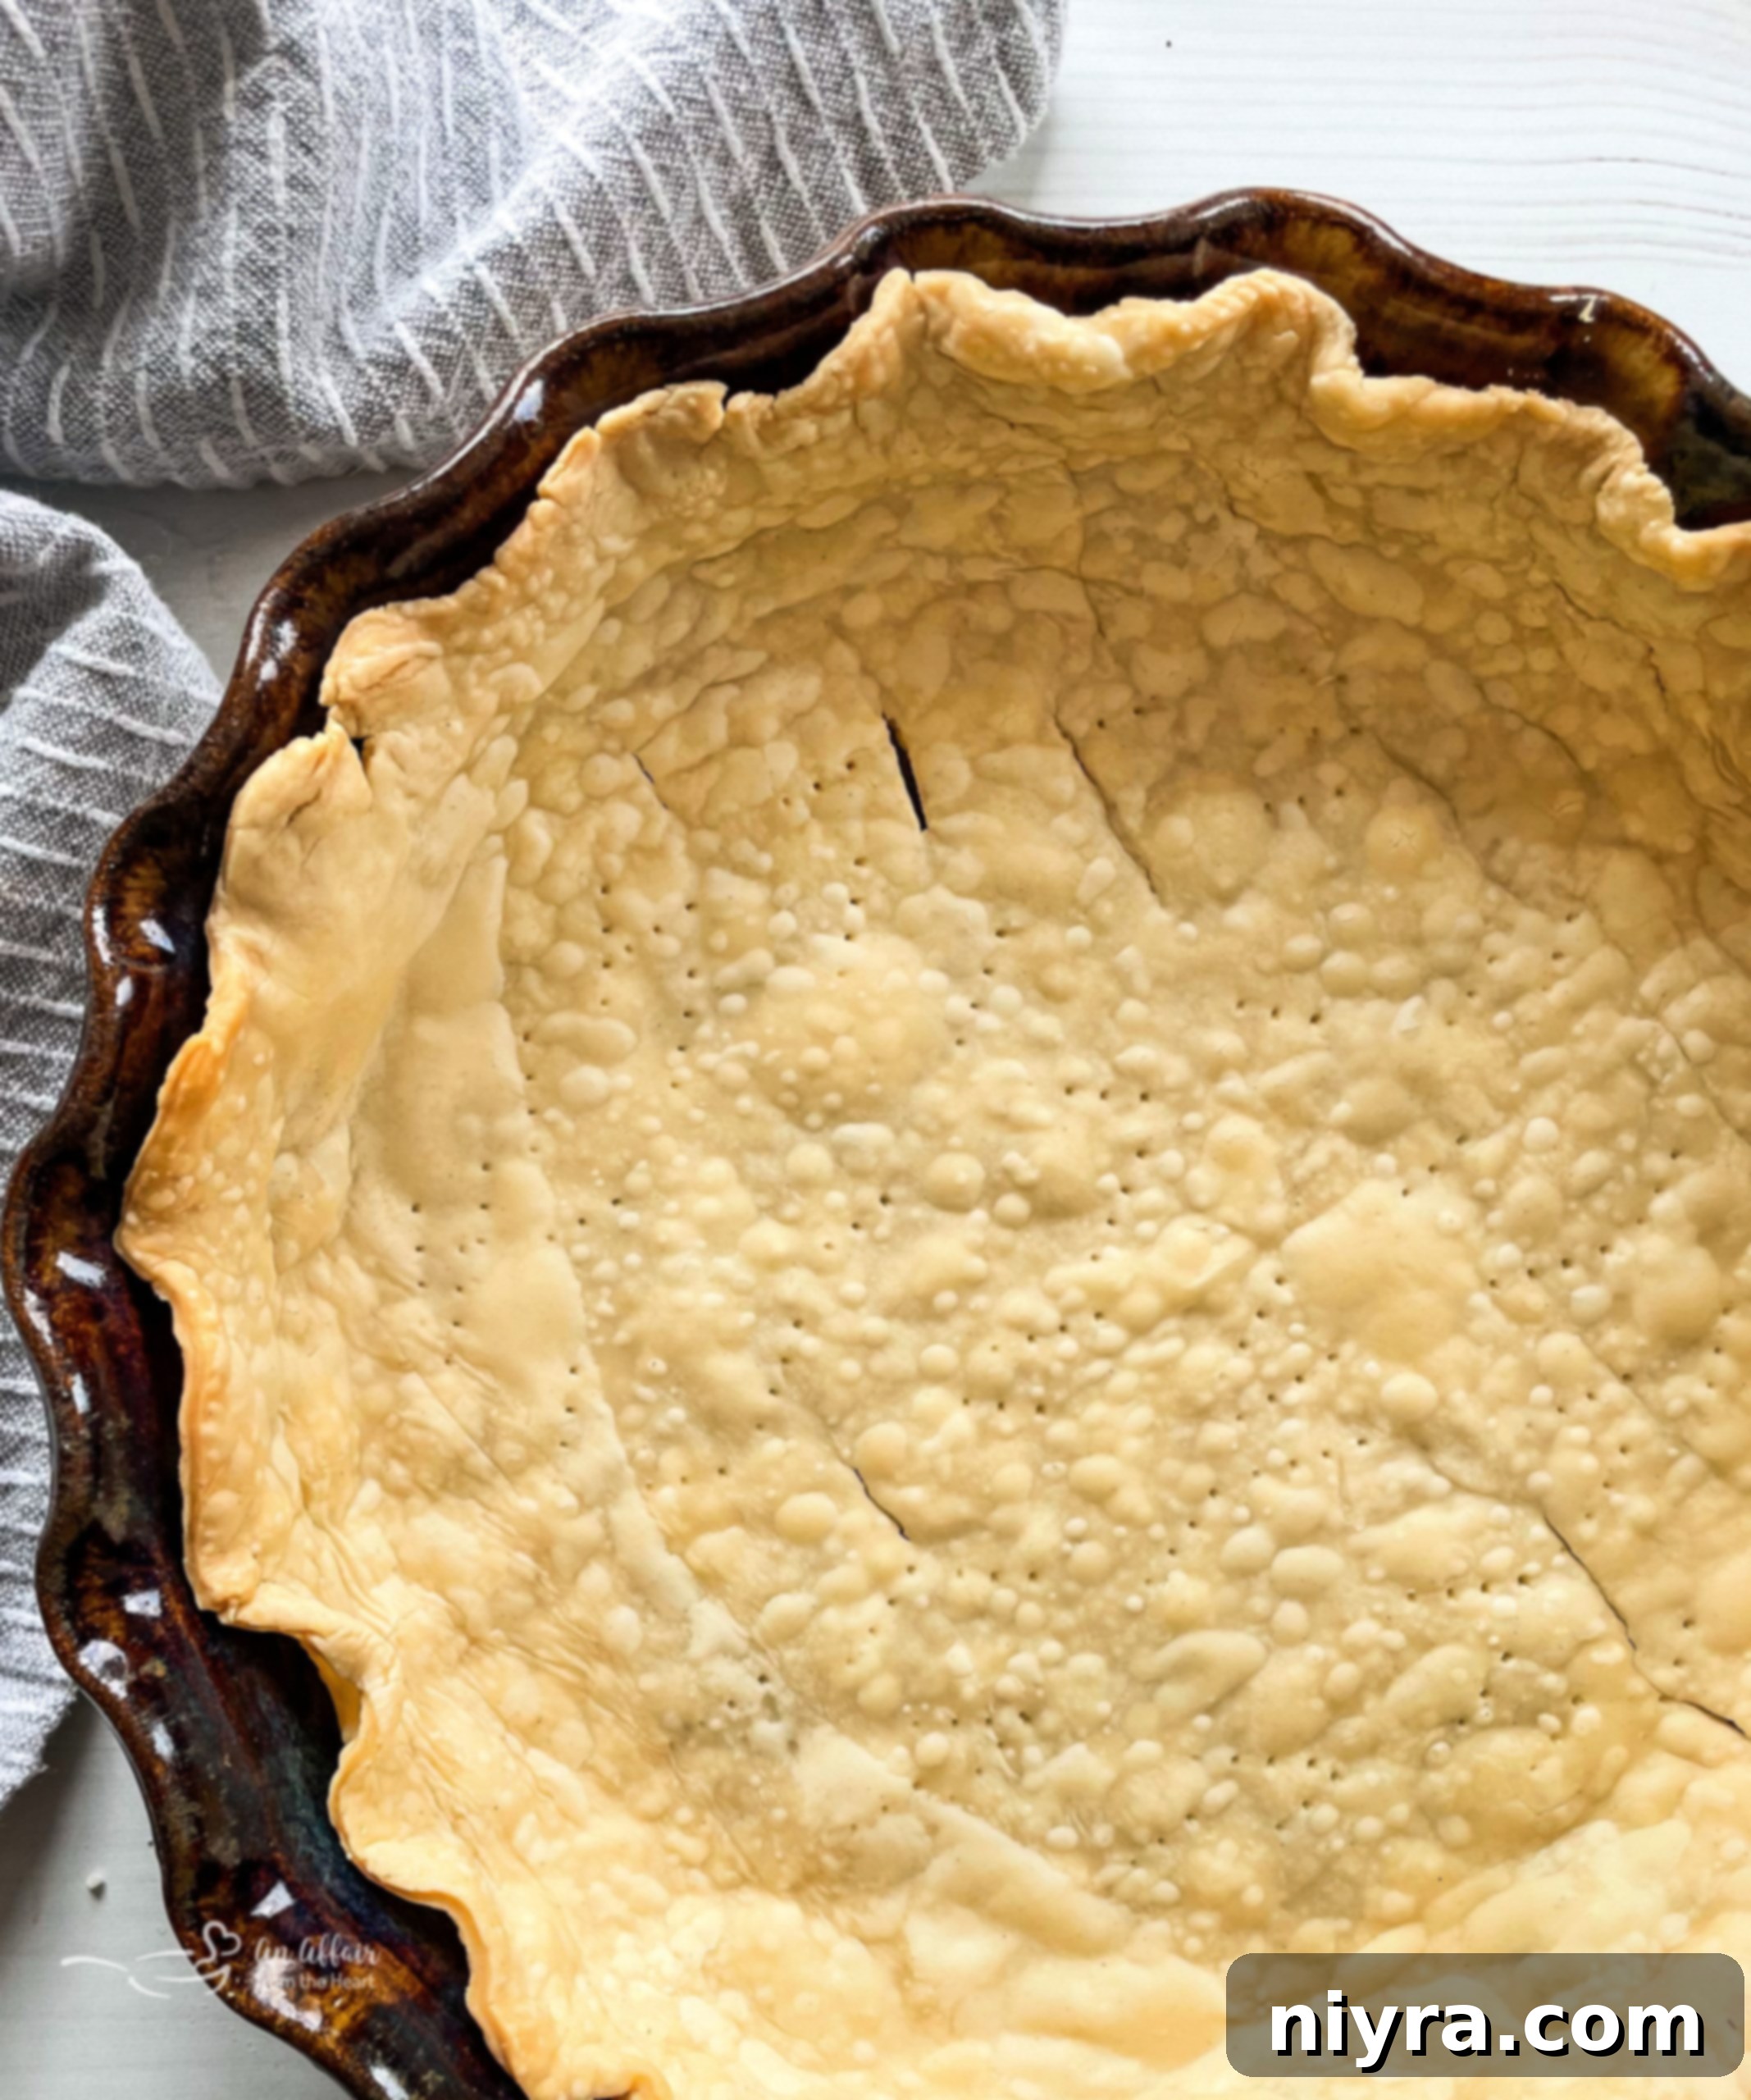
If your goal is to truly bake homemade pie crusts with the finesse of Grandma, then understanding the technique of “blind baking” your pie crust is absolutely essential. Blind baking refers to the process of partially or fully baking a pie crust before adding the filling. This is especially crucial for recipes where the filling itself doesn’t require baking, such as my delightful French Silk Pie or my creamy Banana Cream Pie, or for fillings that are very wet and might make an unbaked crust soggy.
I have a complete guide on how to pre-bake pie crust that delves into all the specifics. In essence, blind baking helps to create a crisp bottom crust, preventing the dreaded soggy bottom that can ruin an otherwise perfect pie. It also ensures that the crust cooks evenly. When you know a few key tips and tricks – like lining the crust with parchment paper and using pie weights (or dried beans/rice) to keep it from slumping – you’ll avoid the common issue of the crust collapsing into the bottom of the tin during this crucial pre-bake step. This technique creates a sturdy, golden shell ready to embrace any filling without compromise.
Exploring Alternatives: Can You Make Pie Crust Without Shortening?
While Crisco shortening is a time-honored choice for its incredible ability to produce a flaky, tender crust, it’s natural to wonder about alternatives. Indeed, if you prefer, you can absolutely use other fats such as butter, oil, margarine, or lard for your pie crust. Each of these options brings its own distinct advantages and disadvantages, though the general measurements typically remain consistent. Understanding these differences can help you choose the best fat for your desired outcome.
- Lard and Margarine: These fats behave quite similarly to shortening in terms of creating flakiness. Lard, in particular, is renowned for producing exceptionally flaky and tender crusts due to its unique fat crystal structure. However, lard can impart a subtle pork flavor, which is fantastic for savory pies but perhaps not ideal for delicate fruit pies. It’s also not suitable for vegan or vegetarian diets. Margarine is often a good substitute for shortening, offering a similar texture without the animal product.
- Butter: Butter offers an incredibly rich, delicious flavor that many find irresistible. However, working with butter can be a bit trickier than shortening. Butter has a lower melting point and a higher water content (about 20%), which means it can melt faster during mixing and rolling, and release more steam during baking. To achieve a flaky butter crust, it’s essential to keep the butter very cold (even frozen and grated) and work quickly to minimize handling. The reward is a beautiful golden crust with a rich, dairy flavor.
- Oil: While convenient, using oil for pie crust is generally not recommended if flakiness is your goal. Oil creates a more crumbly, tender, almost cookie-like dough rather than a layered, flaky one. This can be suitable for certain tarts or crumb-top pies, but it won’t give you the traditional texture expected of a classic pie crust.
In my opinion, shortening remains the easiest fat to work with for consistently flaky results, especially for beginners, as it is forgiving and holds its structure well. But don’t hesitate to experiment with butter for that incredible flavor, keeping in mind the need for extra care in keeping it cold.
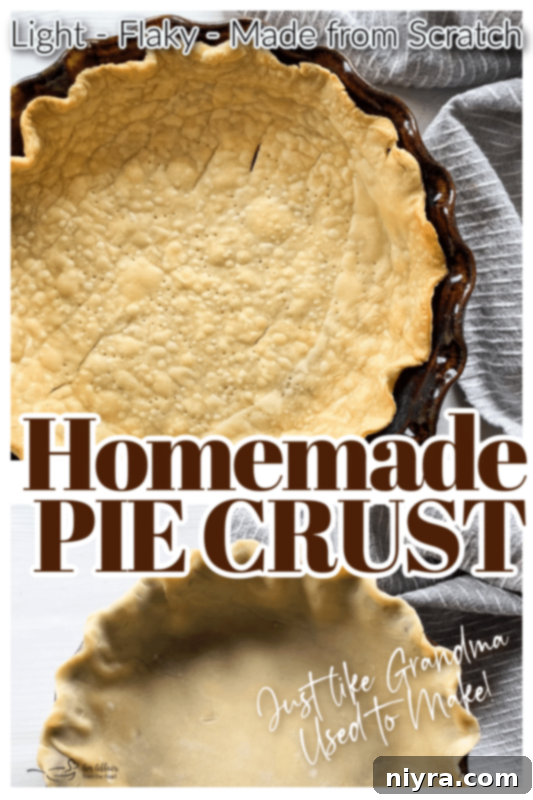
Love This Recipe? Pin It for Later!
Don’t let this fantastic guide to making the perfect pie crust slip away! Pin this comprehensive how-to to your favorite Pinterest baking board before you go, so you can easily reference it whenever the craving for a homemade pie strikes. Share the love of flaky, homemade goodness with your friends and family!
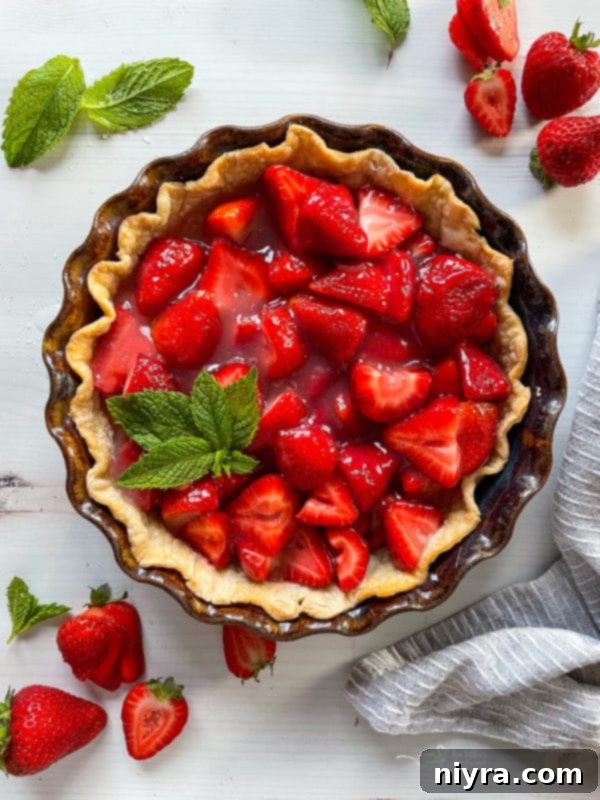
Now, Let’s Bake Some Incredible Pies!
With your newfound mastery of homemade pie crust, the possibilities for delicious pies are endless! Here are some of my all-time favorite pie recipes, many of which I learned directly from my Mother and Grandmother. These go-to recipes are perfect for showcasing your beautifully made crust, creating memorable desserts and savory dishes for any occasion.
- Fresh Strawberry Pie (pictured above, a delightful summer treat!)
- Classic Pecan Pie (a holiday favorite that never disappoints)
- Grandmother’s Rhubarb Pie (a timeless tart and sweet delight)
- Creamy Coconut Banana Cream Pie (an indulgent tropical twist)
- Rich Chocolate Meringue Pie (a decadent dessert with a cloud-like topping)
- Hearty Reuben Pot Pie (a savory and comforting meal)
- Authentic German Onion Pie (Zwiebelkuchen) (a unique and flavorful savory option)
- Classic Chicken Pot Pie (the ultimate comfort food, perfect for family dinners)
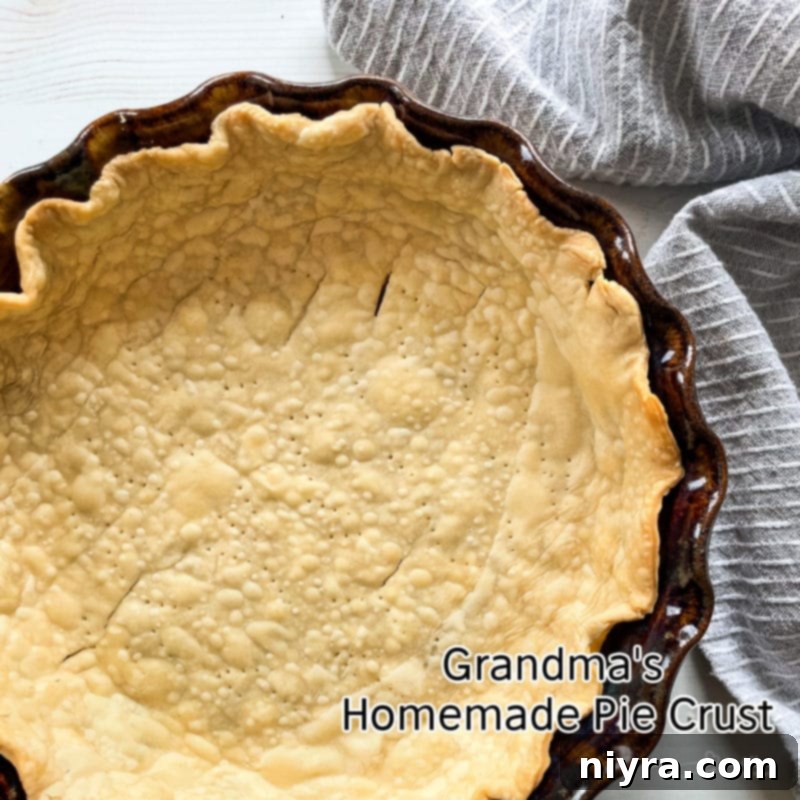
Now that you have all the knowledge and confidence, let’s get into the kitchen and make a pie crust! Happy baking! 
LIKE THIS RECIPE?
Don’t forget to give it a ⭐️⭐️⭐️⭐️⭐️ star rating and
leave a comment below the recipe!
Grandma’s Homemade Pie Crust
This is a simple, from-scratch pie crust recipe that my grandma always used. It only requires 4 ingredients and turns out flaky and perfect every time.
Servings: 1 single crust
Author: Michaela Kenkel
Ingredients
- 1 ½ cups all-purpose flour (sifted)
- ½ teaspoon salt
- ½ cup Crisco shortening
- About 1/3 cup cold water (use as much as needed, ice-cold is best)
Instructions
- Sift flour before measuring. Spoon lightly into the measuring cup and level without shaking or packing it down.
- Combine the sifted flour and salt thoroughly in a large mixing bowl.
- Using a pastry blender or two forks, cut in the Crisco shortening until the mixture resembles coarse meal with pea-sized bits of shortening. Be careful not to overmix.
- Gradually sprinkle with ice-cold water, a tablespoon at a time, working the dough gently with your hands or a fork until it just comes together into a firm ball. Do not overwork the dough.
- Place the dough ball on a lightly floured board or surface. Roll it into a circle approximately 1 ½ inches larger than your pie plate when it’s inverted onto the crust.
- Carefully transfer the rolled dough to your pie plate. Trim the excess crust, leaving about ½ inch overlap around the edge of the pie plate. Form the crust edge as desired (e.g., crimp with fingers or a fork).
- Fill with your chosen pie filling and bake according to your specific recipe. Alternatively, for no-bake fillings or to prevent a soggy bottom, blind bake the crust and allow it to cool completely before filling.
