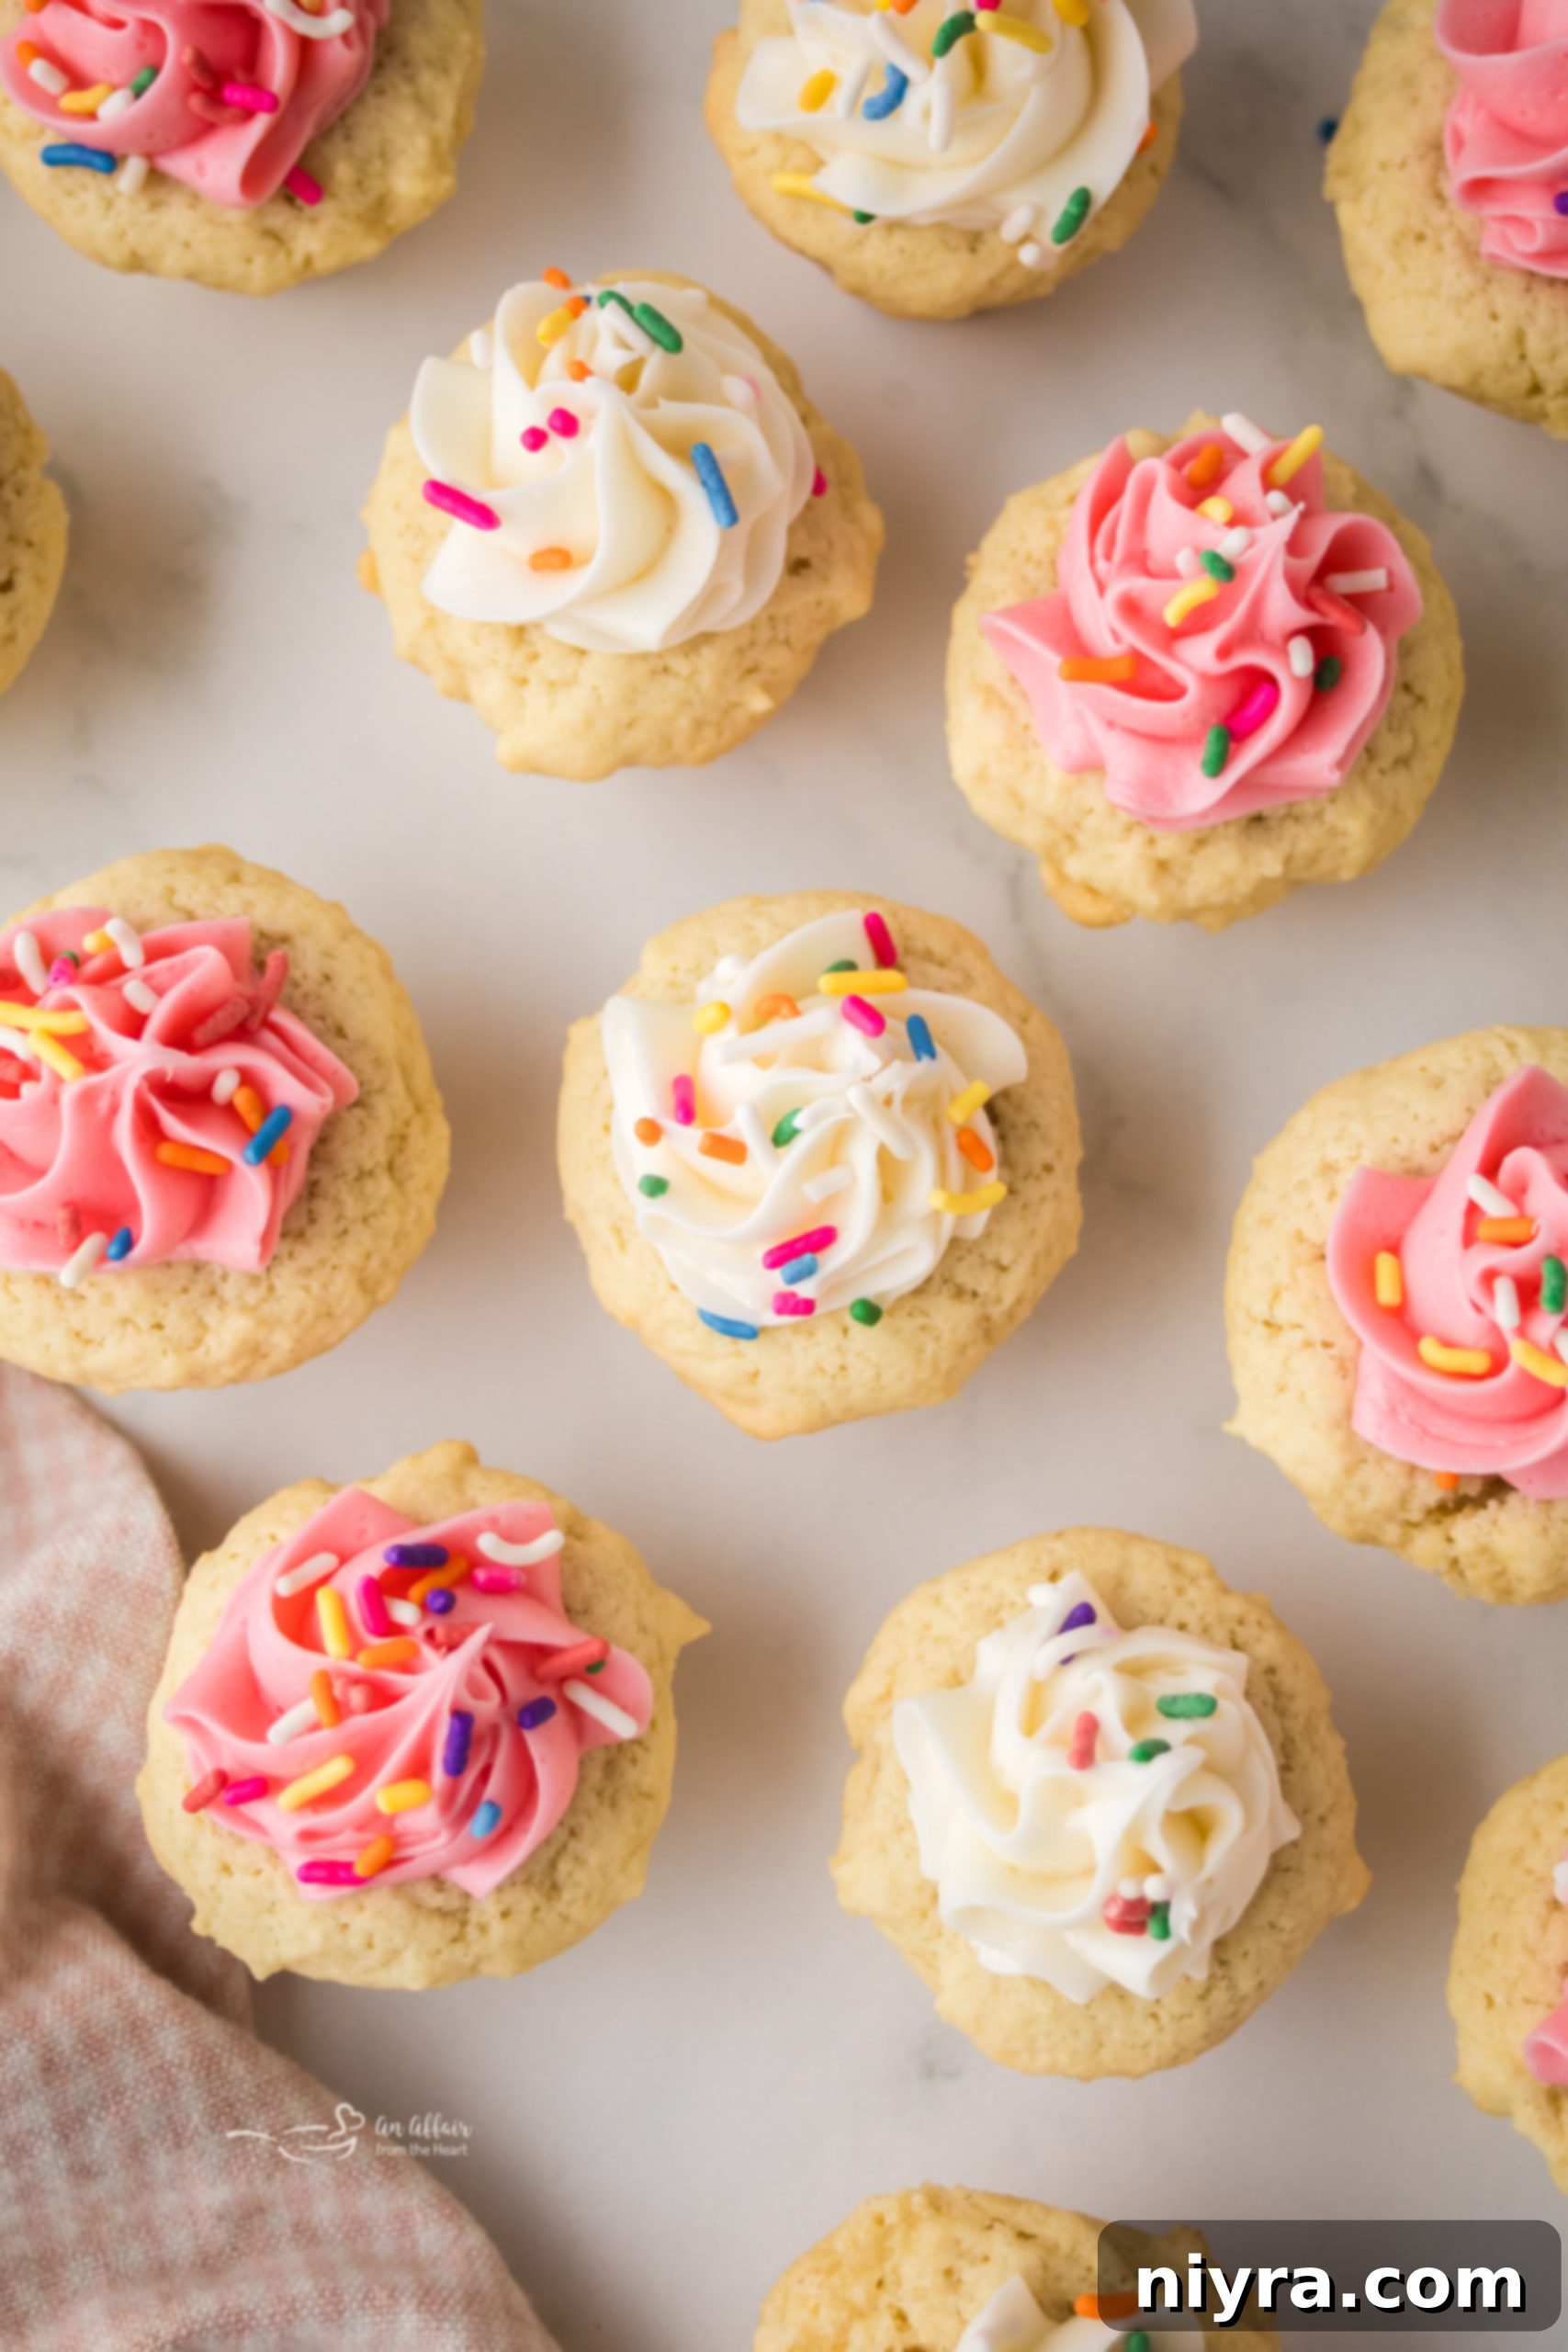
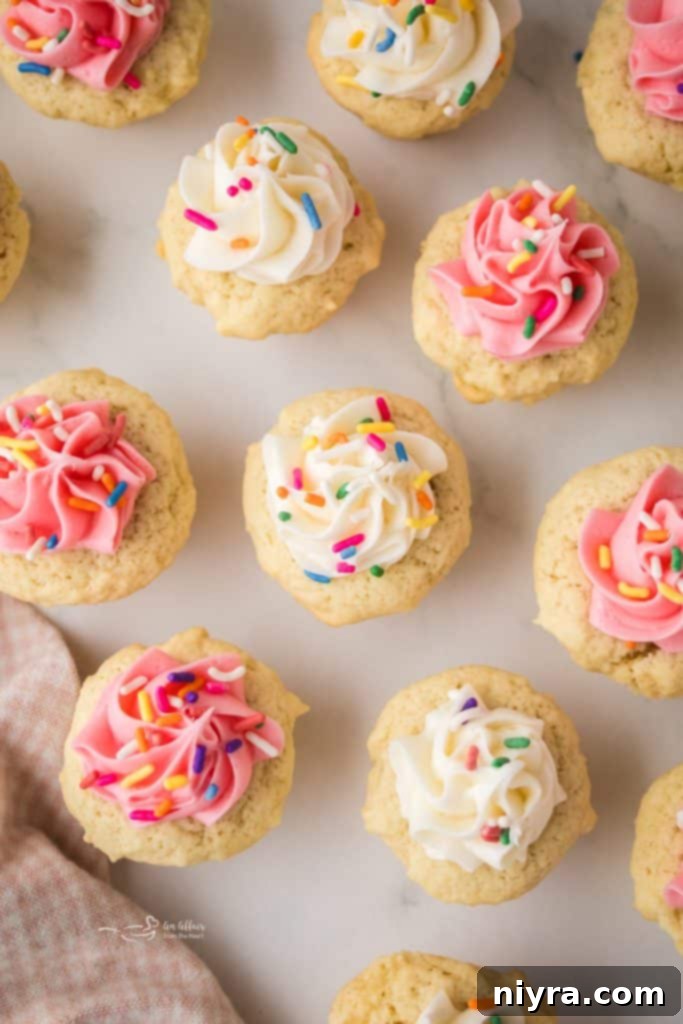
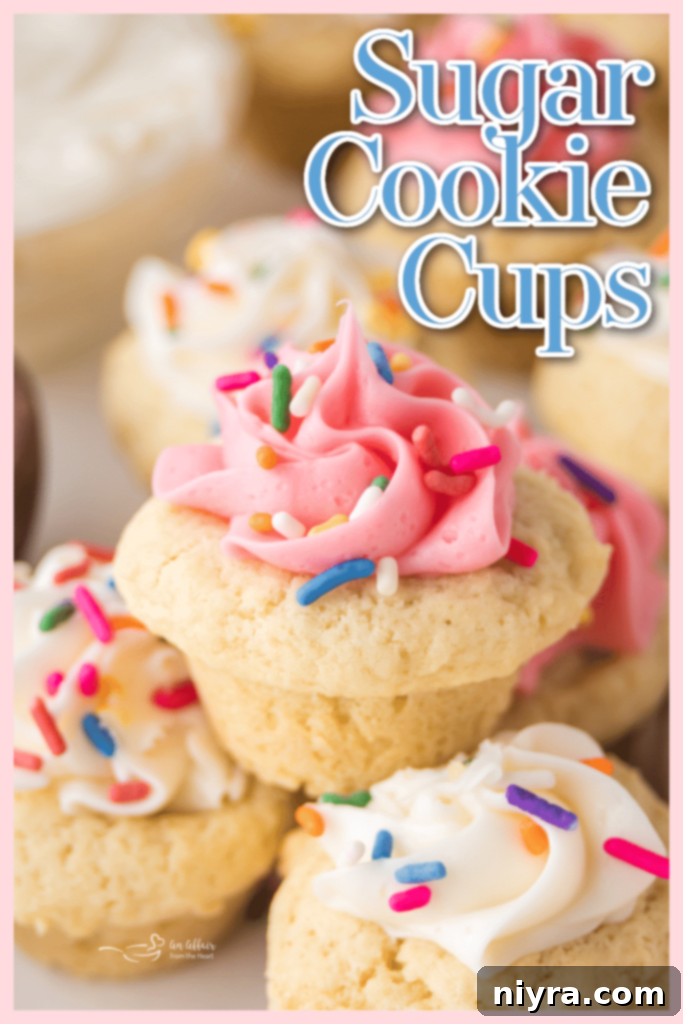
If you’re searching for a delightful twist on classic sugar cookies, look no further than these charming Sugar Cookie Cups. Perfectly baked in a mini muffin tin, each delicate cup cradles a luscious swirl of creamy frosting and a playful sprinkle of your favorite decorations. They’re not just incredibly cute; they’re also undeniably delicious, making them the ultimate crowd-pleasing treat for any occasion. This straightforward recipe transforms everyday ingredients into an extraordinary dessert that’s ideal for holidays, birthday parties, or simply a spontaneous baking session.
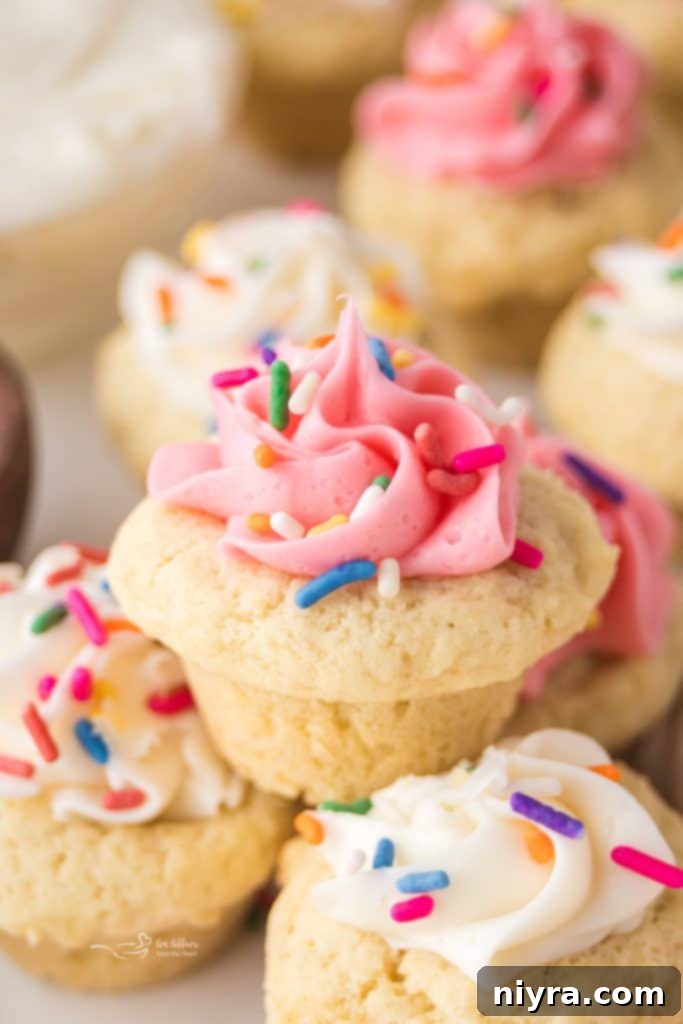
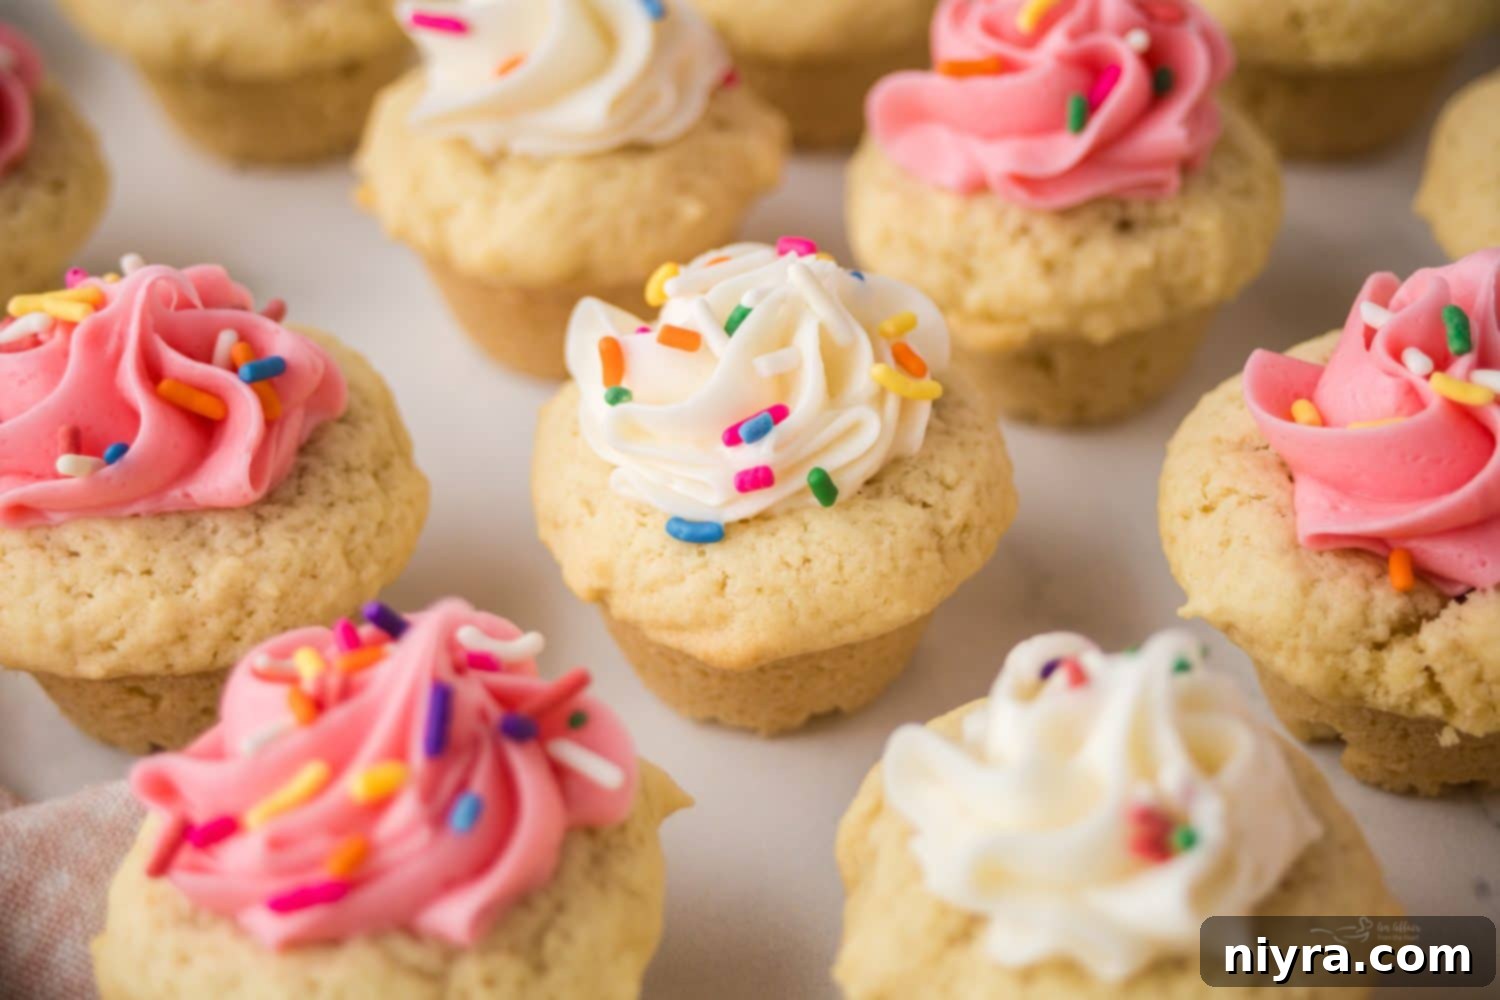
Who can resist a soft, beautifully frosted sugar cookie? We certainly can’t! These mini sugar cookie cups offer a heavenly combination: a tender, soft center perfectly complemented by golden-brown edges. Their charming cup shape is easily achieved thanks to the mini muffin pan, creating a perfect vessel for generous amounts of frosting. They have that irresistible bakery-quality look and taste, yet they come together quickly using common pantry staples. This recipe takes the beloved sugar cookie and elevates it into a more versatile and visually appealing dessert, perfect for impressing guests without hours of effort.
Introducing Sugar Cookie Cups: Your New Favorite Dessert
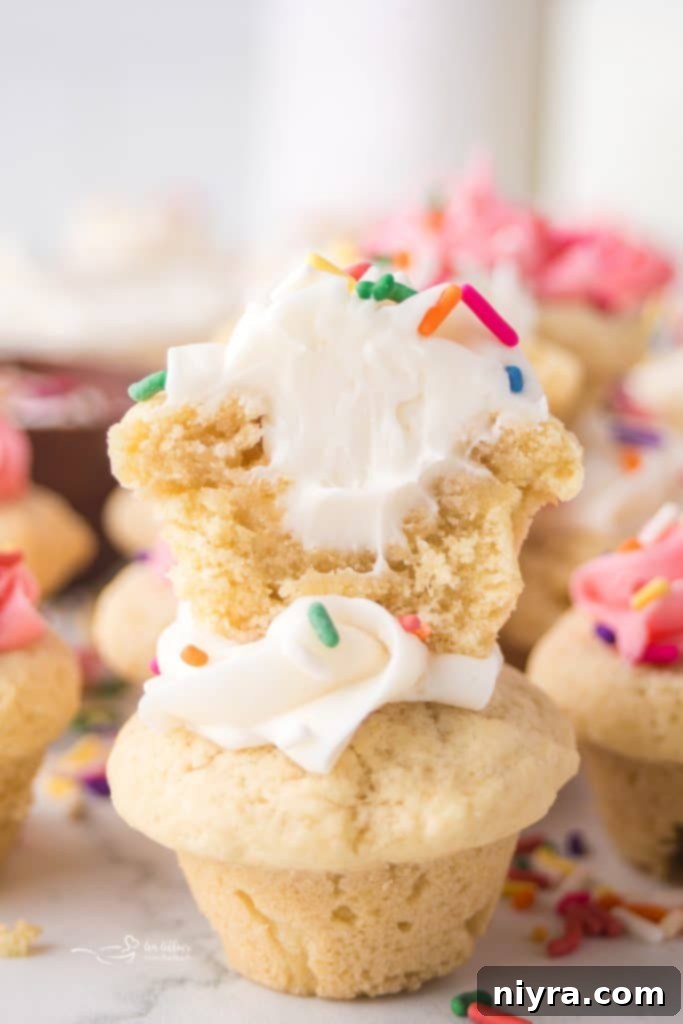
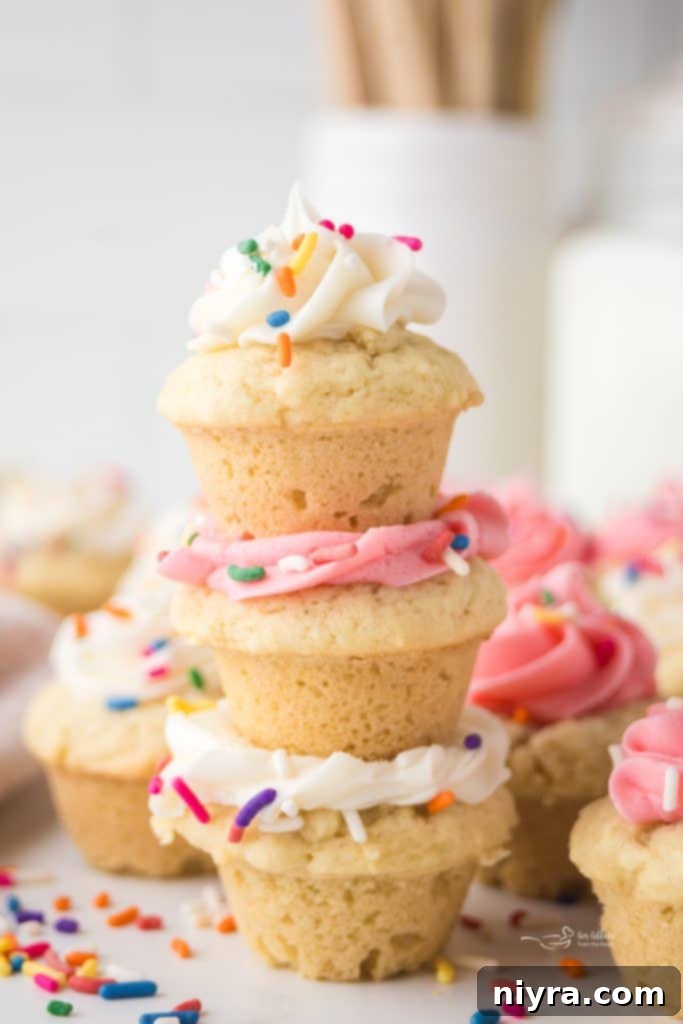
These Frosted Sugar Cookie Cups are a testament to simplicity meeting spectacular flavor. This easy dessert is designed for effortless preparation and stress-free entertaining. The sugar cookie dough bakes into a delightfully soft base, which you then gently shape into a cup right after removing it from the oven using the back of a teaspoon. This clever trick ensures your cookies maintain their perfect indentation, ready to be filled. Once cooled, decorating is a breeze – whether you prefer the elegant swirls of a piping bag or the simple charm of spreading frosting with a butter knife, these cups are wonderfully adaptable to your personal style.
Beyond their charm, these cookie cups are incredibly practical. They can be prepared ahead of time, stored in an airtight container, and easily transported to any gathering. Their customizable nature is another huge advantage; you can effortlessly switch up the frosting colors and sprinkle designs to match any season, holiday, or party theme. Opt for vibrant pastels for spring events, festive reds and greens for Christmas, or shimmering golds for a New Year’s celebration. You also have the flexibility to choose between convenient store-bought frosting or indulging in your favorite homemade buttercream or cream cheese frosting for an extra special touch.
Essential Ingredients for Perfect Sugar Cookie Cups
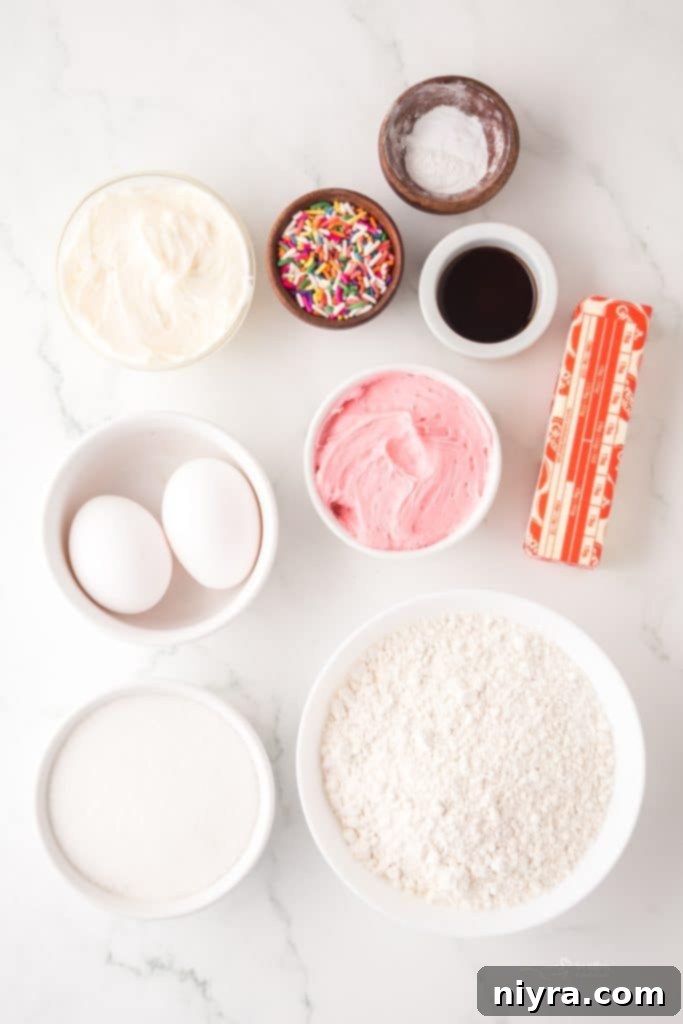
Crafting these delectable mini muffin tin cookies requires a few fundamental ingredients, most of which you likely already have in your pantry. For precise measurements and detailed instructions, refer to the complete recipe card found at the bottom of this page.
- Salted Butter (melted): Using melted butter is key for a smooth, easily mixable dough that contributes to the cookie’s tender texture. If you only have unsalted butter, simply add a pinch more salt to the dry ingredients.
- White Granulated Sugar: This provides the essential sweetness and helps achieve the desirable light crispness around the edges, typical of a classic sugar cookie. It also contributes to the structure and golden color.
- Large Eggs (room temperature): Eggs are crucial for moisture and act as a binder, holding all the ingredients together. Room temperature eggs emulsify more effectively with the butter and sugar, resulting in a smoother, more uniform dough. Remember to take them out of the fridge at least 30 minutes before you start baking.
- Vanilla Extract: The heart of that iconic sugar cookie flavor. A good quality vanilla extract makes all the difference. For a delightful variation, consider substituting or adding a touch of almond extract for a distinct, nutty aroma.
- Baking Powder and Baking Soda: This dynamic duo ensures your cookies achieve the perfect rise and remain wonderfully soft. They are essential for creating that ideal indentation in the center without the cookie cracking or crumbling.
- All-Purpose Flour: Provides the fundamental structure for your cookies. To avoid dense or tough cookies, it’s vital to measure your flour correctly. Spoon and level the flour into your measuring cup rather than scooping it directly from the bag.
- Pink and White Frosting: For a vibrant and clean swirl, we recommend using store-bought frosting in a piping bag – it’s a great shortcut for beautiful results. Alternatively, unleash your inner baker with a homemade vanilla buttercream frosting or a rich cream cheese frosting.
- Rainbow Sprinkles: A simple yet impactful topping that instantly adds festive flair and a pop of color. Don’t limit yourself to rainbow! Get creative with your decorations: chocolate eggs for Easter, classic red and green for Christmas cookies, or delicate pastel sprinkles for a baby shower. The possibilities are endless for customizing these cookie cups.
Step-by-Step Guide: How to Make Frosted Sugar Cookie Cups
You’ll be delighted by how quickly and easily these homemade cookie cups come together. Get ready to enjoy a batch of these charming treats in no time!
- Prepare Your Oven and Pan: Begin by preheating your oven to 350°F (175°C). Lightly coat a mini muffin pan with nonstick cooking spray to ensure your cookie cups release easily after baking.
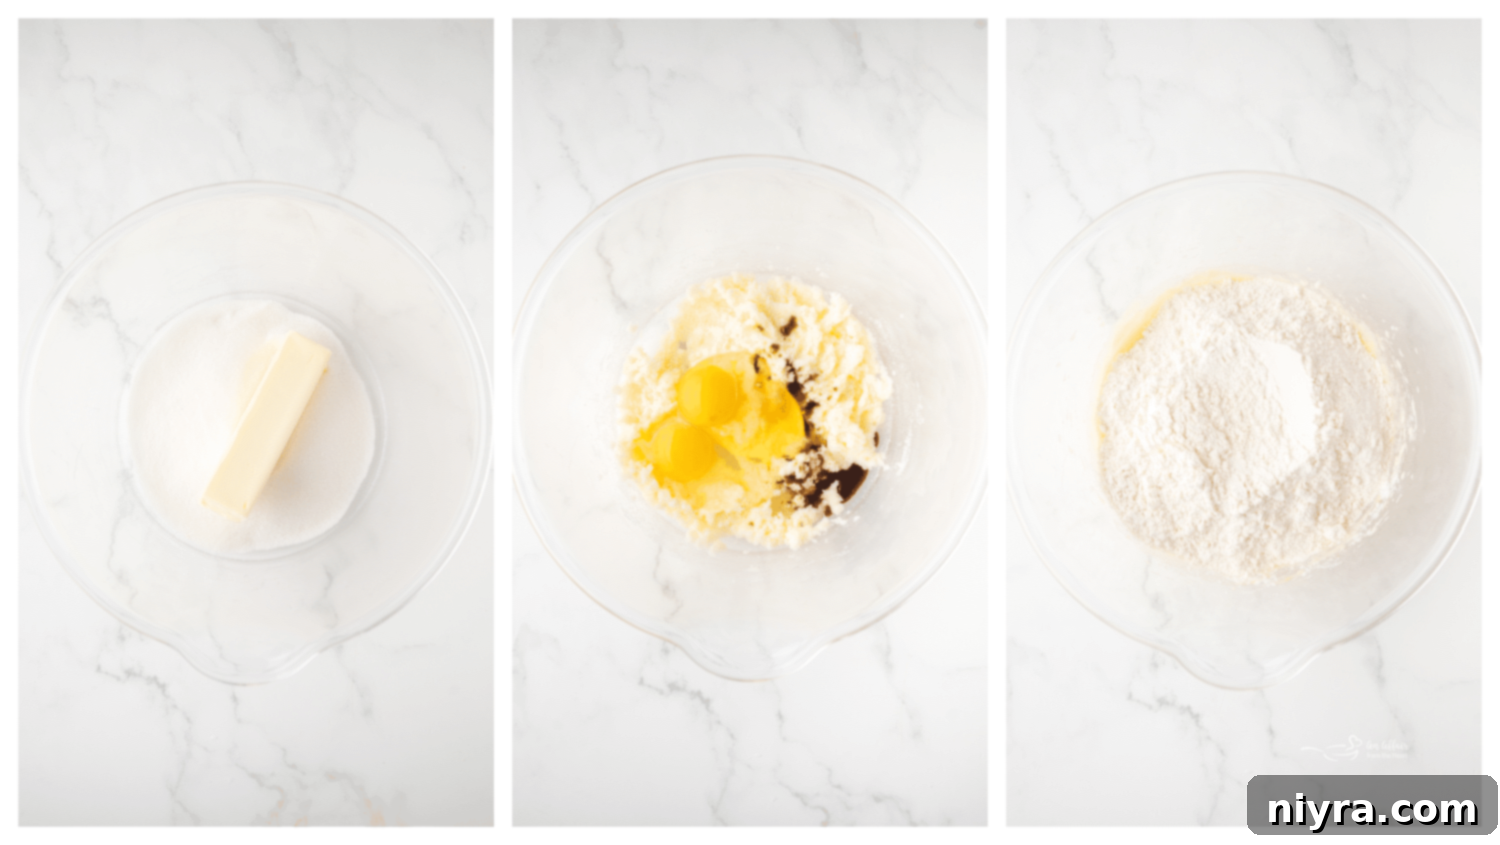
- Cream Wet Ingredients: In a large mixing bowl, combine the melted salted butter and granulated sugar. Use an electric mixer to beat these ingredients together until the mixture is smooth, light, and creamy, typically about 1-2 minutes. This step incorporates air and ensures a tender cookie.
- Incorporate Eggs and Vanilla: Add the room temperature eggs one at a time, mixing well after each addition until fully combined. Stir in the vanilla extract, blending until just incorporated. Be careful not to overmix at this stage.
- Whisk Dry Ingredients: In a separate small bowl, whisk together the all-purpose flour, baking powder, and baking soda. Combining them separately ensures even distribution throughout the dough.
- Combine Wet and Dry: Gradually add the whisked dry ingredients to the wet mixture in the large bowl. Mix on low speed with your electric mixer or stir with a spatula until a soft, cohesive dough forms. Mix just until there are no dry streaks of flour remaining, being careful not to overmix, which can lead to tough cookies.
- Fill and Bake: Scoop the cookie dough into the prepared mini muffin cups, filling each one generously all the way to the top. This ensures you get a good ‘cup’ shape. Bake for approximately 11 minutes, or until the edges are beautifully golden brown and the tops appear just set. The centers should still be slightly soft.
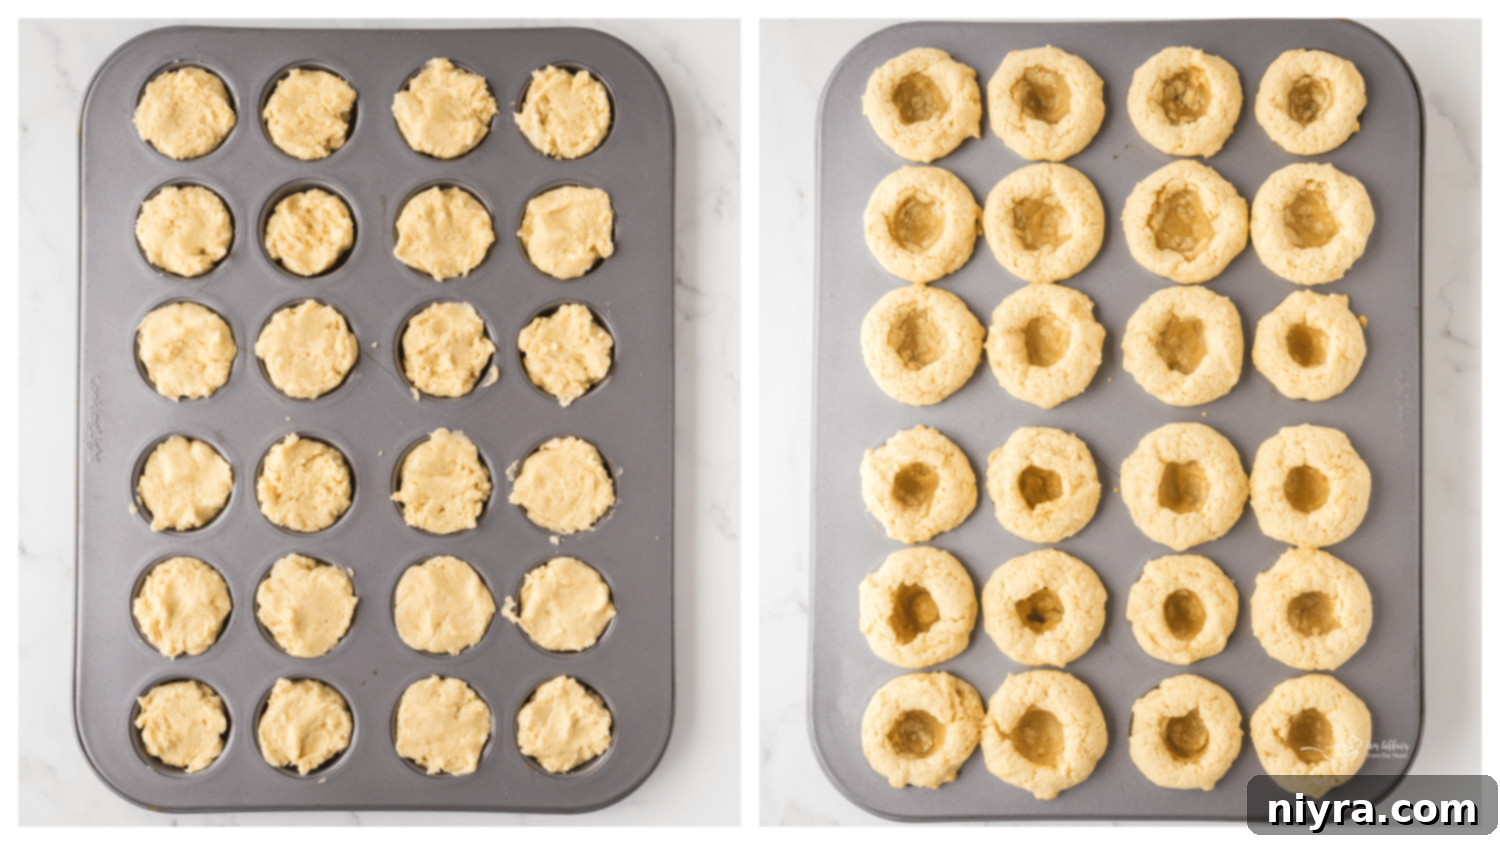
- Create the Indentation: This is a crucial step! As soon as the cookie cups come out of the oven, while they are still warm and pliable, use the back of a Tablespoon or teaspoon to gently press down into the center of each cookie. This creates the perfect well for your frosting and ensures the “cup” shape holds as they cool.
- Cool Completely: Allow the cookie cups to cool in the muffin pan for about 10 minutes before carefully transferring them to a wire cooling rack to cool completely. Ensure they are fully cooled before proceeding to the next step to prevent your frosting from melting.
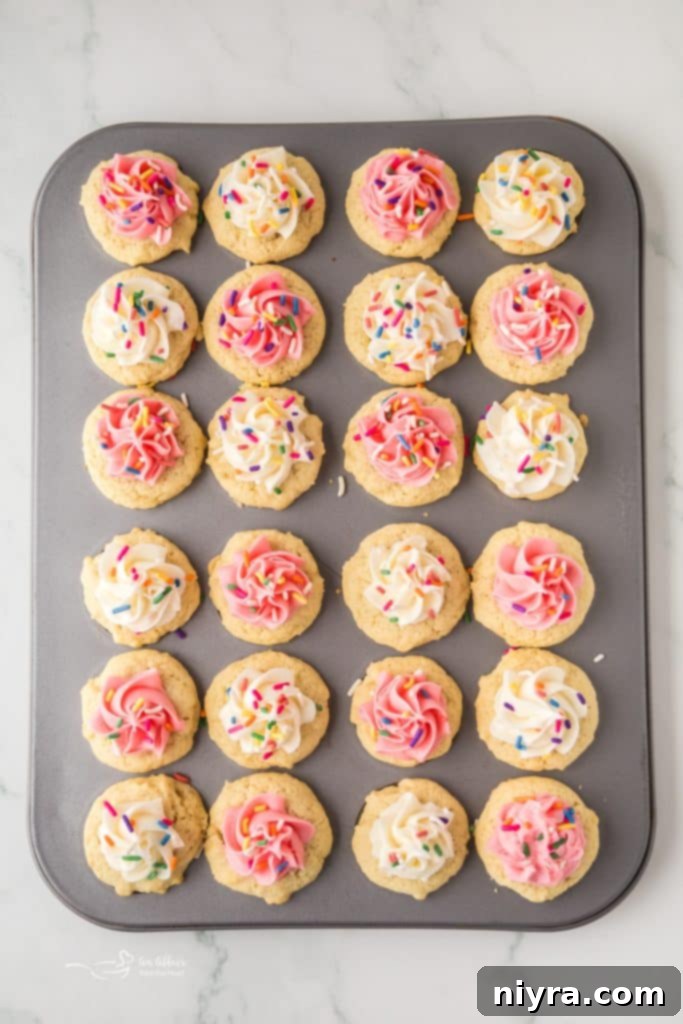
- Frost and Decorate: Once the cookie cups are entirely cool, it’s time for the fun part! Decorate each one with a generous swirl of frosting using a piping bag, or simply spread it on with a butter knife for a rustic look. Finish with a sprinkle of colorful rainbow sprinkles, or your chosen decorative toppings, for that extra touch of joy.

Loved This Recipe? Pin It for Later!
If you adore this Sugar Cookie Cup Recipe as much as we do, make sure you can easily find it whenever a craving strikes! Save it to your favorite Pinterest recipe board before you go. Your future self (and your taste buds!) will thank you.
Pro Tips, Clever Tricks & Delicious Variations for Sugar Cookie Cups
Making these mini muffin tin cookies even more foolproof and fun is easy with these helpful hints and creative twists:
- Timing is Everything for Indentations: Always create the indentations in your cookie cups immediately after they come out of the oven while they are still warm and soft. If you wait too long, they will firm up and may crack when pressed.
- Cooling is Crucial: Ensure your cookie cups are completely cooled to room temperature before applying any frosting. Warm cookies will melt the frosting, creating a messy rather than magnificent result. Patience is a virtue here!
- Frosting Placement: You can either frost the cookie cups directly in the muffin tin (which often helps contain any mess) or carefully remove them to a wire cooling rack before decorating. Some find frosting on a rack simpler for accessibility.
- Optimal Storage: Store your frosted sugar cookie cups in a single layer in an airtight container at room temperature for up to 5 days. If stacking is necessary, place a piece of parchment paper between layers to protect the frosting.
- Mini Muffin Magic: This recipe is specifically designed for a mini muffin tin. Using a regular-sized muffin tin would require significantly more dough per cup and a longer baking time, altering the cookie-to-frosting ratio and potentially the texture.
- Creative Fillings: Before frosting, consider adding a surprise filling to the bottom of your cookie cups! A small spoonful of lemon curd, cherry pie filling, dulce de leche, or even a dollop of Nutella can transform these treats into something uniquely delicious.
- Speedy Shortcuts: In a rush? You can significantly cut down on prep time by using store-bought refrigerated sugar cookie dough. Simply press it into the muffin tin cups and proceed with the recipe instructions. Similarly, pre-made frosting is a fantastic time-saver.
- From-Scratch Perfection: For those who love to bake everything from scratch, consider making your own homemade vanilla buttercream or a tangy cream cheese frosting. The extra effort is often rewarded with unparalleled flavor.
- Freezing for Future Enjoyment: You can bake the cookie cups and create the indentations, then let them cool completely without frosting. Store them in an airtight freezer-safe container or bag for up to 2-3 months. Thaw at room temperature before frosting and serving.
- Seasonal & Themed Decorations: Beyond rainbow sprinkles, get creative with your toppings! Think crushed peppermints for Christmas, edible glitter for New Year’s, mini chocolate chips for an everyday treat, or themed sprinkles for birthdays and special events.
If your love for sugar cookies runs deep, be sure to explore some of our other cherished recipes. You might enjoy my Aunt Vern’s Sugar Cookie recipe, known for its classic taste, or our family’s annual favorite, these soft frosted sugar cookies. And there’s more to discover: delightful Frosted Sugar Cookie Bars, charming Chocolate Kiss Sugar Cookies, festive Funfetti Sugar Cookies, comforting Sour Cream Sugar Cookies, rich Brown Sugar Cookies, delightful Chocolate Chip Sugar Cookies, and these incredibly delicious Iced Maple Sugar Cookies. Next on my baking list? I’m thinking about trying a Sugar Cookie in a Mug for a quick, single-serving treat!
These Sugar Cookie Cups truly are the perfect bite-sized sweet treat. Their manageable size, coupled with their ease of preparation and endless customization options, makes them an absolute joy to bake and share. They embody everything delightful about a sugar cookie but in a more playful and engaging format. If you decide to give this recipe a try, please don’t hesitate to share your creations on social media—I absolutely love seeing your unique takes on my recipes!

LIKE THIS RECIPE?
Don’t forget to give it a ⭐️⭐️⭐️⭐️⭐️ star rating and
leave a comment below the recipe!

Print Recipe
Frosted Sugar Cookie Cups
Equipment
- Fox Run Mini Heart Muffin Pan
- Piping Bags and Tips set
Ingredients
- ½ cup salted butter melted
- 1 cup white granulated sugar
- 2 large eggs
- 1 teaspoon vanilla extract
- 1 teaspoon baking powder
- ½ teaspoon baking soda
- 2 cups all-purpose flour
- ¾ cup pink frosting
- ¾ cup white frosting
- 2 Tablespoons rainbow sprinkles
Instructions
- Preheat your oven to 350°F (175°C).
- Combine the melted butter and white granulated sugar in a large mixing bowl. Use an electric hand mixer to cream the ingredients together for about 2 minutes, or until smooth and creamy. Once the mixture is smooth and creamy, whisk in the eggs and vanilla until just combined.
- In a separate bowl, add the baking powder, baking soda, and flour. Gently whisk the dry ingredients into the wet ingredients until no dry pockets remain in the cookie dough. Be careful not to overmix.
- Fill a mini muffin tin with your cookie dough, making sure that each mold is filled all the way to the top. Bake your cookies for 11 minutes, or until the edges are golden brown.
- As soon as your cookies come out of the oven, use the back of a Tablespoon or teaspoon to gently create an indent in the center of each cookie. Let the cookies cool on the counter for at least 30 minutes, or until completely cooled.
- Use a piping bag with your choice of tip to frost half the cookie cups with pink frosting and the other half with white frosting. Top the cookies with the rainbow sprinkles. Enjoy your festive Frosted Sugar Cookie Cups!
Notes
- You can store these cookies in an airtight container on the counter for up to 5 days. To prevent the frosting from getting messy, try to avoid stacking the cookies directly on top of each other.
- Feel free to use your favorite store-bought frosting for convenience, or whip up a batch of homemade buttercream or cream cheese frosting for an extra special touch. (We used store-bought frosting for the photos).
- It is essential to indent your cookies right after they come out of the oven, while they are still warm and soft. This ensures they hold their cup shape perfectly without tearing.
- Always allow your cookie cups to cool completely before frosting them. This is crucial to prevent the frosting from melting, especially if you are using a homemade buttercream.
- Your cookies should pop out of the mini muffin tin easily once they have fully cooled.
- You have the option to frost your cookie cups while they are still in the muffin tin, or remove them and frost them on a wire cooling rack.
Nutrition
Calories: 172 kcal |
Carbohydrates: 27 g |
Protein: 2 g |
Fat: 7 g |
Saturated Fat: 3 g |
Polyunsaturated Fat: 1 g |
Monounsaturated Fat: 2 g |
Trans Fat: 0.2 g |
Cholesterol: 24 mg |
Sodium: 102 mg |
Potassium: 23 mg |
Fiber: 0.3 g |
Sugar: 18 g |
Vitamin A: 138 IU |
Calcium: 15 mg |
Iron: 1 mg
