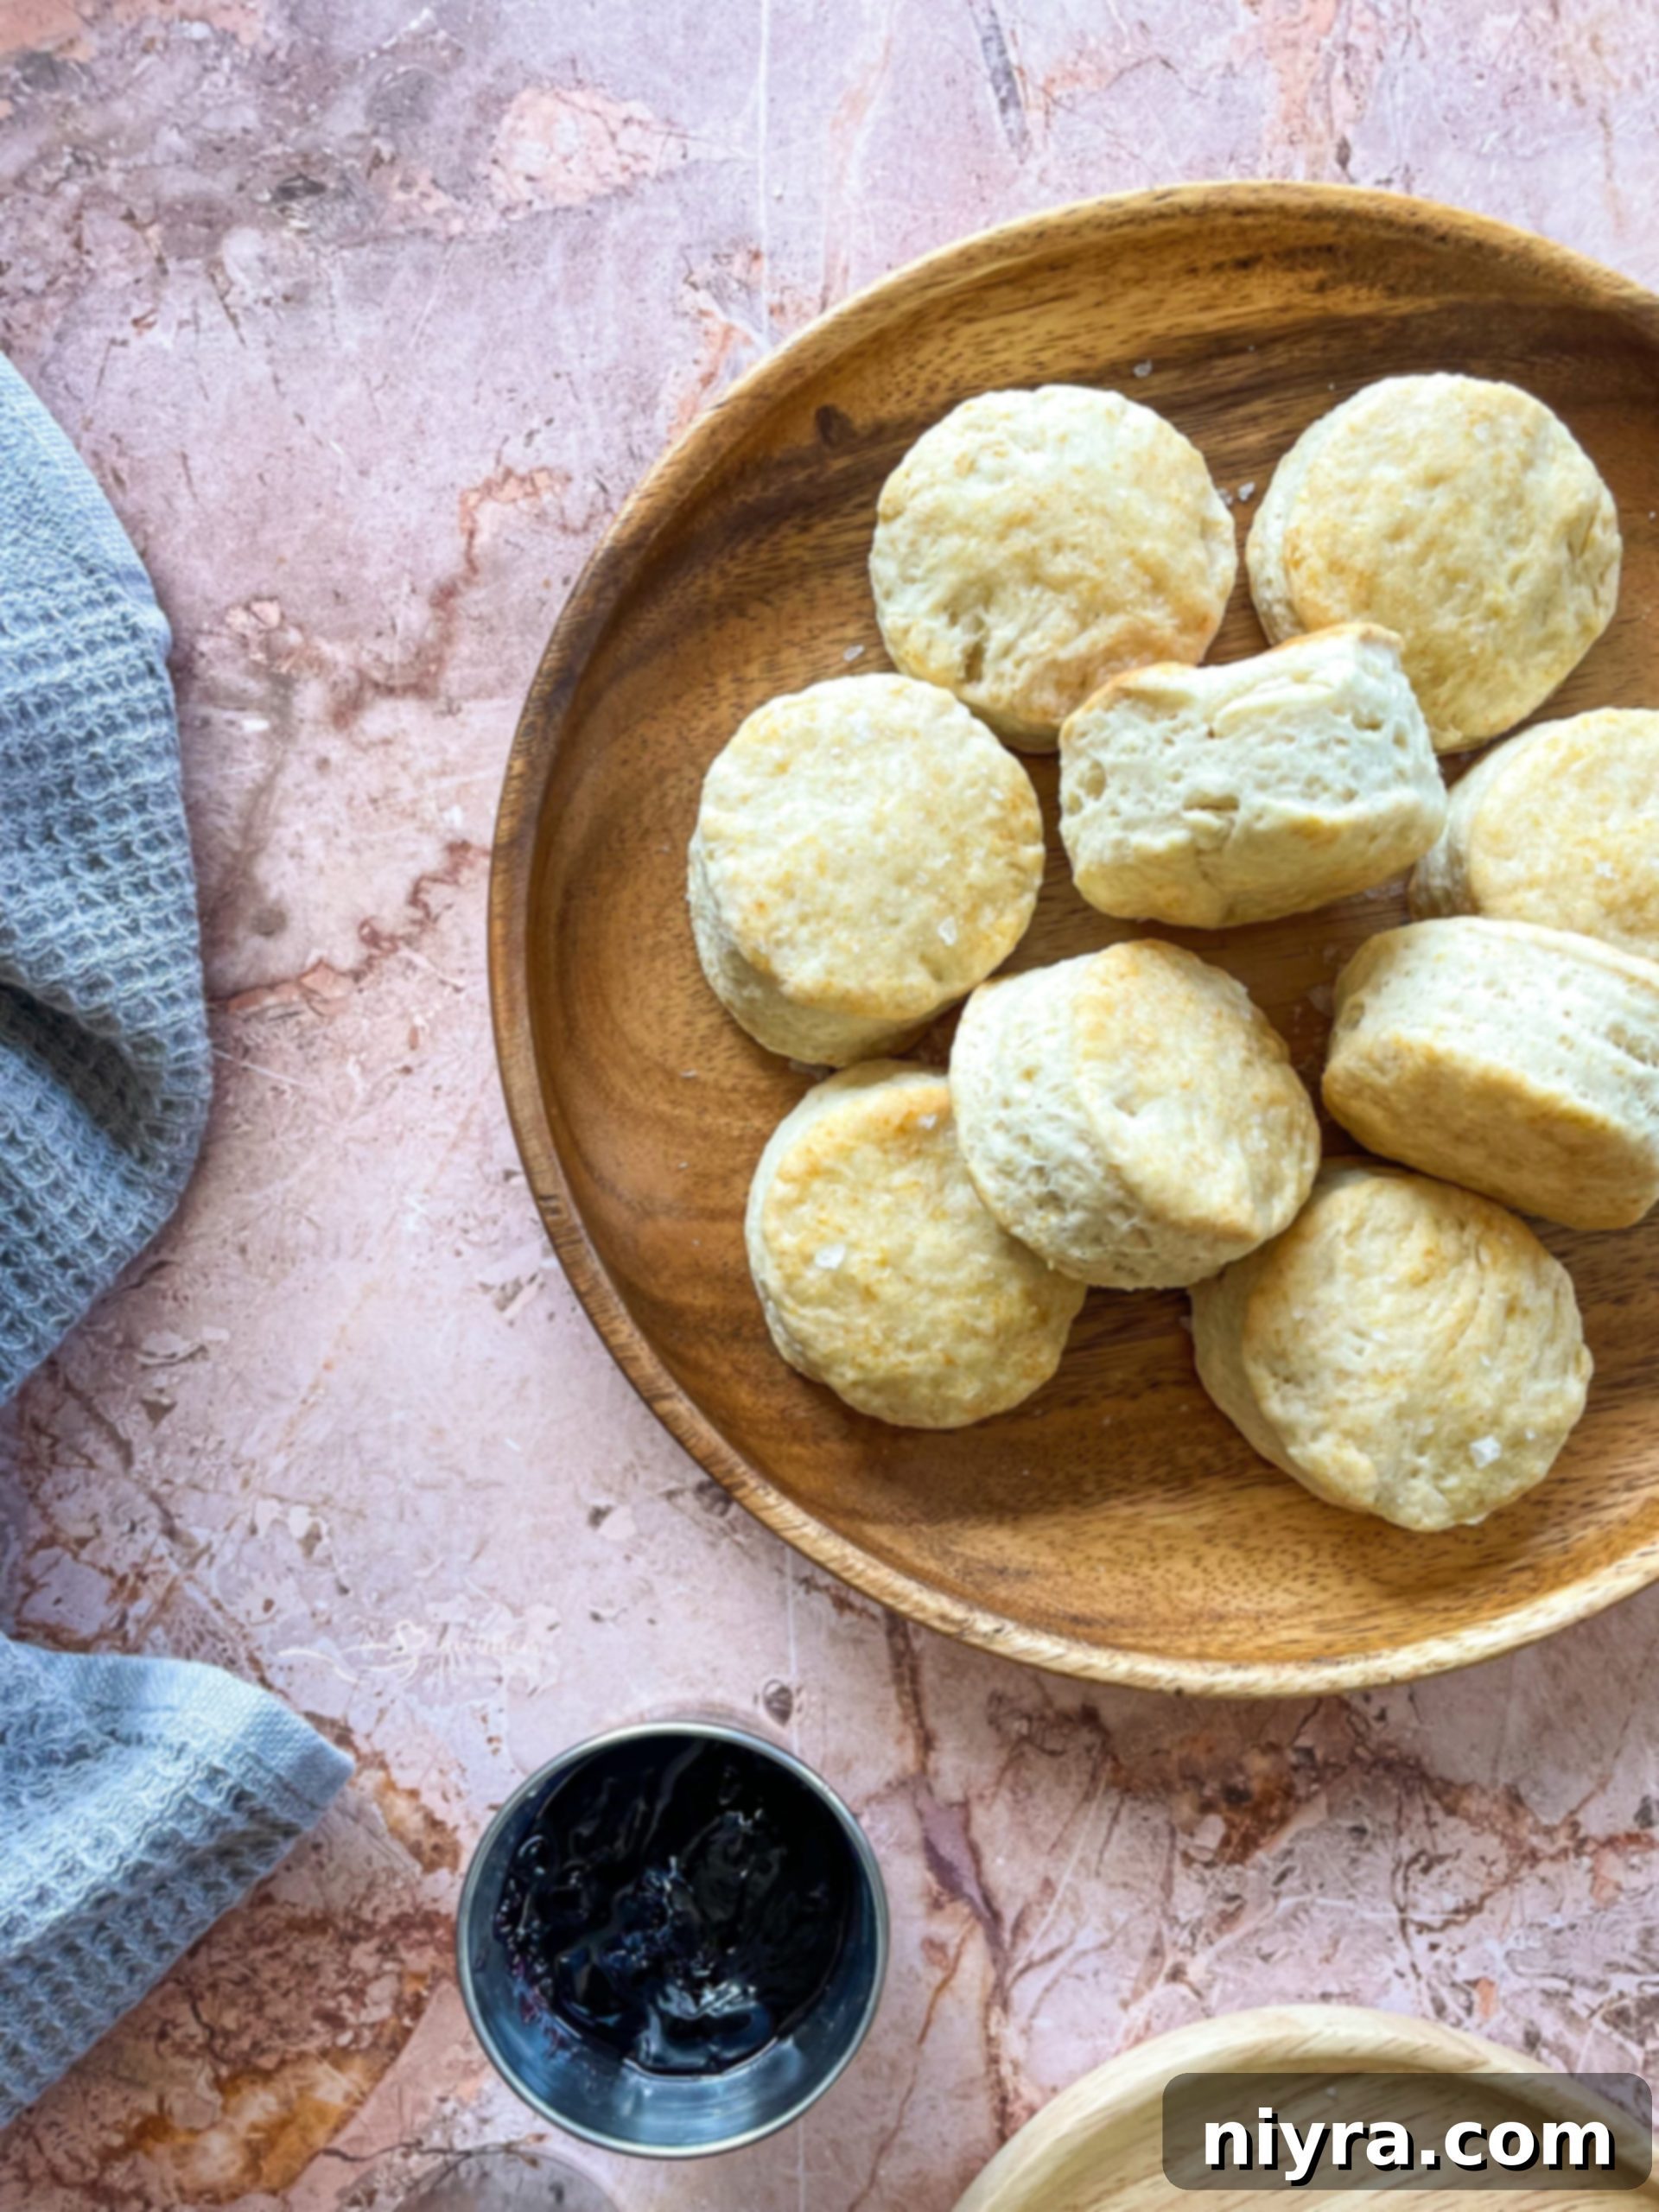
Welcome to the ultimate guide to crafting the most delightful Old Fashioned Buttermilk Biscuits. More than just a simple bread, these biscuits are a staple of comfort food, embodying warmth, tradition, and an irresistible flaky texture. Imagine a golden-brown crust giving way to a soft, airy interior, each bite infused with a subtle tanginess from real buttermilk. Whether you’re gathering for a hearty breakfast, an elegant brunch, or seeking the perfect accompaniment for a savory dinner, these homemade buttermilk biscuits promise to deliver unparalleled flavor and comfort. Get ready to rediscover the joy of baking with a recipe that has stood the test of time, ensuring perfect results every time.
The Irresistible Allure of Homemade Buttermilk Biscuits
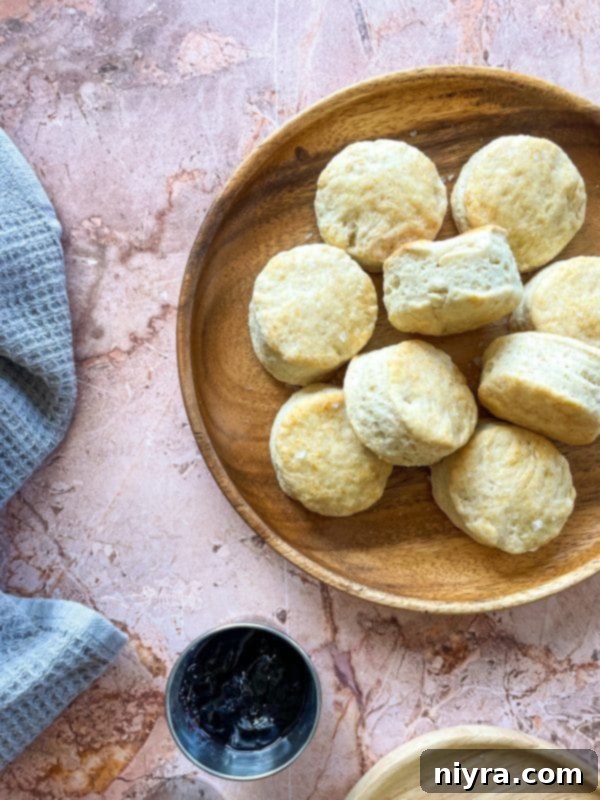
For those who have yet to experience the magic of baking buttermilk biscuits from scratch, this recipe is your golden ticket. Forget store-bought versions; these homemade wonders are effortlessly soft, wonderfully fluffy, and possess an irresistibly chewy quality that makes them perfect for dipping, dunking, or soaking up every last drop of your favorite gravy. This particular recipe, dating back to 1964, has been perfected over generations, delivering authentic old-fashioned buttermilk biscuits with just a handful of simple ingredients and straightforward steps.
A Versatile Addition to Any Meal
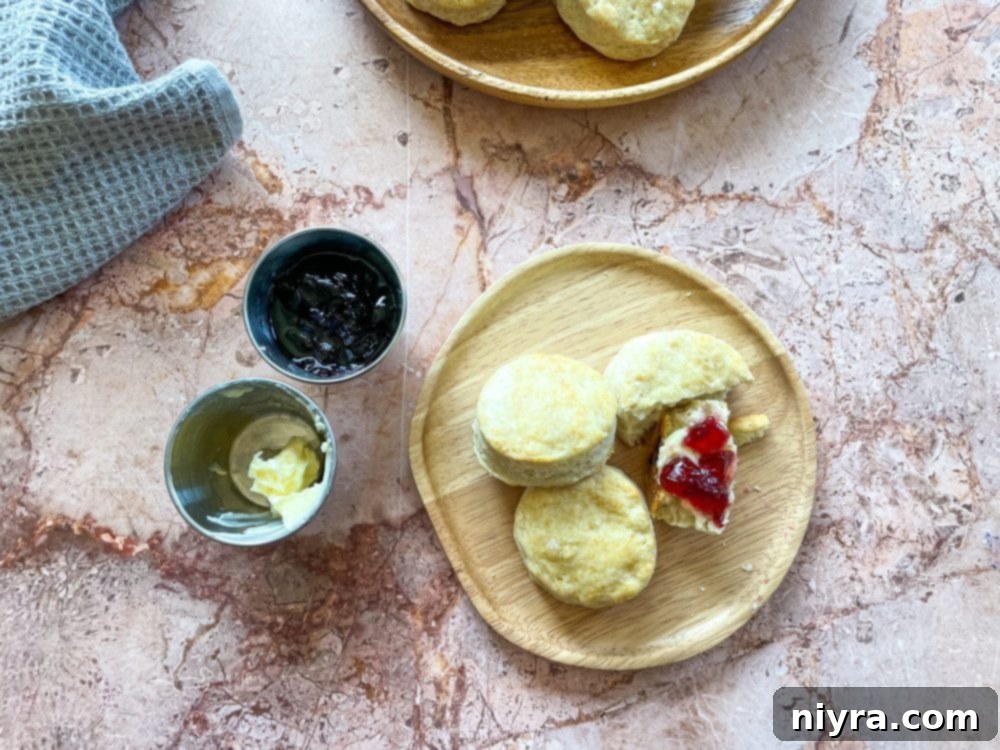
There’s something truly special about the aroma of freshly baked biscuits filling your home. I often reserve Sunday mornings for whipping up a batch of these flaky buttermilk biscuits. They make an exceptional sidekick to dishes like Pork Chops With Mushroom Gravy or Braised Beef Short Ribs With Red Eye Gravy, especially for our cherished traditional Sunday evening family dinners. Their tender texture is ideal for soaking up rich, flavorful gravy, transforming a good meal into an unforgettable one. Beyond dinner, these versatile biscuits shine bright for breakfast, slathered with butter and your favorite fruit jelly, or even as a satisfying midday snack.
Prep Ahead and Freeze for Future Enjoyment
The convenience factor of these easy buttermilk biscuits is another reason they’re a family favorite. I highly recommend making a double batch and stashing some in the freezer. This simple trick ensures you’re always prepared for impromptu dinner parties or whenever the craving for warm, homemade biscuits strikes. These biscuits freeze exceptionally well and maintain their quality for up to three months, making meal prep a breeze and ensuring fresh-baked goodness is always within reach.
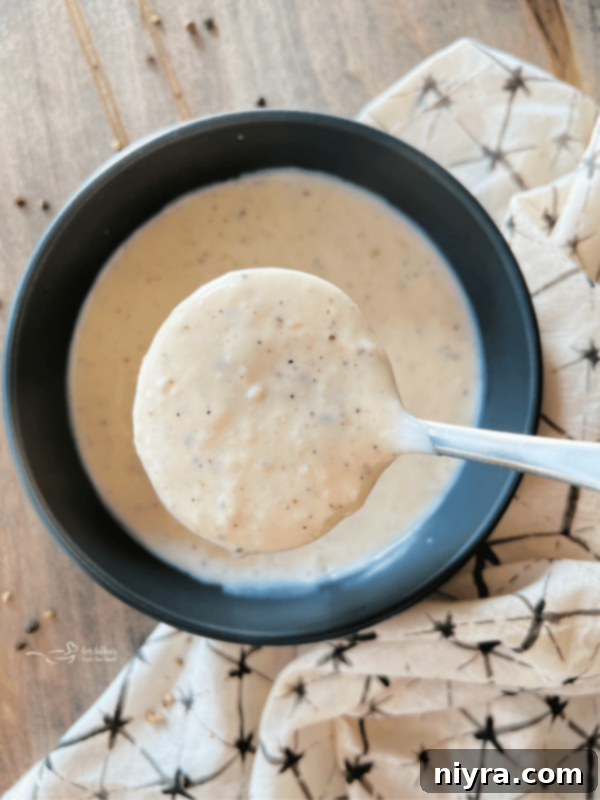
Pair your perfect biscuits with our Simple White Country Gravy Recipe for the ultimate comfort food experience.
Looking for more baking inspiration? Don’t miss these other delightful recipes: Olive Garden Breadsticks, this rustic Peasant Bread, or our sweet and savory Honey Cornbread.
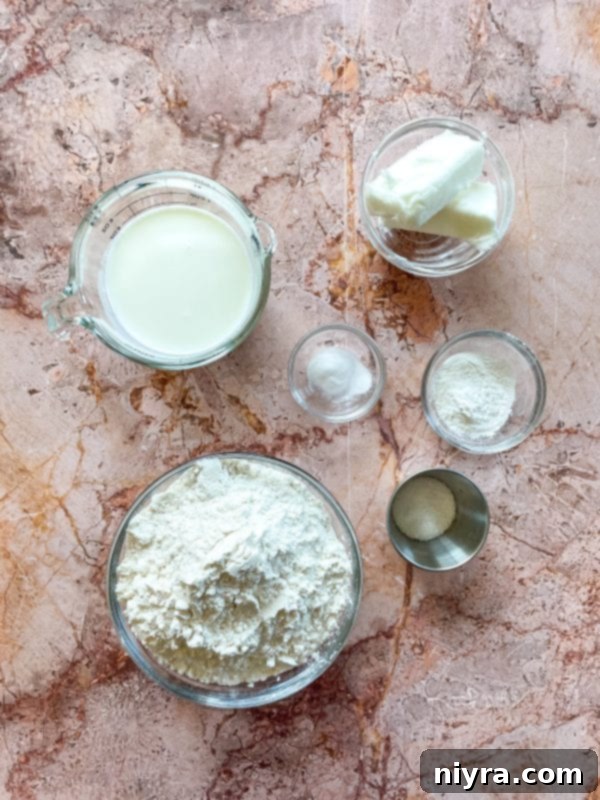
Essential Ingredients for Homemade Buttermilk Biscuits
Crafting perfect homemade buttermilk biscuits begins with a carefully selected list of ingredients. Each component plays a crucial role in achieving the desired texture, flavor, and rise. While the complete recipe with precise measurements and detailed instructions can be found in the printable recipe card below, here’s a breakdown of what you’ll need and why each ingredient is important:
- All-Purpose Flour: The foundation of our biscuits. I typically use unsifted all-purpose flour for both the dough and for lightly dusting the work surface. Its protein content provides structure without making the biscuits overly dense.
- Baking Powder and Baking Soda: These two leavening agents work in tandem to give the biscuits their characteristic lift and airy texture. Baking soda reacts with the acid in buttermilk, while baking powder provides an additional boost, ensuring maximum fluffiness.
- Salt: A touch of salt is essential to balance and enhance all the flavors in the biscuit, preventing them from tasting bland.
- Crisco Shortening: For truly old-fashioned buttermilk biscuits, shortening is key to achieving that incredibly flaky texture. While I use Crisco, any good brand of vegetable shortening will work. Shortening has a higher melting point than butter, which creates steam pockets during baking, resulting in those coveted layers.
- Buttermilk: The star ingredient! Store-bought buttermilk works perfectly, but if you’re ever in a pinch or prefer to make your own, you can easily do so with my simple buttermilk substitute recipe. Buttermilk adds a distinctive tangy flavor and, thanks to its acidity, reacts with the leavening agents to produce tender, soft biscuits.
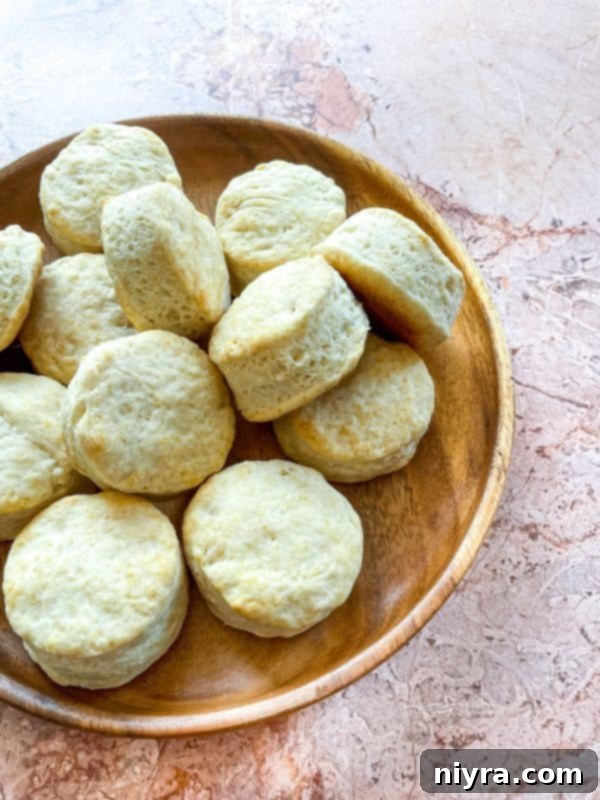
Step-by-Step Guide to Making Flaky Buttermilk Biscuits
Creating flaky buttermilk biscuits is an enjoyable and rewarding process. Follow these steps carefully to ensure a batch of perfectly golden, tender biscuits every time:
- Preheat Your Oven: Begin by preheating your oven to a robust 450°F (232°C). A hot oven is crucial for creating that initial burst of steam that helps the biscuits rise quickly and achieve their signature height and flakiness.
- Combine Dry Ingredients: In a large mixing bowl, combine the unsifted all-purpose flour, baking soda, baking powder, and salt. Use a rubber spatula or a whisk to thoroughly blend these ingredients until they are evenly distributed. Proper mixing here ensures uniform leavening throughout the dough.
- Cut in Shortening: Add the cold Crisco shortening to the dry ingredients. Using a pastry blender, cut the shortening into the flour mixture until it resembles coarse crumbs, with some pea-sized pieces remaining. This step is vital for achieving flaky layers, as the pockets of shortening will create steam during baking. Make sure there are no large lumps or air pockets.
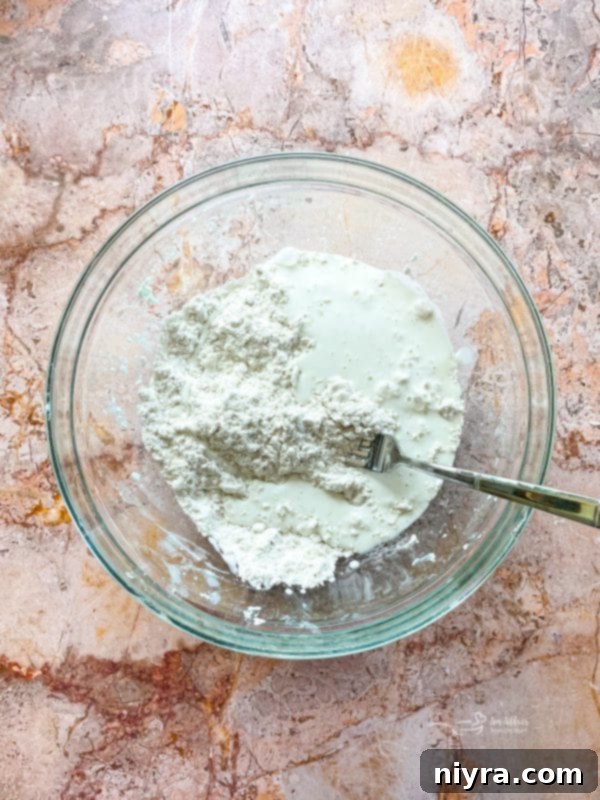
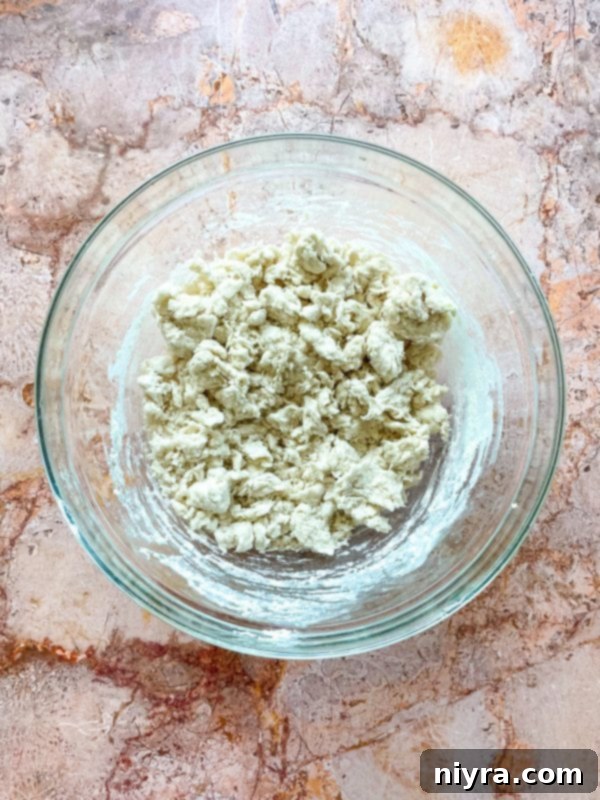
- Add Buttermilk: Pour in the buttermilk. Using a fork, gently stir the ingredients until they are just moistened and the dough comes together. Be careful not to overmix, as this can lead to tough biscuits. A slightly shaggy dough is perfectly acceptable.
- Knead Gently: Turn the dough out onto a lightly floured, cloth-covered surface. Knead the dough very gently about 20 times. The key word here is “gently” – over-kneading develops too much gluten, resulting in dense, chewy biscuits instead of light, flaky ones.
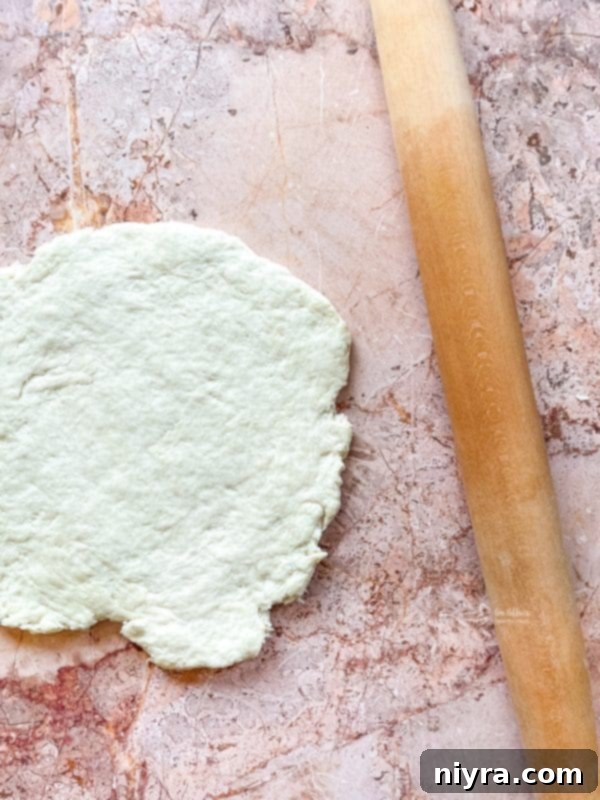
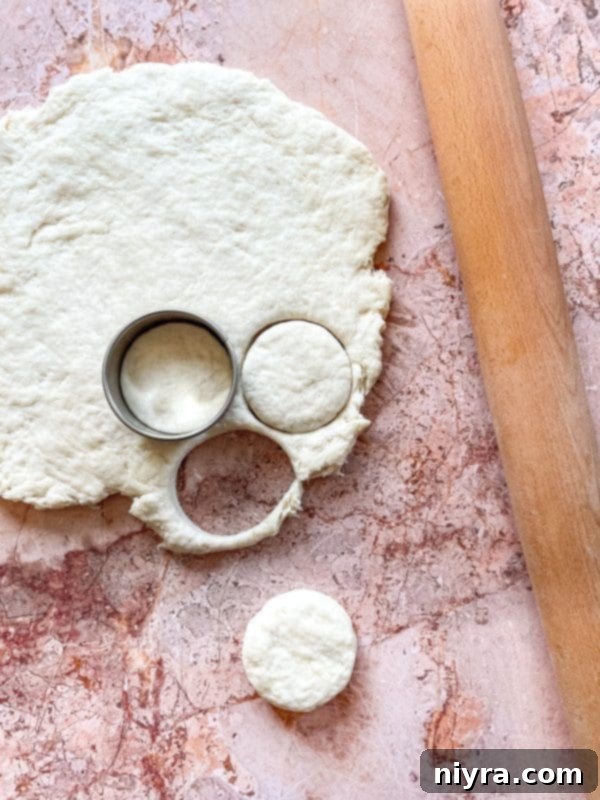
- Roll and Cut: Roll the dough into a ½-inch thickness. Using a floured 2-inch biscuit cutter, cut out rounds. For the best rise, press straight down without twisting the cutter. Gather any scraps, gently re-knead them once or twice, and cut out additional biscuits.
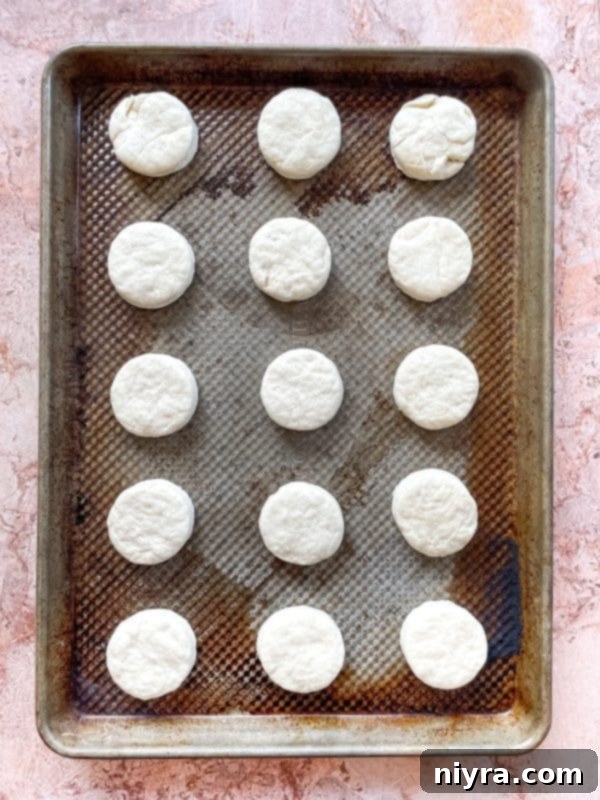
- Arrange on Baking Sheet: Place the cut biscuit rounds onto an ungreased cookie sheet. For softer sides, place them close together; for crispier sides, space them slightly apart.
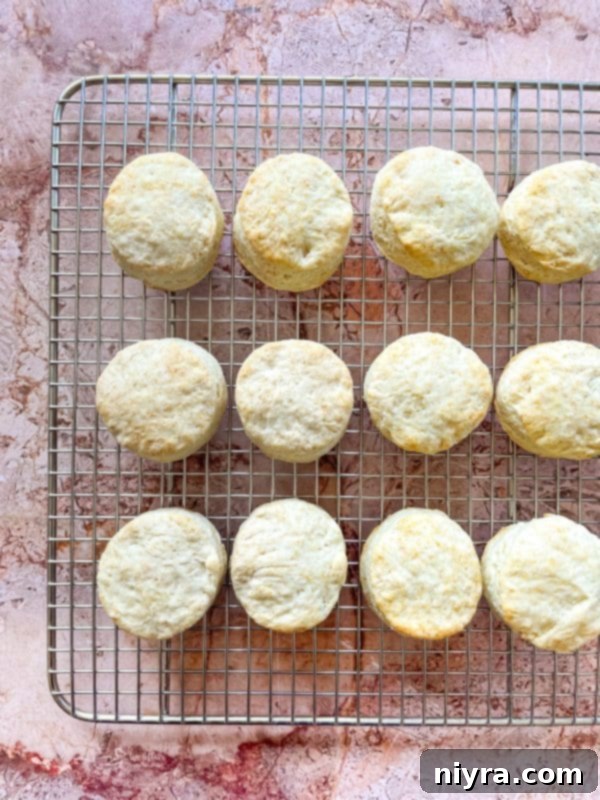
- Bake to Golden Perfection: Bake these homemade buttermilk biscuits for 8-10 minutes, or until they are beautifully golden brown on top and bottom. Keep an eye on them, as oven temperatures can vary.
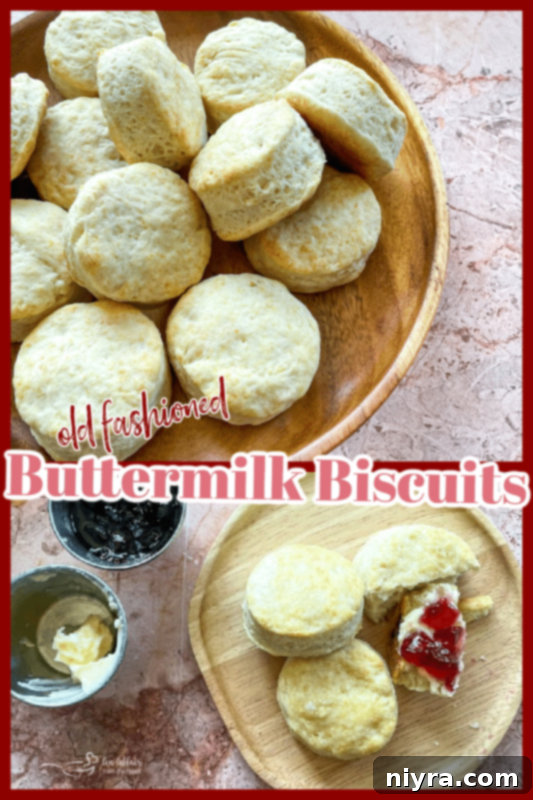
Love This Recipe? Pin It for Later!
Don’t let this incredible buttermilk biscuit recipe get lost! Make sure to pin it to your favorite Pinterest recipe board before you go, so you can easily find it whenever the craving for homemade biscuits strikes.
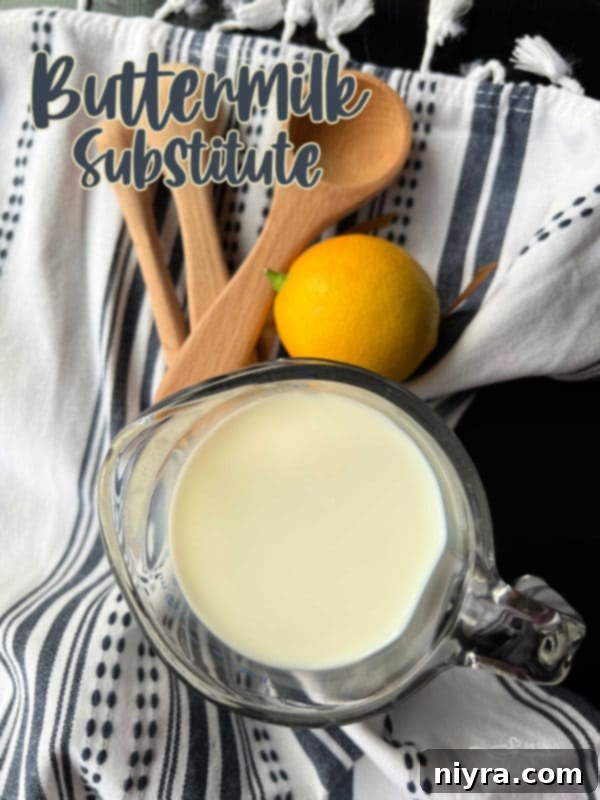
Need buttermilk in a pinch? Try our Easy Buttermilk Substitute Recipe!
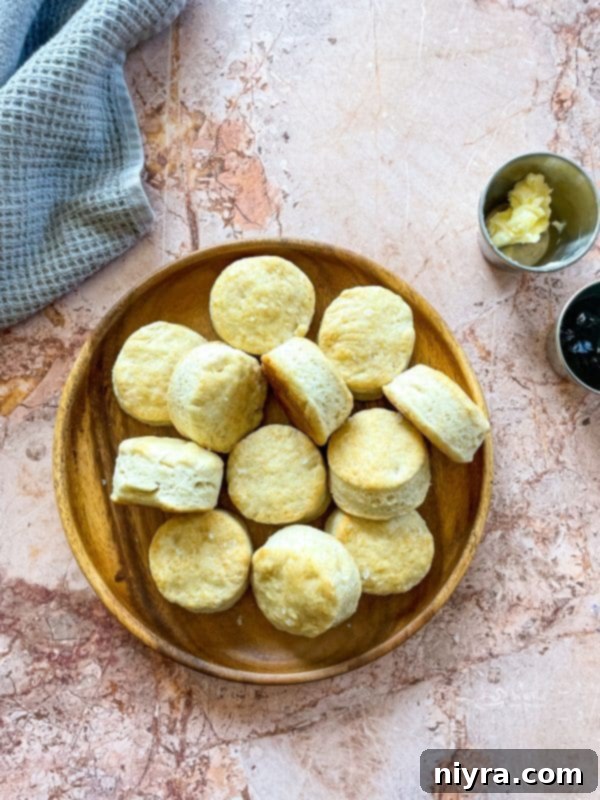
Frequently Asked Questions About Buttermilk Biscuits
Baking can sometimes bring questions, especially when striving for perfection. Here are answers to some common inquiries about homemade buttermilk biscuits:
- What is the role of buttermilk in biscuits? Buttermilk is a true game-changer in biscuit making. Its acidity reacts with baking soda to create carbon dioxide gas, which helps the biscuits rise, resulting in a tender, fluffy texture. Furthermore, buttermilk imparts a distinct, pleasant tangy flavor that elevates the overall taste profile.
- Is buttermilk or heavy cream better for biscuits? For classic flaky biscuits, buttermilk is generally preferred over heavy cream. Buttermilk offers a unique combination of both acid and fat. This acidic component is crucial for activating baking soda, leading to a lighter, fluffier dough with a more complex flavor. While heavy cream can produce rich biscuits, it lacks the acidity needed for that characteristic tangy taste and optimal rise.
- Does buttermilk truly make a difference in biscuits? Absolutely! Buttermilk makes a significant difference. If you’re aiming for the best possible old-fashioned buttermilk biscuits – those with a tender crumb, a beautiful rise, and a signature tangy flavor – using real buttermilk is non-negotiable. Don’t skip this ingredient for authentic results.
- Why choose shortening over butter? The choice between shortening and butter for biscuits often comes down to personal preference and desired texture. My grandmothers always baked with Crisco, even in their pie crusts, and that’s how I was taught. Shortening, with its higher melting point, creates more distinct pockets of steam during baking, leading to incredibly flaky layers. Butter, while offering a rich flavor, can result in a slightly denser biscuit with a less pronounced flakiness. Both are delicious, but for that classic, airy, flaky buttermilk biscuit, shortening is often the secret ingredient.
Delicious Substitutions and Creative Variations
While this easy buttermilk biscuit recipe is perfect as is, it also serves as an excellent base for experimentation. Here are some ideas to customize your next batch:
- Herb-Infused Biscuits: Elevate the savory notes by incorporating dried or fresh herbs directly into the dough. Chives, basil, rosemary, thyme, or oregano would all add a wonderful aromatic touch, making them ideal companions for dinner.
- Cheesy Biscuits: Transform your biscuits into a savory delight by mixing in a generous amount of shredded cheese. Cheddar, Parmesan, or even a spicy Monterey Jack would create a delicious cheesy biscuit perfect for pairing with soups or chilis.
- Sweet Variations: For a sweeter treat, add a tablespoon or two of sugar to the dry ingredients, along with a pinch of cinnamon or nutmeg. These can be glazed with a simple powdered sugar icing after baking.
- Whole Wheat Blends: For a slightly healthier twist, try substituting a portion of the all-purpose flour with whole wheat flour. Start with a 1:1 ratio and adjust buttermilk as needed, as whole wheat flour absorbs more liquid.
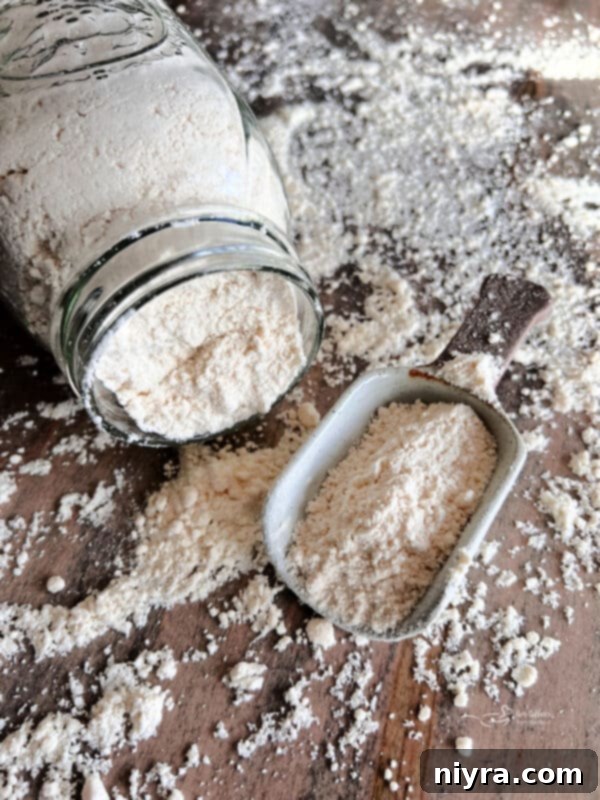
Ever thought about making your own baking mix? Learn How to Make your Own Bisquick Baking Mix.
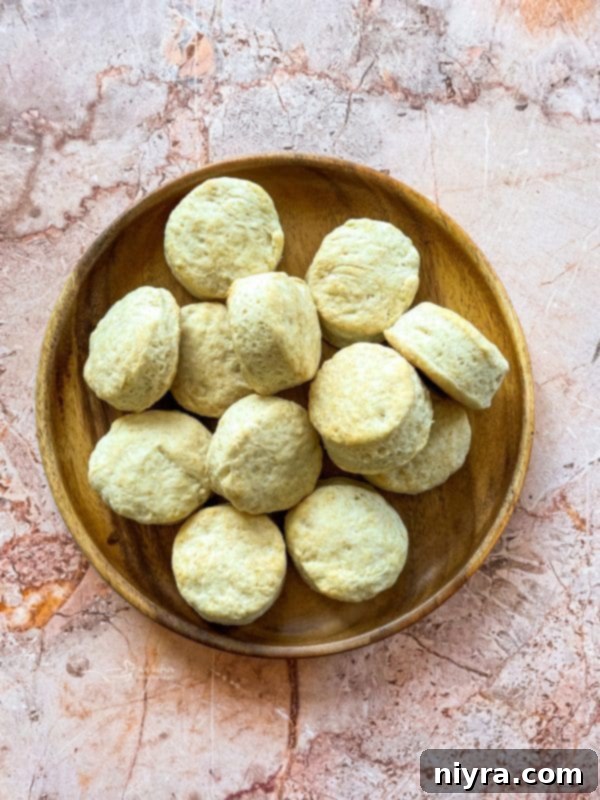
Pro Tips & Tricks for Perfect Buttermilk Biscuits
Achieving the perfect homemade buttermilk biscuit is an art that becomes easier with practice and a few expert tips:
- Proper Storage: To keep leftover biscuits from drying out, store them in an airtight container or freezer bag at room temperature for up to 2-3 days. For longer storage, freeze them (see below).
- Serving Temperature: While delicious at room temperature, these biscuits are truly magical when served warm. Gently reheat them in a low oven or microwave for a few seconds until just warm. A pat of melted butter takes them to the next level.
- No Parchment Needed: Don’t fret about lining your baking sheet. The dough for these biscuits can go straight onto an ungreased cookie sheet without parchment paper, simplifying cleanup and preparation.
- Food Processor Shortcut: If you find cutting in the shortening or mixing the dough challenging by hand, a food processor can be a helpful tool. Pulse the dry ingredients and cold shortening until crumbly, then add buttermilk and pulse until just combined. Be careful not to overmix.
- DIY Buttermilk: If you don’t have store-bought buttermilk on hand, it’s easy to make a substitute. For every cup of milk (whole or 2%), stir in 1 tablespoon of white vinegar or lemon juice. Let it sit for 5-10 minutes until it slightly curdles.
- Golden Tops: For an extra golden-brown crust and a beautiful sheen, brush the tops of your biscuits with a little extra buttermilk (or melted butter) just before baking.
- Avoid Over-Kneading: This is perhaps the most crucial tip! Over-kneading develops the gluten in the flour too much, which will result in tough, dense biscuits instead of the desired tender, flaky texture. Keep kneading to the minimum recommended (around 20 gentle turns).
- Cold Ingredients Are Key: Ensure your shortening and buttermilk are as cold as possible. This helps prevent the shortening from melting prematurely, which is essential for creating those signature flaky layers.
- Don’t Twist the Cutter: When cutting out biscuits, press the cutter straight down and lift it straight up. Twisting the cutter can seal the edges of the biscuit, preventing it from rising as high and flaking properly.
More Recipes to Love
If you’ve fallen in love with these Old Fashioned Buttermilk Biscuits, you’re sure to enjoy exploring these other delightful recipes:
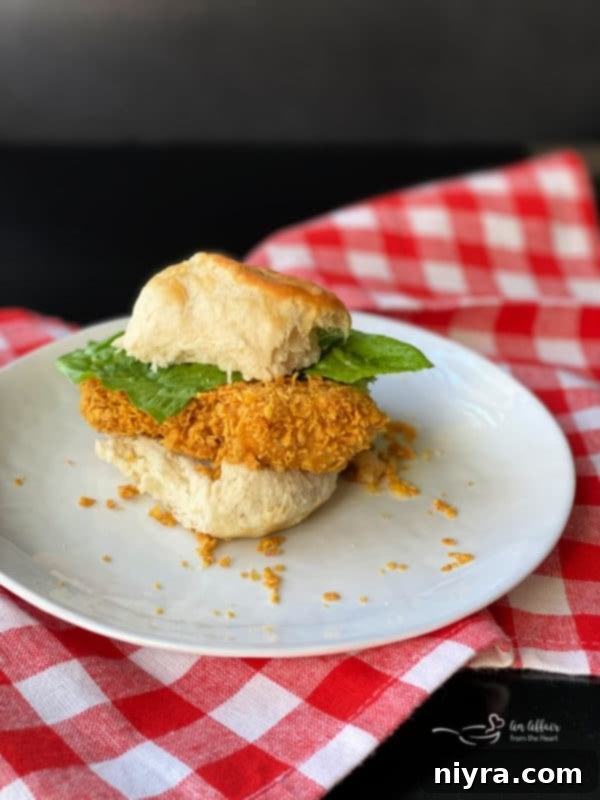
- Crispy “Oven-Fried” Chicken in a Biscuit Sandwiches (pictured above)
- Pumpkin Spice Biscuit Donuts
- Cheesy Cornbread Drop Biscuits
- Italian Cheese Bombs (made with biscuit dough for an easy appetizer!)
- Red Lobster Cheddar Bay Biscuits
- Chicken in a Biskit Dip
- Black Pepper Drop Biscuits
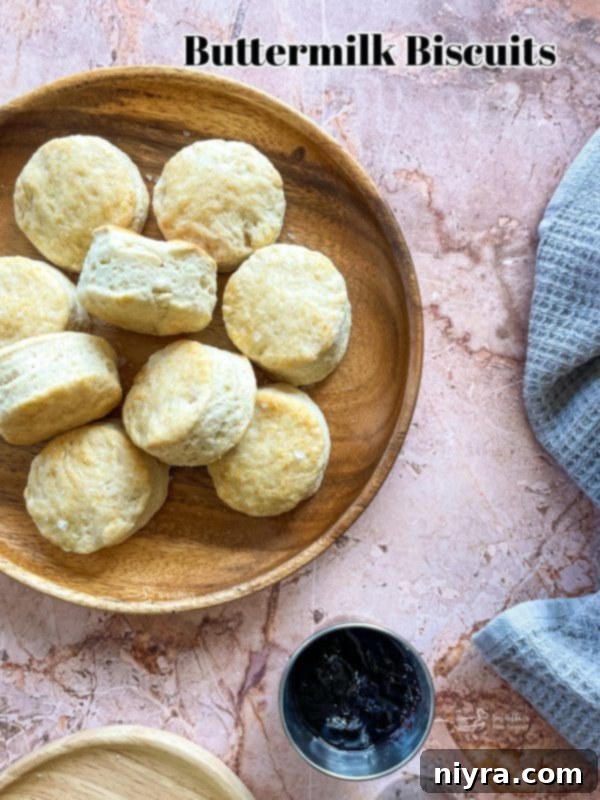
This easy biscuit recipe, cherished since 1964, remains a beloved classic today, nearly 60 years later. Its enduring appeal lies in its simplicity and the consistently delicious results it yields. Whether you’re using them to soak up your favorite sausage gravy, spreading them generously with jam or jelly, or simply enjoying them warm on their own, these old-fashioned buttermilk biscuits are a testament to timeless comfort food. Embrace the tradition and bake a batch today!

LIKE THIS RECIPE?
Don’t forget to give it a ⭐⭐⭐⭐⭐ star rating and
leave a comment below the recipe!
Average Rating: 5 stars from 2 votes
Print Recipe
Old Fashioned Buttermilk Biscuits
Old Fashioned Buttermilk Biscuits are pure comfort food. Flaky layers and a touch of tanginess come from the addition of buttermilk. They have a golden-brown crust and a soft, airy interior. The biscuits are slightly savory with a crispy outside and a tender inside. Perfect for breakfast, brunch, or as a side dish, these biscuits deliver comfort and flavor in every bite.
| Prep Time 15 mins | Cook Time 8 mins | Total Time 23 mins |
Course: Breads | Cuisine: American | Keyword: buttermilk biscuits, Crisco, flaky biscuits, homemade biscuits, old fashioned recipe
Servings: 12 biscuits | Calories: 50 kcal | Author: Michaela Kenkel
Equipment
- KitchenAid Gourmet Rolling Pin, One Size, Red
- Spring Chef Dough Blender, Top Professional Pastry Cutter with Heavy Duty Stainless Steel Blades, Medium Size, Black
- Biscuit Cutters Set, Stainless Steel Circle, 5 Pieces
- 13×18 Half Sheet Pan
Ingredients
- 1 ¾ cups + 2 Tablespoons All-Purpose Flour (unsifted)
- 3 teaspoons baking powder
- ¼ teaspoon baking soda
- 1 teaspoon salt
- ¼ cup Crisco shortening
- ¾ cup buttermilk
Instructions
- Preheat oven to 450 degrees F (232 degrees C).
- In a large bowl, stir together flour, baking powder, baking soda, and salt until well blended.
- Cut in shortening with a pastry blender until the mixture is wet and coarse, resembling coarse crumbs.
- Stir in buttermilk with a fork until the ingredients are just moistened and form a shaggy dough. Do not overmix.
- Turn the dough out onto a lightly floured, cloth-covered surface. Knead gently about 20 times.
- Roll dough into a ½-inch thickness. Using a floured 2-inch biscuit cutter, cut into rounds by pressing straight down.
- Place the biscuit rounds onto an ungreased cookie sheet.
- Bake for 8-10 minutes or until golden brown.
Nutrition
Serving: 1 |
Calories: 50kcal |
Carbohydrates: 2g |
Protein: 1g |
Fat: 4g |
Saturated Fat: 2g |
Polyunsaturated Fat: 2g |
Cholesterol: 3mg |
Sodium: 353mg |
Sugar: 1g
