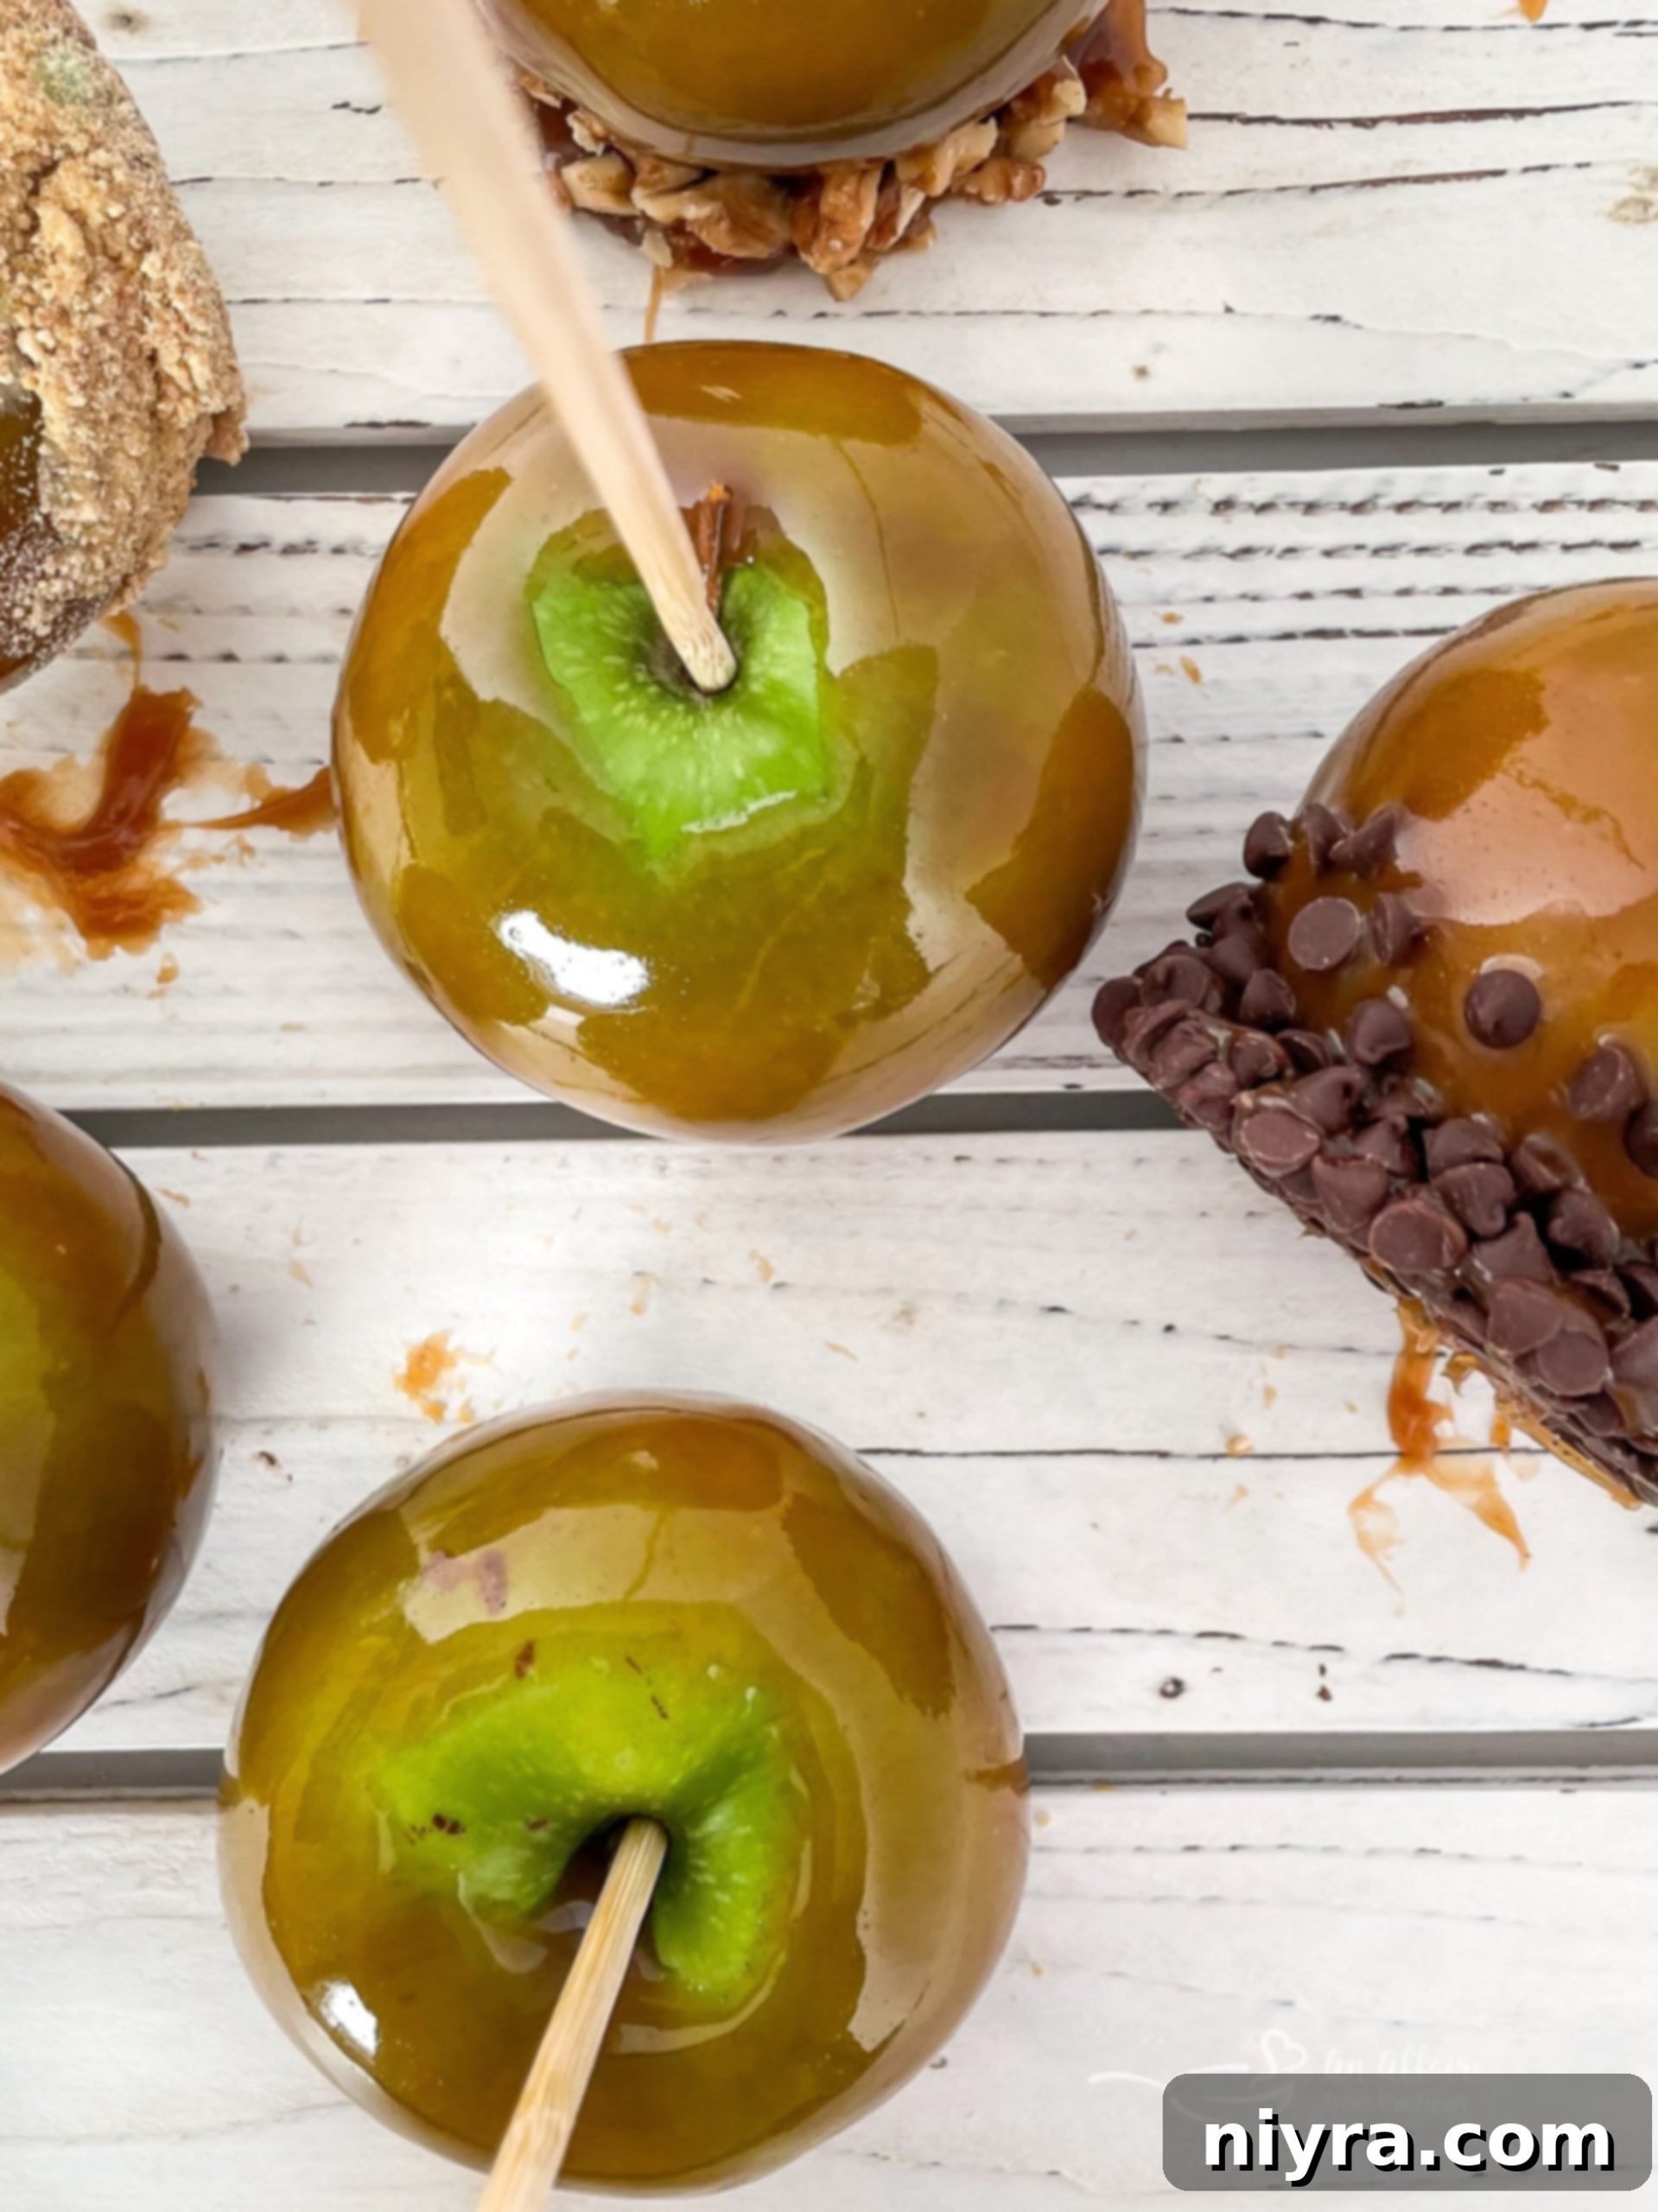
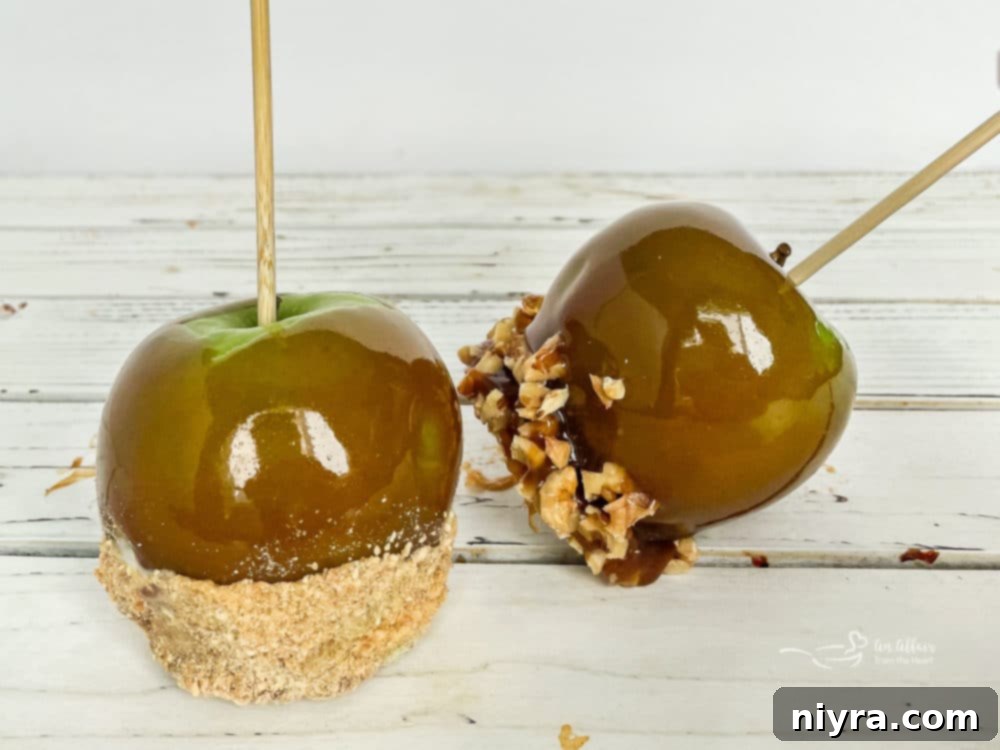
Crafting the Perfect Homemade Caramel Apples: A Rocky Mountain Chocolate Factory Copycat Recipe
Remember those magical trips to the mall, where the aroma of sweet treats filled the air? For many, the highlight was sinking their teeth into a gourmet caramel apple. Now, you can recreate that very same magic right in your own kitchen with our exquisite Rocky Mountain Chocolate Factory Caramel Apple copycat recipe. These aren’t just any caramel apples; they are a delightful blend of crisp Granny Smith apples, coated in rich, buttery homemade caramel, ready to be enjoyed plain or adorned with your favorite toppings. Get ready to awaken those nostalgic memories with every luscious bite.
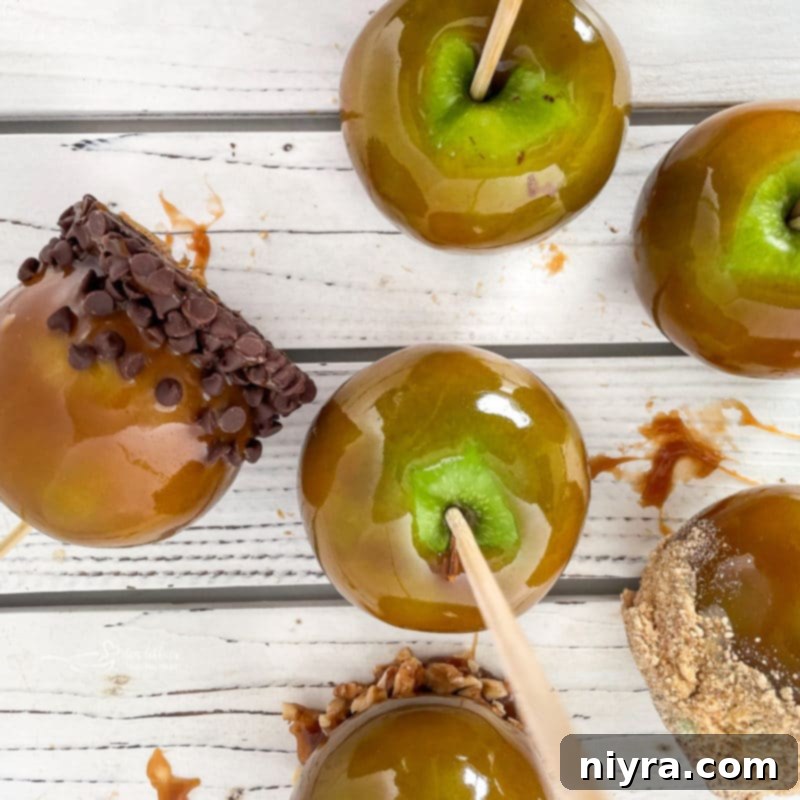
The Allure of Homemade Caramel Apples
There’s something uniquely comforting and utterly delicious about a homemade caramel apple. Far from being an intimidating culinary endeavor, crafting your own gourmet apples at home is surprisingly straightforward. With a few simple tricks and a handful of basic ingredients like rich heavy cream, evaporated milk, golden corn syrup, and sugar, you’ll soon be dipping those vibrant Granny Smith apples into a dreamy, homemade caramel sauce. As the leaves begin to turn and the crisp autumn air arrives, caramel apples emerge as one of the most cherished fall treats. This recipe has been a long-awaited labor of love, and today, we’re thrilled to share it with you!
A Taste of Nostalgia: Rocky Mountain Chocolate Factory Caramel Apples
My younger years were largely spent amidst the bustling corridors of the local mall, even working at a Berman’s Leather store during high school. Yet, back then, the delightful presence of a Rocky Mountain Chocolate Factory was unknown to me. It wasn’t until much later, with kids of my own, that I truly discovered the magic. Loading them into the stroller for an escape from the house, we’d head to the mall. It was there, at the newly opened Rocky Mountain Chocolate Factory, that I experienced my very first gourmet caramel apple. Pure bliss! If memory serves, it was a Snickers caramel apple – the perfect fusion of a luscious caramel apple and my all-time favorite candy bar. A truly unforgettable combination!
For those who share a passion for recreating beloved restaurant favorites, explore these other fantastic copycat recipes: delve into the famous Copycat Crumbl Chocolate Chip Cookie Recipe or indulge in the classic Dairy Queen’s Buster Bars. These recipes bring the joy of iconic treats right to your home kitchen.
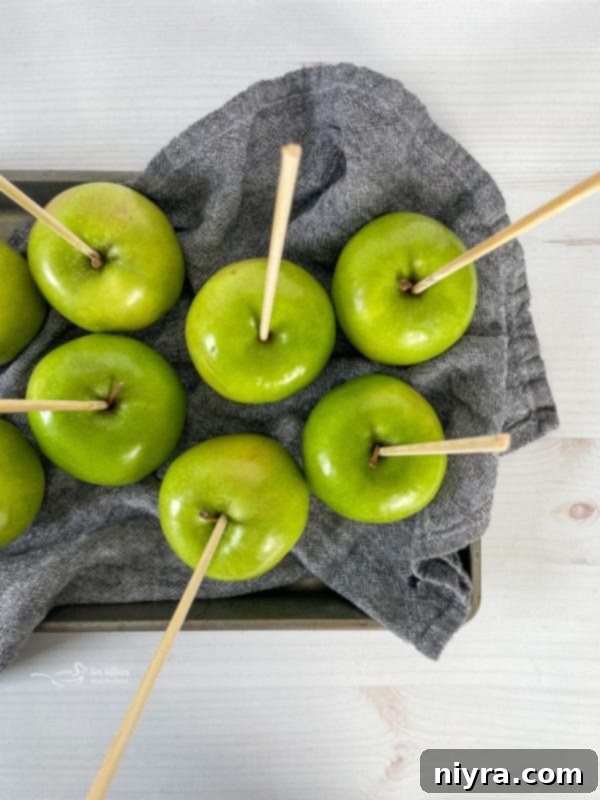
Preparing Your Canvas: Removing Wax from Apples Before Dipping
Have you ever wondered why that beautiful, shiny finish on store-bought apples seems to repel everything, including delicious caramel? The secret lies in the protective wax coating applied to most commercial apples. This wax, while harmless to consume, can prevent caramel from properly adhering, leading to frustrating drips and a less-than-perfect result. This crucial step is often overlooked but makes all the difference in achieving that smooth, even caramel coating.
How to Effectively Remove Apple Wax
The solution is remarkably simple. To remove the wax, prepare a large pan of boiling water. Gently dip each apple into the boiling water for just a few seconds – a quick bath is all it needs. Immediately after, dry them thoroughly with paper towels. You’ll notice the dull, waxy residue transferring to the towel. This process ensures a clean surface for your caramel. It’s vital to allow the apples to cool completely before dipping them in caramel. For an even more successful, drip-free application, consider chilling the apples in the refrigerator for about 30 minutes after cleaning. A cool apple helps the warm caramel set faster and stick better.
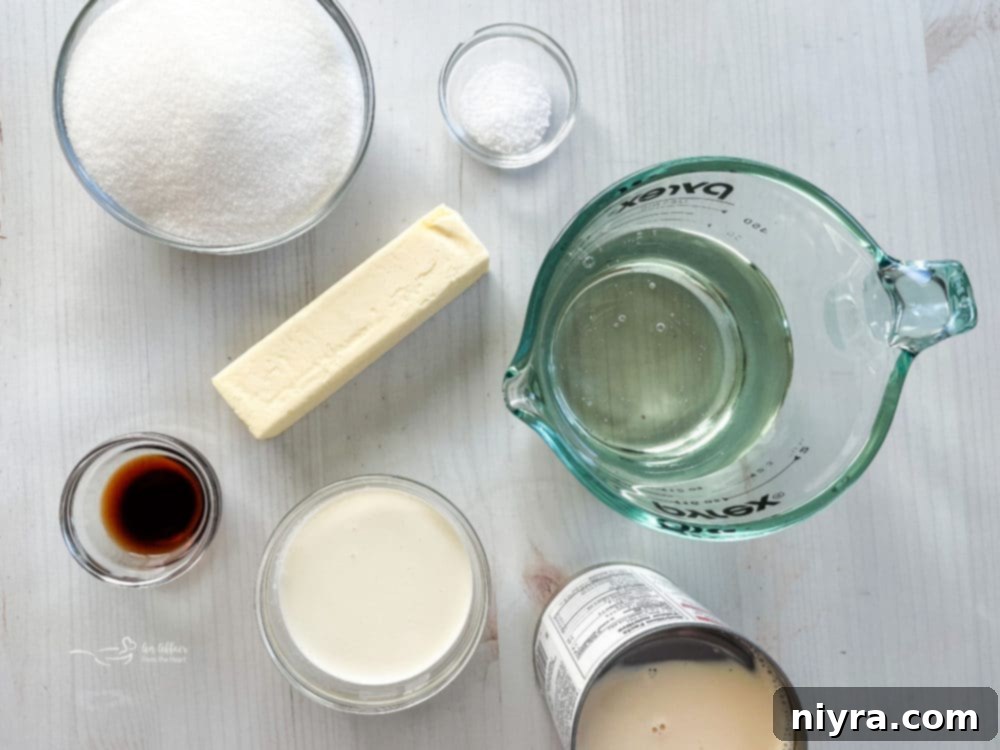
The Building Blocks: Ingredients for Homemade Caramel Apples
As mentioned earlier, crafting these classic caramel apples isn’t overly complicated. It requires a bit of time and patience, but the effort is genuinely rewarding. The magic truly lies in the quality of your ingredients and the care you put into the process. Each component plays a vital role in achieving that rich, creamy, and perfectly sweet caramel.
- Large Granny Smith Apples: These are unequivocally the best choice for caramel apples. Their firm texture withstands the heat of the caramel, and their distinctive tartness beautifully balances the sweetness of the caramel, creating a harmonious flavor profile. While red apples can be used, always opt for varieties that are firm and tart.
- Evaporated Milk: This ingredient contributes to the caramel’s creamy consistency and rich flavor.
- Heavy Whipping Cream: Adds luxurious richness and a smooth texture to the caramel, making it incredibly decadent.
- Butter: Essential for that signature buttery flavor and contributes to the caramel’s silky mouthfeel.
- Corn Syrup (Light or Dark): A critical ingredient for preventing sugar crystallization, ensuring your caramel remains smooth and pliable, not grainy. It also adds a beautiful sheen.
- Brown Sugar: Provides a deeper, more complex molasses-like flavor compared to granulated sugar, giving the caramel a traditional, rich taste. Granulated sugar can be used, but brown sugar enhances the depth.
- Salt: A pinch of salt is crucial for balancing the sweetness of the caramel, enhancing all the other flavors without making it taste salty.
- Pure Vanilla Extract: This elevates the caramel’s aroma and taste. If you’re not already using pure vanilla extract, I highly recommend making the switch; it truly makes a significant difference in the final product’s flavor.
For precise measurements and detailed step-by-step instructions, please refer to the printable recipe card located at the bottom of this post.
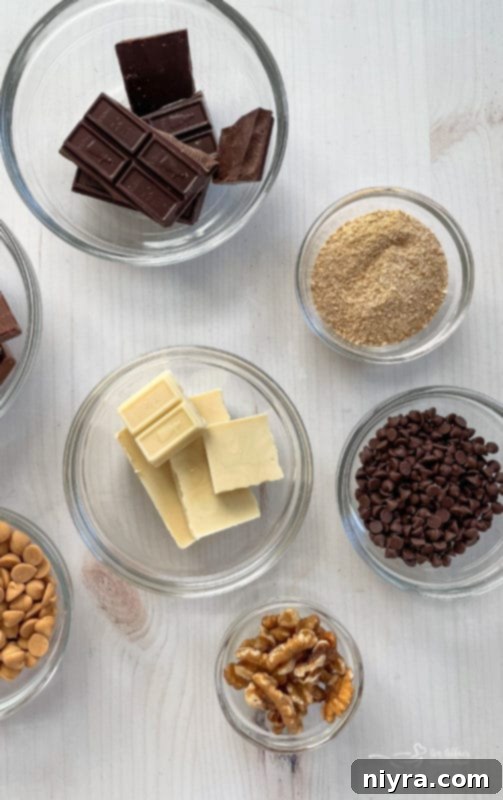
Unleash Your Creativity: Caramel Apple Toppings
Once your apples are beautifully coated in shimmering caramel, the fun truly begins: adding an array of delicious toppings! This is where you can personalize each apple and transform them into truly gourmet creations. The possibilities are endless, allowing for endless flavor combinations and visual appeal. Here are some fantastic ideas to inspire your caramel apple artistry:
- Decadent Chocolates: Drizzle with melted dark, milk, or white chocolate for an extra layer of sweetness and texture.
- Candy & Chip Varieties: Consider chocolate chips, butterscotch chips, or peanut butter chips for bursts of flavor.
- Colorful Candies: M&M’s, crushed candy bars (like Snickers, Reese’s, or Butterfinger), or even chopped gummy bears add fun and crunch.
- Crunchy Nuts: Finely chopped peanuts, pecans, walnuts, or almonds provide a classic crunch and savory counterpoint.
- Fun Sprinkles: Festive sprinkles in various colors and shapes are perfect for celebrations or adding a whimsical touch.
- Tropical Coconut: Toasted or shredded coconut flakes offer a chewy texture and exotic flavor.
- Sweet Crumbs: Crushed graham crackers or cookie crumbs add a delightful texture reminiscent of pie crusts.
Expert Tip for Toppings: If you plan to roll your caramel apples through dry toppings like nuts or sprinkles, do so immediately after dipping while the caramel is still warm and tacky. However, if you intend to dip the apples in melted chocolate, allow the caramel to set completely first. This prevents the warm chocolate from melting the caramel, ensuring both layers hold their form beautifully.
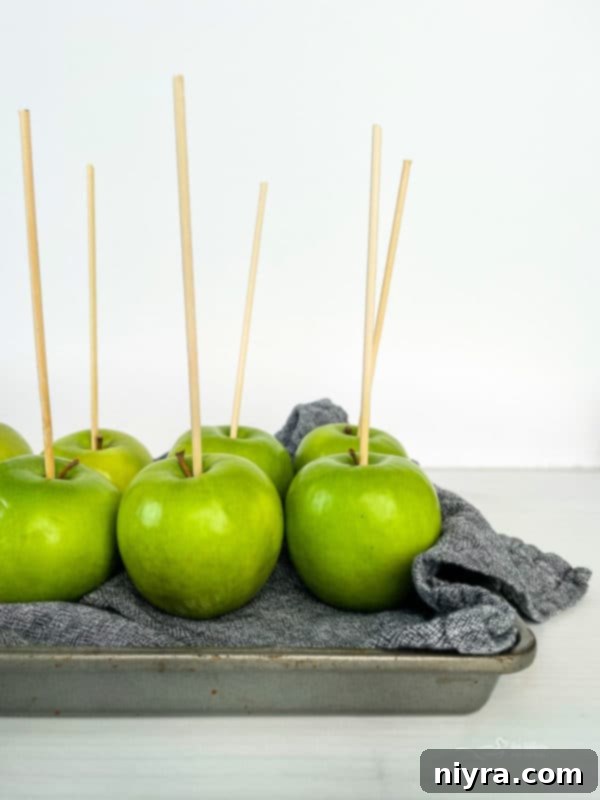
The Journey to Perfection: How to Make the Best Caramel Apples
Creating the perfect caramel apple is a process that blends careful preparation with precise cooking. Follow these steps to ensure your homemade treats are nothing short of spectacular, mimicking the gourmet quality you’d find at a specialty shop.
- Apple Preparation: Begin by thoroughly cleaning your apples. Bring a large pot of water to a rolling boil. Using a slotted spoon or a heat-resistant tong, carefully dip each apple into the boiling water for just a few seconds. This quick bath helps to remove the waxy coating. Immediately after, dry each apple completely with paper towels, rubbing firmly to ensure all wax is gone.
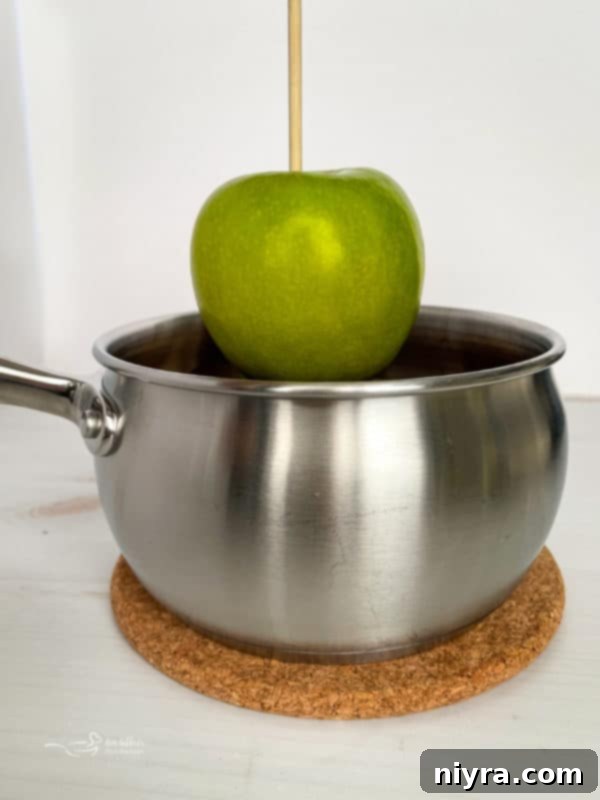
- Insert Sticks and Cool: Once cleaned, insert a sturdy wooden stick firmly into the bottom (stem end) of each apple, creating a secure handle. Set the apples aside and allow them to cool completely. For best results, chill them in the refrigerator for about 30 minutes before dipping; a cold apple helps the caramel set faster and adhere better, minimizing drips.
Choosing the Right Sticks for Your Caramel Apples
The stick is more than just a handle; it’s crucial for both dipping and enjoyment. You have several excellent options:
- Dedicated Caramel Apple Sticks: These are specifically designed for the task, often featuring a wider, flatter profile for better grip and stability. You can easily purchase Caramel Apple Sticks online or at baking supply stores.
- Craft Sticks: Standard wooden craft sticks (like popsicle sticks) are a readily available and economical alternative. They are sturdy enough for most apples. Find them here: Craft Sticks.
- Bamboo Skewers: If you have bamboo skewers on hand, you can cut them to your desired height (typically about 6-8 inches) to create effective handles. Look for these Bamboo Skewers.
Line a baking sheet with parchment paper. This non-stick surface is crucial for placing your dipped apples, ensuring they don’t stick as the caramel sets.
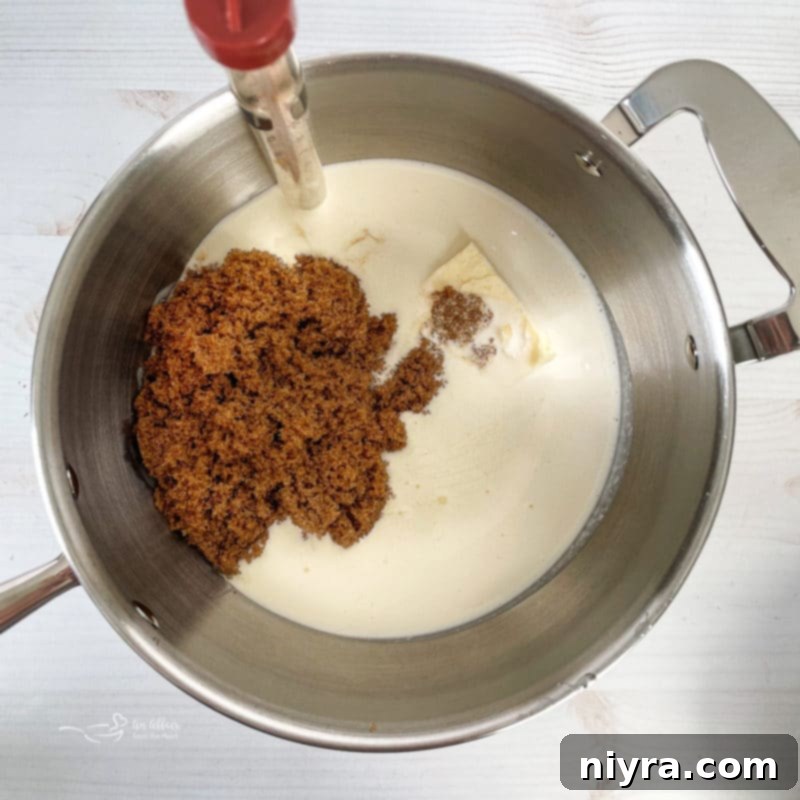
The Art of Caramel Making: Achieving Perfect Consistency
The caramel itself is the heart of this treat, and mastering its preparation is key. Patience and constant attention are your best tools here.
- Combine Caramel Ingredients: In a large, heavy-bottomed saucepan, combine the evaporated milk, heavy whipping cream, butter, corn syrup, brown sugar, and salt. Stir these ingredients thoroughly over medium-high heat.
- Bring to a Boil and Simmer: Continue stirring constantly as you bring the mixture to a full boil. Once boiling, reduce the heat to a steady medium. The constant stirring prevents the sugar from scorching and ensures even cooking.
- Cook to Temperature: Continue cooking the caramel, stirring frequently, until a candy thermometer accurately reads 248°F (120°C). This temperature corresponds to the “firm ball” stage. This process is the most time-consuming, typically taking at least 25 to 30 minutes, and sometimes longer, depending on your stove and pan. Do not rush it. The caramel must reach this specific temperature for the correct consistency – soft enough to bite but firm enough to hold its shape on the apple. Stirring constantly is essential to prevent burning on the bottom of the pan.
Caramel Test Tip: If you don’t have a candy thermometer, you can perform the cold water test. Drop a small teaspoon of the hot caramel syrup into a glass of very cold water. If it forms a firm, but still pliable, ball that you can pick up, your caramel is ready.
- Add Vanilla: Once the caramel reaches the target temperature, remove the saucepan from the heat immediately. Stir in the pure vanilla extract. The vanilla adds a final layer of aromatic sweetness that completes the caramel’s flavor profile.
Dipping and Decorating Your Caramel Apples
With your perfectly cooked caramel ready, it’s time for the most anticipated step!
- Dip the Apples: Working quickly while the caramel is still hot and fluid, dip each apple into the caramel. Rotate the apple to ensure it’s completely coated, covering the apple and about half an inch of the wooden handle. Allow any excess caramel to drip back into the saucepan before transferring the apple.
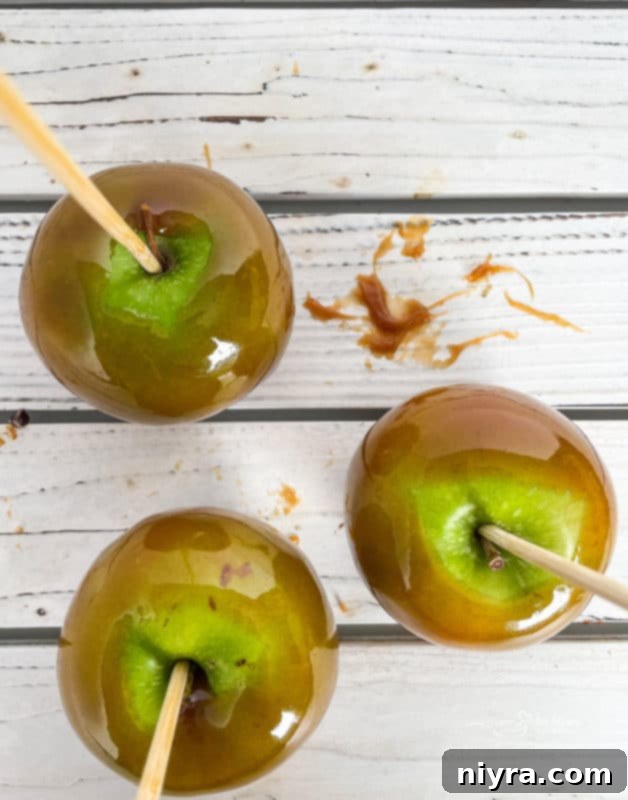
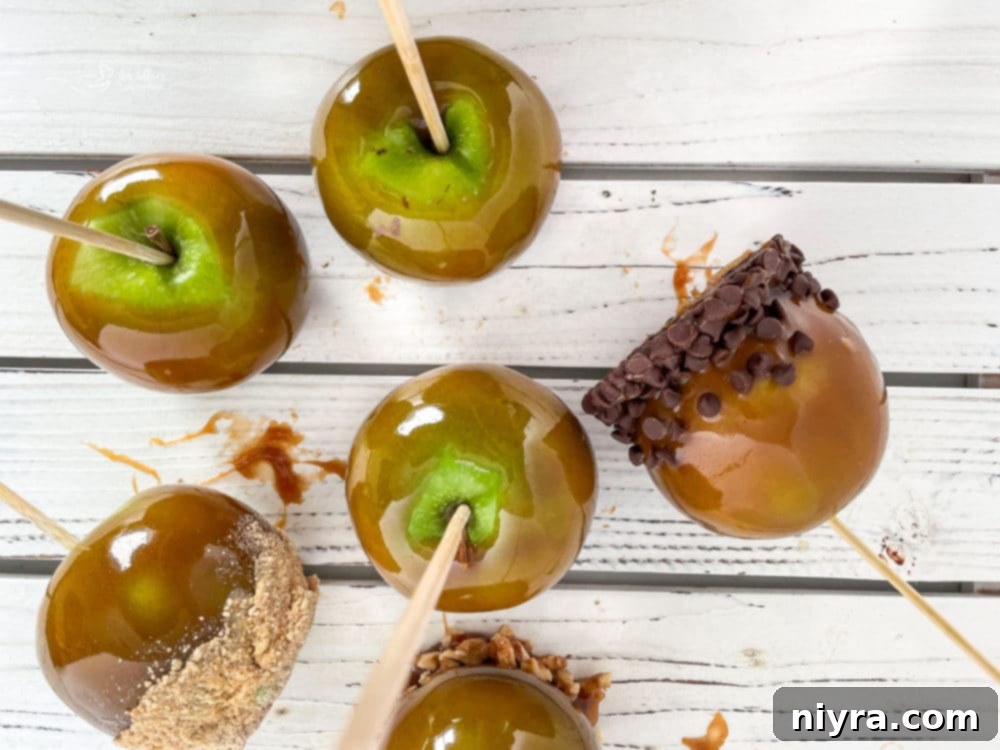
- Apply Toppings or Set: Immediately transfer the dipped apples to the parchment-lined baking sheet to set. If you are adding toppings like crushed nuts or candies, this is the time to do it. Gently roll the caramel-coated apple through your desired toppings while the caramel is still warm and sticky.
Adding Chocolate Drizzle or Dipping
If your vision includes a luxurious chocolate coating, there’s a specific technique to ensure success. First, make sure the caramel layer on your apples has set up *completely* and is firm to the touch. Then, melt your chosen chocolate (dark, milk, or white). Crucially, allow the melted chocolate to cool down slightly before dipping your caramel apples. Dipping a cool, caramel-covered apple into slightly cooled melted chocolate prevents the heat from the chocolate from re-melting the caramel, which could cause both layers to slide right off. This ensures a beautiful, distinct chocolate shell.
Storing Your Caramel Apple Creations
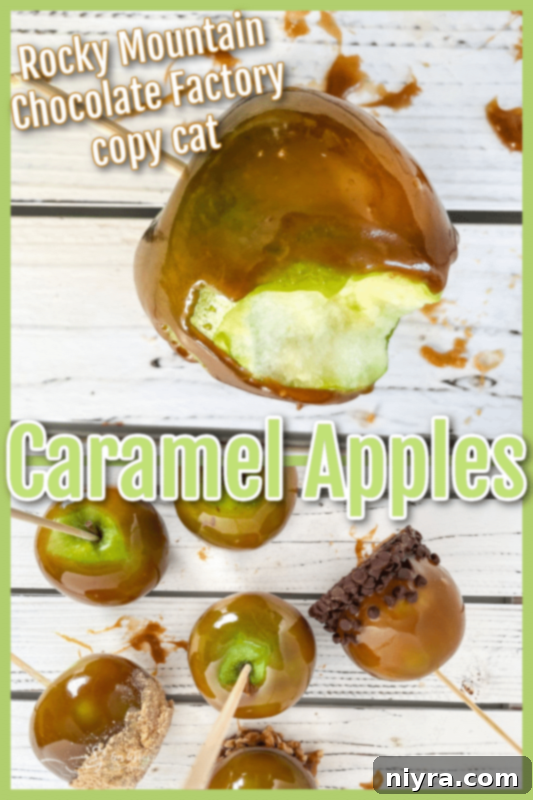
Once your homemade gourmet caramel apples are complete and the caramel (and any toppings) have fully set, proper storage is essential to maintain their freshness and prevent them from becoming sticky or soft. Store individual caramel apples loosely wrapped in wax paper or cellophane in the refrigerator. They will stay fresh for up to one week. To enjoy, simply remove from the fridge about 15-20 minutes before serving to allow the caramel to soften slightly to a perfect, chewy consistency.
Love this Recipe? Pin It for Later!
If you’re as excited about these homemade gourmet caramel apples as we are, don’t forget to save this recipe! Pin it to your favorite dessert board on Pinterest so you can easily find it whenever a craving strikes or you’re planning a special treat.
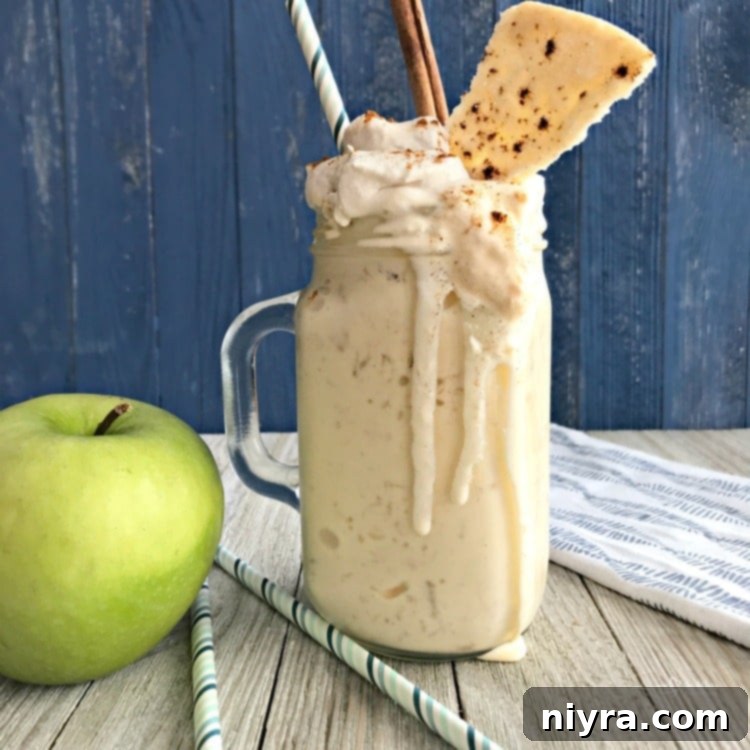
For the LOVE of Apples! Explore More Delightful Apple Recipes
If you’re an apple enthusiast like us, you’re always on the lookout for new and exciting ways to enjoy this versatile fruit. From comforting baked goods to refreshing salads, apples truly shine in a myriad of dishes. Here are some of our absolute favorite apple-inspired recipes to keep your palate delighted throughout the seasons:
- Copy Cat Dairy Queen Apple Pie Blizzard: Experience the nostalgic flavors of apple pie in a creamy, dreamy frozen treat, just like your favorite ice cream shop (pictured above).
- Crisp Apple Chicken Salad: A refreshing and light meal, this chicken salad is elevated with the sweet and tart crunch of fresh apples, perfect for a healthy lunch.
- Warm Apple Upside Down Cake: A beautiful and comforting dessert featuring tender apple slices caramelized at the bottom, then flipped to reveal a stunning presentation.
- Halloween Apple “Donut” Monsters: A fun and creative snack, these apple slices are decorated to look like friendly monsters, ideal for a festive Halloween treat.
- Hearty Apple Pie Oatmeal Cookies: Enjoy all the comforting flavors of apple pie baked into a soft, chewy oatmeal cookie, a perfect snack or dessert.
- The BEST Apple Crisp Recipe: A classic dessert featuring tender, spiced apples topped with a buttery, crispy oat crumble, best served warm with a scoop of vanilla ice cream.
- Bubbly Apple Cider Mimosa: A sophisticated and refreshing cocktail, perfect for brunch or celebrations, combining crisp apple cider with sparkling wine.
- Decadent Caramel Apple Mini Cheesecakes: Individual cheesecakes topped with luscious caramel and apple pieces, offering a delightful bite-sized dessert experience.
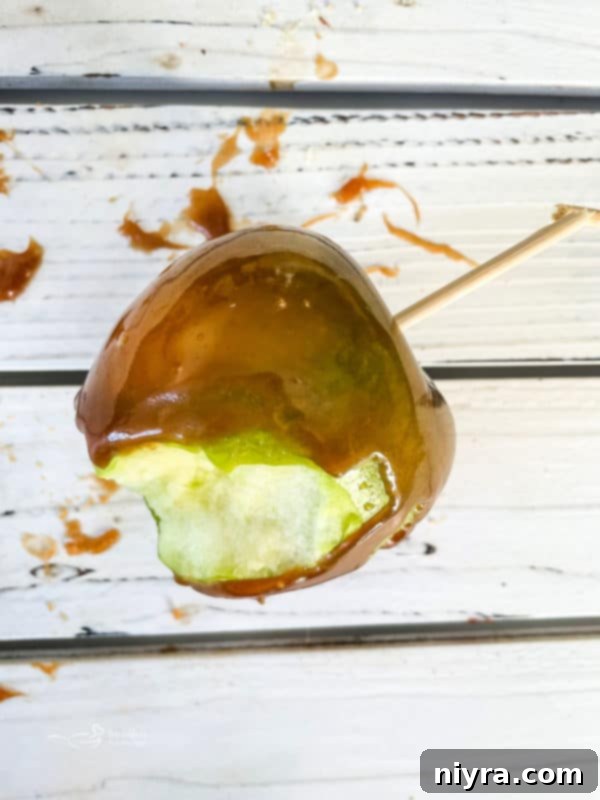
Embrace the joy of creating these delightful **old-fashioned caramel apples** with our detailed **Copy Cat Rocky Mountain Chocolate Factory recipe**! You’re just a few steps away from an unforgettable homemade treat.

LIKE THIS RECIPE?
Don’t forget to give it a ⭐️⭐️⭐️⭐️⭐️ star rating and
leave a comment below the recipe!

Average Rating: 4.60 from 10 votes
Print Recipe
Copy Cat Rocky Mountain Chocolate Factory Apples
Homemade caramel-dipped Granny Smith Apples on a stick. Enjoy them just as they are, or roll them into your favorite candies or nuts, or give them a dip in some melted chocolate. This Rocky Mountain Chocolate Factory Recipe for Caramel Apples will be your new favorite!
Prep Time: 45 mins
Cook Time: 45 mins
Total Time: 1 hr 30 mins
Course: Desserts
Cuisine: American
Keyword: caramel apples, copy cat, diy, how to make caramel apples, rocky mountain chocolate factory
Servings: 8 apples
Calories: 801 kcal
Author: Michaela Kenkel
Ingredients
- 8 large Granny Smith apples
- 1 can of evaporated milk
- ¼ cup heavy whipping cream
- ¼ pound butter (1 stick)
- 1 ¼ cups corn syrup (light or dark)
- 1 ¼ cups brown sugar
- 1 teaspoon salt
- 1 teaspoon pure vanilla extract
- Ideas for Toppings: dark and white chocolate, chocolate chips, M&M’s, crushed candy bars, nuts, sprinkles, coconut
Instructions
- Clean the apples thoroughly by bringing a large pan of water to a boil. Using a slotted spoon, dip apples in boiling water for a few seconds, then dry with paper towels to remove any wax from the peel.
- Set apples aside until completely cool. Insert a wooden stick firmly into the bottom of each apple for a handle.
- Line a baking sheet with parchment paper.
- In a large saucepan, combine milk, whipping cream, butter, corn syrup, sugar, and salt, stirring over medium-high heat. Bring the mixture to a boil, stirring constantly, then reduce heat to medium.
- Cook until a candy thermometer reads 248 degrees F (120 degrees C). This will take about 25 to 30 minutes; stir constantly to prevent burning. To test: drop a teaspoon of the syrup into a glass of cold water, it should form a firm ball when it’s ready.
- Remove caramel from heat and stir in vanilla extract.
- Working quickly, dip each apple into the hot caramel to completely coat the apple and about 1/2 inch of the wooden handle.
- Sprinkle apples with any desired toppings while still hot. Or dip them into melted chocolates once the caramel has set.
Notes
Making these apples takes a little bit of patience, but they are well worth the effort!
Nutrition
Serving: 1 | Calories: 801kcal | Carbohydrates: 130g | Protein: 7g | Fat: 31g | Saturated Fat: 19g | Polyunsaturated Fat: 10g | Trans Fat: 1g | Cholesterol: 56mg | Sodium: 513mg | Fiber: 8g | Sugar: 118g
