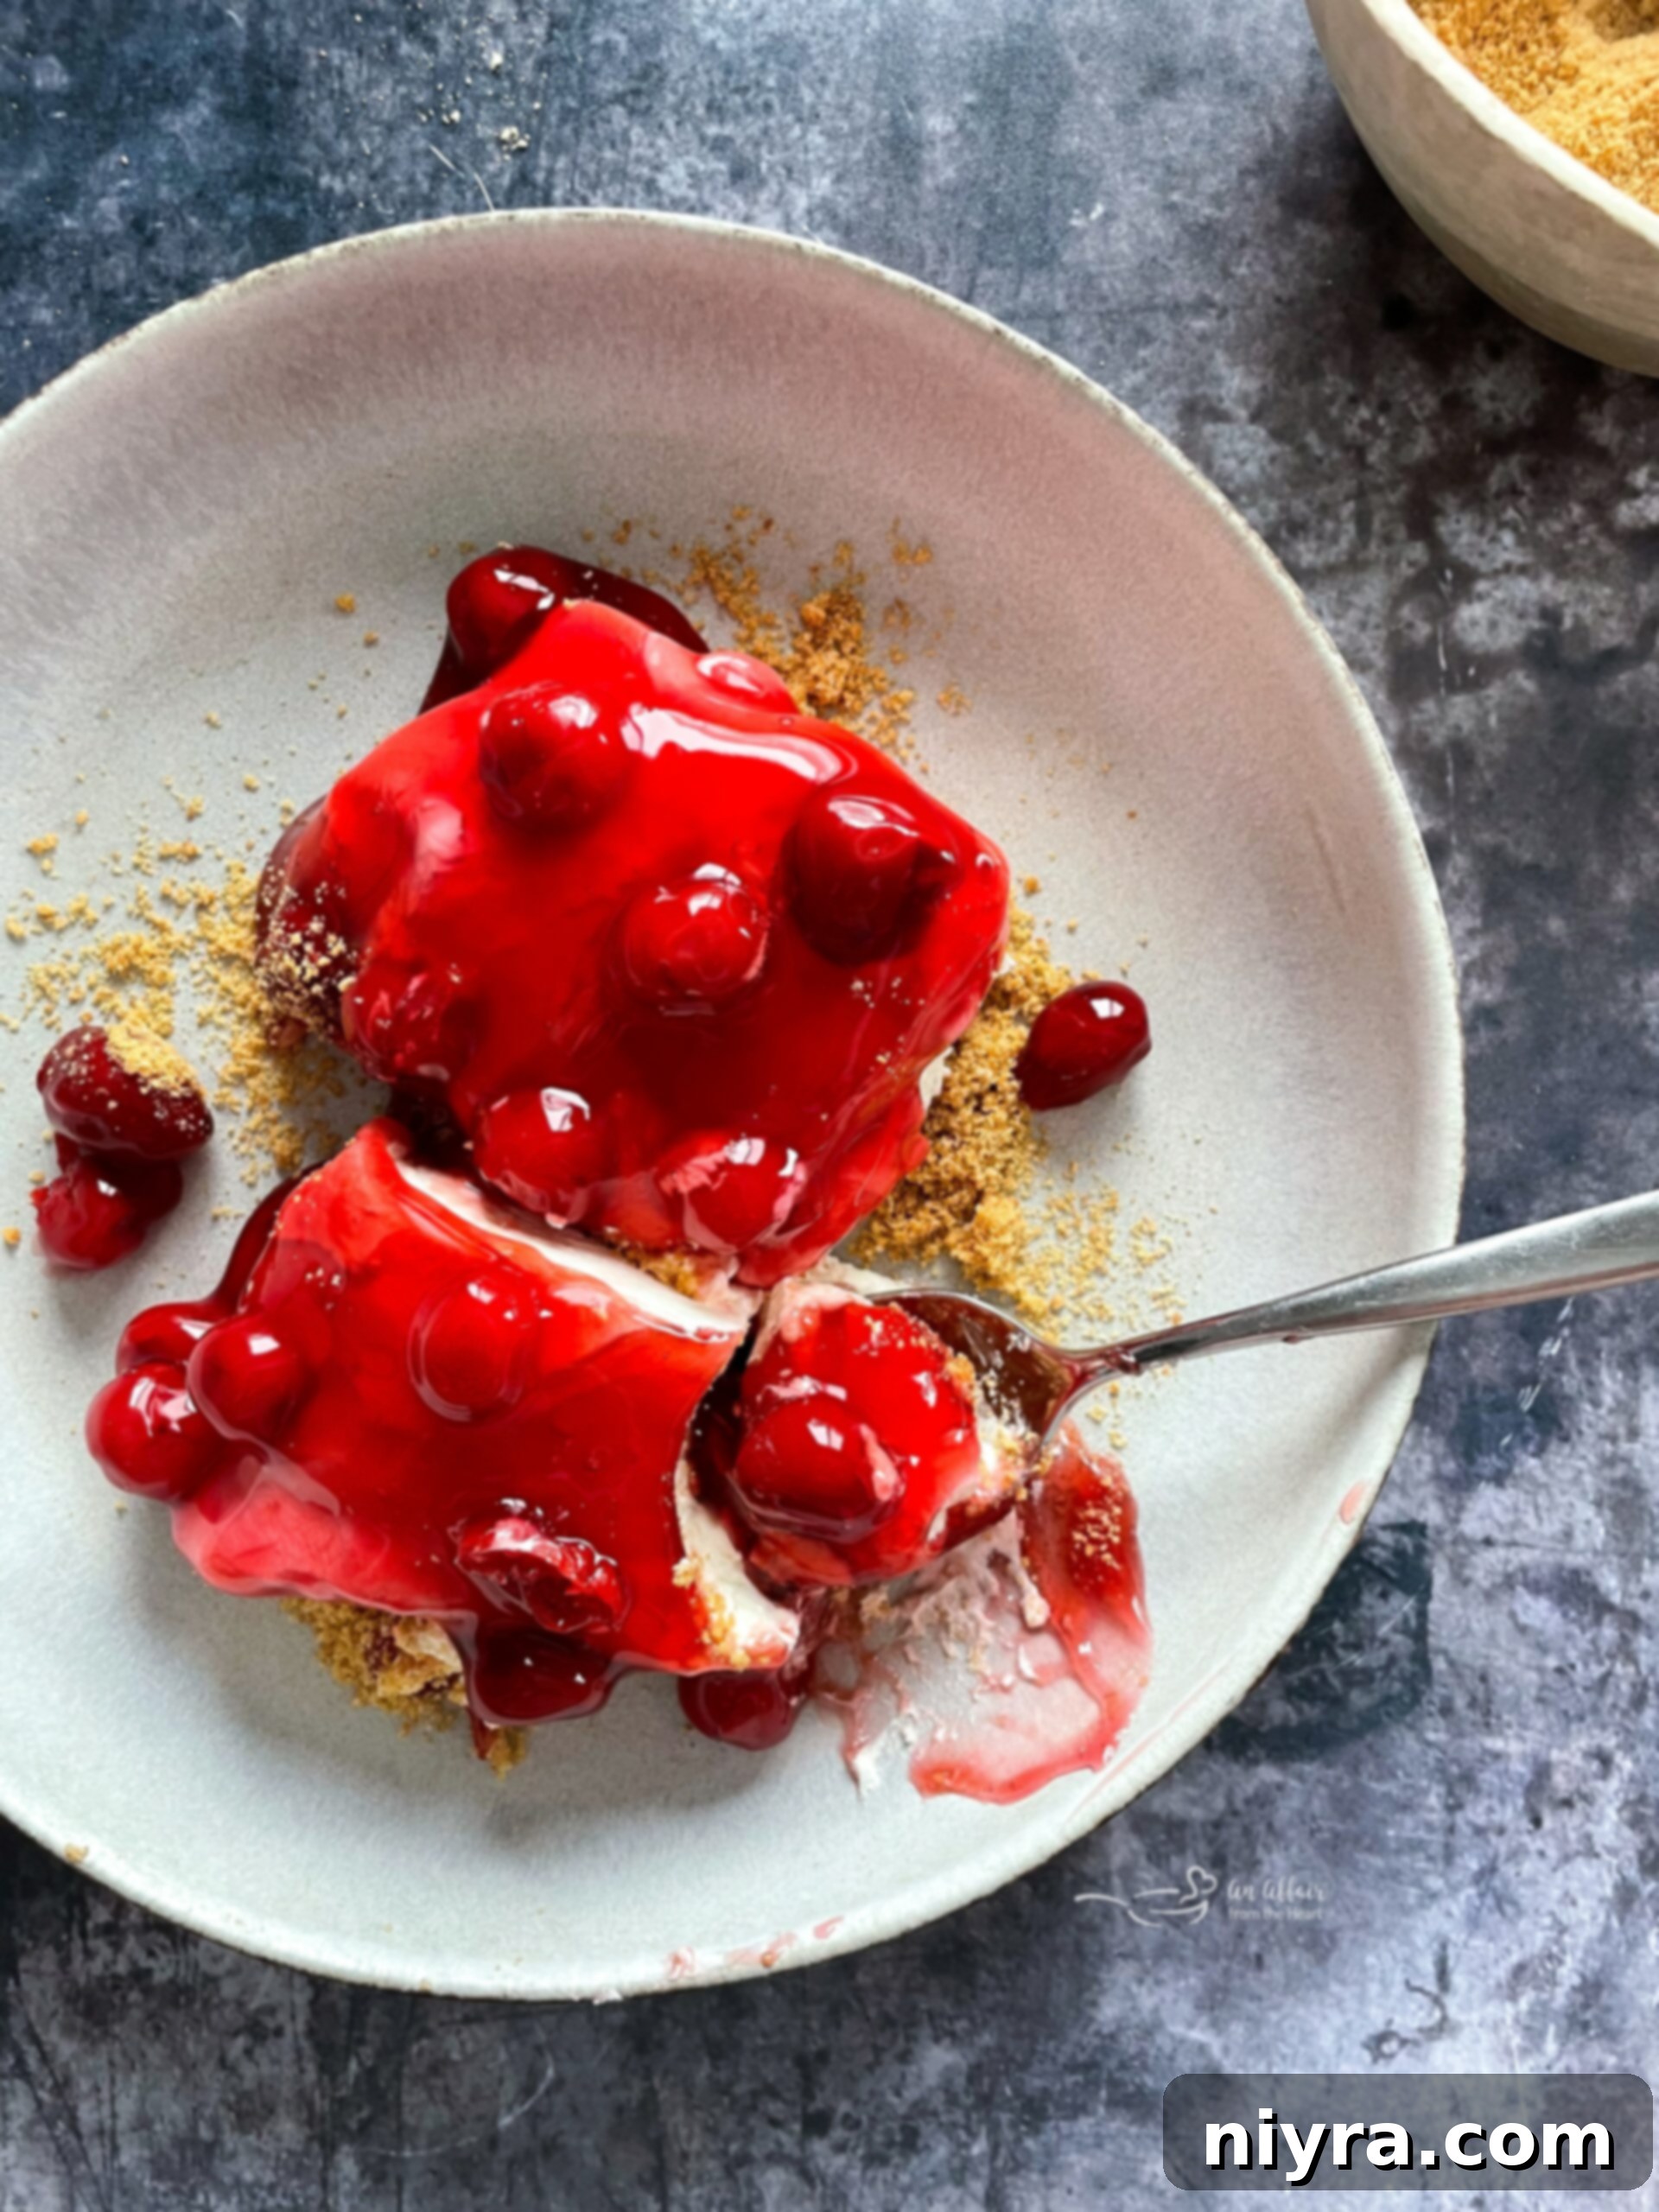
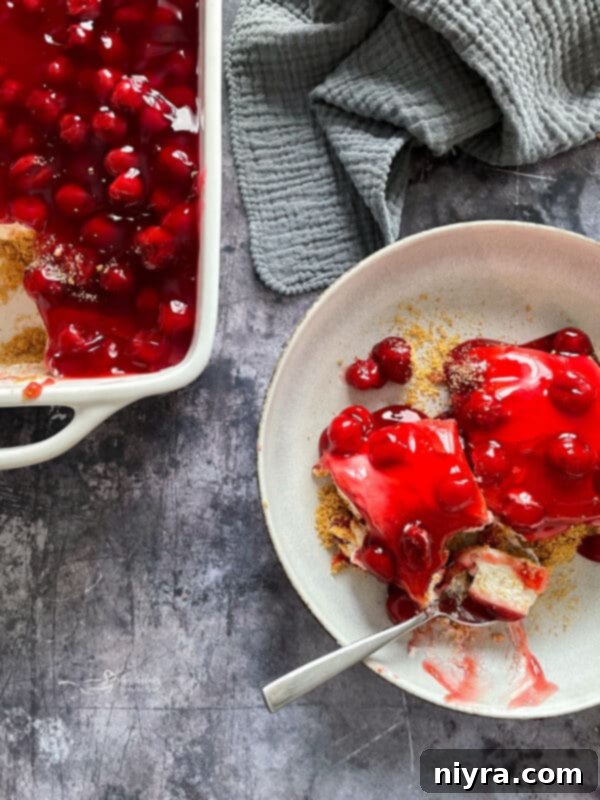
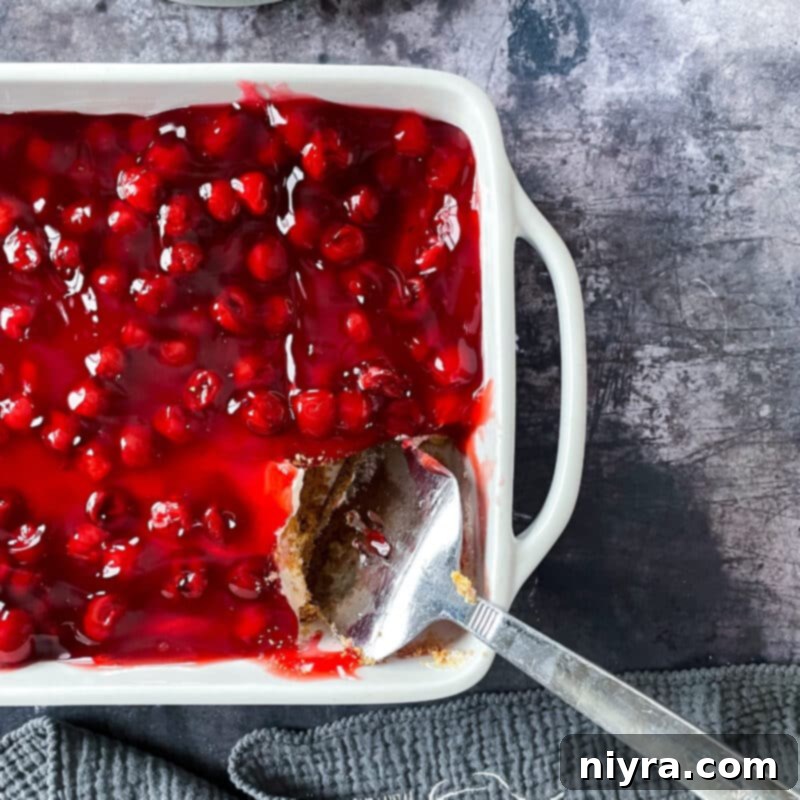
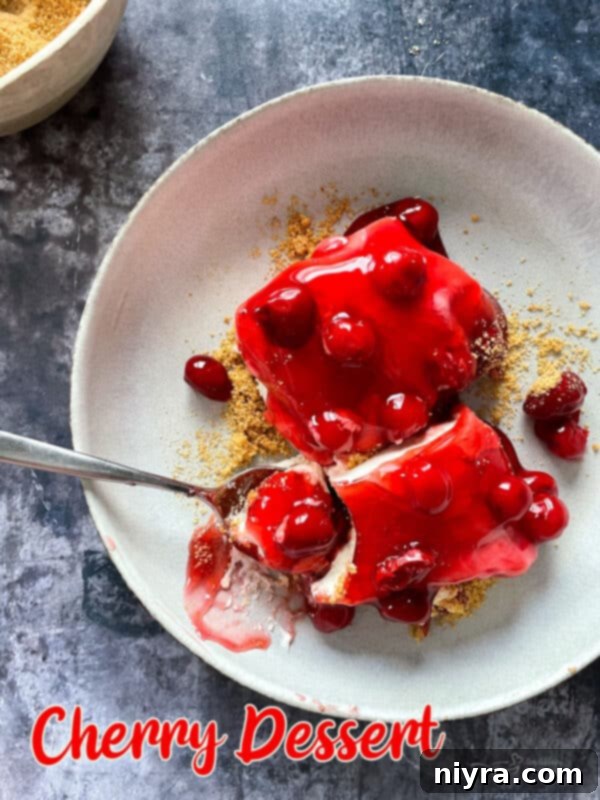
Discover the ultimate **No-Bake Cherry Dessert**, a remarkably easy and incredibly satisfying treat that requires absolutely no oven time! With just a handful of simple ingredients, you’ll create a luxurious, creamy, and vibrant dessert that’s perfect for any occasion. Imagine a luscious, smooth filling nestled atop a buttery graham cracker crust, crowned with a generous layer of tart cherry pie filling. This delightful creation is not only a breeze to assemble but also offers a refreshing escape, especially on those sweltering summer days when the thought of turning on your oven is unbearable. Yet, its vibrant red hue and decadent flavor profile make it an equally stunning centerpiece for holiday gatherings and special celebrations throughout the year.
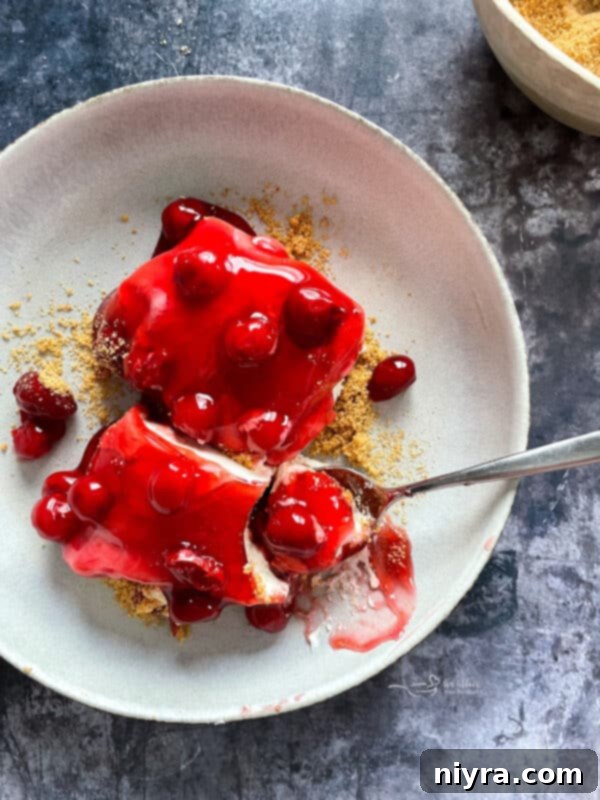
This classic **Cherry Delight** features a heavenly combination: a light and airy center crafted from the perfect blend of Cool Whip topping and sweetened condensed milk, delivering an unparalleled smoothness. This cloud-like layer rests on a golden, crumbly graham cracker base, providing a delightful textural contrast. The grand finale is a generous topping of vibrant, tart cherry pie filling, offering a burst of fruity flavor that perfectly balances the sweetness of the creamy middle. Are your taste buds already anticipating this exquisite experience? It’s truly astounding how such a simple recipe can yield such a mouthwatering and impressive dessert.
I wholeheartedly adore the rich, complex flavor of this No-Bake Cherry Dessert. It boasts a cheesecake-like creaminess and tang without the need for actual cream cheese, making it a unique and accessible option for many. While it shines as a wonderfully cooling summer dessert, its versatility knows no bounds. This “Cherry Dream Dessert” is an ideal choice for any season – from festive holiday feasts and cozy family dinners to lively potlucks and impromptu get-togethers. Its beautiful red and white layers also make it an exceptional candidate for Valentine’s Day or other red-themed celebrations. For an extra festive touch, consider adding a hint of pink food coloring to the creamy center to enhance its romantic appeal. This truly stands out as one of the best cherry dessert recipes you’ll ever find.
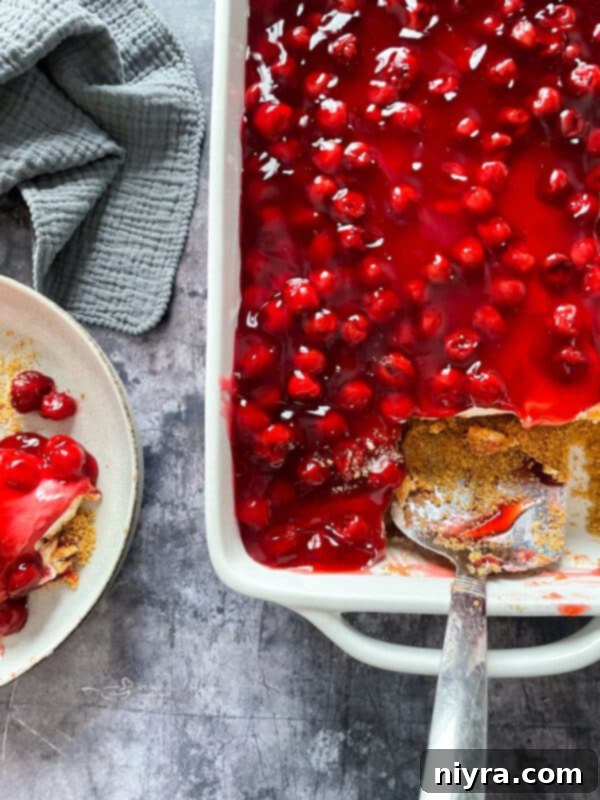
Preparing this dessert in a rectangular baking dish effortlessly transforms it into convenient **cherry pie bars**, an ingenious solution for effortlessly serving larger gatherings. These bars are easy to slice, share, and enjoy, making them a crowd-pleasing favorite at parties, picnics, and family events. The simple presentation belies the sophisticated flavor, ensuring your guests will be thoroughly impressed.
One of the most appealing aspects of this delicious No-Bake Cherry Dessert is its excellent make-ahead potential. You can easily prepare it a day or two in advance, allowing it to chill thoroughly in the refrigerator for up to one week without compromising its texture or flavor. For longer storage, any delectable leftovers can be securely wrapped and frozen for up to three months, making it a perfect dessert to prepare in batches or keep on hand for unexpected cravings or guests. Simply thaw in the refrigerator before serving to enjoy its fresh taste.
Eager to explore more delightful cherry-infused creations? Expand your recipe repertoire with these other fantastic options: Cherry Wink Cookies, a classic with a sweet, fruity twist; Cherry Filled Coffee Cake, perfect for breakfast or brunch; or these elegant White Chocolate Cherry Cookies, a sophisticated blend of flavors.
Essential Ingredients for Your Perfect No-Bake Cherry Dessert
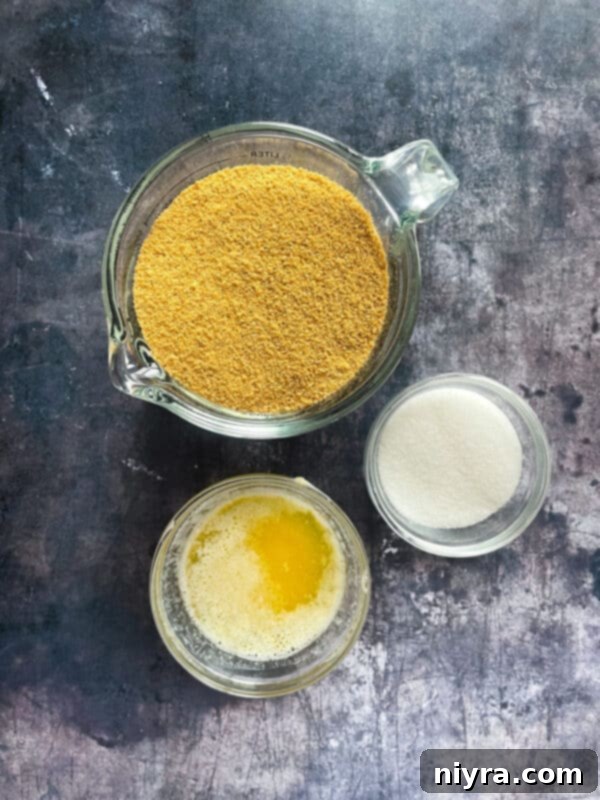
To craft this irresistible No-Bake Cherry Dessert, you’ll need just a few key components for each delicious layer:
For the Crispy Graham Cracker Crust:
- Graham cracker crumbs – You’ll need exactly 2 cups of these finely crushed crackers. For convenience, you can purchase pre-made graham cracker crumbs, or effortlessly create your own by pulsing whole graham crackers in a food processor until a fine, sandy texture is achieved. This forms the perfect sturdy and flavorful base for our dessert.
- Unsalted Butter – Use half a stick, which equates to 1/4 cup of melted butter. The melted butter acts as a binder, ensuring your graham cracker crust holds together beautifully when pressed into the dish, providing that essential buttery richness.
- Granulated Sugar – Just a touch of white granulated sugar is incorporated into the crust mixture. This adds a subtle sweetness that complements the crackers and prepares your palate for the layers to come.
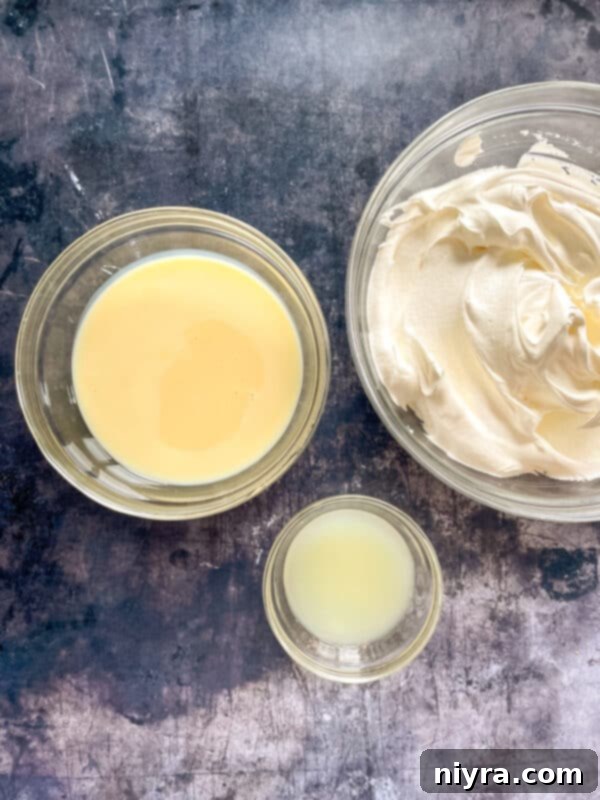
For the Velvety Creamy Center:
- Sweetened Condensed Milk – One 14-ounce can of sweetened condensed milk is the star of our creamy filling. Its thick, sweet, and rich consistency is crucial for achieving the desired texture and flavor, providing the dessert with its signature indulgence.
- Fresh Lemon Juice – A 1/4 cup of freshly squeezed lemon juice is essential. This seemingly small addition works wonders, cutting through the sweetness of the condensed milk and Cool Whip to add a delightful, bright tang that elevates the entire dessert and prevents it from being overly sweet. It also helps to slightly thicken the mixture.
- Cool Whip Topping – You’ll need an 8-ounce tub of thawed Cool Whip. This light, airy whipped topping is folded into the mixture, contributing to the dessert’s signature fluffy, smooth, and cheesecake-like texture. Low-fat or fat-free Cool Whip varieties work equally well here, offering a lighter alternative without sacrificing flavor.
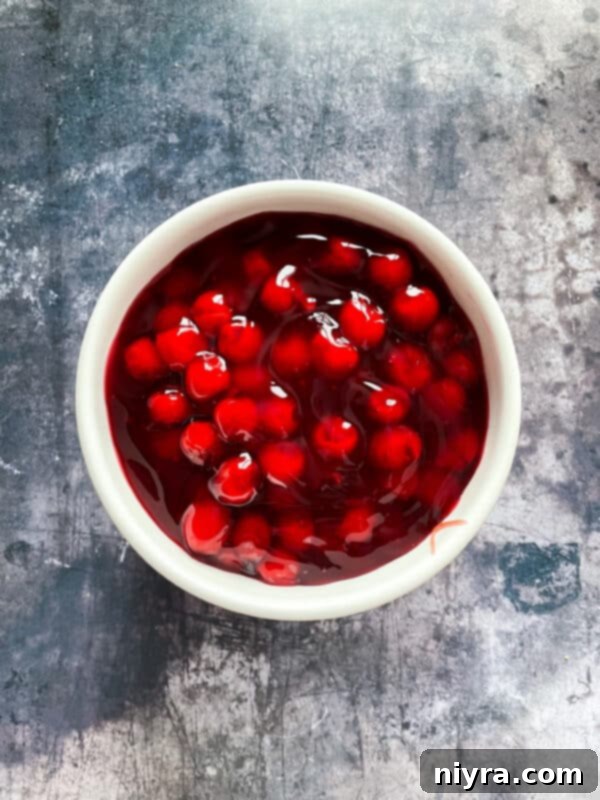
For the Bright Cherry Topping:
- Cherry Pie Filling – Two 20-ounce cans of store-bought cherry pie filling are recommended for this recipe. Using pre-made filling is a fantastic time-saver, ensuring a quick and easy assembly. While you could certainly make a homemade cherry topping from fresh or frozen cherries, the convenience of canned filling makes this “Cherry Delight” truly effortless and accessible for busy schedules.
Crafting Your Luscious No-Bake Cherry Delight Dessert
Follow these simple steps to bring your delightful no-bake cherry dessert to life:
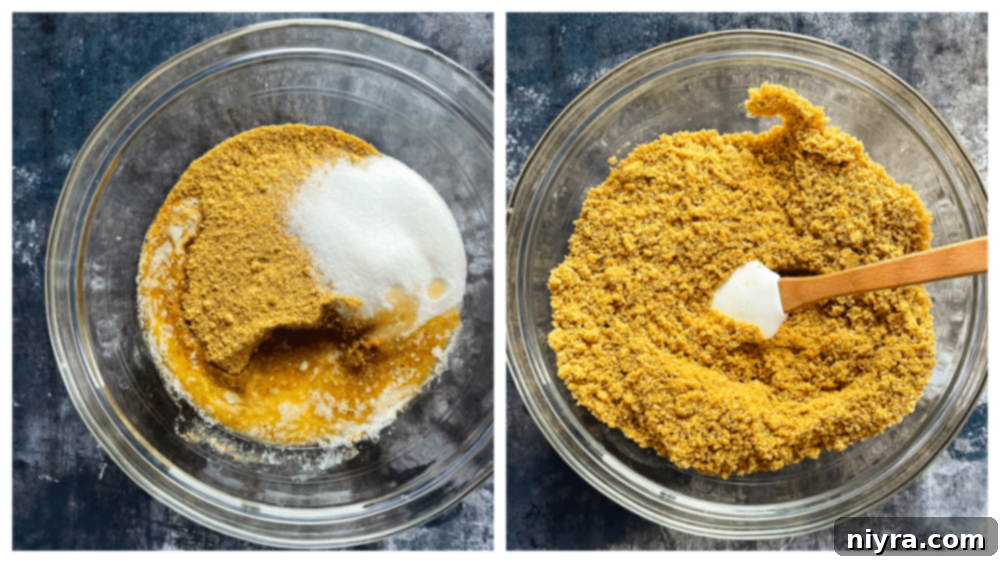
**Step One: Prepare the Graham Cracker Crust.** In a spacious mixing bowl, combine the graham cracker crumbs, melted butter, and granulated sugar. Mix thoroughly until all the crumbs are evenly moistened and resemble wet sand. This ensures a consistent and sturdy crust. Firmly press this mixture into the bottom of a 9×13 inch baking dish. Use the back of a spoon or the bottom of a flat glass to compact it tightly. A well-packed crust is key to preventing crumbling when you slice the dessert.
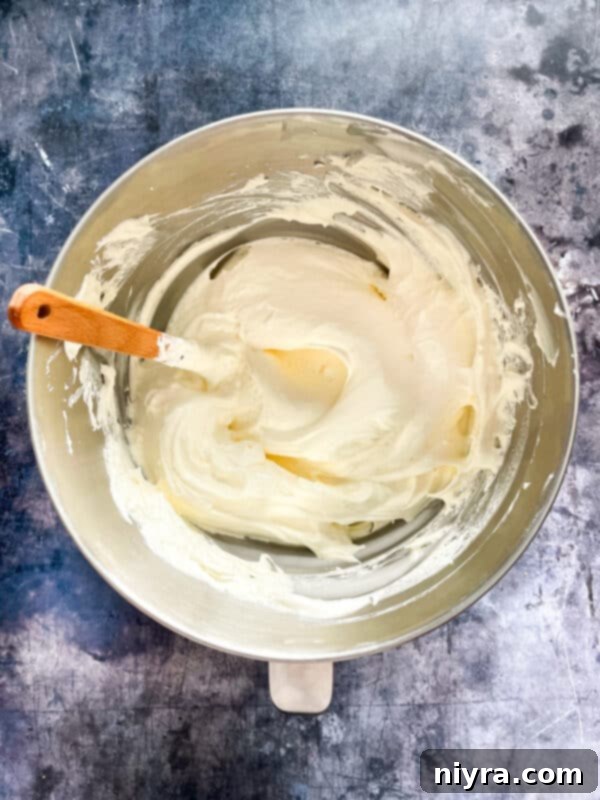
**Step Two: Create the Creamy Filling.** In another bowl, combine the sweetened condensed milk and fresh lemon juice. Using an electric mixer (either a stand mixer or a hand mixer), beat the mixture for approximately 1 minute. You’ll notice it will begin to thicken slightly, taking on a more custard-like consistency thanks to the acidity of the lemon juice interacting with the condensed milk. This is a crucial step for the perfect creamy texture.
**Step Three: Fold in the Cool Whip.** Gently fold the thawed Cool Whip into the condensed milk and lemon juice mixture. Use a spatula to incorporate it carefully, ensuring not to overmix, which could deflate the airy texture of the Cool Whip. The goal is a light, smooth, and homogenous creamy center.
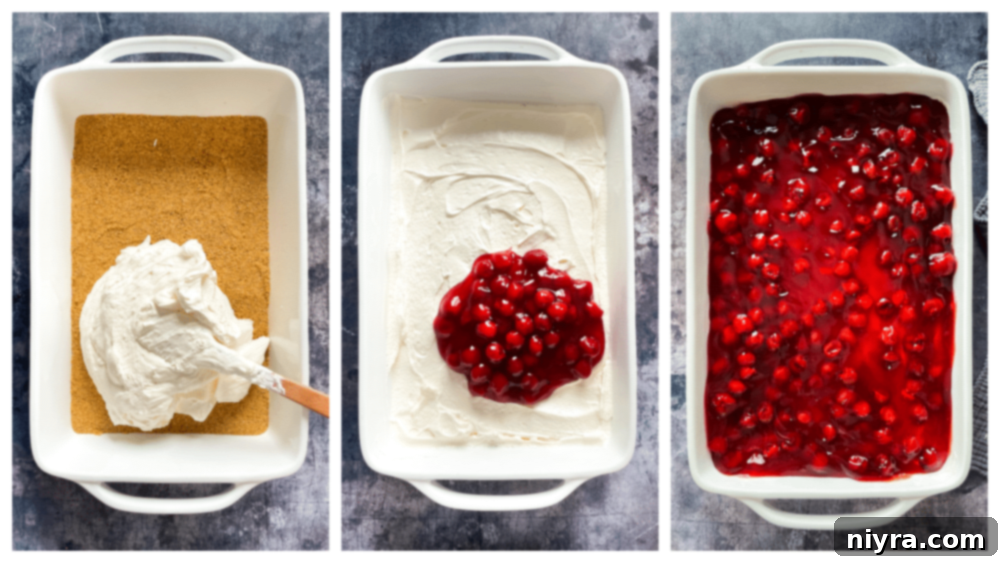
**Step Four: Assemble and Chill.** Carefully spread the prepared creamy filling evenly over the graham cracker crust. Take your time to create a smooth, consistent layer. Next, gently spoon the cherry pie filling over the creamy layer, spreading it out to cover the entire surface. Once assembled, cover the baking dish tightly with plastic wrap and refrigerate for at least one hour. This chilling period is the hardest part, as waiting for the dessert to set is crucial for it to achieve its firm, sliceable consistency. *For best results and perfect setting, I often prepare this dessert the night before, ensuring it has ample time to chill thoroughly.*
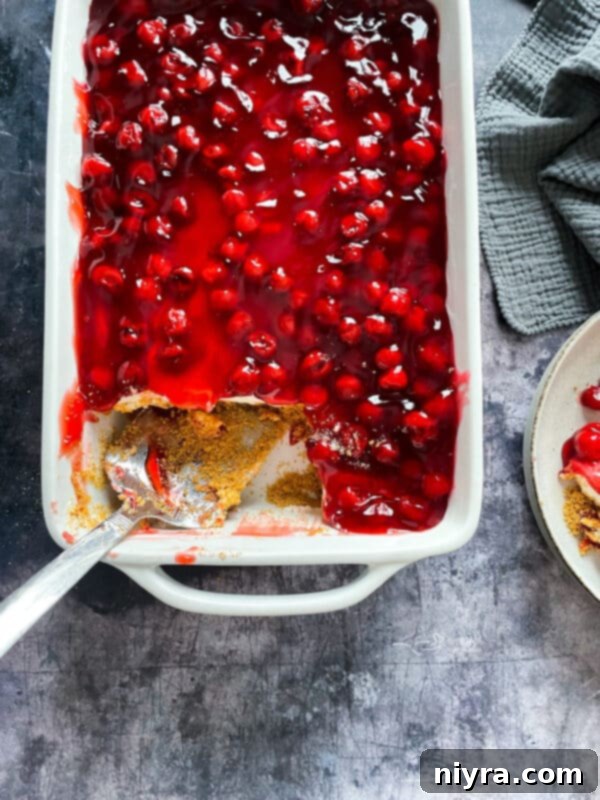
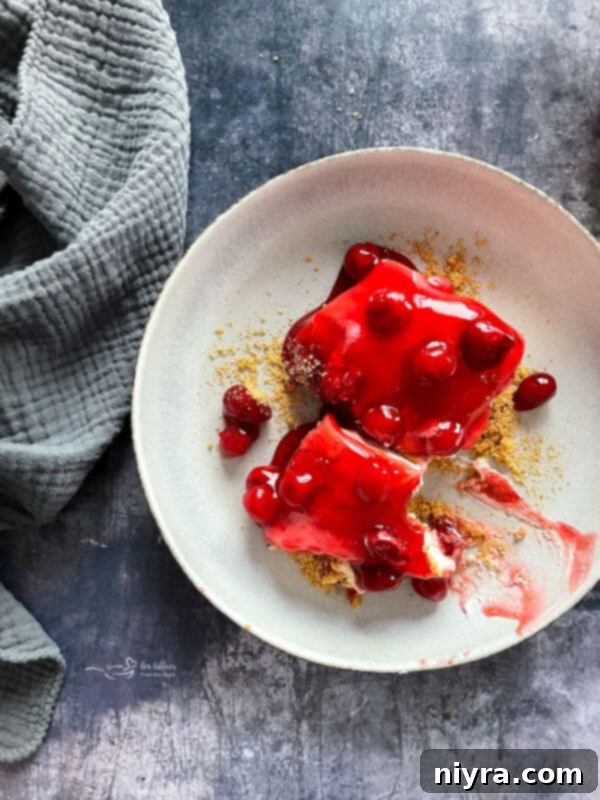
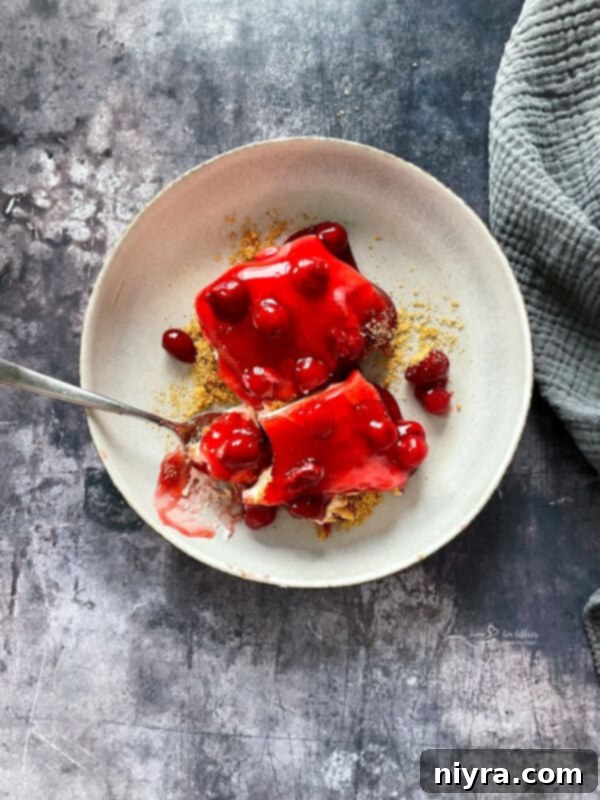
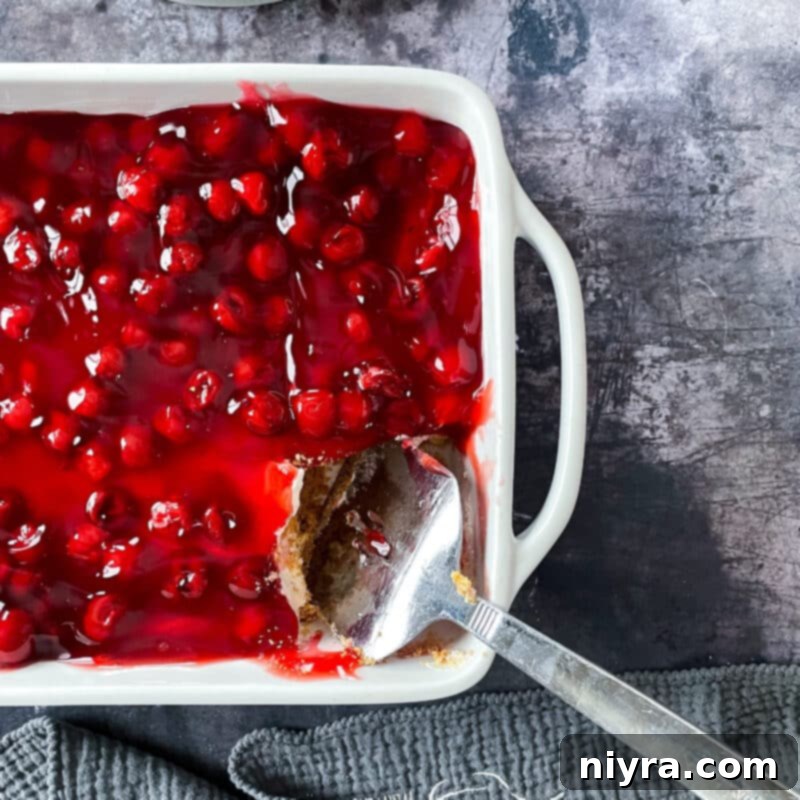
Once properly chilled and set, slice and serve your stunning No-Bake Cherry Dessert. You can enjoy this dessert straight from the refrigerator for a firm, cool bite, or allow it to sit at room temperature for a short period to achieve a slightly softer, creamier texture. *Note: This recipe is incredibly versatile! Feel free to use low-fat or fat-free Cool Whip, and even fat-free sweetened condensed milk, to create a delicious and slightly lighter version of this classic treat without compromising on flavor.*

Love This Recipe? Pin It for Later!
If you’re as enchanted by this classic No-Bake Cherry Delight recipe as we are, ensure you never lose track of it! Hit that Pin button and save it to your favorite Pinterest recipe board before you go. Share the love and the joy of this simple yet sensational dessert with your friends and followers!
Frequently Asked Questions About Cherry Desserts
**What types of cherries are best for desserts?** Navigating the world of cherries for your baking and dessert needs can sometimes be a bit puzzling. With options like tart cherries, sour cherries, maraschino cherries, and Bing cherries, how do you make the perfect choice? Each variety offers a distinct flavor profile that can significantly impact your final dish.
While research often points to Bing cherries as the most widely popular, largely due to their common availability in grocery stores, the “best” cherry truly depends on the specific recipe and your personal taste preferences. For recipes like cherry clafoutis, mini cherry cheesecakes, hearty cherry bars, or delightful chocolate cherry cookies, I highly recommend experimenting with different varieties. This hands-on approach will help you discover which cherry’s sweetness, tartness, and texture you enjoy most in your favorite creations.
Creative Substitutions for Your No-Bake Cherry Dessert
This No-Bake Cherry Dessert is wonderfully adaptable! Instead of solely relying on canned cherry pie filling, you can unleash your creativity. Elevate the topping with fresh fruit, such as seasonal stone fruits like peaches or plums, for a different twist. Alternatively, explore other fruit pie fillings like apple, blueberry, or peach for a varied flavor experience. During peak cherry season, indulge in the sweetness of fresh, ripe cherries from your local farmers market. You can simply pit them and arrange them artfully on top, perhaps with a light glaze. For a richer, more cheesecake-like creamy filling, you have the option to substitute the Cool Whip with two blocks of softened cream cheese, blended with the condensed milk and lemon juice for a denser, tangier layer.
Expert Tips and Tricks for the Perfect Cherry Delight
- **Enhance the Flavor Profile:** For an extra layer of gourmet flavor, consider stirring in a touch of vanilla extract or almond extract into the creamy center mixture. Just a teaspoon can significantly deepen the dessert’s taste, adding warmth and complexity.
- **Elevate Your Serving Style:** To make this easy dessert even more decadent, serve individual slices with a dollop of freshly whipped cream or a generous scoop of vanilla bean ice cream. The contrasting textures and temperatures will create an unforgettable dessert experience. A sprinkle of chocolate shavings or toasted almonds on top can also add an elegant touch.
- **Miniature Delights:** Transform this impressive dessert into adorable mini servings by preparing it in a muffin tray lined with paper cups. This is perfect for individual portions at parties or for portion control, making it easy to grab and enjoy.
- **Crust Variations:** Don’t limit yourself to graham crackers! You can experiment with other crumb crusts like shortbread cookies, vanilla wafers, or even chocolate cookies for a completely different flavor foundation. Adjust the butter and sugar slightly if needed to achieve the right consistency.
- **Perfect Chill Time:** While one hour is the minimum, allowing the dessert to chill for at least 4-6 hours, or preferably overnight, will ensure the best possible set. This results in cleaner slices and a firmer texture that holds its shape beautifully.
More Irresistible Cherry Recipes to Love
If your heart beats for the sweet and tart allure of cherries, then you’re in for a treat with these additional recipes:
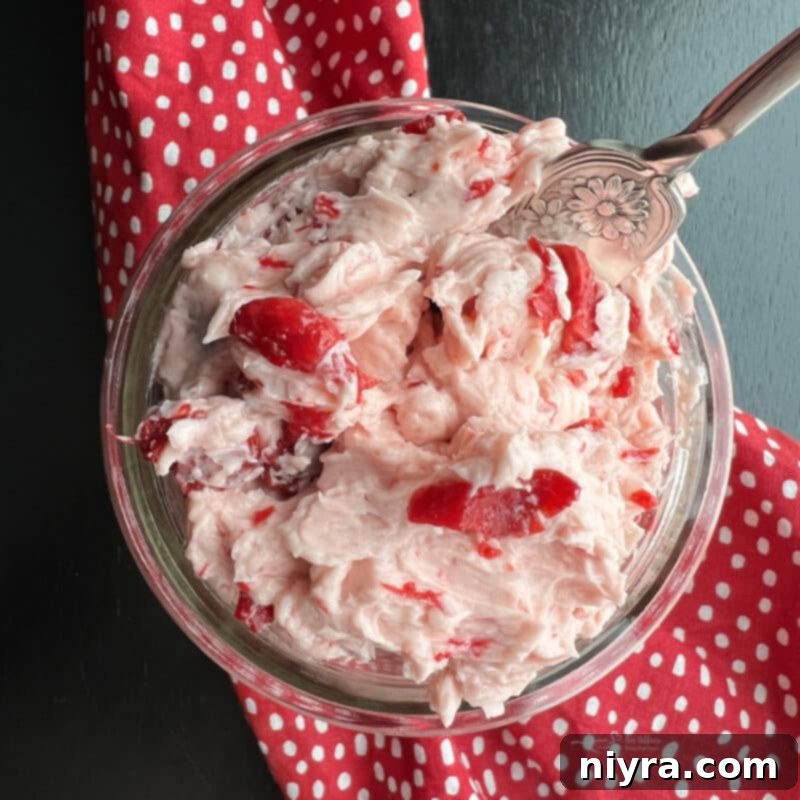
- Whipped Cherry Butter (pictured above) – A delightful spread for toast or pastries.
- Cherry Limeade Sweet Rolls – A vibrant and zesty twist on classic sweet rolls.
- Chocolate Cherry Brownies – A rich, fudgy brownie enhanced with bursts of cherry flavor.
- Cherry Cheese Bread – A comforting and satisfying sweet bread.
- Cherry Pie Jell-O Salad – A retro favorite, perfect for potlucks and family dinners.
- Cherry Fluff Recipe – A light and airy dessert that combines fruit and whipped topping.
This No-Bake Cherry Dessert isn’t just a recipe; it’s a cherished family tradition passed down through generations. This particular recipe originated from my Grandma Czaplewski, a truly dynamic woman whom I miss dearly every day since her passing in 1994. I often wonder if it first appeared in a community church cookbook, a common source of many beloved family recipes. I only wish she were still here so I could ask her directly!
My mom, her twin sister, and I continue to make this beloved dessert today, keeping her memory alive with every delicious bite. It’s a testament to the simplicity and timeless appeal of this “Cherry Delight.” So, I encourage you to whip up a batch for your own family. Who knows, perhaps your grandchildren will be making this very recipe 40 years from now, carrying on a sweet tradition of their own?

LIKE THIS RECIPE?
Don’t forget to give it a ⭐⭐⭐⭐⭐ star rating and
leave a comment below the recipe!

Print Recipe
Cherry Dessert
10 minutes mins
1 hour hr
1 hour hr 10 minutes mins
Equipment
- Rubber Spatulas
- Kitchenaid Stand Mixer
- KitchenAid Hand Mixer
- 9×13 Pyrex Baking Dish with a Lid
Ingredients
- For the Crust:
- 2 cups graham cracker crumbs
- 1/2 stick of butter 1/4 cup, melted
- 1/4 cup sugar
- For the Creamy Center:
- 1 14 ounce sweetened condensed milk
- 1/4 cup lemon juice
- 8 ounces Cool Whip
- Cherry Topping:
- 2 20 ounce cans Cherry pie filling
Instructions
- Combine crust ingredients until all of the crackers are moistened. Press into the bottom of a 9×13 baking dish.
- Combine sweetened condensed milk and lemon juice with your mixer for about 1 minute. It will thicken up a little bit.
- Fold in Cool Whip.
- Spread the creamy filling evenly over the top of the crust.
- Top with cherry pie filling and refrigerate for at least one hour before slicing and serving.
Notes
Nutrition
| Calories: 189kcal
| Carbohydrates: 23g
| Protein: 2g
| Fat: 10g
| Saturated Fat: 7g
| Polyunsaturated Fat: 3g
| Cholesterol: 11mg
| Sodium: 106mg
| Fiber: 1g
| Sugar: 14g
This recipe was originally posted on May 30, 2014. It has been thoroughly updated to enhance user experience, improve SEO, and provide more detailed instructions on January 27, 2023.
