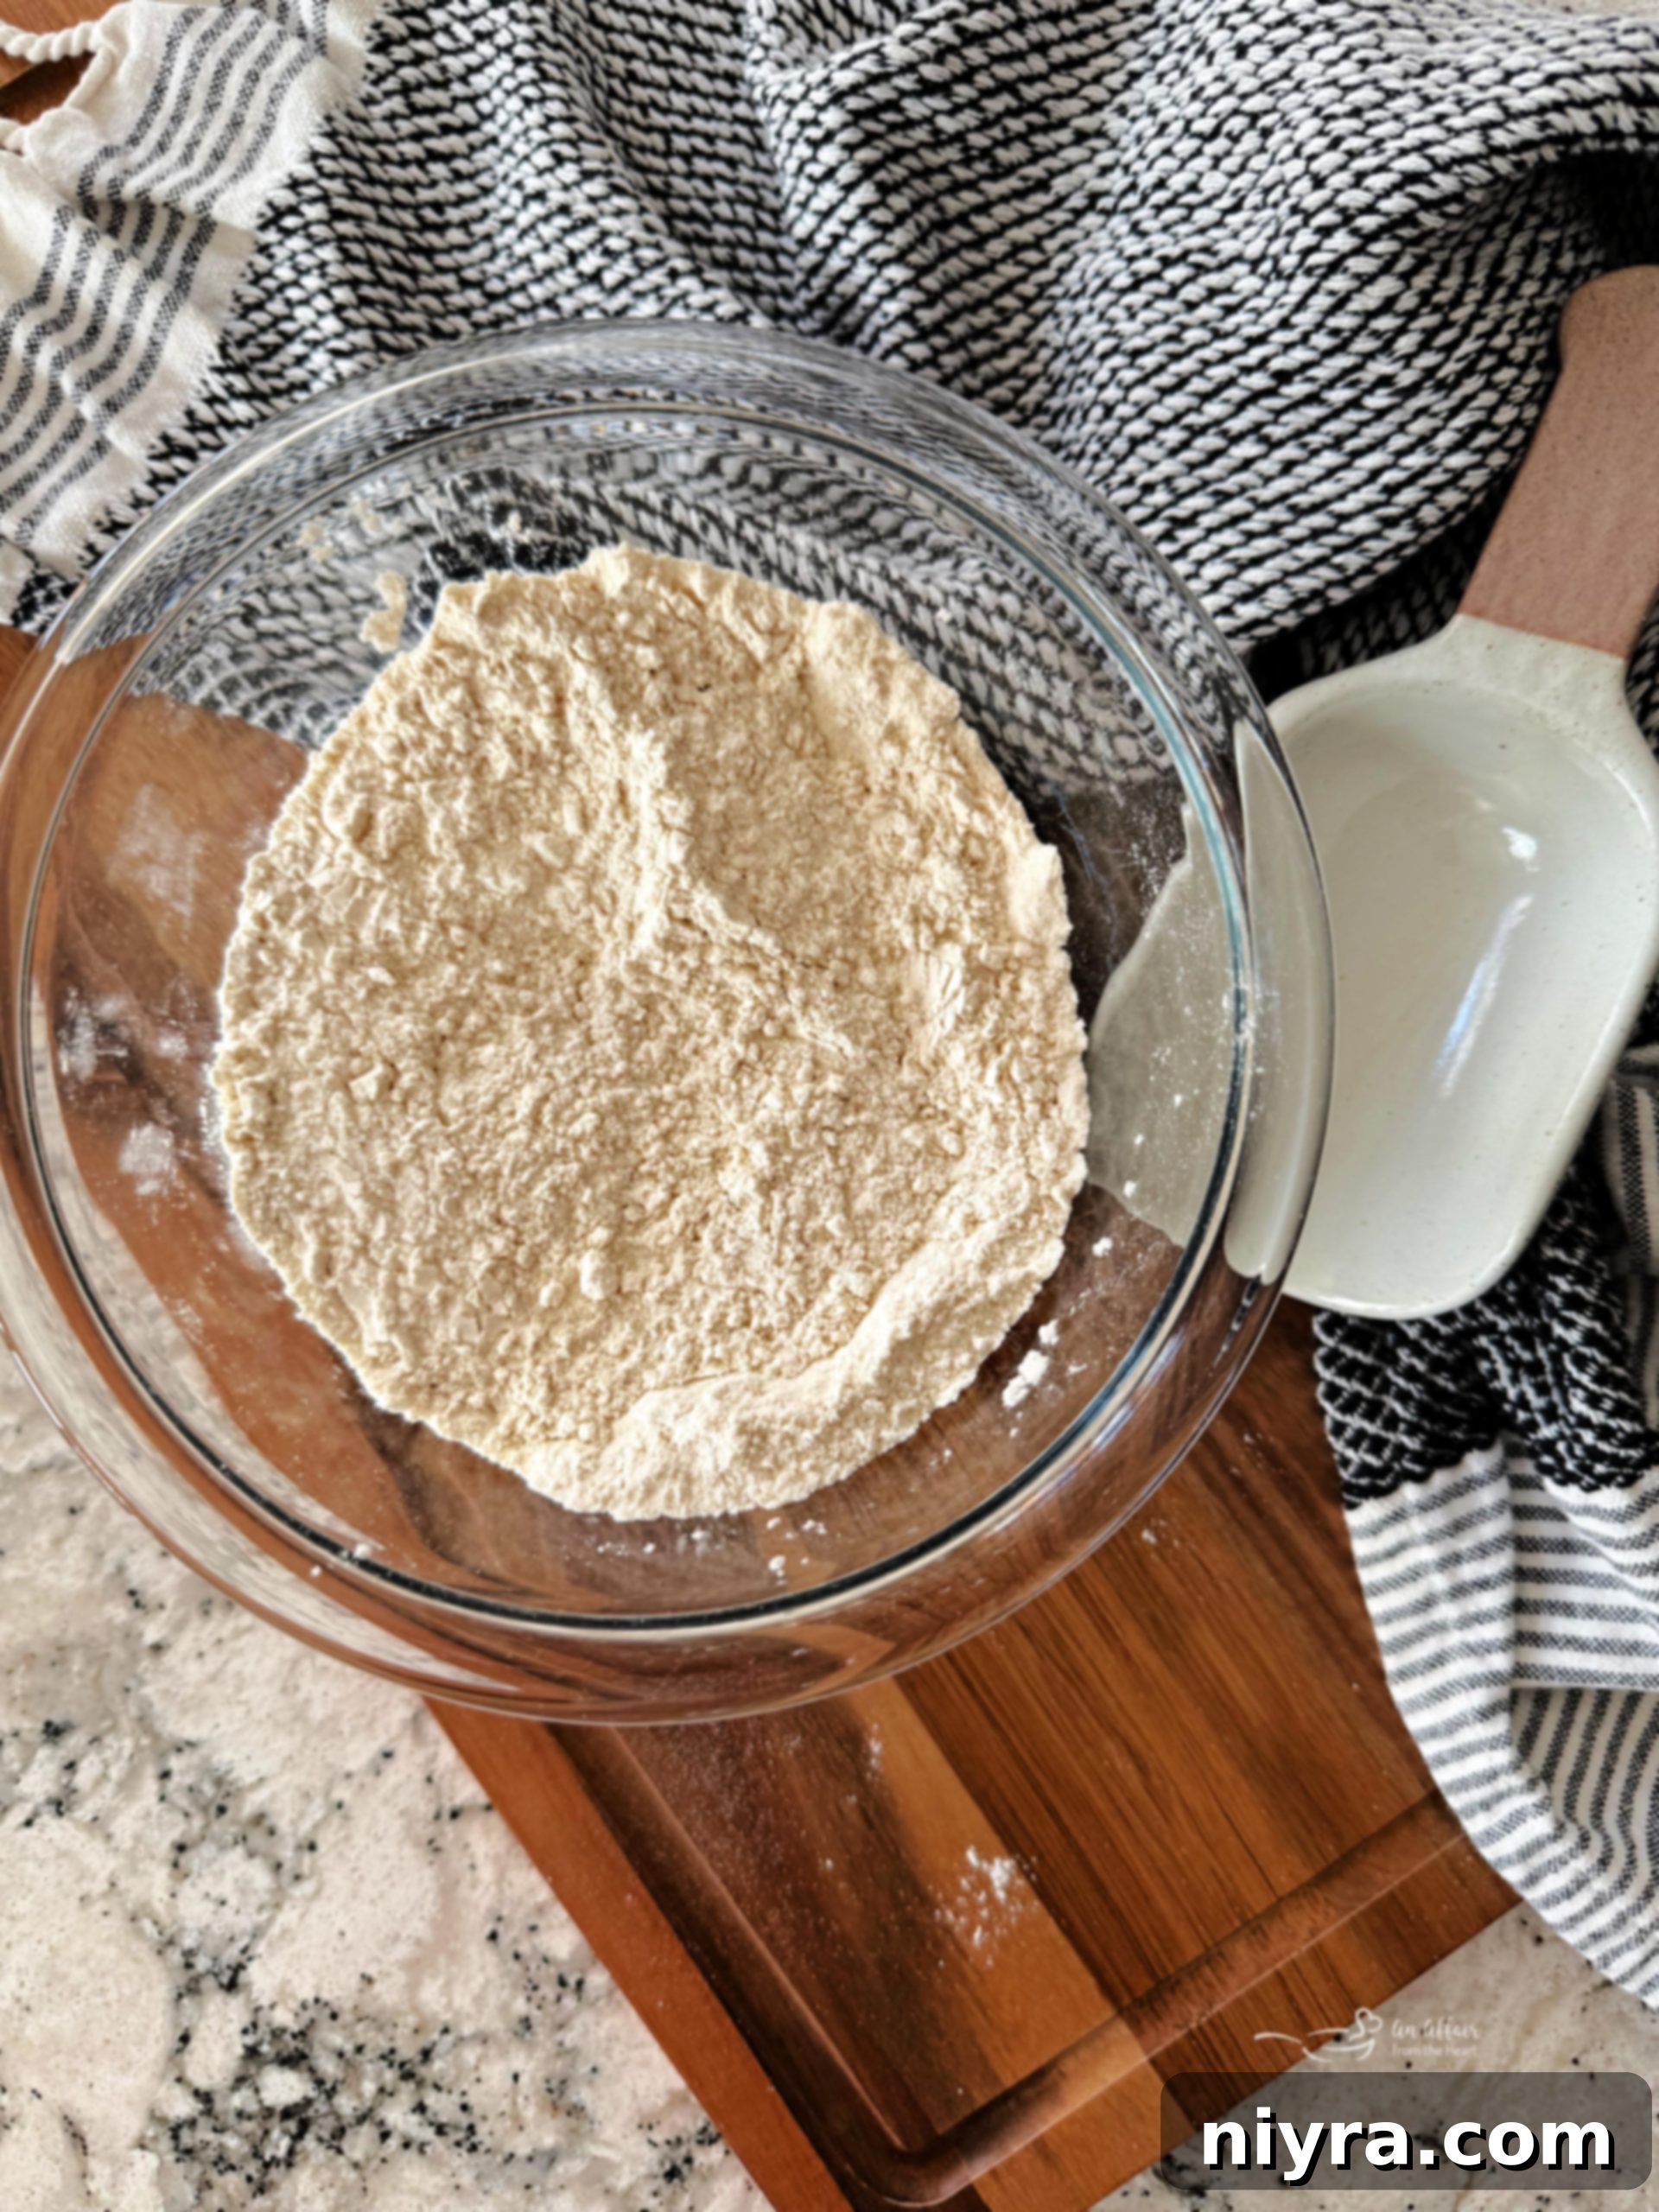
There’s an undeniable satisfaction that comes with crafting homemade pantry staples. Among the most versatile and essential is self-rising flour, a key ingredient called for in countless beloved baking recipes. Whether you’ve just run out, prefer the control of homemade, or are simply curious, making your own self-rising flour is surprisingly easy and quick. With just a few common ingredients you likely already have on hand, you can whip up a fresh batch in minutes, ensuring your baking plans never get derailed by a missing item. This guide will walk you through everything you need to know, from the core ingredients and their roles to expert tips for perfect results every time.
Transforming All-Purpose Flour into Self-Rising Flour: A Simple Kitchen Hack
Imagine this: You’re halfway through a recipe, ready to create a batch of fluffy biscuits or a light-as-air cake, only to discover your pantry is devoid of self-rising flour. Don’t panic, and certainly don’t make an emergency trip to the grocery store! This straightforward recipe offers an immediate and reliable solution. By combining everyday ingredients, you can effortlessly create a high-quality self-rising flour substitute in mere moments. It’s a game-changer for any home baker, offering convenience, cost savings, and peace of mind.
Understanding Self-Rising Flour: More Than Just Flour
At its heart, store-bought self-rising flour is a clever pre-mix of three essential components: plain white flour, baking powder, and salt. This intelligent 3-in-1 combination means it already contains the leavening agent needed for baked goods to rise, along with a touch of seasoning. Recipes specifically calling for self-rising flour often omit additional baking powder or baking soda, streamlining your ingredient list and simplifying the baking process. The baking powder in the blend reacts with liquids and heat, producing carbon dioxide bubbles that expand, giving your muffins, quick breads, and pancakes their signature light and airy texture. The salt not only enhances flavor but also helps to regulate the leavening process and strengthen the gluten structure.
The Advantages of Making Your Own Self-Rising Flour
While store-bought options are readily available, there are several compelling reasons to embrace the homemade approach:
- Convenience in a Pinch: Never again will a recipe be put on hold because you’re out of a specific ingredient. With this method, self-rising flour is always just minutes away.
- Cost-Effective: Buying individual ingredients and combining them yourself is typically more economical than purchasing pre-mixed self-rising flour, especially if you bake frequently.
- Freshness You Can Trust: Baking powder can lose its potency over time. By mixing your own, you ensure the leavening agent is as fresh and active as possible, leading to superior rise and texture in your baked goods.
- Control Over Ingredients: Making your own allows you to choose the quality of flour and salt, and to avoid any unwanted additives sometimes found in commercial blends. This is particularly beneficial for those with dietary preferences or restrictions.
- Customization for Dietary Needs: Easily adapt the recipe for gluten-free diets or other specific requirements by choosing alternative flour bases.
Gathering Your Simple Ingredients for Homemade Self-Rising Flour
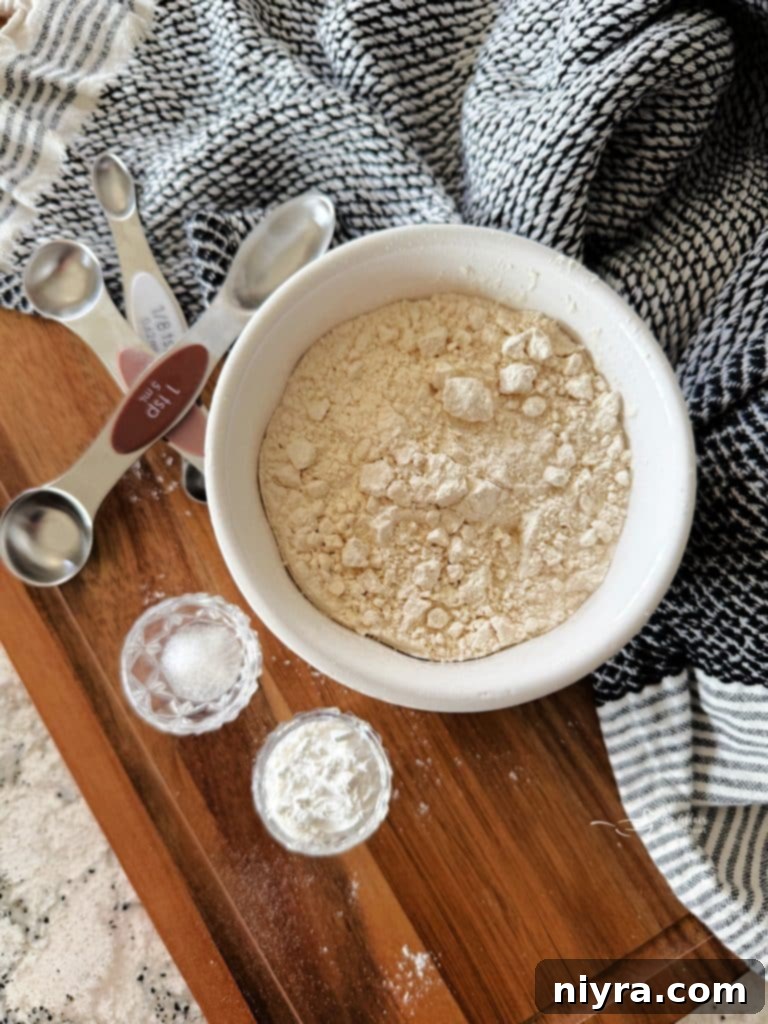
The beauty of this recipe lies in its simplicity. You only need three basic items, which are staples in most kitchens. For precise measurements and step-by-step instructions, please scroll down to the full printable recipe card at the bottom of this post.
- All-Purpose Flour: This forms the foundational base of your self-rising flour. It’s the most common flour type and works wonderfully.
- Baking Powder: The crucial leavening agent responsible for giving your baked goods their rise. Ensure it’s fresh for optimal results.
- Salt: A small amount of salt enhances the flavor of your final product and balances the leavening process.
Choosing the Right Flour Base: Beyond All-Purpose
While all-purpose flour is the most common and recommended choice for making homemade self-rising flour, you have several options depending on your baking needs and desired texture. The key difference among flours is their protein content, which directly impacts gluten development and, consequently, the structure of your baked goods.
- All-Purpose Flour (Plain Flour): This is your go-to flour. It has a moderate protein content (around 10-12%), making it incredibly versatile for a wide range of baking, from cakes to biscuits. It yields consistently good results for self-rising flour.
- Pastry Flour: With a lower protein content (around 8-9%), pastry flour is ideal for achieving tender, delicate baked goods like pie crusts and some cookies. If you use it for self-rising flour, expect a very soft and tender crumb.
- Whole Wheat Flour: For a more wholesome, nutty flavor and added fiber, whole wheat flour can be used. Keep in mind that its higher bran content can inhibit gluten development, potentially resulting in denser baked goods. You might need to adjust liquid slightly or combine it with some all-purpose flour for a lighter texture.
- Bread Flour: This flour has a high protein content (12-14%), which promotes strong gluten development, perfect for chewy breads. While you *can* use it, it’s generally not recommended for self-rising flour unless you specifically desire a chewier texture in your quick breads or biscuits, as it might make them tougher than desired.
Exploring Gluten-Free Alternatives
For those following a gluten-free diet, making self-rising flour is entirely possible with alternative flours. However, keep in mind that gluten-free flours behave differently than wheat flours, often requiring additional binders or specific ratios for optimal results. Always check specific gluten-free recipes for guidance when substituting.
- Almond Flour: A popular low-carb, gluten-free option, almond flour adds a rich, nutty flavor and tender texture. It’s higher in fat and lower in carbohydrates than wheat flour. Baked goods made with almond flour self-rising flour will likely be denser and may require an extra egg or binder to hold together.
- Rice Flour: Available in white and brown varieties, rice flour is a common gluten-free flour. It can sometimes yield a slightly gritty texture and may need to be combined with other gluten-free flours (like tapioca starch or potato starch) to achieve a desirable texture and rise.
- Oat Flour: Made from ground oats, oat flour provides a mild, wholesome flavor and adds fiber. It can be a good substitute, but like other gluten-free flours, it may require some experimentation to get the right balance in your recipes.
When using gluten-free flours, you might find that the standard self-rising flour ratio needs slight adjustments. Always consult specific gluten-free recipes that call for self-rising flour or be prepared to experiment with the proportions of baking powder and salt to achieve your desired outcome.
Step-by-Step Instructions: Crafting Your Self-Rising Flour
Making your own self-rising flour is incredibly straightforward. The key to success lies in thoroughly combining the ingredients to ensure even distribution of the leavening agent.
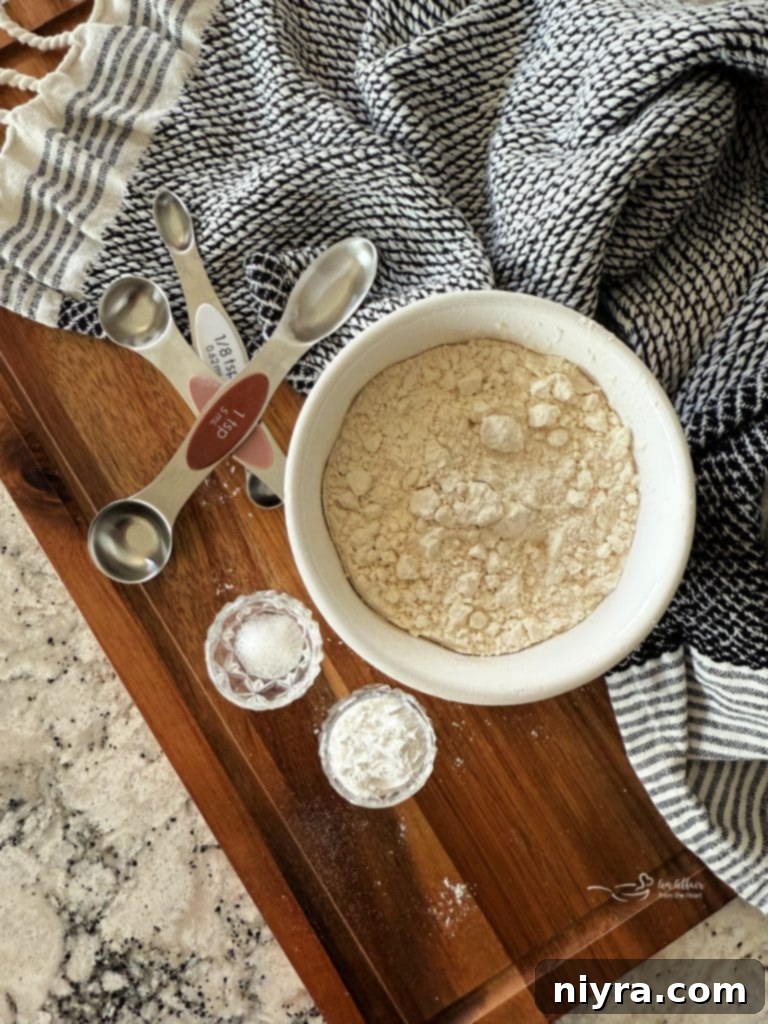
Step 1: Gather Your Ingredients
Before you begin, ensure you have all your components measured out accurately. Precision in baking, even for simple mixtures like this, can make a difference. Have your all-purpose flour, baking powder, and salt ready.
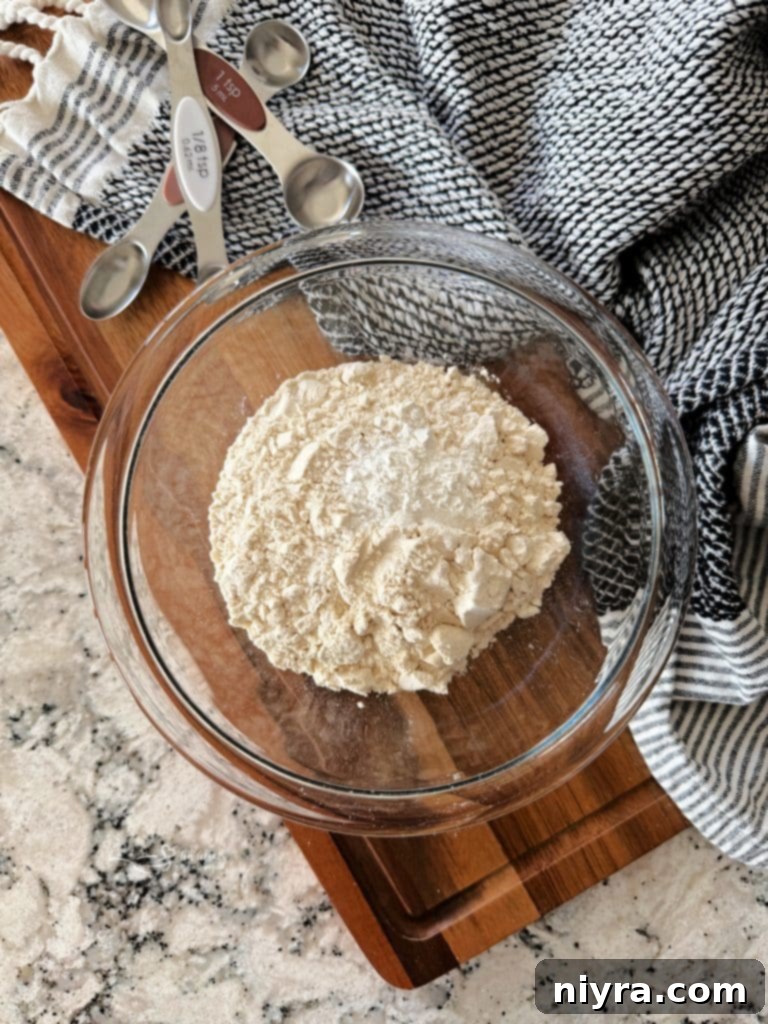
Step 2: Combine and Mix Thoroughly
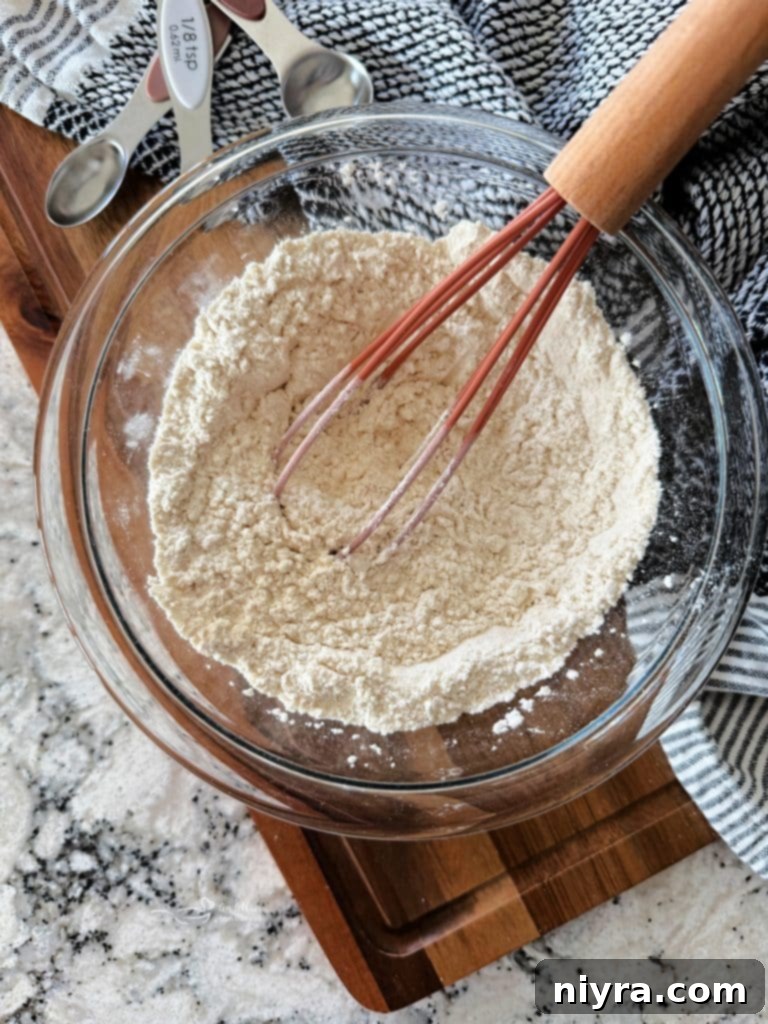
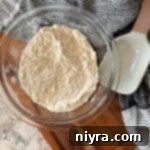
In a medium-sized mixing bowl, add the measured all-purpose flour, baking powder, and salt. Now comes the crucial part: thorough mixing. You want to ensure the leavening agent and salt are evenly distributed throughout the flour. The best way to achieve this is by sifting the ingredients together. If you don’t have a sifter, a whisk works wonderfully. Vigorously whisk the mixture for at least 30-60 seconds, making sure to break up any clumps and thoroughly incorporate all three ingredients. This step is vital to guarantee an even rise in your baked goods.
Step 3: Ready for Baking!
Your homemade self-rising flour is now ready to use! Incorporate it into any recipe that calls for self-rising flour, just as you would with a store-bought version. The freshness of your blend will contribute to wonderfully light and tender results. Don’t forget to scroll down for some delicious recipe ideas to try with your freshly made flour!
Storing Your Homemade Blend for Future Baking
While making a small batch on demand is ideal, you can certainly prepare a larger quantity of self-rising flour to have on hand. Proper storage is crucial to maintain the potency of the baking powder and the freshness of the flour.
- Airtight Container: Always store your homemade self-rising flour in an airtight container. This prevents moisture and air from reaching the ingredients, which can cause the baking powder to lose its leavening power and the flour to become stale.
- Cool, Dark Place: Keep the container in a cool, dark pantry or cupboard, away from direct sunlight, heat sources, and humidity. These elements can degrade the baking powder more quickly.
- Shelf Life: Homemade self-rising flour is best used within 3 to 6 months. While the flour itself has a longer shelf life, the baking powder will gradually lose its effectiveness. Label your container with the date you made it so you can easily track its freshness.
Expert Tips & Tricks for Perfect Homemade Self-Rising Flour
- Sift for Superior Blending: For the most uniform mixture, use a flour sifter or a fine-mesh sieve to combine the ingredients. Sifting not only ensures even distribution but also aerates the flour, contributing to a lighter texture in your baked goods.
- Measure Accurately: Use proper measuring techniques. Spoon your flour into the measuring cup and level it off with a straight edge. Don’t pack the flour down, as this can result in too much flour and a dense product.
- Check Baking Powder Freshness: Baking powder can expire. To test if yours is still active, mix a teaspoon of baking powder with a quarter cup of hot water. If it fizzes vigorously, it’s good to go. If not, it’s time for a new can.
- Batch Size: If you find yourself consistently needing self-rising flour, consider making a larger batch. Simply multiply the ingredient quantities while maintaining the same ratio. Just remember the storage guidelines for optimal freshness.
- Consider Your Salt: While table salt is perfectly fine, you can experiment with fine sea salt or pink Himalayan salt for subtle flavor nuances, ensuring they are finely ground to blend evenly.
Frequently Asked Questions (FAQs)
Can I use baking soda instead of baking powder?
No, baking soda and baking powder are not interchangeable in self-rising flour. Baking soda requires an acidic ingredient (like buttermilk, yogurt, or lemon juice) to activate and produce carbon dioxide. Baking powder, on the other hand, is a complete leavening agent that contains both an acid and a base, reacting with liquid and heat to provide rise. Using baking soda directly in self-rising flour without an added acid would not provide the necessary lift and could leave a metallic taste.
What is the standard ratio for self-rising flour?
The generally accepted ratio is for every 1 cup of all-purpose flour, you add 1 ½ teaspoons of baking powder and ¼ teaspoon of salt. This ratio is designed to provide optimal leavening and seasoning for most recipes that call for self-rising flour.
Will my baked goods taste different with homemade self-rising flour?
They shouldn’t taste noticeably different. In fact, if your store-bought self-rising flour was older, your homemade version, made with fresh baking powder, might even yield a better rise and texture!
Can I make self-rising flour without salt?
You can, but it’s not recommended. Salt plays a crucial role not only in enhancing flavor but also in controlling the yeast’s activity (if present) and strengthening the gluten structure. Omitting it might result in bland-tasting baked goods with a slightly different texture.
More Baking Inspiration and Kitchen Hacks
If you’ve enjoyed mastering this fundamental kitchen skill, you’ll love exploring other useful “how-to” guides. My website features an entire “How To” Section dedicated to empowering home cooks with essential tips and tricks. You’ll discover a treasure trove of recipes and techniques designed to simplify your cooking and elevate your homemade dishes.
For instance, you can learn to create your own bespoke seasoning blends, such as homemade chili seasoning, aromatic pumpkin pie spice, classic apple pie spice, and flavorful homemade taco seasoning. Beyond seasonings, unlock valuable baking techniques like how to blind bake a pie crust, smart ways to freeze and utilize ripe bananas, how to make your own versatile Bisquick mix, and an easy buttermilk substitute for those moments when you’re short on ingredients.
Dive into all my “How To” guides here and expand your culinary repertoire!
Delicious Recipes to Make with Your Homemade Self-Rising Flour
Now that you’ve mastered making your own self-rising flour, it’s time to put it to good use! This versatile blend is perfect for creating a variety of light, fluffy, and tender baked goods. Here are some wonderful recipes where your homemade self-rising flour will truly shine:
- Cheesy Drop Biscuits: Achieve incredibly fluffy and savory biscuits with minimal effort. Your self-rising flour is the secret to their perfect rise and tender crumb. Try these Dorothy’s Cornbread Drop Biscuits for a delightful twist.
- Classic Pancakes & Waffles: For the ultimate breakfast, homemade self-rising flour ensures your pancakes and waffles are consistently light and airy.
- Quick Breads & Muffins: From blueberry muffins to banana bread, self-rising flour simplifies the process, delivering a tender texture every time.
- Sweet Potato Coffee Cake: Experience a moist and flavorful breakfast or dessert. This sweet potato coffee cake is a comforting treat.
- Apple Dapple Cake: A delightful and easy-to-make dessert, perfect for any occasion. Give this apple dapple cake a try.
- Homemade Moon Pies: Recreate a beloved classic with a homemade touch. Your self-rising flour will help make these homemade moon pies soft and delicious.
- Southern Chicken and Dumplings Casserole: For a comforting and hearty meal, self-rising flour is essential for light, fluffy dumplings that complement the rich chicken casserole. This southern chicken and dumplings casserole is a must-try!
The possibilities are endless once you have a reliable batch of homemade self-rising flour. Enjoy exploring new recipes and savoring the delicious results!

LIKE THIS RECIPE?
Don’t forget to give it a ⭐⭐⭐⭐⭐ star rating and
leave a comment below the recipe!
Print Recipe
Homemade Self-Rising Flour
Ingredients
- 1 cup all-purpose flour
- 1 ½ teaspoons baking powder
- ¼ teaspoon salt
Instructions
- Combine all three ingredients together with a sifter or a whisk.
- Use in recipes that call for self-rising flour.
