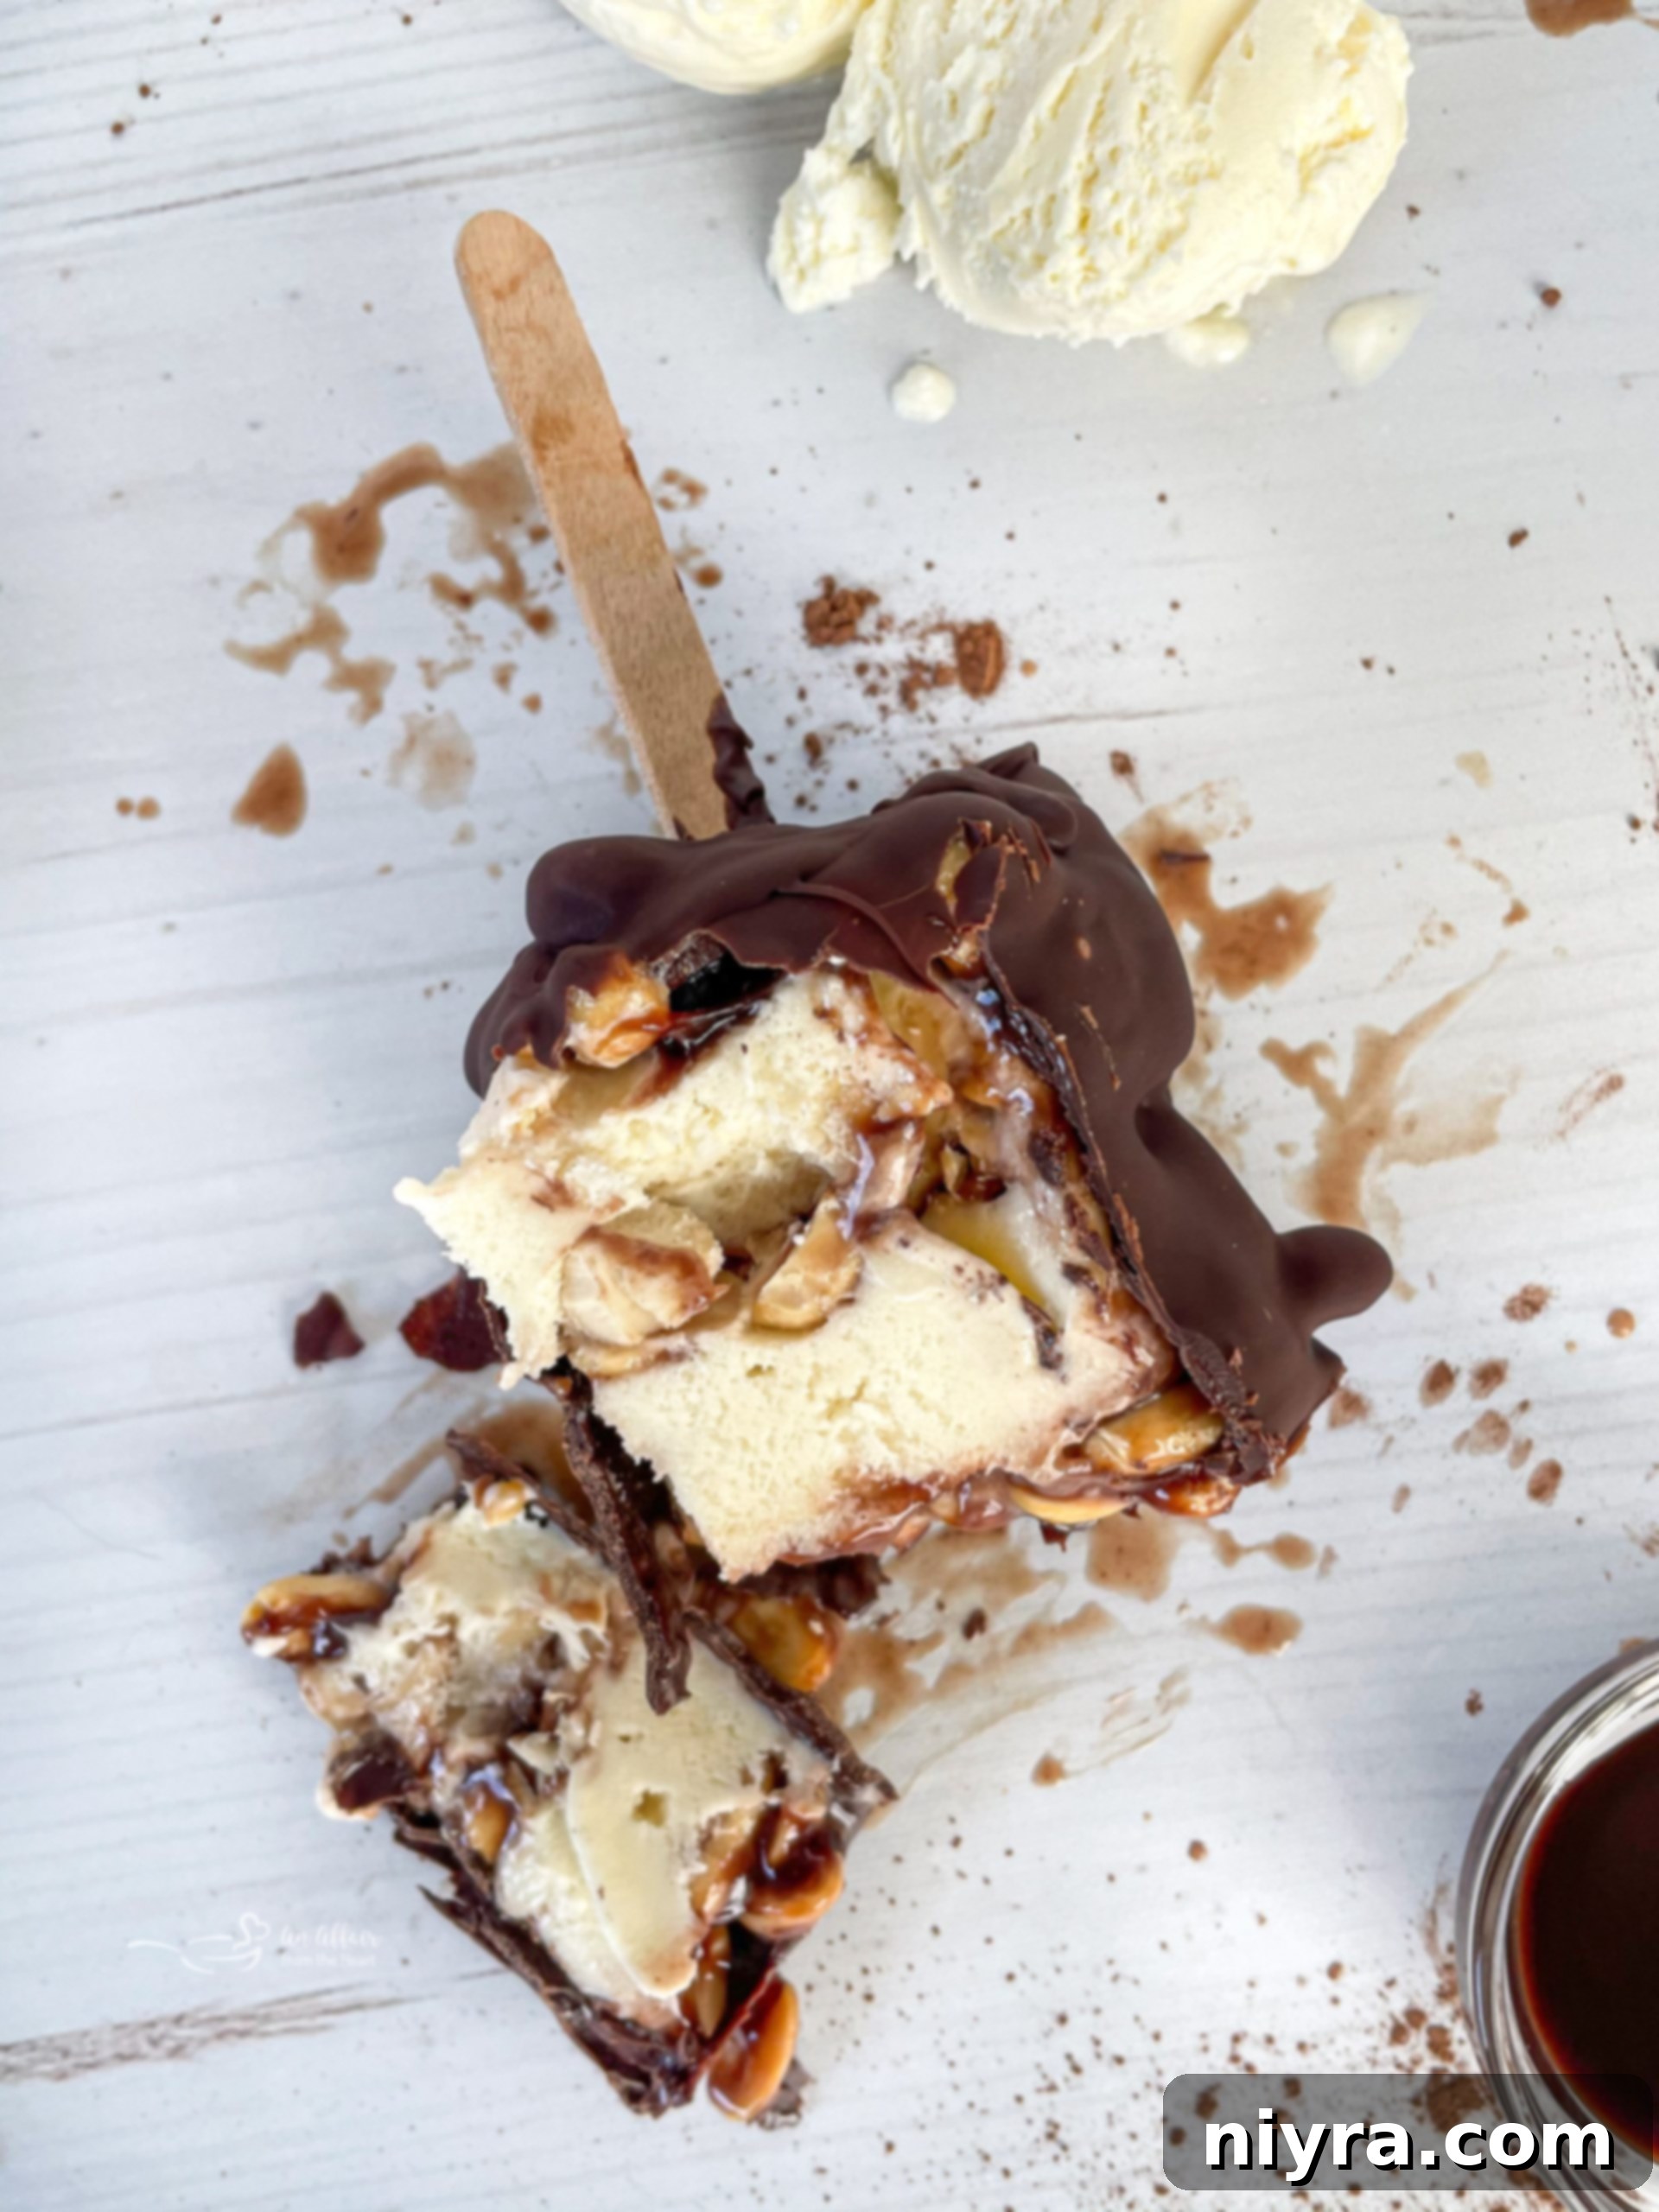
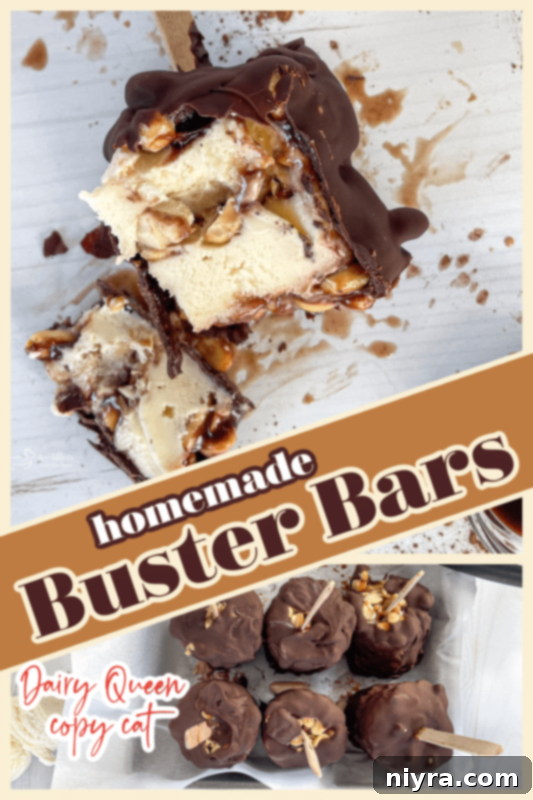
Indulge in layers of rich chocolate fudge, crunchy peanuts, and creamy vanilla ice cream with these irresistible Homemade Buster Bars!
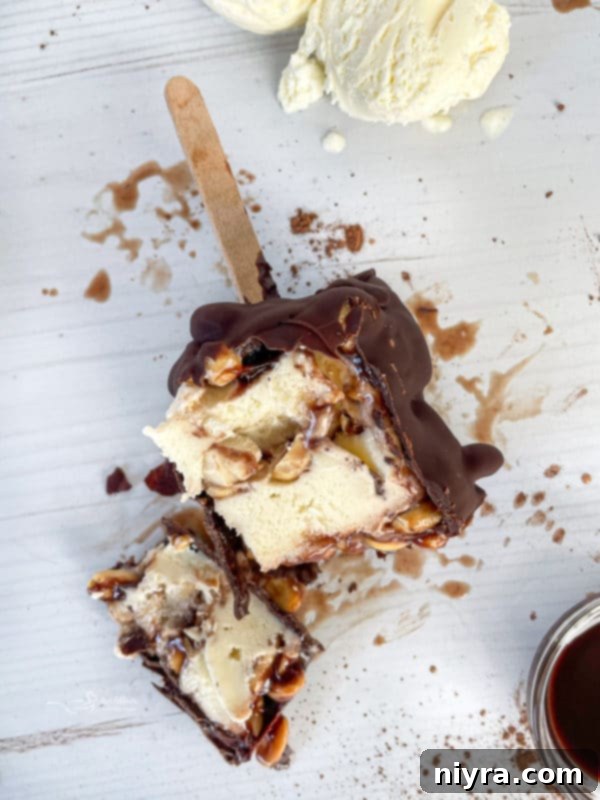
Are you a fan of classic frozen treats? If so, you’re in for a delightful experience! There’s something truly special about indulging in a dessert that combines the rich flavor of chocolate, the smooth creaminess of vanilla ice cream, and the satisfying crunch of peanuts. These Homemade Buster Bars deliver exactly that, offering a nostalgic taste reminiscent of your favorite Dairy Queen treat, right in the comfort of your own home. Perfect for a fun weekend activity with the kids or as a refreshing dessert for any backyard gathering, this recipe promises to be a memorable hit.
Just like the beloved item from the Dairy Queen menu, this copycat Buster Bars recipe is designed to impress. Each bite is a symphony of flavors and textures: rich, gooey chocolate fudge, sweet and creamy vanilla ice cream, and plenty of nutty crunch from the peanuts. Whether you have a serious sweet tooth or simply want to beat the heat with an exceptional frozen dessert, these homemade ice cream bars are the ultimate solution.
Why settle for store-bought when you can easily recreate your favorite frozen delights? If you’re eager to dive deeper into Dairy Queen-inspired creations, you’ll also adore my Dairy Queen Apple Pie Blizzard recipe. Get ready to transform your kitchen into your very own dessert paradise!
Homemade Buster Bars: A Childhood Favorite Reimagined
For many of us, certain foods evoke powerful childhood memories, and for me, Dairy Queen Buster Bars hold a special place. Growing up, dining out was a rare luxury, which made each occasion incredibly special. When my Mom, who usually prepared every meal, occasionally took a night off, our family ritual involved picking up a pizza from a local favorite called Big Fred’s Pizza.
Big Fred’s wasn’t just any pizza place; it was *the only* place for pizza in our family, even serving as the backdrop for my parents’ very first date. I vividly recall sitting in the front seat of our enormous Ford LTD, the warm pizza box resting on my lap. The distinct aroma of Big Fred’s pizza, especially contained within that box, is a scent forever etched in my memory. It’s amazing how a particular smell can instantly transport you back in time, isn’t it?
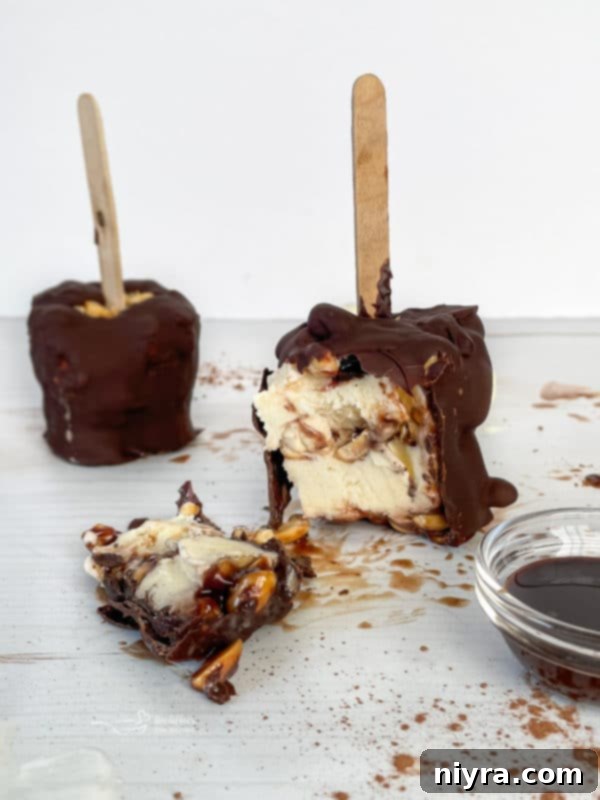
While I might be reminiscing about pizza in an article about ice cream, these memories are intertwined. Just as pizza nights were special, once or twice each summer, my parents would load my brother and me into the car for a trip to Dairy Queen for ice cream. My parents *always* opted for Buster Bars. I, on the other hand, was usually drawn to a Mr. Misty. However, one fateful day, they convinced me to try a Buster Bar, and from that moment on, I was completely hooked. The irresistible combination of creamy ice cream, warm hot fudge, crunchy peanuts, all encased in a decadent chocolate shell – it was pure bliss.
Crafting Buster Bars in Your Own Kitchen
The first time I ventured into making these delightful frozen treats at home, my twin children were ten years old. We gathered all the necessary ingredients one evening, assembled the layers, and placed them in the freezer. The following night, we enjoyed the exciting step of dipping them in chocolate. This post has been updated over the years, but I made sure to keep that original photo – it perfectly captures the magic.
When I initially shared this recipe back in 2013, I distinctly remember laughing when I saw the little smeared fingerprints on the kitchen counter. My youngest son couldn’t resist sneaking tastes of the chocolate drips while I was engrossed in coating each bar. Those tiny moments of shared joy and delicious messes are what truly make homemade treats special.
Why You’ll Absolutely Love This Homemade Buster Bar Recipe
- Incredibly Fun & Easy: This recipe isn’t just about making a dessert; it’s about creating an experience. Gather the family and enjoy a joyous occasion making this easy frozen treat together. The steps are straightforward, making it accessible for home cooks of all skill levels, even with little helpers.
- Utterly Delicious & Refreshing: With its bright, delicate vanilla notes, rich chocolate, and satisfying peanut crunch, this homemade Dairy Queen Buster Bar copycat is exactly what you crave on a warm, sunny day. It’s also the perfect indulgence when you’re simply in the mood for something a little extra special and sweet.
- Perfect for Any Crowd or Celebration: Planning a party, a barbecue, or a family get-together? These easy Homemade Buster Bars are a fantastic way to please a crowd. They’re festive, sweet, and offer that delightful homemade touch that everyone appreciates. Plus, they can be made in advance, making party prep a breeze!
What Exactly is in a Dairy Queen Buster Bar?
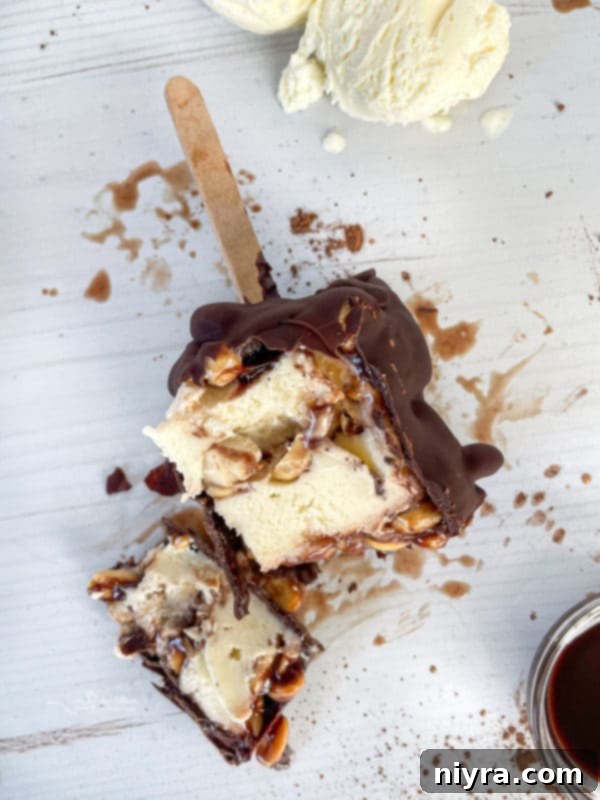
The classic DQ Buster Bar is a masterpiece of textures and flavors. Traditionally, it features smooth, creamy vanilla ice cream generously layered with warm, gooey hot fudge and crunchy roasted peanuts. To complete this iconic treat, the entire bar is typically dipped in a rich, hard-shell chocolate coating, often topped with a sprinkle of additional nuts, creating an explosion of flavor that’s truly out-of-this-world.
Buster Bar vs. Dilly Bar: Unpacking the Differences
While both are beloved Dairy Queen frozen treats, Buster Bars and Dilly Bars offer distinct experiences. The key difference lies in their delicious fillings: Buster Bars are renowned for their layers of hot fudge and peanuts nestled within the ice cream. Dilly Bars, on the other hand, typically consist of a solid ice cream center (vanilla, cherry, or chocolate) coated in a hard chocolate shell, without the internal fudge or nuts. Both are undeniably yummy, but their unique flavor profiles make them delightfully different!
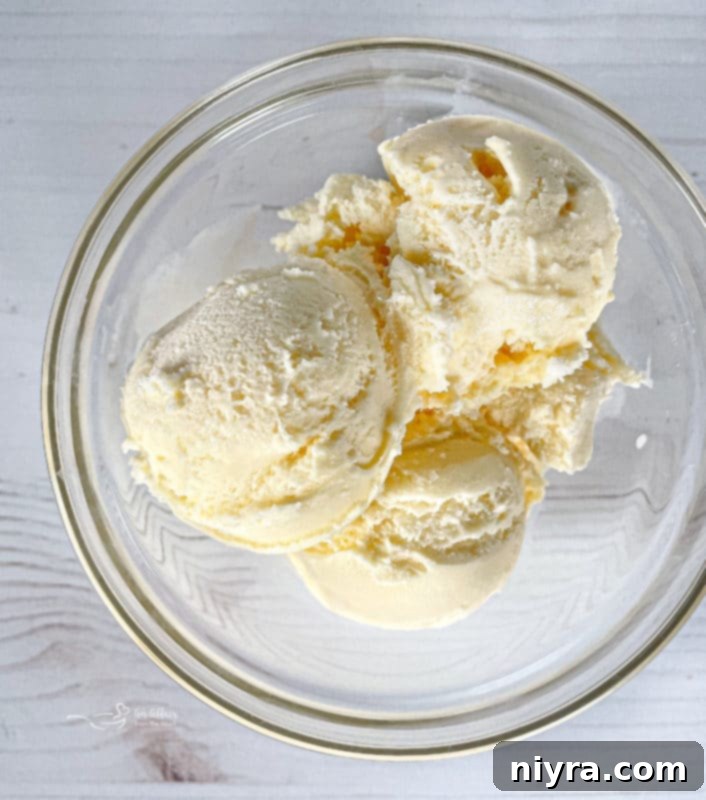
Essential Ingredients & Supplies for Homemade Buster Bars
Gathering the right components and tools is the first step to creating these incredible Homemade Buster Bars. Here’s what you’ll need:
- Plastic Cups: These serve as the perfect molds for your Buster Bars. I find that 9-ounce clear plastic cups work best, allowing for a good size and easy removal.
- Popsicle Sticks: Opt for wide popsicle sticks. Their wider surface makes them much easier to grip and provides better stability for your ice cream bars.
- Peanuts: Spanish peanuts are my top choice for this recipe. Their smaller size and distinctive flavor are not only easy to work with but also add an extra layer of amazing taste and texture to each bite.
- Fudge Topping: You’ll need a good quality hot fudge topping, sometimes labeled as chocolate sauce or hot fudge. A jar from your local market will work perfectly, ensuring that rich, gooey chocolate center.
- Vanilla Ice Cream: A tub of your favorite vanilla ice cream is essential. Whether you prefer a premium store-bought brand or even a homemade vanilla, the creamy base is crucial. Any type of vanilla your heart desires will make these Buster Bars taste amazing.
- Chocolate Chips: For the outer coating, I recommend a bag of semi-sweet chocolate chips. However, feel free to use your preferred chocolate – dark chocolate chips also work wonderfully for a richer flavor.
- Oil: A touch of vegetable oil is used to thin out the melted chocolate chips, creating a smooth, dippable consistency that hardens beautifully.
How to Make Dairy Queen Buster Bars at Home: A Step-by-Step Guide
Creating these homemade Buster Bars is surprisingly simple, requiring just a few key steps and a little patience for freezing. Follow this detailed guide to make these delicious frozen treats! For a quick summary, refer to the recipe card below.
Step 1: Assemble the Initial Layers
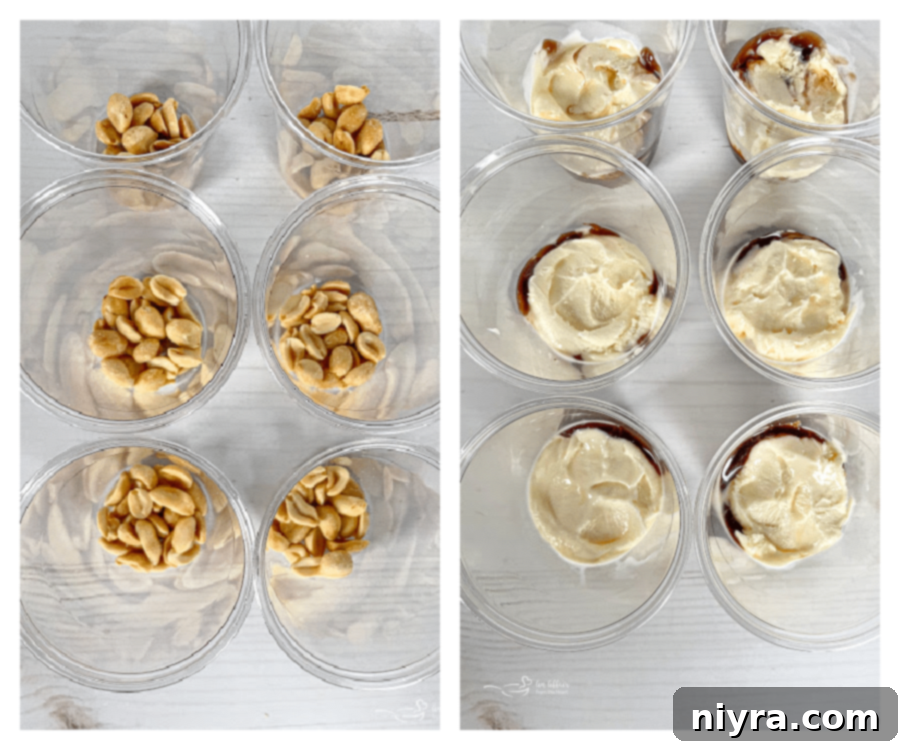
Begin by lining up your plastic cups on a clean work surface. Into the bottom of each cup, slowly spoon about 1/2 tablespoon of crunchy peanuts. Next, drizzle a generous 1/2 tablespoon of hot fudge over the peanuts. Finally, place a firm scoop of vanilla ice cream directly over the nuts and fudge, pressing down firmly to create a solid base layer.
Step 2: Build the Decadent Middle Layers
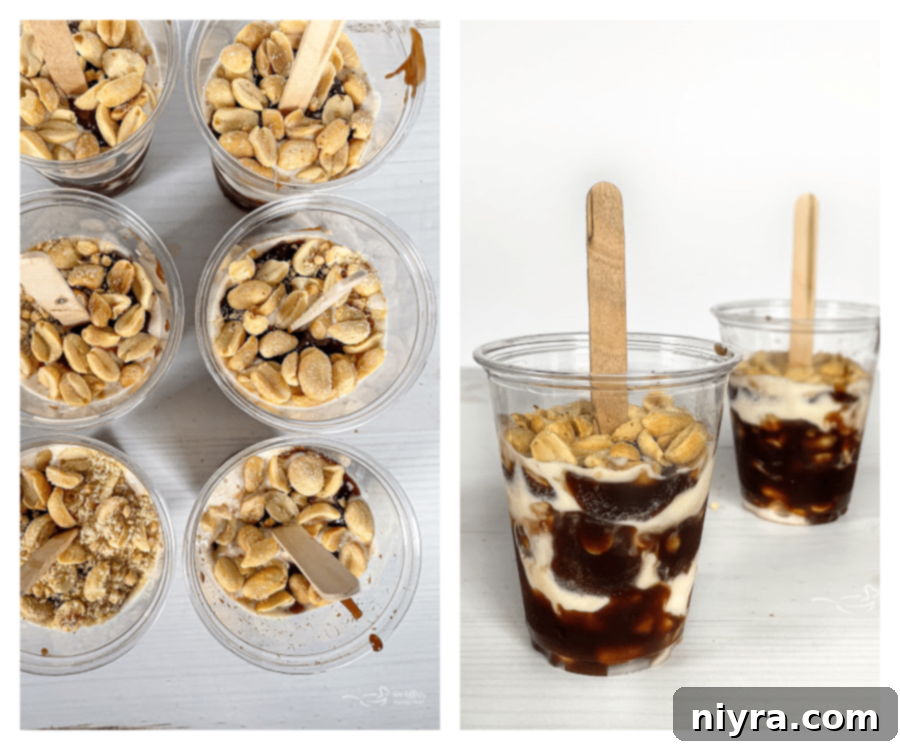
Once your initial ice cream layer is in place, it’s time to add more deliciousness. Top the ice cream with another heaping tablespoon of hot fudge, spreading it evenly across the surface. Sprinkle generously with additional peanuts, ensuring a rich, nutty, and chocolatey middle. Follow this with another scoop of vanilla ice cream, pressing it down firmly once more. If desired, you can add a final small sprinkle of peanuts on top of this second ice cream layer for extra crunch.
Step 3: Insert Sticks and Freeze Thoroughly
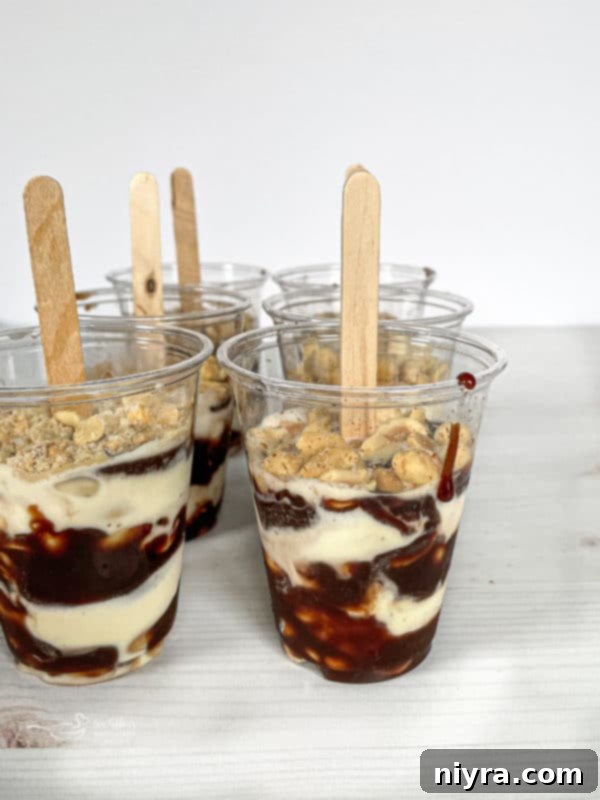
Carefully insert a popsicle stick into the center of each ice cream-filled cup, pushing it deep enough to be secure. Once all sticks are in place, transfer the cups to the freezer. Allow them to freeze for a minimum of three to four hours, or ideally, overnight. Freezing them well in advance ensures they are perfectly solid for the dipping stage. The firmer they are, the easier they will be to handle.
Step 4: Prepare the Chocolate Coating and Dip
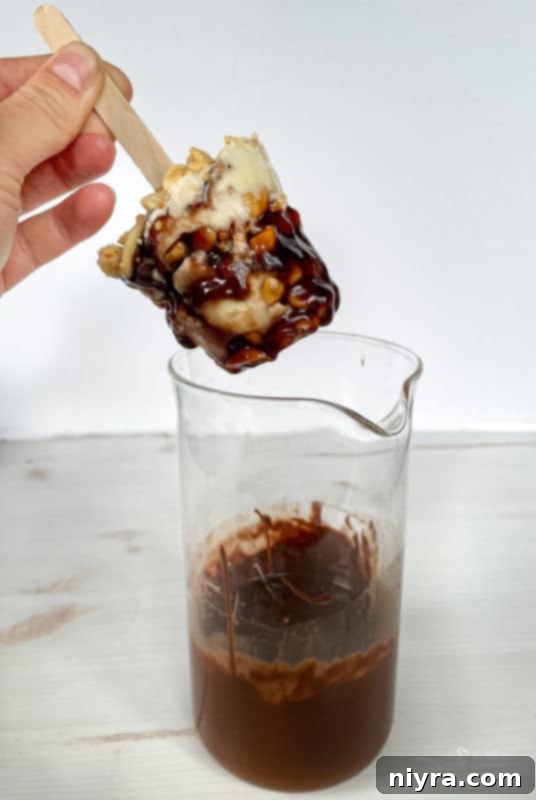
When your Buster Bars are thoroughly frozen, prepare your chocolate coating. Combine the chocolate chips and vegetable oil in a microwave-safe bowl. Heat in 30-second intervals, stirring well after each interval, until the chocolate is fully melted and smooth. Let it stand for just a minute or two to cool slightly, ensuring it’s not too hot to melt the ice cream.
Next, gently remove the frozen Buster Bars from their cups. You may need to lightly squeeze the plastic cup or run a butter knife around the edges to loosen the ice cream mixture. Holding the popsicle stick, carefully dunk each homemade Buster Bar into the melted chocolate. Swirl it gently to ensure it’s fully coated, then lift and allow any excess chocolate to drip off.
Step 5: Final Freeze and Enjoy
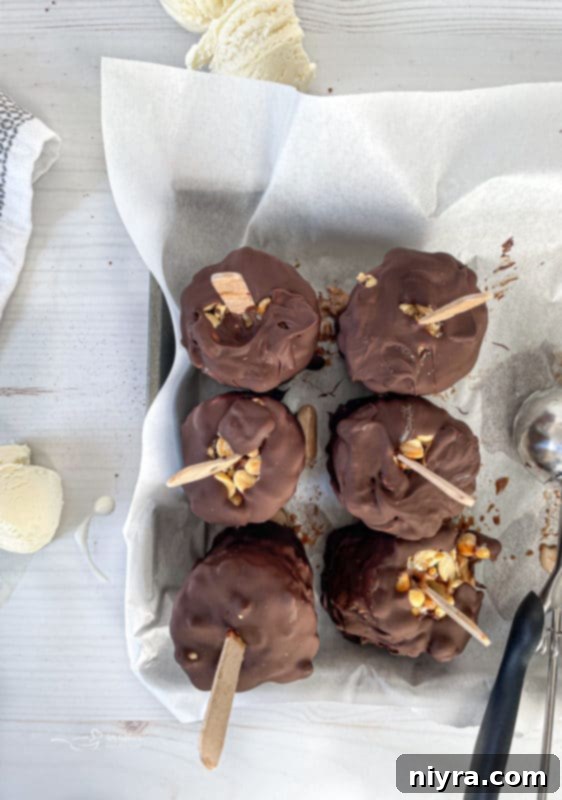
Once dipped, place the chocolate-coated Buster Bars onto a baking sheet lined with waxed paper or parchment paper. Immediately return them to the freezer for at least another hour, or until the chocolate shell has completely hardened. Once firm, remove your delectable homemade frozen treats from the freezer and enjoy the satisfying crunch and creamy indulgence!
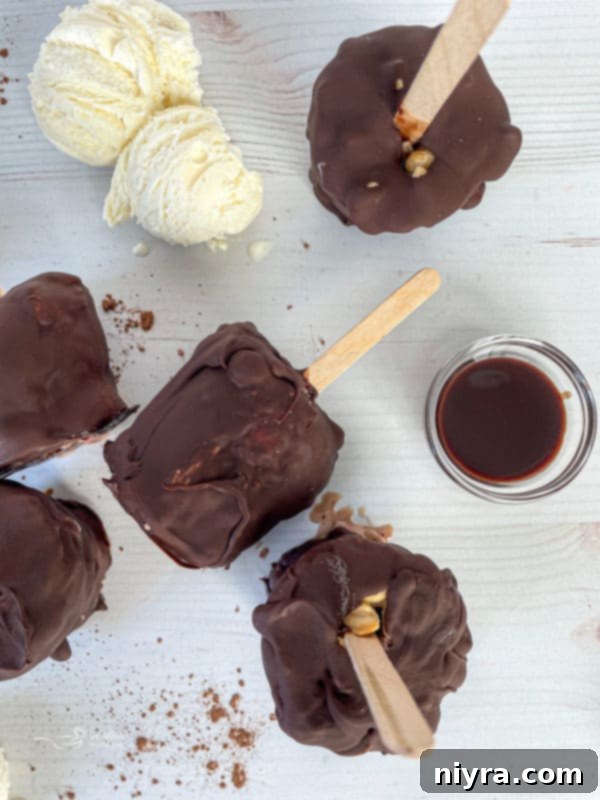
Love This Recipe? Pin It for Later!
Don’t let this fantastic Homemade Buster Bars recipe slip away! Make sure to save it to your favorite Pinterest recipe board so you can easily find it whenever a craving strikes. It’s the perfect treat to keep on hand!
Pro Tips for Perfect Homemade Buster Bars
- Pack the Ice Cream Firmly: This is a crucial step! Ensure you firmly pack each layer of ice cream into the cups. If the ice cream isn’t dense enough, the popsicle sticks may become loose during the dipping process, leading to frustration. A well-packed base is key for stability.
- Experiment with Flavors: While classic vanilla is superb, feel free to twist things up! You could easily use chocolate ice cream, strawberry ice cream, or even a coffee-flavored ice cream for a unique spin on the Buster Bar. The possibilities are endless!
- Storage and Shelf Life: These homemade frozen treats store beautifully in the freezer. Once the chocolate shell has hardened, transfer the Buster Bars to an airtight container or individually wrap them in plastic wrap. They will maintain their deliciousness for up to three months, making them perfect for meal prepping desserts.
- Choosing Your Peanuts: Spanish peanuts, with their slightly darker roast and thin skin, offer a fantastic crunch and flavor. However, if you prefer, regular roasted peanuts or even honey-roasted peanuts can be used for a different taste profile. Just ensure they are chopped if they are very large.
- Melting Chocolate Consistency: The oil helps create a smooth, runny chocolate coating that hardens quickly and evenly. If your chocolate seems too thick after melting, add another teaspoon of oil and stir until it reaches the desired consistency. Conversely, if it’s too thin, a tiny bit more chocolate can thicken it.
Discover More Delightful Frozen Treats
If you’ve enjoyed making these Homemade Buster Bars, you’ll be thrilled to explore the extensive collection of Ice Cream & Frozen Treats available on my blog! There’s a delicious option for every craving. Here are a few more to inspire your next chilled creation:
- Grasshopper Pie Ice Cream
- Homemade Drumsticks
- Blackberry Swirl Ice Cream
- Grape Nut Ice Cream
- Vanilla Caramel Swirl Ice Cream Recipe
- Snow Ice Cream
- Shirley Temple Float
- Disney’s Pineapple Dole Whip
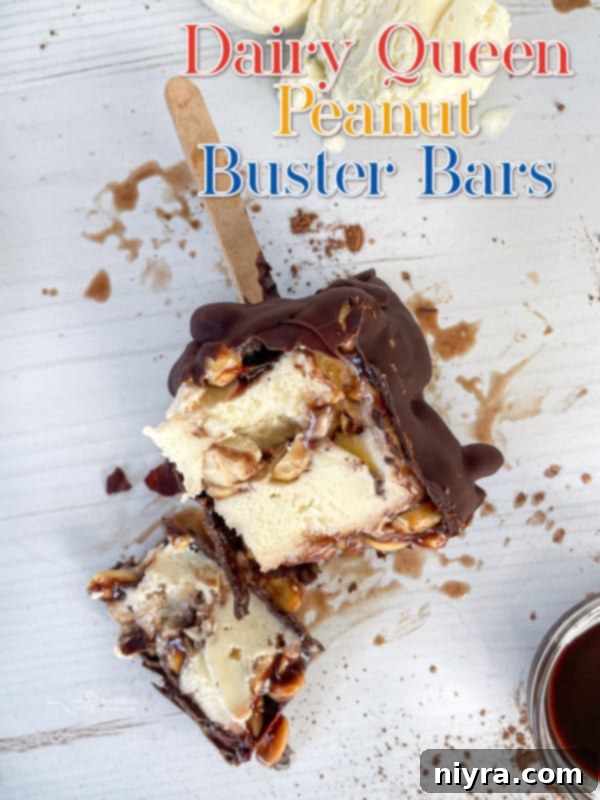
It’s time to whip up some amazing Peanut Buster Bars and create your own sweet memories! 
LIKE THIS RECIPE?
Don’t forget to give it a ⭐⭐⭐⭐⭐ star rating and
leave a comment below the recipe!
Print Recipe
Homemade Buster Bars
Indulge in layers of chocolate fudge, peanuts, and ice cream in these delightful Homemade Buster Bars!
Equipment
- Ice Cream Scoop with Comfortable Handle
- 9 oz. Clear Disposable Plastic Cups
- Darice Natural Wood Craft Sticks Jumbo. 80 Pieces
Ingredients
- 6 small plastic cups
- 6 Popsicle sticks
- 1/2 gallon vanilla ice cream or frozen yogurt
- Spanish peanuts
- 1 jar hot fudge topping
- 12 ounces semi-sweet chocolate chips
- 3 Tablespoons vegetable oil
Instructions
- Line up your cups. In the bottom of each, spoon about 1/2 Tablespoon of peanuts, then drizzle with about 1/2 Tablespoon of hot fudge.
- Place a scoop of ice cream over that, and press it down firmly.
- Top that again with about 1 heaping Tablespoon of hot fudge, smearing it on top of the ice cream, then top with 1 Tablespoon peanuts.
- Next, add more ice cream, press it down, then more hot fudge and peanuts.
- Place a Popsicle stick in the middle of each cup, and place the cups in the freezer.
- Freeze for at least 24 hours to ensure they are completely solid.
- After they are thoroughly frozen, you can begin the dipping process.
- Pour your chocolate chips and oil into a microwave-safe bowl. Choose a tall bowl to allow for complete submersion of the frozen bars. Melt in 30-second intervals, stirring in between until the chocolate is smooth. Let it stand for just a minute to cool slightly, so it isn’t super hot.
- Lightly squeeze the outside of the cup to release the ice cream. You might need to run a butter knife around the outside to loosen it up.
- Dunk the bar into the chocolate, and hold up for a second, giving it a slow twirl to distribute the chocolate and let the excess run off.
- Place the dipped bars on a cookie sheet lined with waxed paper, and place them back in the freezer for at least an hour to harden.
Notes
Make sure to PACK the ice cream down firmly!! I only had one stick come loose when I was dipping, and I know that’s why. I bought the wide Popsicle sticks at our Hobby Lobby, they held well!
Nutrition
This recipe was originally posted on July 12, 2013. It was updated to improve user experience and re-shared on May 17, 2021.
Recipe adapted from Eat at Home
