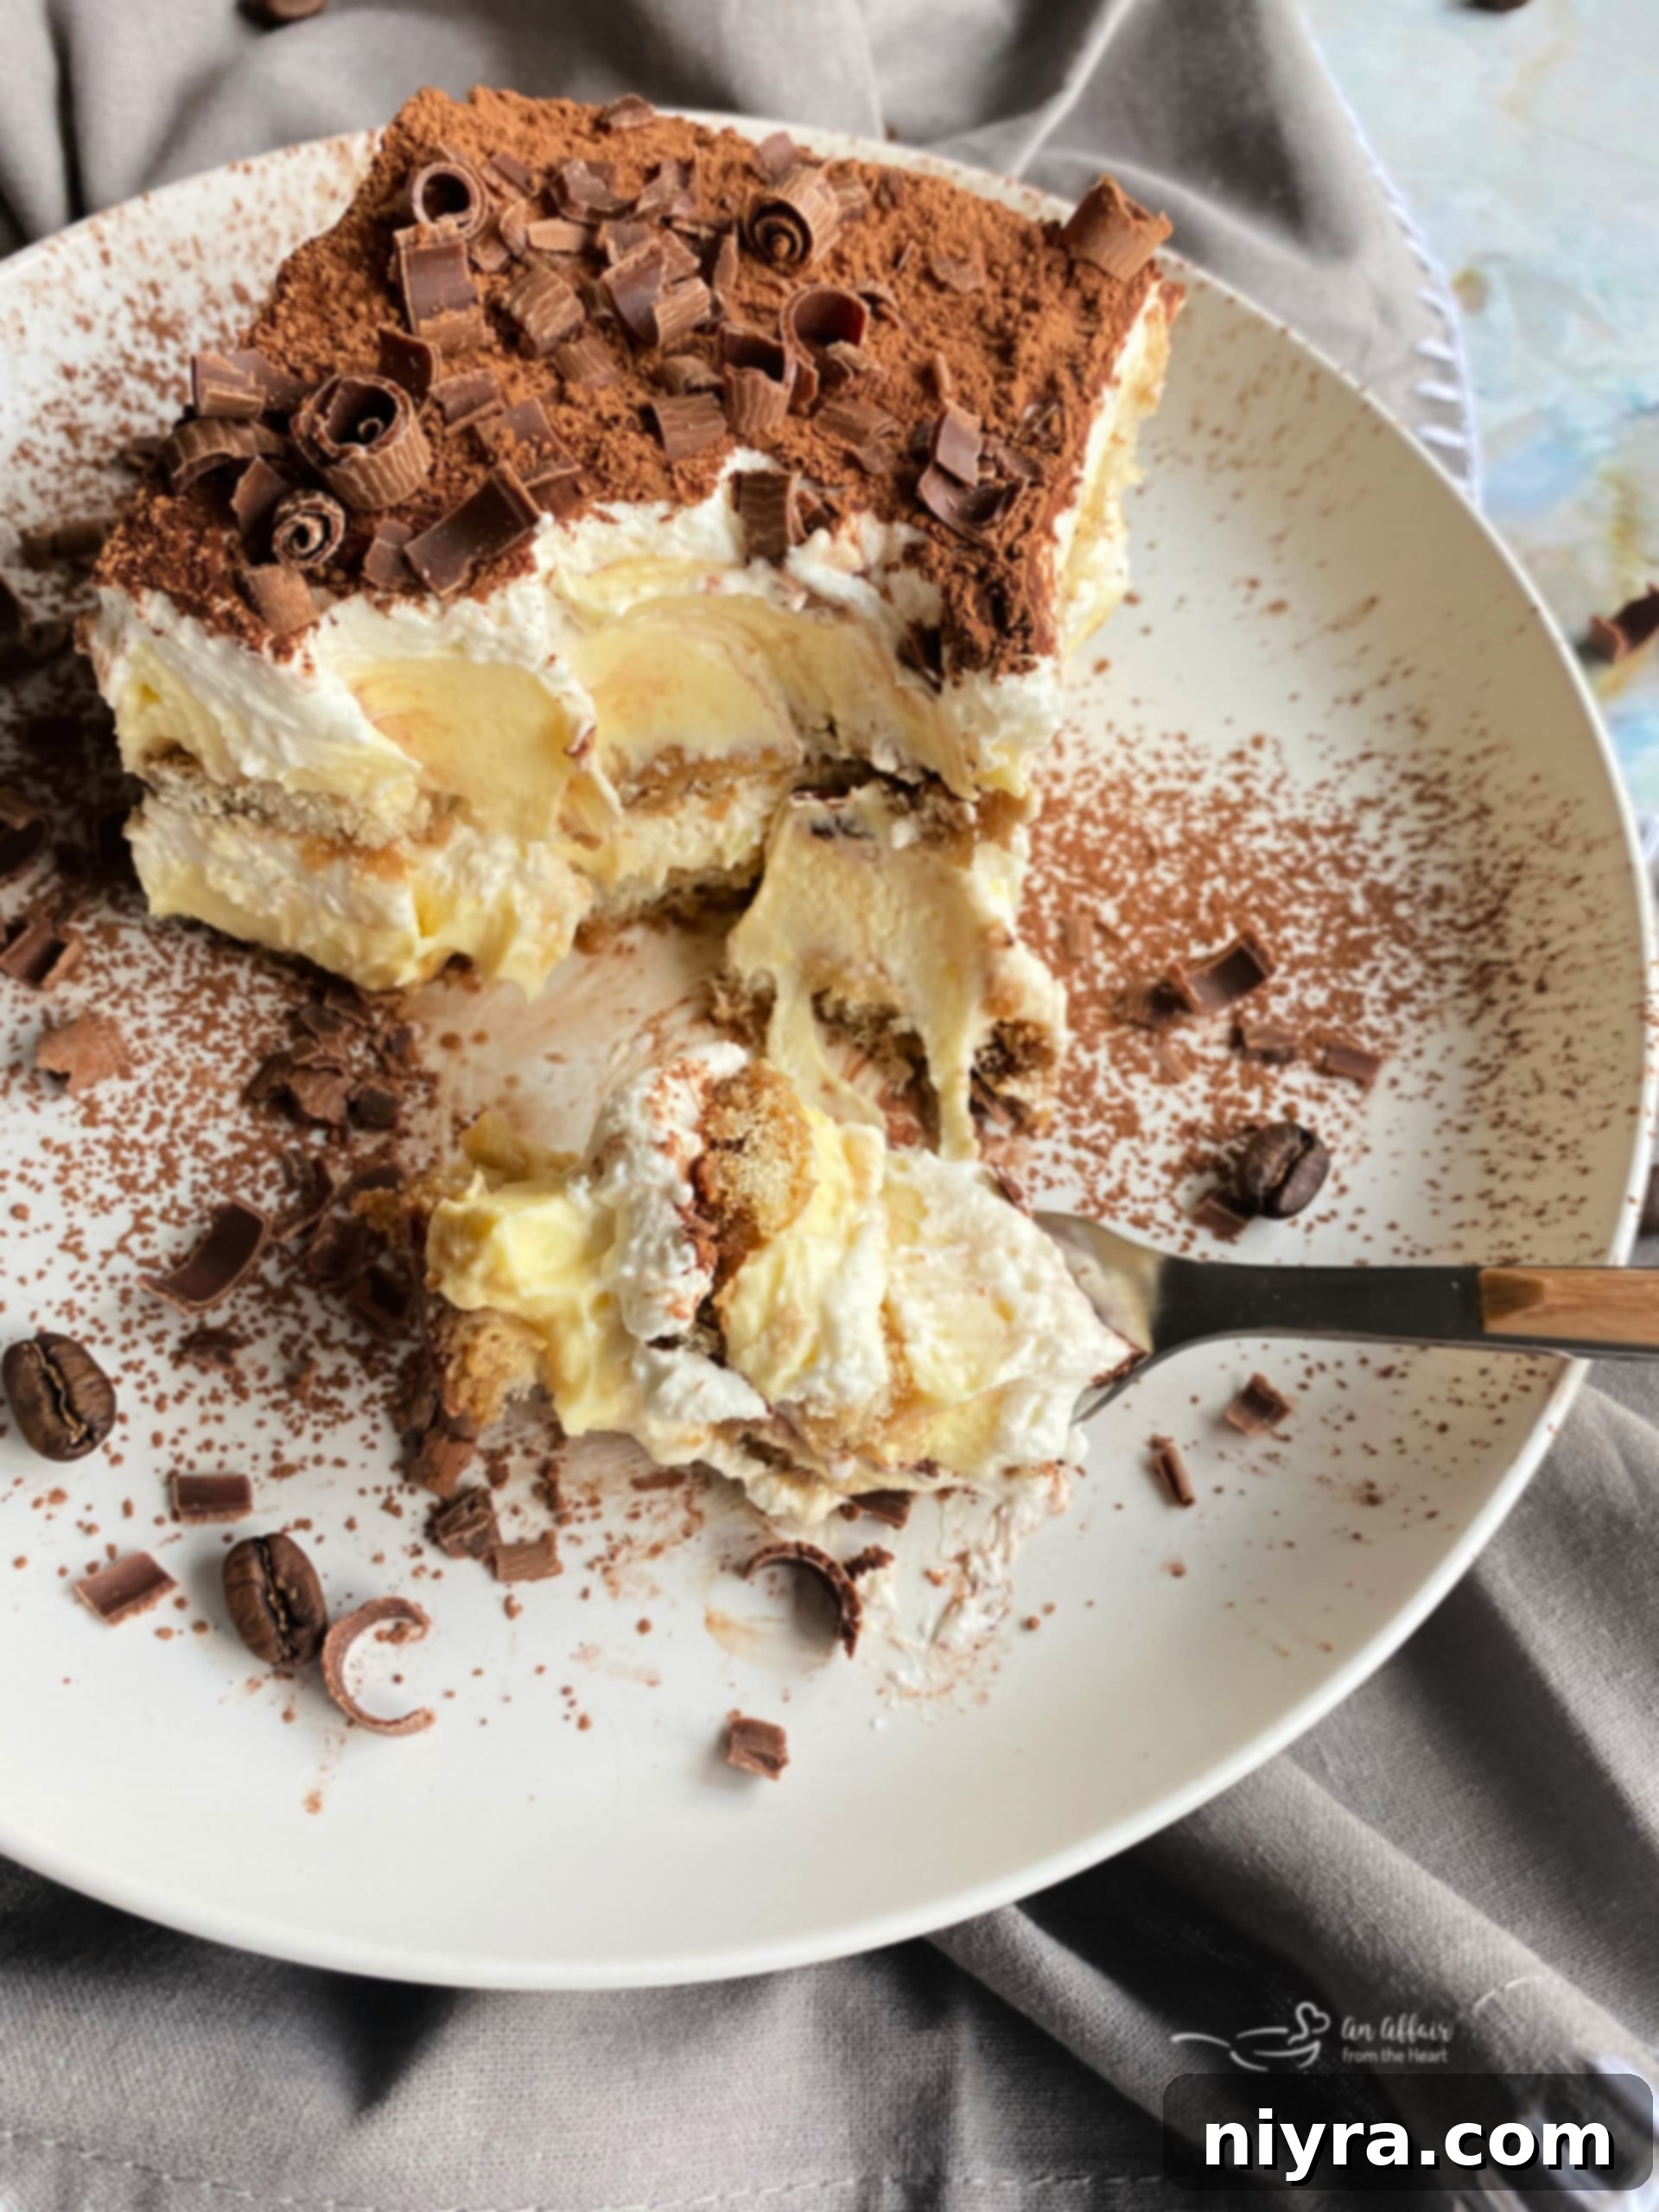
Irresistible Homemade Tiramisu: Your Easy Guide to Italian Dessert Perfection
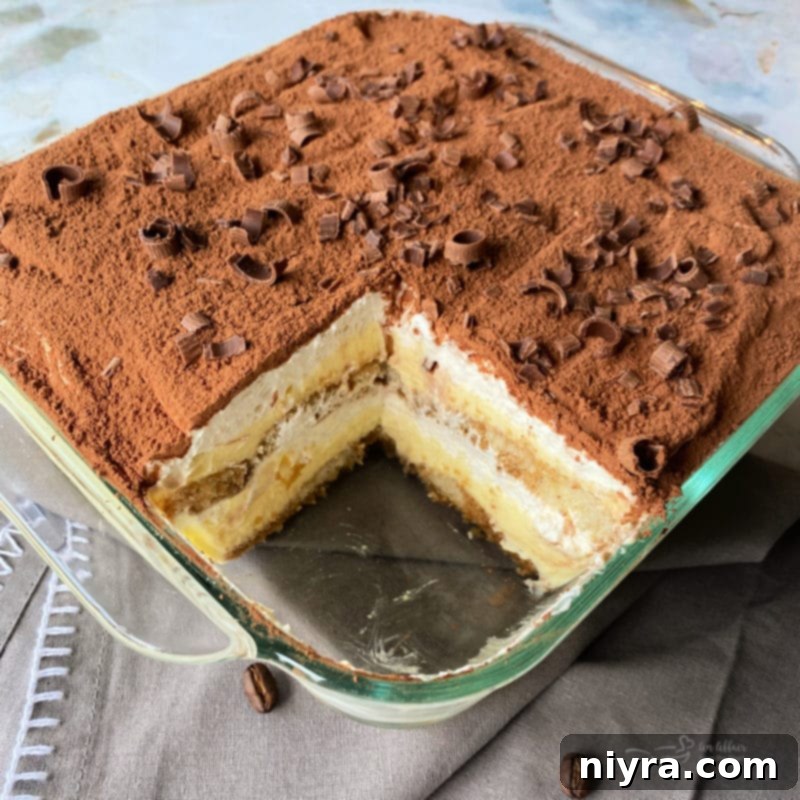
Imagine layers of delicate, coffee and liqueur-soaked ladyfingers, nestled between clouds of velvety vanilla whipped cream and a rich, creamy custard made with eggs, milk, and exquisite mascarpone cheese. Crowned with a dusting of cocoa powder and elegant chocolate curls, this is more than just a dessert – it’s a slice of pure heaven. While Tiramisu often carries an air of sophistication and difficulty, don’t let its elegant appearance intimidate you. This simplified recipe makes crafting the dreamiest homemade Tiramisu surprisingly easy and enjoyable, proving that culinary masterpieces are well within reach for any home cook.
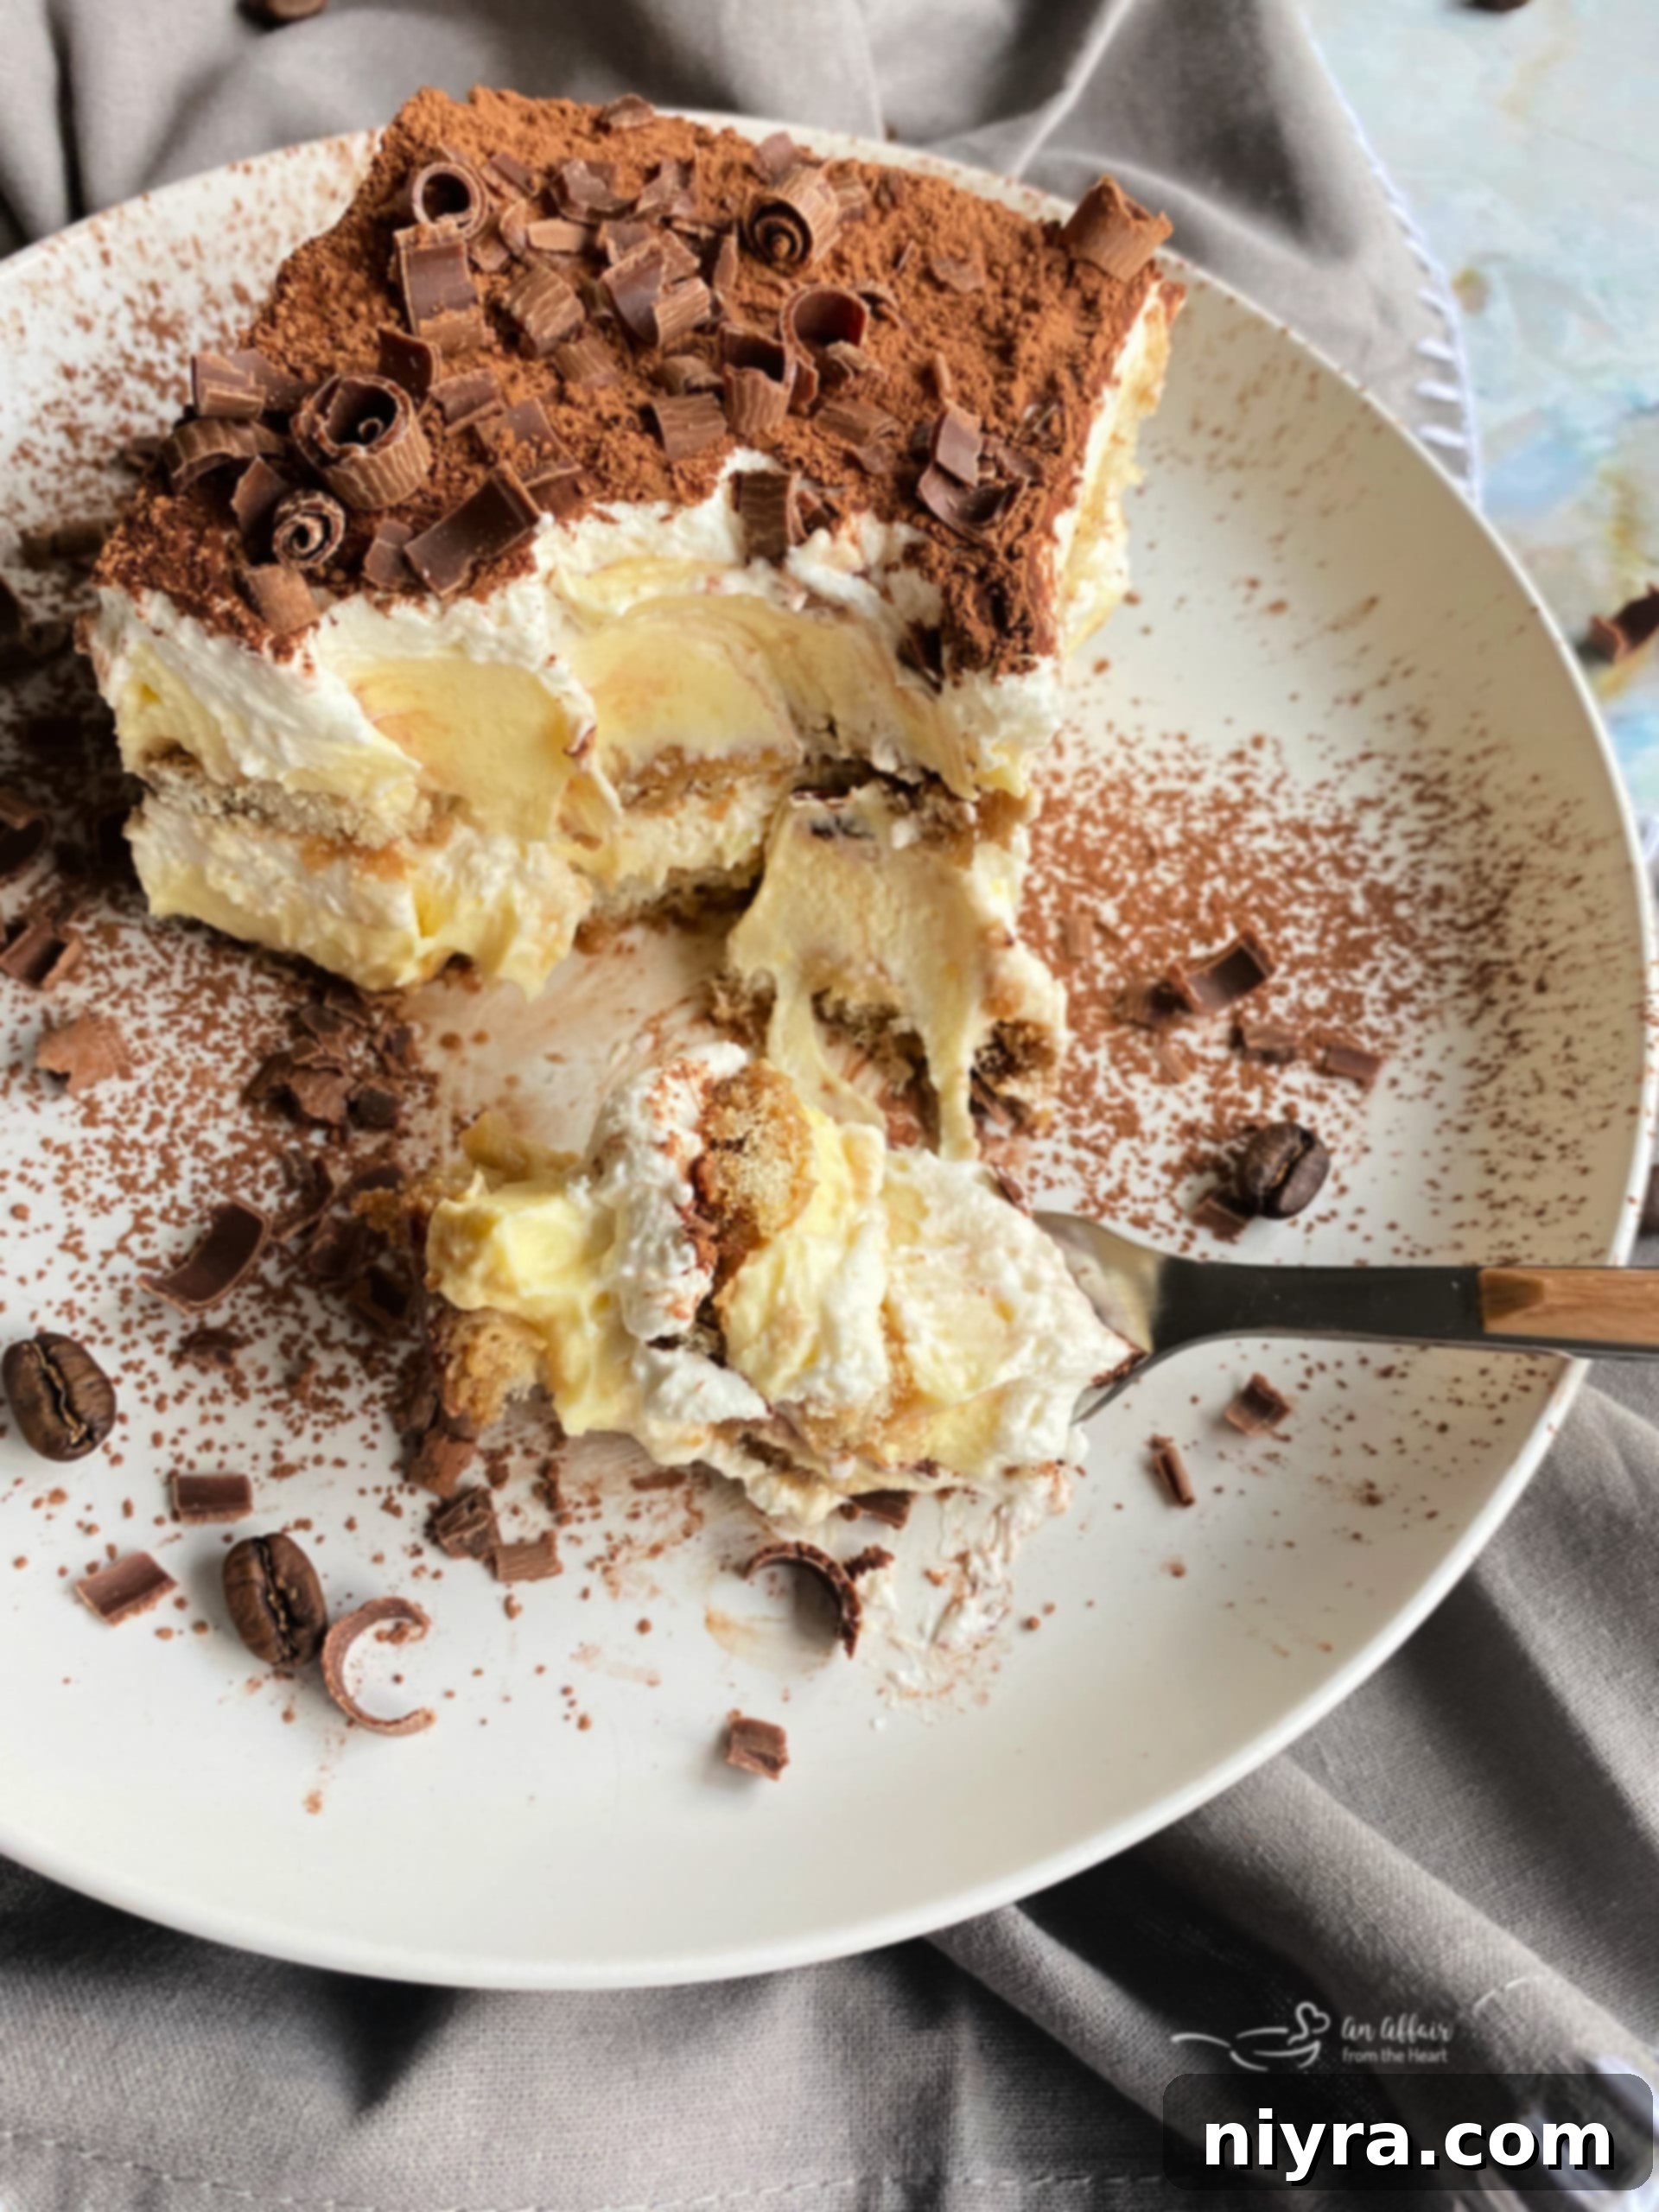
What is Tiramisu? Unpacking this Beloved Italian Classic
Tiramisu, pronounced /ˌtirəməˈso͞o/, is a renowned coffee-flavored Italian dessert that has captured hearts worldwide. At its core, Tiramisu is a harmonious symphony of textures and flavors, typically featuring ladyfingers (savoiardi) briefly dipped in strong coffee, often enhanced with a touch of liqueur. These coffee-infused biscuits are then layered with a rich, whipped mixture of eggs, sugar, and mascarpone cheese, and finally dusted with cocoa powder for a bittersweet finish. Over the years, this classic recipe has inspired countless adaptations, finding its way into various cakes, parfaits, and other sweet creations, much like the delightful version we’re exploring today.
The name “Tiramisù” (note the accent in Italian) literally translates to “pull me up,” or more commonly interpreted as “pick me up” or “cheer me up.” This evocative name perfectly encapsulates the dessert’s comforting and uplifting qualities. Whether you’re seeking a moment of joy on a happy occasion or a sweet solace when feeling a little blue, Tiramisu lives up to its name, offering a delightful culinary embrace that brightens any day. It’s a dessert that not only satisfies your sweet tooth but also offers a little emotional boost – a perfect reason to indulge!
My Tiramisu Journey: From Intimidation to Indulgence
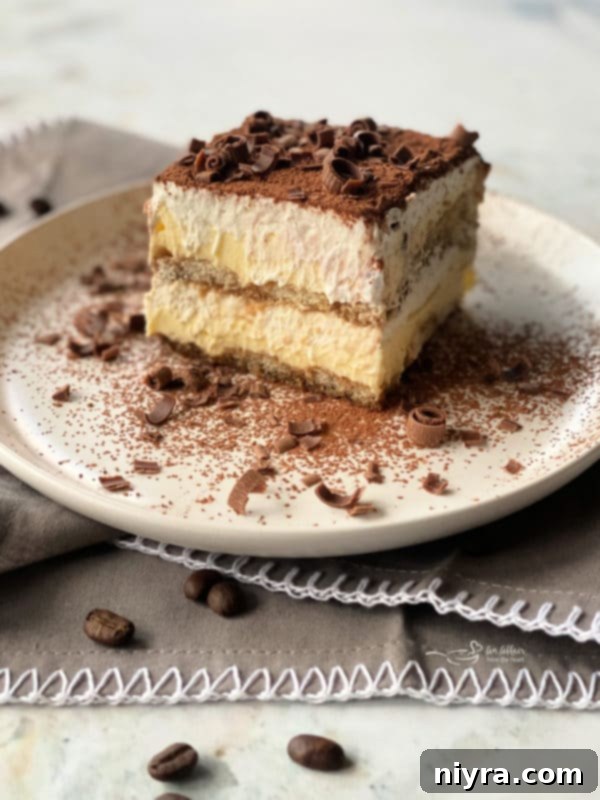
For as long as I can remember, Tiramisu has held a special place in my heart. Its elegant layers and sophisticated taste always seemed like something only a professional pastry chef could create, an intimidating dessert reserved for special restaurant visits. The thought of making it from scratch always felt daunting, preventing me from ever attempting it in my own kitchen. But as they say, life begins at the end of your comfort zone. Today, driven by a long-held desire to conquer this culinary mountain and embrace new challenges, I finally decided to dive in. And friends, I am absolutely thrilled that I did!
Beyond its incredibly delicious taste – which is, of course, the best part – this Tiramisu recipe stands out for its surprising ease. It’s a no-bake dessert, meaning you won’t need to turn on your oven, simplifying the process immensely. Once you discover how straightforward it is to create this decadent treat, it’s sure to become a beloved staple in your dessert repertoire, one you’ll want to make again and again.
The Magic of Freaky Friday: A Culinary Collaboration

While my personal journey to making Tiramisu was a significant step, I can’t take all the credit for finally taking the plunge. This delightful adventure was inspired by our latest round of Freaky Friday, a fantastic culinary event that fosters community and creativity among food bloggers.
For those unfamiliar, Freaky Friday is a unique and exciting collaboration where a group of food bloggers comes together. Each participant is secretly assigned another blogger’s website from which to choose and recreate a recipe. This assignment is kept under wraps until a designated “reveal day,” when all participating bloggers simultaneously publish their chosen recipes, linking back to their assigned blogs. It’s a wonderful opportunity for readers to discover a variety of new and exciting dishes, explore different culinary styles, and find new blogs to follow. This particular round was our much-anticipated summer edition, and I was absolutely delighted to be assigned Kathleen’s blog, The Fresh Cooky!
Discovering “The Fresh Cooky”: A Source of Inspiration
Having been part of the same blogging community, I already felt a sense of familiarity with Kathleen. However, delving into her About Me page on The Fresh Cooky website provided an even deeper insight into her passion and philosophy, making me admire her work and recipes even more. Kathleen is a dedicated wife and a loving mother to two boys, driven by a deep faith. Living in Colorado, she has become my trusted expert when it comes to high-altitude baking, a challenging skill she has mastered beautifully.
Kathleen’s culinary ethos centers around cooking and baking with fresh, wholesome ingredients. Yet, she maintains a realistic and relatable approach, openly admitting that on those inevitably busy weeknights, there’s absolutely nothing wrong with a quick dinner solution like boxed mac and cheese or canned biscuits. This sentiment resonates deeply with me; we both value quality family mealtime, and sometimes, the most important ingredient is simply being together, regardless of how elaborate the meal is.
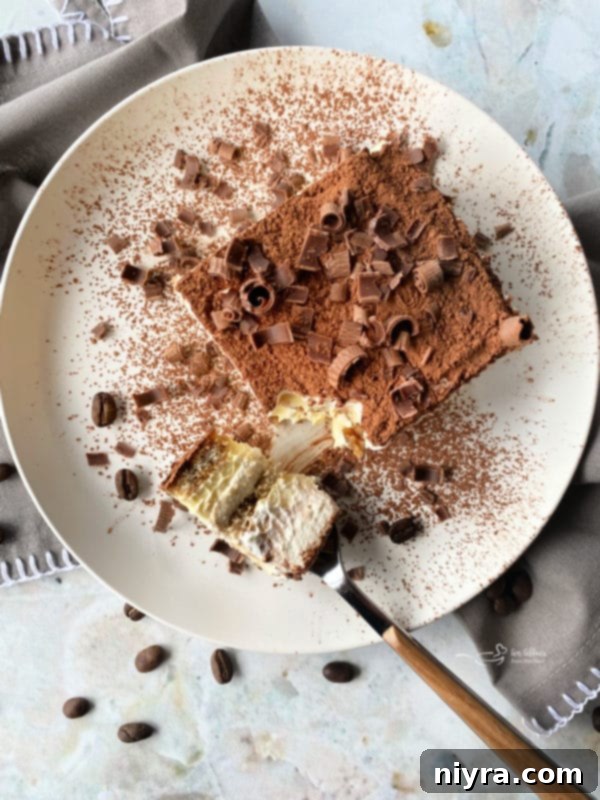
I distinctly remember seeing Kathleen post this very Tiramisu cake recipe quite some time ago and immediately made a mental note to try it if I was ever assigned her blog. So, when the time came to choose a recipe from her site for Freaky Friday, my decision was practically made! However, since then, I’ve had the pleasure of exploring her site more thoroughly, and I’ve discovered a treasure trove of other incredible recipes that I absolutely must try. Holy moly, her blog is packed with gems!
Beyond her outstanding Tiramisu, Kathleen offers an impressive array of dishes. While she boasts amazing salads, delectable side dishes, and comforting soups and stews, it’s her desserts and cocktails that truly catch my eye. Her Blackberry Moscow Mule is definitely next on my list, and I’m practically drooling over the thought of her Chocolate Brownie Ice Cream. Plus, her famous Pan Bangin’ Sugar Cookies have already secured a top spot on my holiday baking list! But for today, let’s savor every delicious detail of this incredible Tiramisu recipe, shall we?
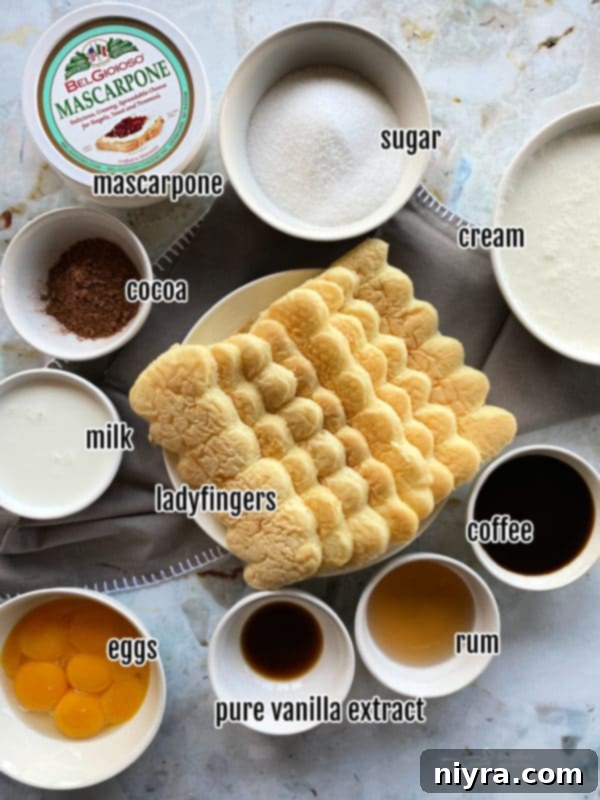
Essential Tiramisu Ingredients: Quality Matters
One of the beauties of Tiramisu is that it relies on simple, readily available ingredients. In fact, you might already have most of them in your kitchen right now. However, for a truly exceptional Tiramisu, the quality of each ingredient truly shines through.
- Large Egg Yolks: Unlike some traditional recipes that might use raw eggs, this method incorporates the yolks into a rich, cooked custard, ensuring both safety and a luxuriously smooth texture.
- Granulated Sugar: Essential for sweetness and to balance the richness of the other components. It dissolves perfectly into the custard, creating a seamless blend.
- Whole Milk: For the creamiest, most decadent custard, full-fat whole milk is non-negotiable. Avoid any skim or low-fat alternatives, as they won’t provide the desired richness.
- Heavy Whipping Cream: This is key for creating the light, airy whipped cream layers. Again, opt for full-fat heavy cream for optimal volume and stability. Half & half simply won’t yield the same results.
- Pure Vanilla Extract: Invest in high-quality pure vanilla extract. Its aromatic warmth elevates the entire dessert. The difference between pure vanilla and imitation is truly noticeable here – you’ll be glad you splurged! (Pro tip: Mexican grocery stores often have excellent vanilla at great prices!)
- Mascarpone Cheese: The heart of Tiramisu’s creamy filling. This Italian cream cheese is incredibly rich and smooth. Just like with the milk and cream, go for full-fat mascarpone. Skinny substitutes will compromise the texture and flavor. Ensure it’s softened to room temperature for easier blending.
- Strong Coffee: The backbone of Tiramisu’s distinctive flavor. Use freshly brewed, very strong coffee or espresso, cooled to room temperature. This provides the classic coffee kick without making the ladyfingers soggy.
- Rum: A splash of rum adds depth and a subtle warmth that complements the coffee beautifully. Dark rum offers a richer flavor, but light rum works too. For an intensified coffee aroma, consider adding a hint of Kahlua or another coffee liqueur.
- Ladyfingers: These dry, sponge-like biscuits are designed to absorb liquid without falling apart. They are crucial for Tiramisu’s structure and texture. (More on sourcing and substitutes below!)
- Unsweetened Cocoa Powder: A final flourish that adds a delightful bittersweet note and elegant presentation. Choose a good quality cocoa for the best flavor.
- Optional Garnishes: Chocolate curls or a drizzle of chocolate syrup can add an extra layer of indulgence and visual appeal.
Crafting Your Own Tiramisu: A Step-by-Step Guide
Making Tiramisu from scratch is a rewarding process. Follow these detailed steps to create a dessert that will impress everyone.
Preparing the Silky Custard Base
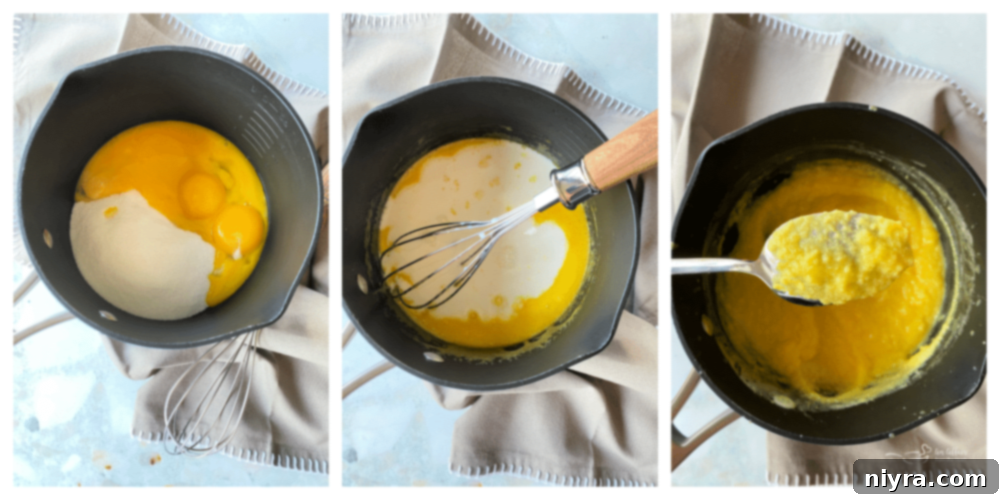
- In a medium saucepan, thoroughly whisk together the granulated sugar and egg yolks until they are well combined and the mixture is pale yellow.
- Gradually whisk in the whole milk until fully incorporated.
- Place the saucepan over medium heat on the stovetop. Bring the mixture to a gentle boil, stirring constantly with a whisk or wooden spoon to prevent scorching and ensure even cooking.
- Once it reaches a gentle boil, continue to boil for precisely one minute, stirring continuously. This step is crucial for thickening the custard and safely cooking the eggs.
- Remove the saucepan from the heat and allow the custard to cool for about 10 minutes. The custard should be thick enough to coat the back of a spoon.
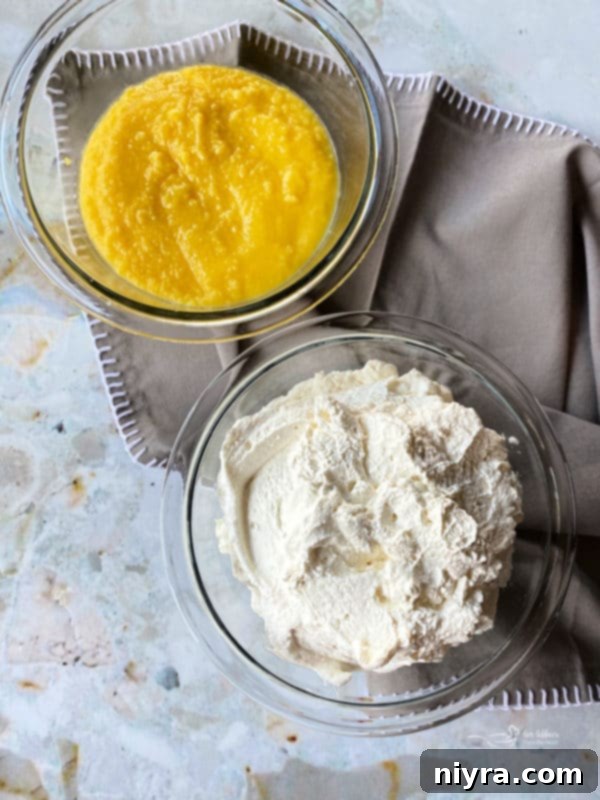
- Transfer the warm custard to a bowl and cover it directly with plastic wrap, pressing the wrap onto the surface of the custard to prevent a skin from forming. Place it in the refrigerator to chill for at least one hour, or longer until completely cold.
Whipping the Cream to Perfection
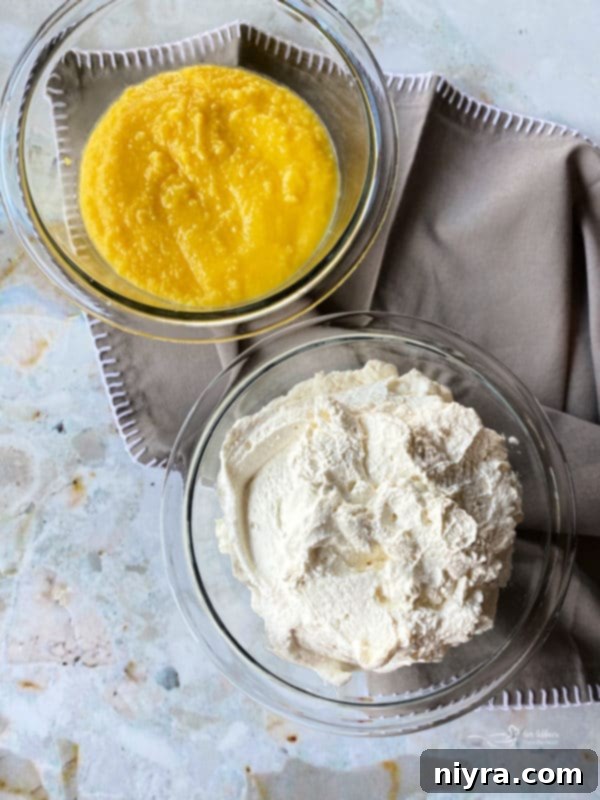
- While the custard is cooling, combine the heavy whipping cream and pure vanilla extract in a separate large mixing bowl.
- Using an electric mixer, whip the mixture on medium-high speed until stiff peaks form. Be careful not to over-whip, as it can turn granular.
- Place the whipped cream in the refrigerator alongside the custard to keep it chilled and firm.
The Coffee & Rum Infusion

- In a shallow dish or bowl, combine the strong, cooled coffee and rum. Stir well to mix thoroughly. Set this aside, ready for dipping the ladyfingers.
Assembling Your Tiramisu Masterpiece
- Once the custard is completely chilled, take it out of the refrigerator. Add the softened mascarpone cheese to the custard.
- Gently whisk the mascarpone into the custard just until it is smooth and no lumps remain. Be careful not to overmix, as this can cause the mascarpone to separate. The mixture should be thick and creamy, not runny. Set aside.
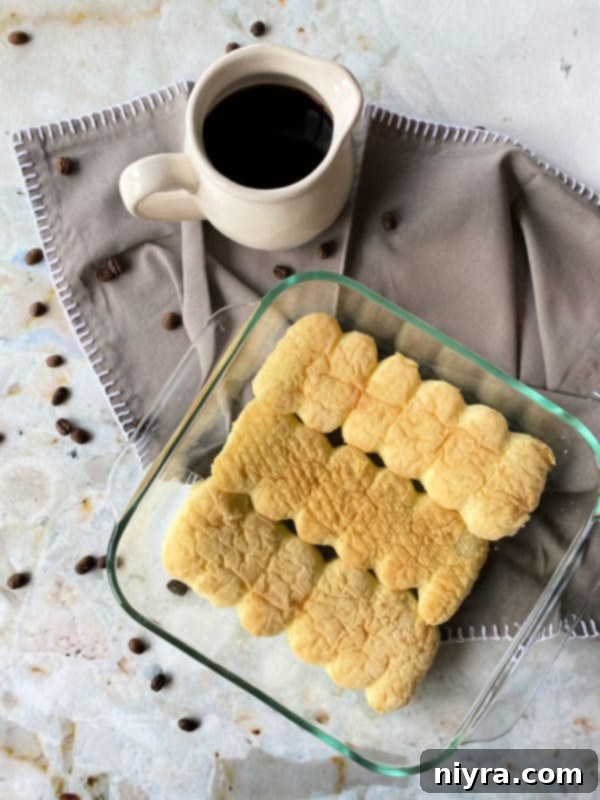
- Choose your baking dish: either an 8×8 or 9×9 inch dish works perfectly. Arrange a single layer of ladyfingers neatly across the bottom of the dish. You may need to break some ladyfingers to fit perfectly.
- Drizzle half of the coffee/rum mixture evenly over the ladyfingers in the baking dish. Gently swirl the dish or use a brush to ensure all ladyfingers are moistened but not soggy. They should absorb the liquid but retain their structure.
- In a separate shallow dish, repeat the dipping method with the remaining ladyfingers, thoroughly coating them with the second half of the coffee/rum mixture.
- To begin assembling your tiramisu layers, spread half of the mascarpone custard mixture evenly over the ladyfingers in the baking dish. Use an offset spatula to ensure the custard fills any gaps between the ladyfingers.
- Next, carefully spread half of the chilled whipped cream over the top of the custard layer, creating a smooth, even surface.
- Gently place the second half of the coffee-soaked ladyfingers over the whipped cream layer.
- Finish with the remaining custard mixture, spreading it smoothly across the top. Finally, add the remaining whipped cream, creating the final creamy layer.
- Cover the assembled tiramisu tightly with plastic wrap and refrigerate for a minimum of 5-6 hours. For the best flavor and firmest set, chilling overnight is highly recommended.
- To serve, remove from the refrigerator. Just before serving, dust generously with unsweetened cocoa powder using a fine-mesh sieve.
- If desired, garnish with elegant chocolate curls or a drizzle of chocolate syrup for an extra touch of decadence.
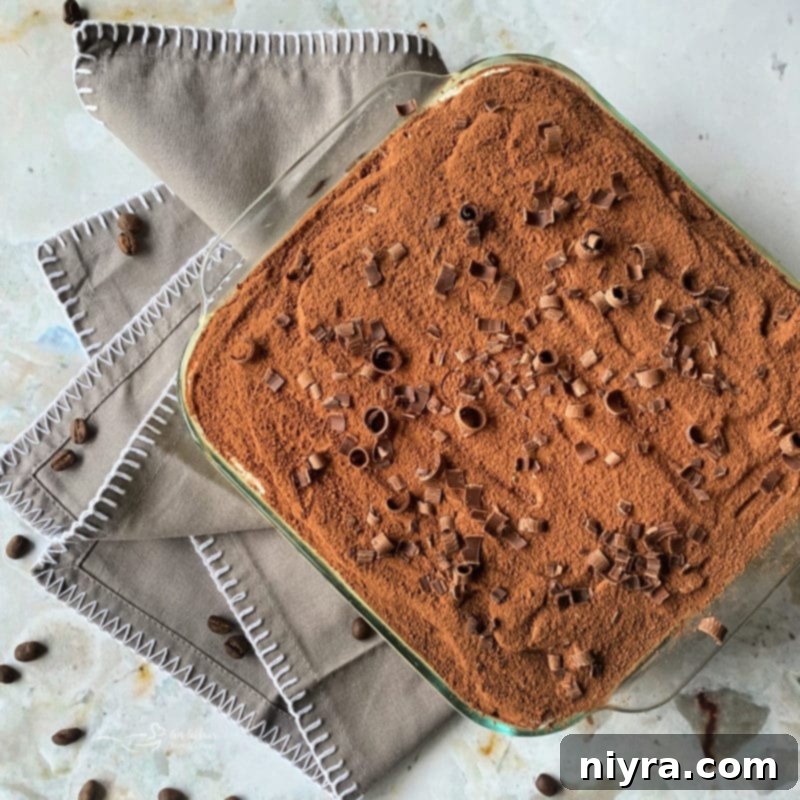
I must admit, I got a little heavy-handed with the cocoa dusting – Kathleen’s original recipe called for 1 Tablespoon, but my love for chocolate led me to use closer to 1/4 cup, and honestly, it was absolutely perfect!
Pro Tips & Frequently Asked Questions for Perfect Tiramisu
Even though this is an easy Tiramisu recipe, a few common questions and tips can help ensure your dessert turns out perfectly every time.
Is there alcohol in Tiramisu? Yes, traditionally Tiramisu contains alcohol. This simplified recipe uses rum, which adds a lovely depth of flavor without being overpowering. The amount is relatively small, so aside from the delicious taste, you might not even notice the alcohol content. Traditional Tiramisu often includes Marsala wine as well, but it has been omitted here for simplicity. For a non-alcoholic Tiramisu, simply enhance the coffee with a little more pure vanilla extract, or try adding coffee extract or espresso powder for an intensified coffee flavor without the spirits.
What are ladyfingers? Ladyfingers, also known as Savoiardi in Italy or sponge fingers in the UK, are a distinctive component of Tiramisu. They are dry, egg-based sponge cakes, shaped like large fingers, with a light and airy texture. Their unique density allows them to absorb liquid without becoming overly mushy, which is crucial for the structure of Tiramisu. I’ve found that sometimes ladyfingers can be tricky to locate in regular supermarkets. My tip: check the bakery section, or sometimes even the international foods aisle! If you still struggle to find them, you can conveniently purchase them online.
What is a substitute for ladyfingers in Tiramisu? If ladyfingers are truly unavailable, a simple sponge cake can serve as a substitute. Cut the sponge cake into finger-sized strips and bake them for a few minutes until they are slightly crisp on the outside. This will help them mimic the texture and absorption qualities of traditional ladyfingers, ensuring your Tiramisu still holds together beautifully.
Why is my Tiramisu runny? A runny Tiramisu is often due to a few common culprits. Firstly, ensure your custard is cooked long enough to thicken properly – it should coat the back of a spoon. Secondly, always use full-fat mascarpone cheese. Low-fat versions lack the necessary structure. When incorporating the mascarpone into the cooled custard, be careful not to overmix it, as excessive whisking can cause the cheese curds to separate from the water, leading to a thinner consistency. Finally, adequate refrigeration is absolutely critical for the Tiramisu to set. I often leave mine in the fridge overnight to guarantee a perfectly firm and sliceable dessert, though 5-6 hours is the minimum. Patience here truly pays off!
Can Tiramisu be made ahead? Absolutely! Tiramisu is an excellent make-ahead dessert, as the flavors deepen and meld beautifully with time. As I mentioned, I frequently prepare mine the day before and let it chill overnight in the refrigerator. Just hold off on the final dusting of cocoa powder and any chocolate curls until just before serving to keep them looking fresh. Once assembled and covered, you can store your Tiramisu dessert safely in the fridge for about 4 to 5 days. (Though, in most households, it rarely lasts that long!)
Explore More from Freaky Friday!
I highly encourage you to visit Kathleen’s Blog, The Fresh Cooky, and discover her fantastic collection of recipes for yourself! And while you’re exploring, be sure to check out all the other incredible creations from our talented Freaky Friday bloggers from this summer edition:
2021 Freaky Friday Summer Edition Recipes:
- An Affair from the Heart – Simple Tiramisu
- Aunt Bee’s Recipes – Roasted Tomatillo Salsa {Salsa Verde}
- Devour Dinner – Pepperoni Bread
- Fresh April Flours – Bananas Foster Cake
- The Fresh Cooky – Old Fashioned Lemon Squares
- Hostess at Heart – Kentucky Butter Cake
- House of Nash Eats – Apple Pie Ice Cream
- Lemon Blossoms – Strawberry Cake
- Lemoine Family Kitchen – Grilled Peach Burrata Arugula Salad
- Life, Love & Good Food – Bruschetta with Tomato
- Off the Eaten Path – Fresh Garden Salsa
- Sue Bee Homemaker – Jalapeño Popper Dip with Bacon
- The Speckled Palate – Lemon Zucchini Bread
- Take Two Tapas – Bacon Wrapped Jalapeño Poppers
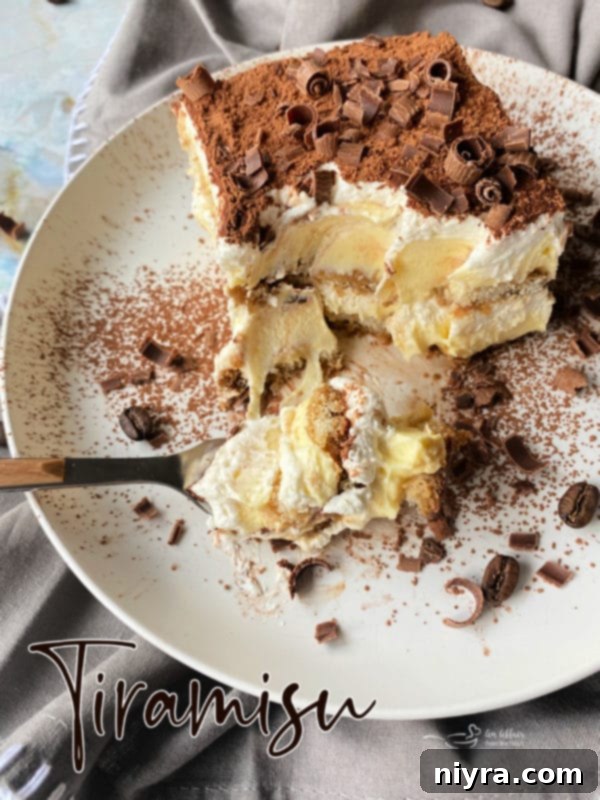
Love it? Pin it!
If this tantalizing Tiramisu recipe has captured your imagination and you can’t wait to try it, make sure you can easily find it later! Pin this recipe to your favorite Pinterest dessert board so it’s always just a click away when that Tiramisu craving strikes!
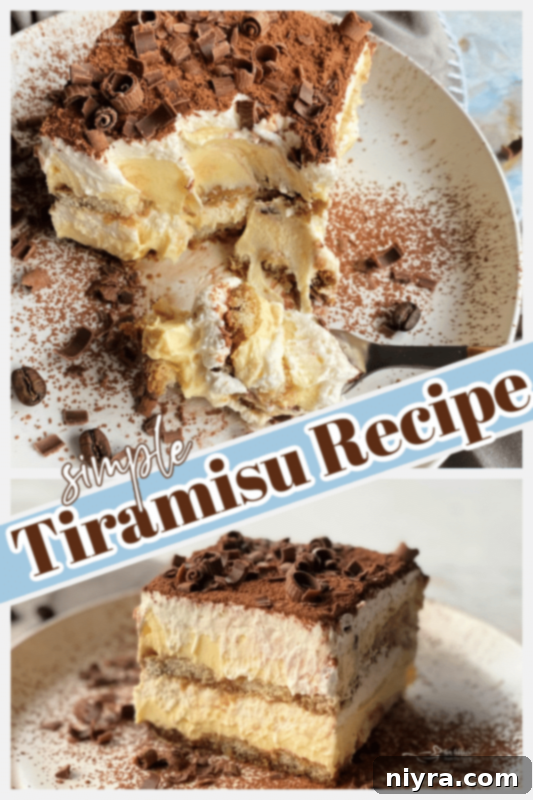
Ready to embark on your own simple Tiramisu adventure? Let’s make some magic in the kitchen!

LIKE THIS RECIPE?
Don’t forget to give it a ⭐️⭐️⭐️⭐️⭐️ star rating and
leave a comment below the recipe!

Rating: 4.83 out of 5 stars (based on 23 votes)
Print Recipe
Simple Tiramisu Recipe
Layers of coffee and liqueur-soaked ladyfingers mingle with layers of vanilla whipped cream and a custard made of eggs, milk, and mascarpone cheese. Top it all off with a sprinkle of cocoa powder and chocolate curls, and you have the dreamiest dessert under the heavens. But don’t let it intimidate you, this easy recipe for Tiramisu can be made in no time.
Ingredients
- 6 large egg yolks
- 3/4 cup sugar
- 2/3 cup whole milk
- 2 cups heavy whipping cream
- 2 teaspoons pure vanilla extract
- 2 8 ounce containers of mascarpone cheese, softened
- 2/3 cup strong coffee room temperature
- 4 Tablespoons rum I used dark
- 2 3 ounce packages lady fingers
- 1 Tablespoon unsweetened cocoa powder for dusting
- For serving: chocolate curls or chocolate syrup optional
Instructions
- Whisk sugar and egg yolks together in a medium saucepan until incorporated. Whisk in milk. Place on the stovetop over medium heat, and bring to a gentle boil, stirring constantly. Boil for one minute, continuing to stir. Remove from the heat, cool for 10 minutes. The custard will be thick and will coat the back of a spoon.
- While the mixture cools, whip your cream and vanilla together until stiff peaks form.
- Place the whipped cream and the custard in the refrigerator. Cover the custard with plastic wrap, letting the wrap rest on top of the custard. Chill in the fridge for at least one hour. Longer if it’s not cold yet.
- Mix coffee and rum together. Set aside.
- After the custard is cooled, whisk in mascarpone cheese just until it’s smooth. Set aside. *mixture should NOT be runny.
- Fill the bottom of either an 8×8 or a 9×9 baking dish with a single layer of the ladyfingers.
- Drizzle them with 1/2 of the coffee/rum mixture. Give your dish a swirl to ensure that the ladyfingers are evenly coated but not soggy.
- In a separate shallow dish, repeat the same method with the ladyfingers and coffee/rum mixture to soak the other half of the ladyfingers.
- To assemble the tiramisu, using an offset spatula, layer half of the custard mixture over the ladyfingers in the baking dish, making sure the custard gets in between the ladyfingers. Next, spread half of the whipped cream over the top of the custard. Then, carefully top with the other half of the ladyfingers. Finish with another layer of custard and finally the remaining whipped cream.
- Cover and refrigerate for about 5-6 hours.
- To serve, top with a dusting of unsweetened cocoa.
- Top with chocolate curls or chocolate syrup if desired.
Notes
Why is my Tiramisu runny? First and foremost, make sure that you have cooked your custard long enough. Use full-fat Mascarpone, and take care not to mix it too much, as to separate the cheese curd and water. I used a whisk and gave mine a quick stir before adding in the custard. Make sure to refrigerate it long enough so it all sets up. I left mine in the fridge overnight. Not necessary, but I wanted to make sure I didn’t have any problems.
Can Tiramisu be made ahead? Yes! In fact, as I just mentioned, I made mine and left in the fridge overnight, before finishing off with the cocoa powder and chocolate curls. You can store your Tiramisu dessert in the fridge, covered for about 4 to 5 days. (if it lasts that long!)
Nutrition
Serving: 1 | Calories: 360kcal | Carbohydrates: 24g | Protein: 7g | Fat: 25g | Saturated Fat: 15g | Polyunsaturated Fat: 9g | Trans Fat: 1g | Cholesterol: 213mg | Sodium: 90mg | Sugar: 22g
