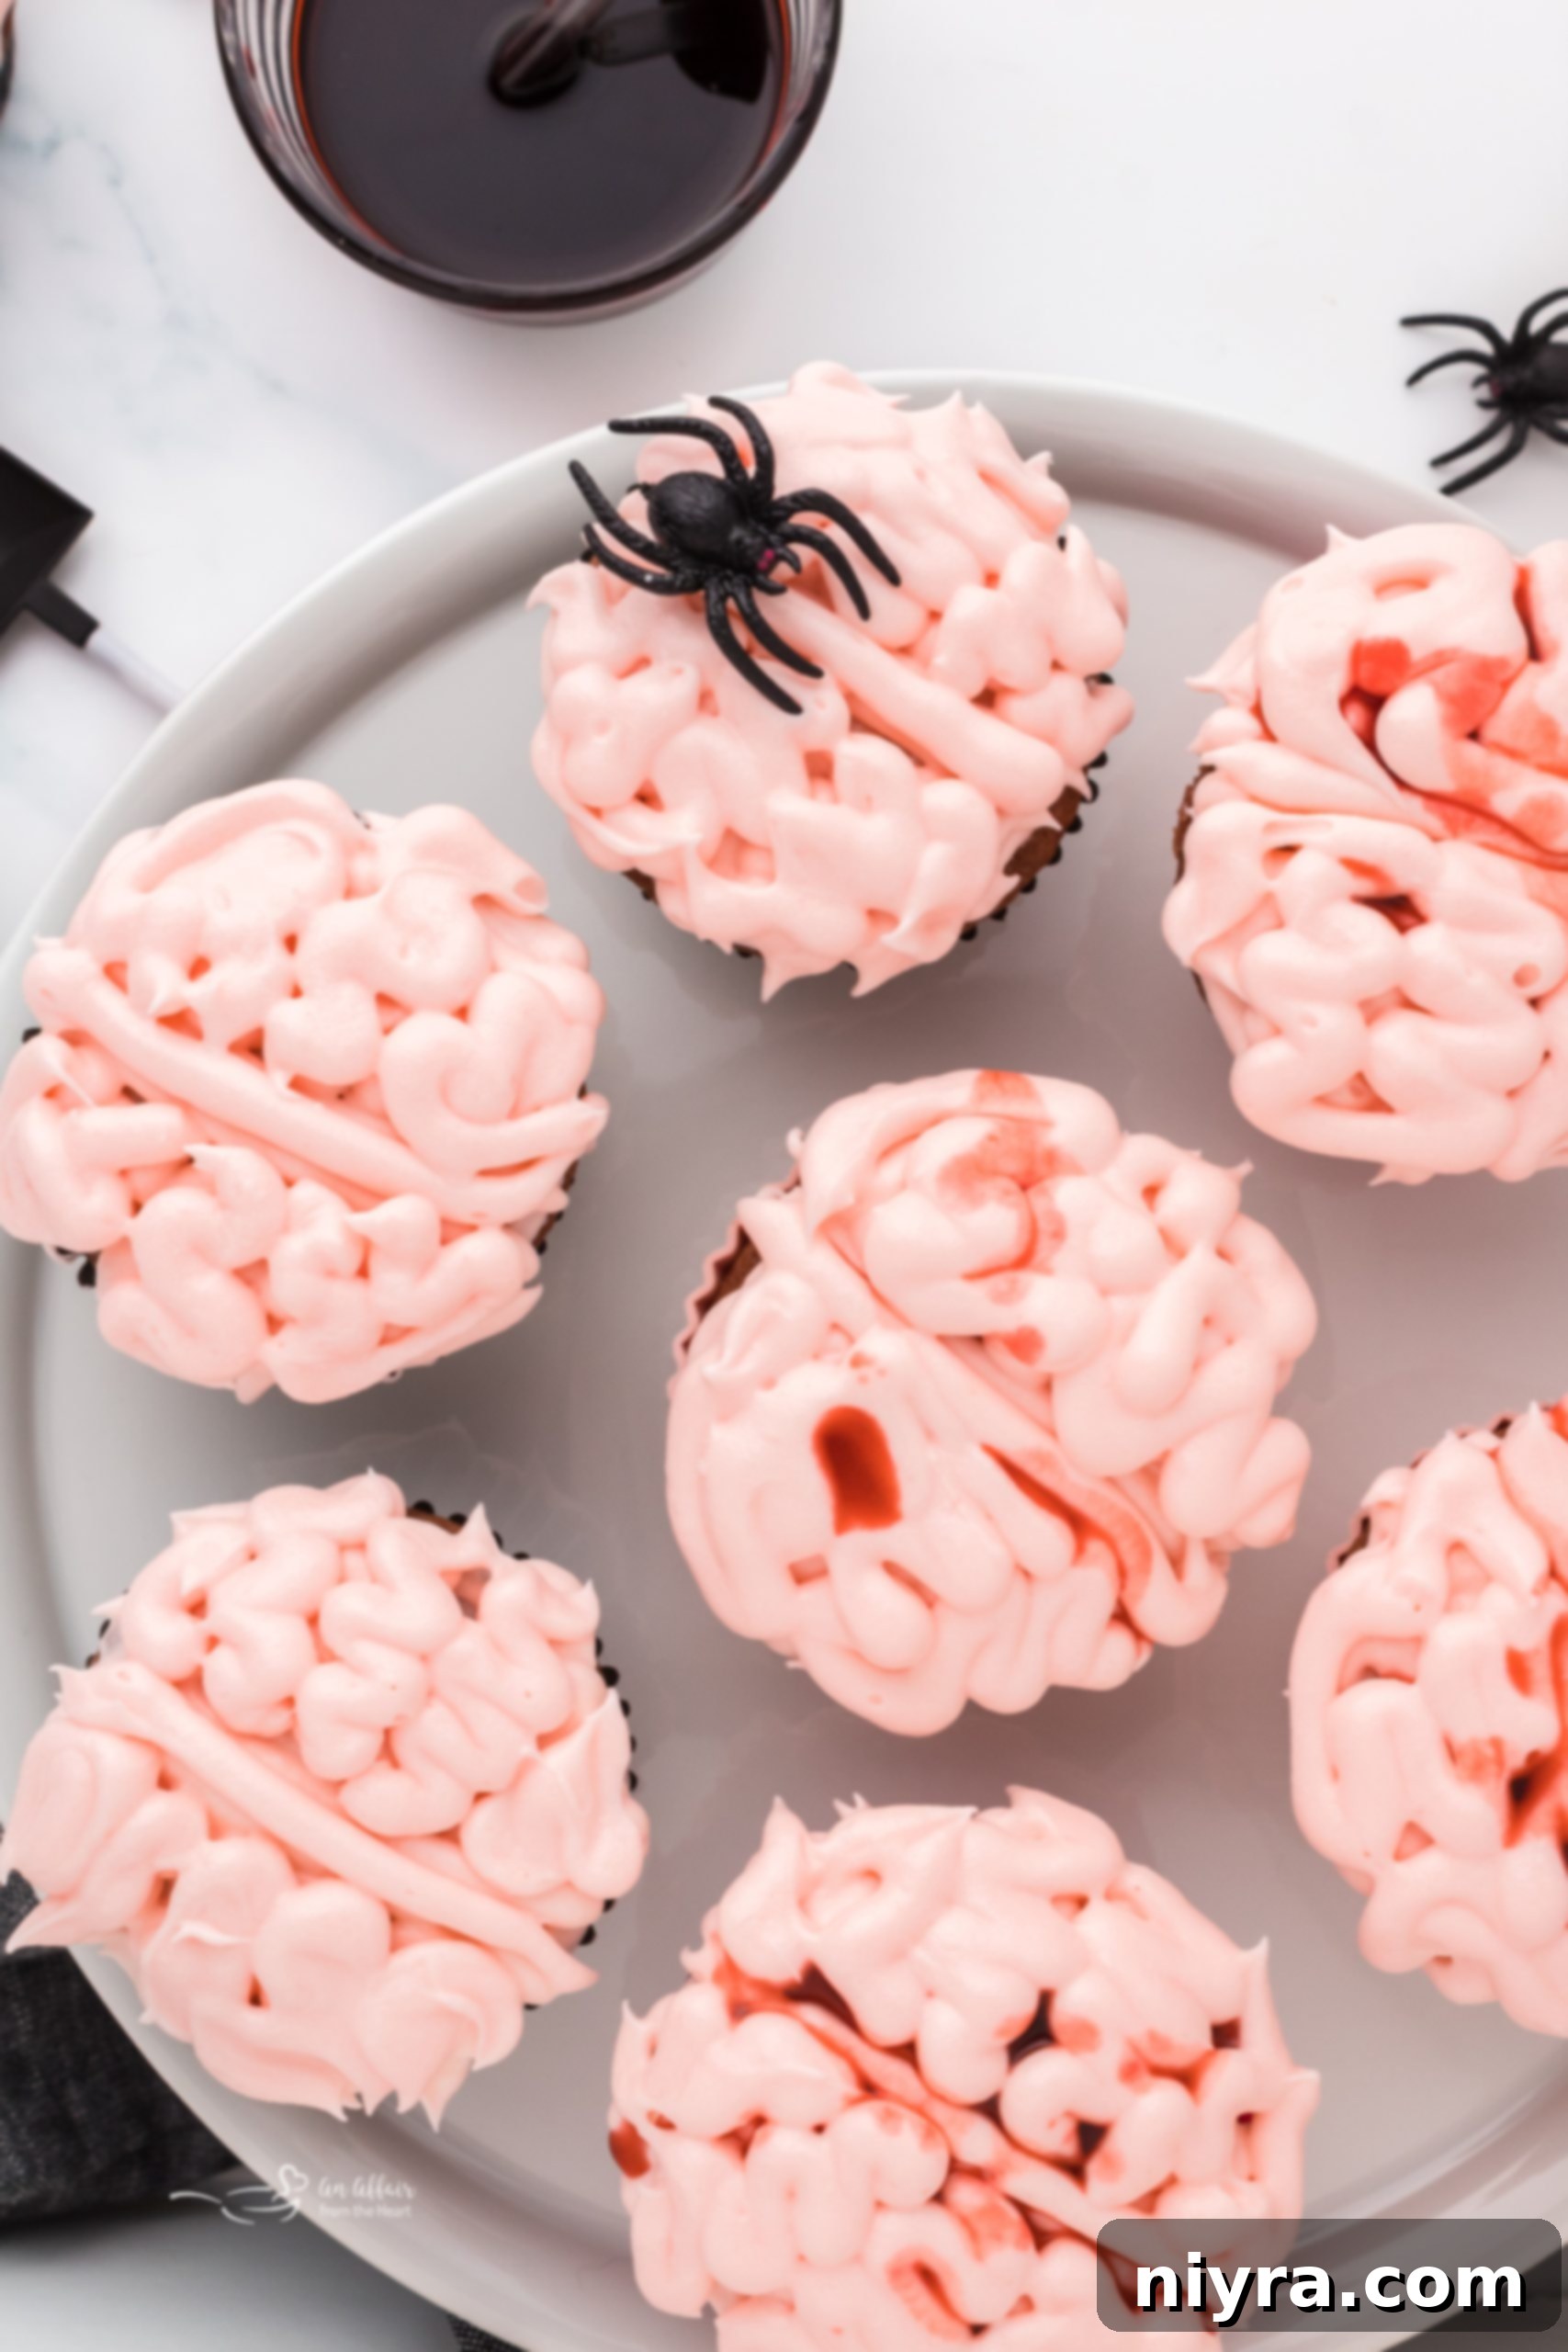
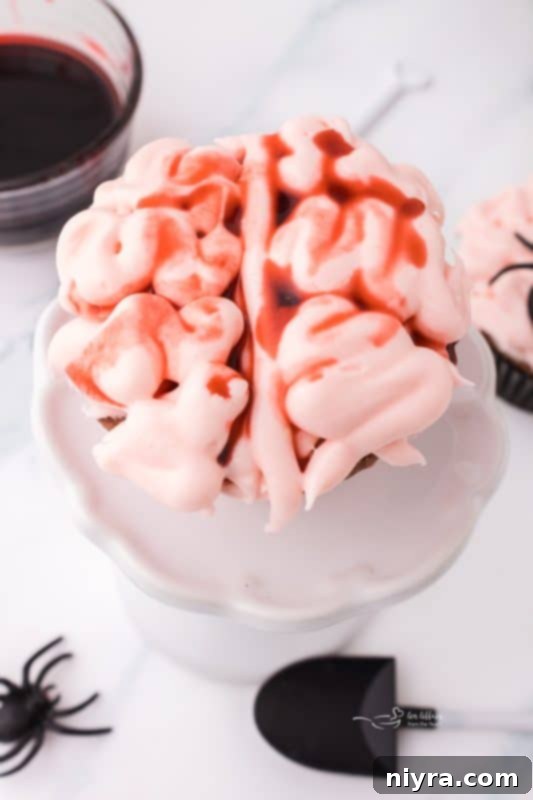
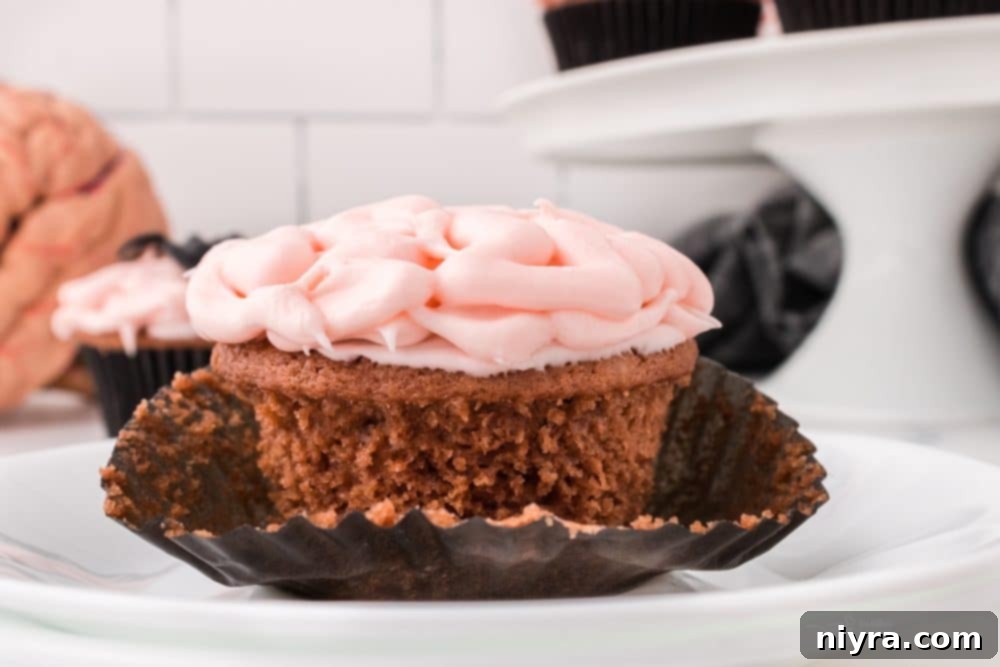
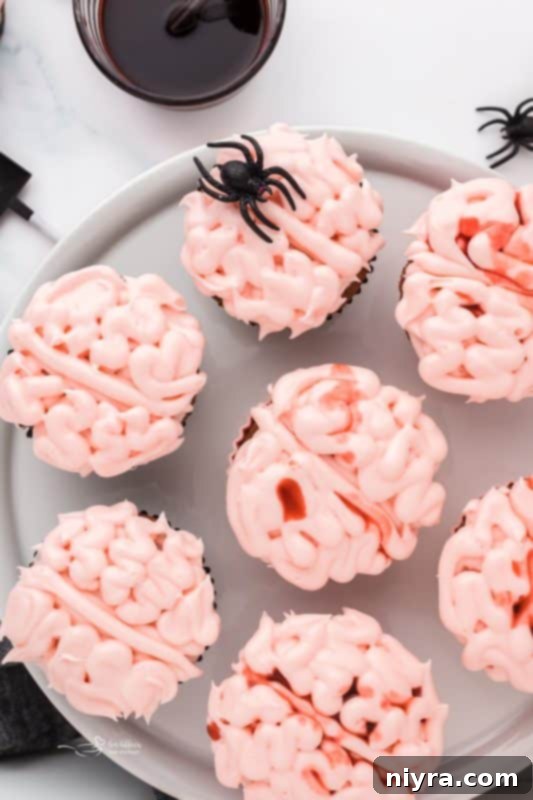
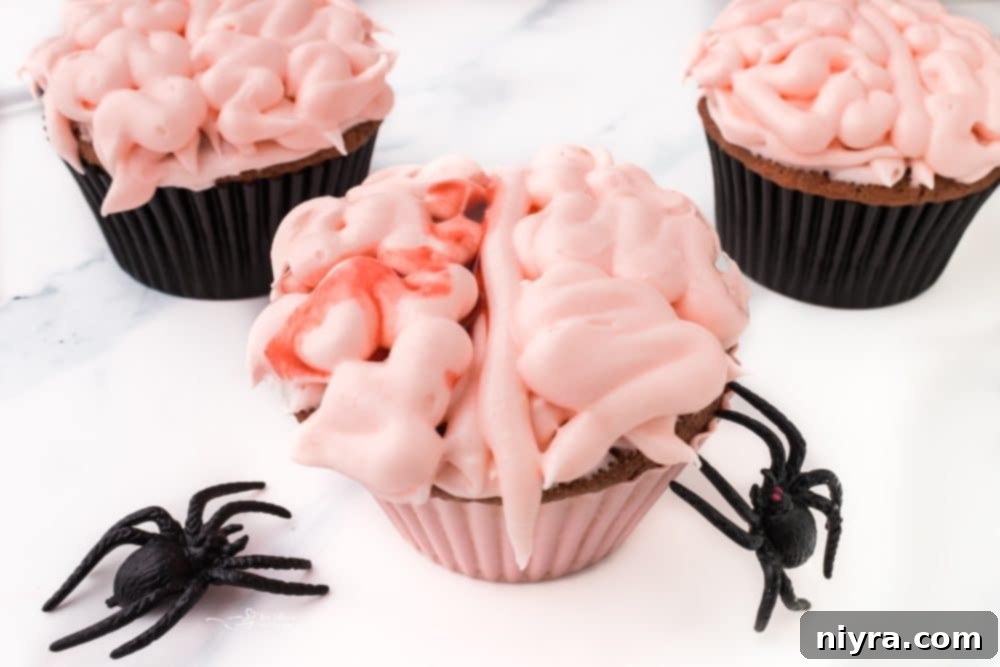
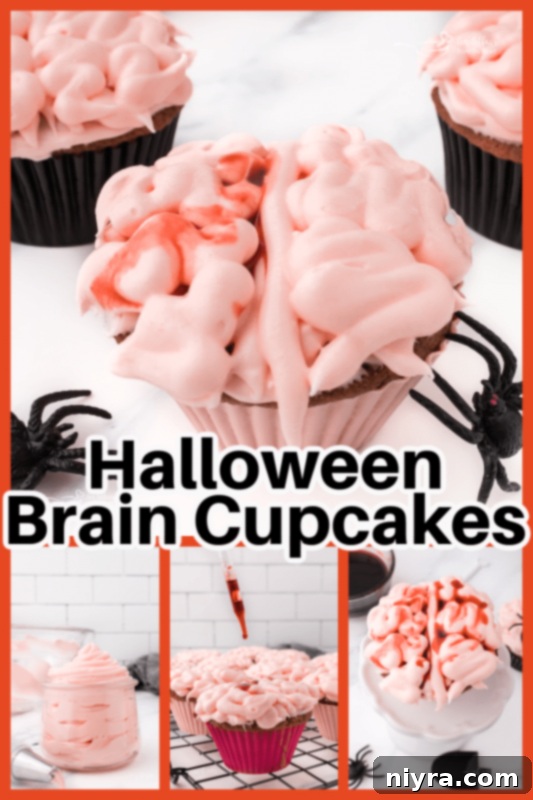
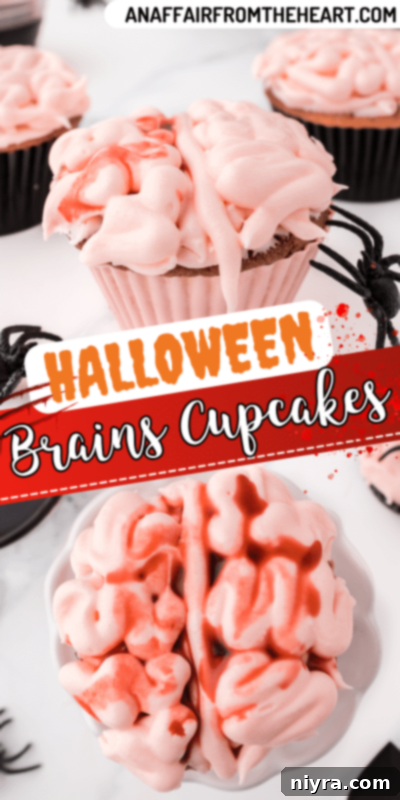
Prepare for a truly spine-chilling and delectable Halloween experience with these incredible **Halloween Brain Cupcakes**! Imagine moist, rich chocolate cupcakes crowned with a vibrant pink cream cheese frosting, intricately piped to resemble a brain, and then dramatically drizzled with edible blood. These aren’t just any cupcakes; they’re the ultimate fun and spooky dessert designed to thrill all your guests and little monsters this Halloween season.
Halloween is almost here, and we’re embracing all things eerie and delicious! For years, I’ve had the pleasure of participating in #HalloweenTreatsWeek, a fantastic annual event where a community of passionate food bloggers shares their most creative and delicious recipes for the spooky season. If you’re searching for unique and exciting Halloween party food ideas, make sure to follow along and discover a treasure trove of inspiration!
Why These Spooky Brain Cupcakes Are a Must-Make This Halloween
There’s something uniquely satisfying about serving up a treat that’s both visually startling and incredibly delicious for Halloween. These brain cupcakes tick both boxes perfectly! Imagine the delighted shrieks and wide-eyed wonder when kids (and adults!) are presented with a tray of these “bleeding” brain-inspired delights. They’re not just desserts; they’re conversation starters, edible art, and a fantastic way to fully immerse yourselves in the fun and fright of the season.
Whether you’re hosting a elaborate Halloween bash, looking for a show-stopping potluck contribution, or simply want to surprise your family with a ghoulishly good snack while handing out candy, these zombie brain cupcakes are guaranteed to be a hit. The combination of rich chocolate, tangy cream cheese frosting, and the theatrical edible blood creates an unforgettable experience that will leave everyone craving for more… brains, that is!
Effortless Halloween Dessert Planning
Planning Halloween treats doesn’t have to be complicated. While this recipe provides detailed instructions for baking the chocolate cupcakes from scratch, you have the flexibility to simplify the process. Feel free to use your favorite store-bought chocolate cupcakes or a convenient box mix as your base. The real magic happens with the vibrant pink cream cheese frosting and the eerie edible blood, and we’ll guide you through those decorating steps no matter how you get your cupcakes. This versatility ensures that even busy ghouls and goblins can whip up these impressive treats!
If you find yourself enchanted by the charm of these brain cupcakes, you’ll surely adore these other spooky recipes:
- Spider Cookies for Halloween
- Halloween Monster Burgers
- Halloween Trash Mix
Gather Your Ghoulish Ingredients for Halloween Cupcakes
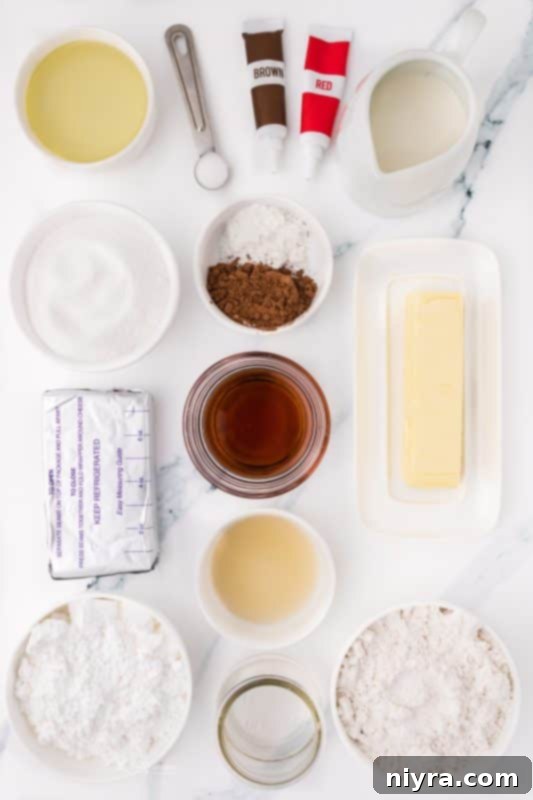
Crafting these delightfully gruesome Halloween brain cupcakes requires a few key components for the cupcakes, the creamy frosting, and the spooky edible blood. You’ll find a complete, printable recipe card with exact measurements at the very bottom of this post. But first, let’s explore the essential ingredients and why they’re perfect for creating this unique Halloween dessert.
For the Moist Chocolate Cupcakes:
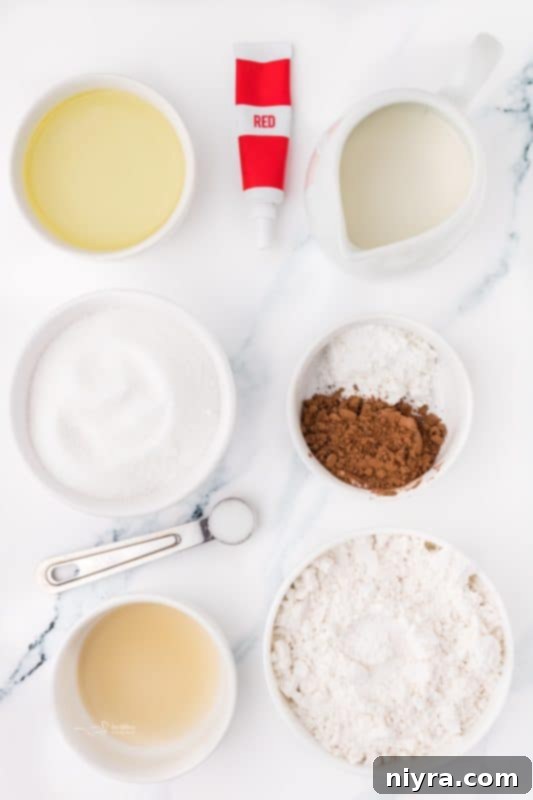
- Milk: Any type of milk works here; I personally used skim milk, but whole milk will add an even richer texture.
- Apple Cider Vinegar: This is a secret ingredient to create a homemade buttermilk substitute when combined with milk, adding tenderness and a subtle tang to the cupcakes. Lemon juice can also be used.
- All-Purpose Flour: The foundation of our cupcakes, providing structure and texture. Ensure it’s measured correctly for the best results.
- Granulated White Sugar: Sweetens the cupcakes, balancing the cocoa powder and contributing to their moistness.
- Unsweetened Cocoa Powder: Gives these cupcakes their deep, rich chocolate flavor, creating a perfect contrast with the creamy frosting.
- Baking Powder: A leavening agent that helps the cupcakes rise beautifully, ensuring a light and airy texture.
- Salt: A pinch of salt enhances all the other flavors, making the chocolate taste even richer and more pronounced.
- Vegetable Oil: Using oil instead of butter ensures a supremely moist crumb that stays fresh longer. Canola or grapeseed oil are also great mild-flavored alternatives.
- Red Food Coloring: A touch of red food dye gives these chocolate cupcakes a subtle hint of red, making them a unique blend between a traditional chocolate and a red velvet cake, perfect for that spooky “brain” effect. Adjust to your desired intensity!
For the Pink Cream Cheese Frosting:
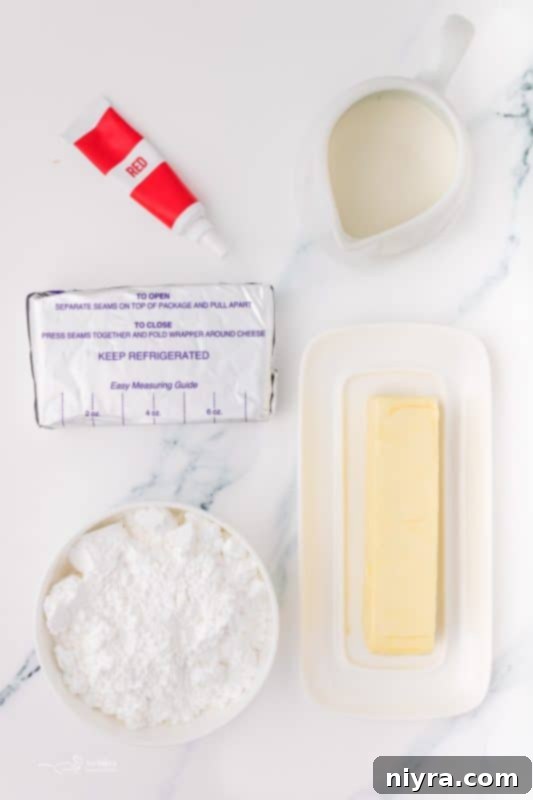
- Unsalted Butter: Softened to room temperature, butter provides richness and structure to the frosting. If using salted butter, simply omit the added salt.
- Full-Fat Cream Cheese: The star of this frosting, offering a delightful tang and creamy texture. Ensure it’s softened for a lump-free result.
- Powdered Sugar (Confectioner’s Sugar): This fine sugar sweetens the frosting and gives it its smooth, pipeable consistency.
- Red Food Coloring: Just a few drops will transform your frosting into the perfect ghastly pink hue, ideal for our brain design.
- Milk (Optional): A small amount of milk can be added to adjust the frosting’s consistency, thinning it slightly if needed for easier piping.
For the Edible Blood:

- Dark Corn Syrup: This is crucial for achieving the perfect thick, glossy, and realistic consistency of edible blood.
- Water: Used to thin the corn syrup slightly, allowing the blood to “drip” convincingly without being too watery.
- Brown and Red Food Coloring: A combination of these two dyes is essential to create a deep, realistic bloody color. Pure red can sometimes look too bright, so a touch of brown adds depth.
How to Create Gruesome Zombie Brain Cupcakes: A Step-by-Step Guide
While crafting this spine-chilling Halloween dessert involves a few distinct stages, rest assured that each step is straightforward and the final result is absolutely worth every bit of effort. Follow these instructions to bring your zombie brain cupcakes to life!
- Prepare for Baking: Begin by preheating your oven to 350°F (175°C). Line a standard muffin tin with festive Halloween cupcake liners, or place silicone cupcake cups on a baking sheet.
- Whip Up Homemade Buttermilk: In a small bowl or measuring cup, combine the milk and apple cider vinegar. Stir gently and let it sit for about 5 minutes. The milk will curdle slightly, forming a quick and effective buttermilk substitute that adds amazing tenderness to your cupcakes. (Lemon juice works just as well for this!)
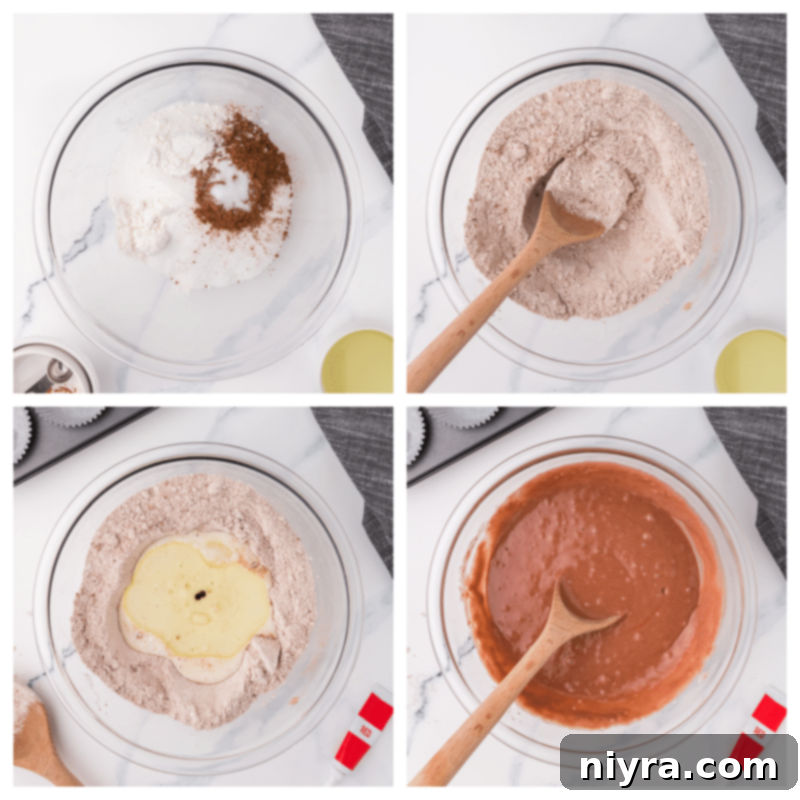
- Combine Dry Ingredients: In a large mixing bowl, whisk together the flour, white sugar, cocoa powder, baking powder, and salt until thoroughly combined. This ensures all leavening agents and flavorings are evenly distributed.
- Introduce Wet Ingredients: Create a shallow well in the center of your dry ingredients. Pour in the prepared buttermilk mixture, vegetable oil, and red food coloring. Stir everything together just until combined. Be careful not to overmix; a few lumps are perfectly fine and help keep the cupcakes tender.
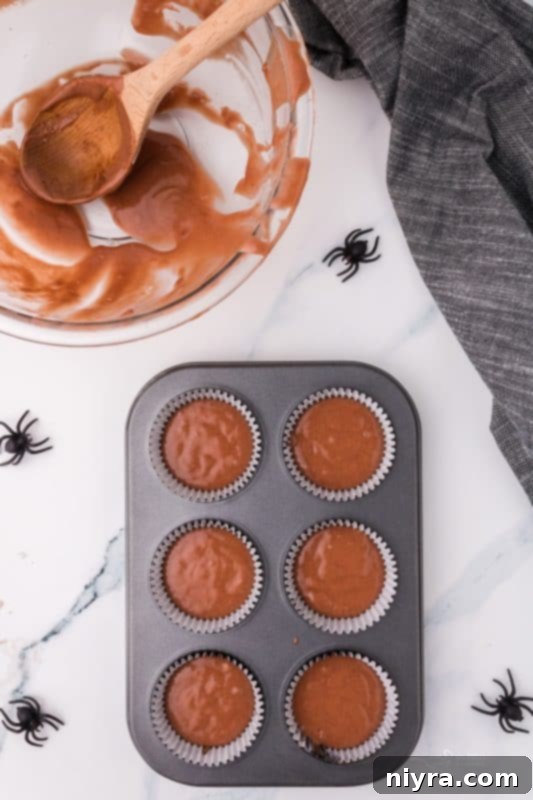
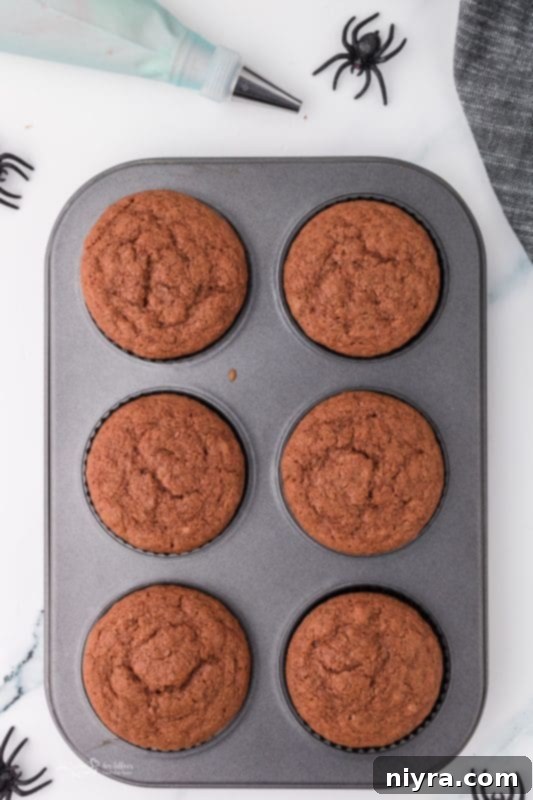
- Fill and Bake: Divide the cupcake batter evenly among your prepared liners, filling each about two-thirds of the way full. This allows for proper rising without overflowing. Bake for approximately 20 minutes, or until a toothpick inserted into the center of a cupcake comes out clean.
- Cool Completely: Once baked, remove the cupcakes from the oven and let them cool in the muffin tin for a few minutes before transferring them to a wire rack. It’s crucial that the cupcakes are completely cool before frosting to prevent the frosting from melting.
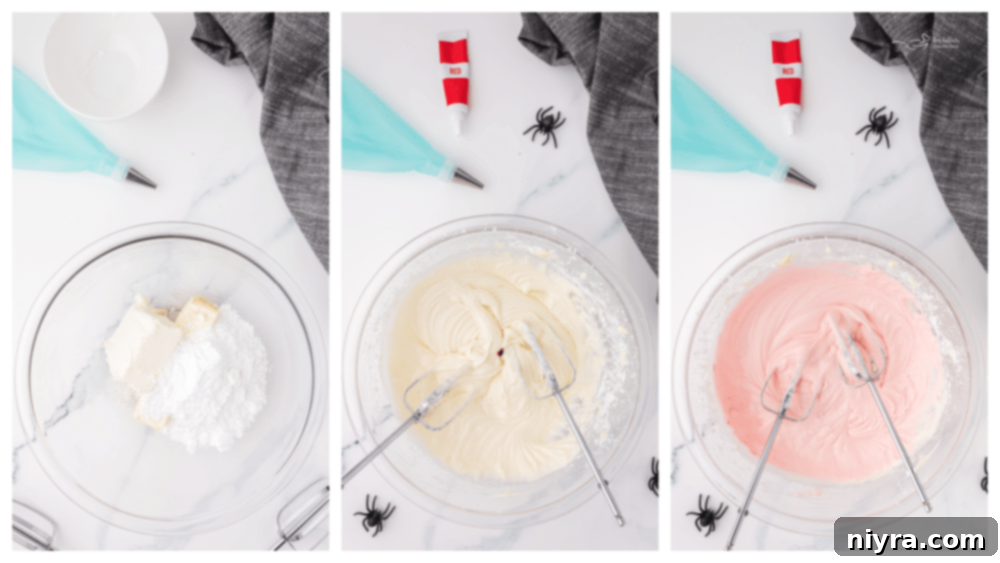
- Prepare the Pink Cream Cheese Frosting: In a large bowl, using a hand mixer, stand mixer, or any electric mixer, beat together the softened butter, cream cheese, and powdered sugar until smooth and creamy. Add a few drops of red food coloring until you achieve your desired pink “brain” color. If the frosting is too thick, add milk a teaspoon at a time until it reaches a pipeable consistency.
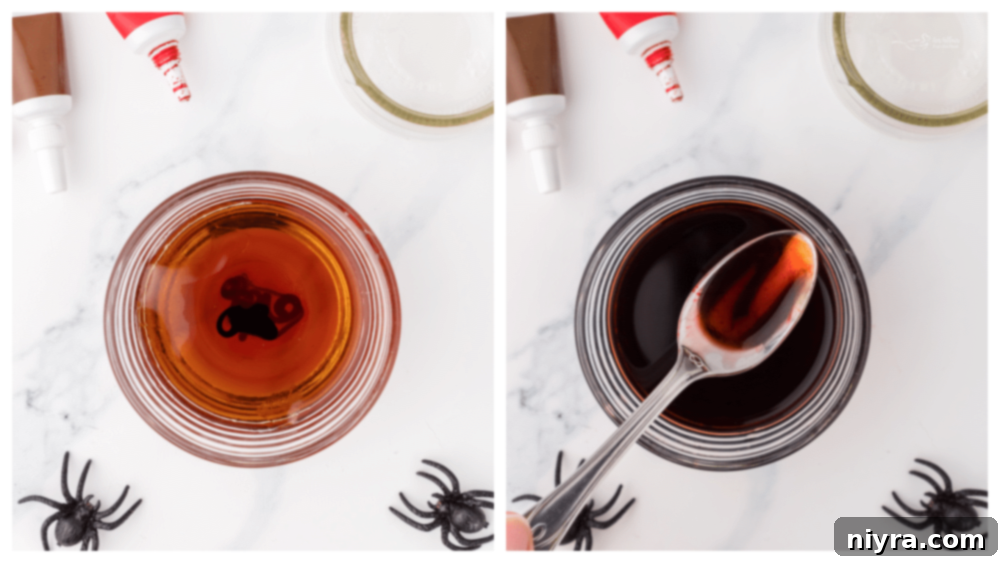
- Craft the Edible Blood: In a small bowl, whisk together the dark corn syrup, water, and enough red and brown food coloring to create a deep, realistic bloody hue. You can aim for a brownish-pink as seen in some photos, or a more vivid red by adding a bit more red food dye. Start with a few drops and add more gradually to achieve your desired shade.
- Frost the Brains: Once the cupcakes are completely cool, it’s time for the artistic part! Spread a thin, even layer of pink cream cheese frosting over the top of each cupcake. This acts as a base. Then, using a small round piping tip (like Wilton 3 or 4), draw two parallel straight lines down the middle of each cupcake. Next, pipe multiple squiggly lines on both sides of these central lines, creating the distinct folds and ridges of a brain. For an even more realistic, raised effect, allow this first layer of frosting to set in the fridge for 10-15 minutes, then trace over your lines and squiggles with a second layer of frosting.
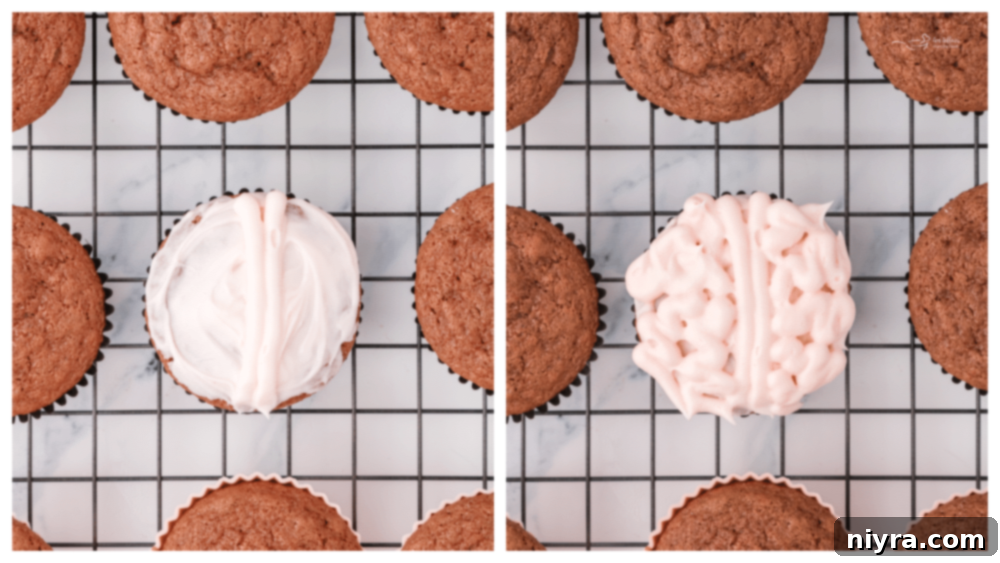

- Drizzle with Edible Blood: Finally, using a spoon or a medicine dropper (for precision, as shown in the photos), carefully add drops of your edible blood mixture over the top of each “brain.” Let it drip down the sides for a truly gruesome and realistic effect. Now, it’s time to “dig in” and devour them like a hungry zombie would!
Storage Tips for Your Spooky Cupcakes:
These delightful brain cupcakes can be stored in the refrigerator for up to 2-3 days. For best freshness, keep them in an airtight container. If you’re only storing them overnight, they will be fine uncovered as long as the cupcake portion is fully protected by its wrapper and the frosting. Always ensure they are away from any strong-smelling foods in the fridge.
Don’t Lose This Recipe! Pin it for Later!
If you’re as thrilled about these Halloween brain cupcakes as we are, make sure you don’t forget this fantastic recipe! Pin it to your favorite Halloween or dessert Pinterest board before you go, so you can easily find it when you’re ready to start baking.
Frequently Asked Questions About These Halloween Brain Cupcakes
Can I scale this recipe to make more or less edible blood? Yes, the cupcake and frosting recipes can be easily doubled or halved with proportional results. However, this edible blood recipe is specifically designed to create a small batch, perfect for drizzling over cupcakes or similar small treats. While you can try to multiply it, the consistency might vary if attempting to create very large quantities.
Are these cupcakes purely chocolate or more like red velvet? These cupcakes strike a delightful balance! They offer a distinct chocolate taste with a subtle hint of red, placing them beautifully between a classic chocolate and a red velvet. If you prefer a more pronounced red hue, feel free to add up to a full teaspoon of red food coloring to the batter.
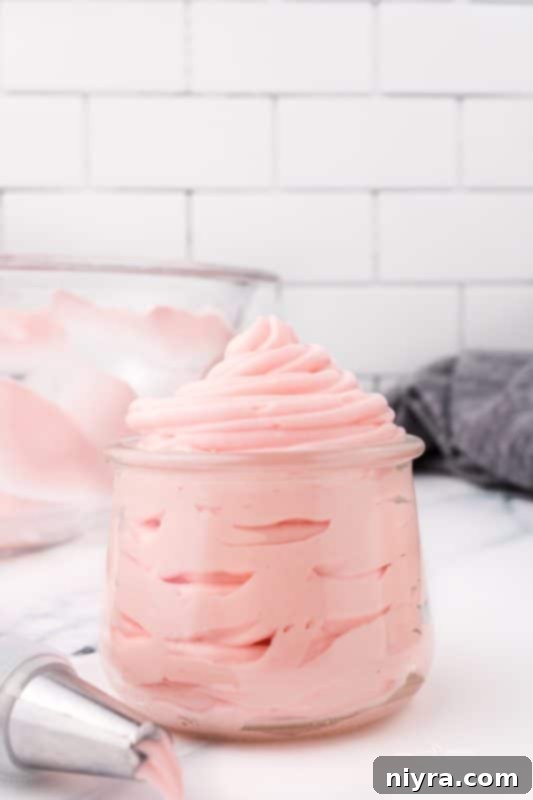
Questions Specifically About the Frosting for These Spooky Cupcakes:
- What’s the best way to pipe brain designs on cupcakes? Start by applying a very thin, even layer of pink frosting over the entire top of the cooled cupcake. Next, using a medium round piping tip (such as Wilton 3 or 4), pipe two straight lines closely together down the center of the cupcake. Then, pipe multiple squiggly lines outwards from these central lines, or in various directions on both sides, to mimic the folds of a brain. For a more defined, three-dimensional effect, allow the first layer of piped frosting to chill in the refrigerator for 10-15 minutes, then repeat the piping over the existing lines to add height and definition.
- My frosting is too soft to pipe; what should I do? If your cream cheese frosting becomes too warm or soft while working with it, simply place the entire bowl of frosting (or your piping bag) into the refrigerator for 30 to 60 minutes. This will firm it up to a perfect consistency for piping.
- How can I enhance the flavor of my cream cheese frosting? To give your cream cheese frosting an extra flavor boost, try adding a teaspoon of pure vanilla extract for a classic touch, or a tablespoon of cocoa powder for a subtle chocolate-cream cheese blend. Incorporating food coloring, like the red for our “brains,” also makes it visually appealing and perfect for themed desserts.
- What’s the difference between cream cheese frosting and cream cheese icing? Generally, cream cheese frosting is thicker and uses more powdered sugar relative to milk, making it ideal for piping and holding its shape. Cream cheese icing, on the other hand, is typically thinner and more “liquidy” with less powdered sugar and more milk, designed for glazing or drizzling.
- How does buttercream compare to cream cheese frosting? Both are incredibly delicious and popular frosting choices. Buttercream is typically sweeter and made primarily from butter and powdered sugar. Cream cheese frosting, while also sweet, offers a delightful tangy note from the cream cheese, which provides a lovely contrast to sweet cakes.
- What if my frosting isn’t holding its shape during piping? If you find your frosting isn’t stable enough to maintain the intricate brain design, you have two primary solutions. First, try refrigerating the frosting for 30-60 minutes to allow the butter and cream cheese to firm up. If it’s still too soft, gradually add more powdered sugar, a quarter cup at a time, beating after each addition until the desired stability is achieved.

Questions Specifically About the Edible Blood Used on These Fun Brain Cupcakes:
- Is edible blood a mandatory ingredient for this recipe? Absolutely not! While the edible blood adds a fantastic, gruesome touch that truly completes the “brain” effect, you can certainly leave it off if it doesn’t appeal to you or your guests. The pink frosted cupcakes are still wonderfully spooky on their own.
- What are the main components for making edible fake blood? To create realistic and edible fake blood, the key ingredients are dark corn syrup for consistency, water for thinning, and a strategic mix of red and brown food coloring to achieve that perfect, deep bloody hue.
- How long does this edible fake blood recipe last? This particular recipe for edible fake blood will last well in the refrigerator for at least 5-7 days when stored in an airtight container. Its simple ingredients ensure good stability.
- Which ingredient is most vital for realistic fake blood? Dark corn syrup is undeniably the most crucial ingredient. Its thick, viscous consistency is what makes the fake blood look and flow realistically, mimicking actual blood. The food dyes provide the color, and water helps in achieving the ideal “dripping” effect.
- Can I make homemade edible blood in different ways? Yes, there are various methods to make homemade edible blood, but this recipe offers one of the simplest and most effective. It’s as easy as combining the corn syrup, water, and food dyes in a small bowl until blended.
- How much edible blood does each cupcake require? Each cupcake generally needs about 5-6 milliliters of edible blood for a good visual effect. This doesn’t need to be exact; you can use a medicine dropper for precision, or simply drizzle it from a spoon. Rest assured, the amount of blood won’t deter any “zombies” from devouring these brainy treats!
Creative Substitutions to Customize Your Spooky Brain Cupcakes
One of the best parts about baking is the freedom to get creative and adapt recipes to suit your unique taste, dietary preferences, or simply what you have on hand. Don’t be afraid to make these Halloween Brain Cupcakes truly your own with these smart substitutions:
Blood Alternatives: If the idea of edible blood isn’t quite appealing, you can achieve a similar “bloody” effect with a dollop of raspberry or strawberry jam. Its vibrant red color and fruitiness make for a delicious and less ghoulish alternative.
Frosting Choices: While our pink cream cheese frosting is fantastic, feel free to substitute it with your favorite vanilla buttercream frosting. Just remember to add red food coloring to achieve that distinct “brain” hue.
Cupcake Base Swap: Not a fan of chocolate? Replace these dark chocolate cupcakes with your preferred vanilla cupcake recipe. And remember, if you’re short on time, using quality store-bought cupcakes is a perfectly acceptable shortcut!
Pre-Made Frosting: If making frosting from scratch seems like an extra step you’d rather skip, grab a can of your favorite vanilla frosting from the store. Simply mix in your red food coloring to transform it into the perfect pink brain base.
Top Tips & Tricks for Perfect Halloween Brain Cupcakes
Elevate your Halloween baking game with these simple yet effective tips and tricks:
Flavor Boost: For an extra layer of sweetness and depth, consider adding half a teaspoon of vanilla extract to your chocolate cupcake batter. It enhances the chocolate flavor beautifully.
Spooky Toppers: Beyond the “brain” design, amplify the Halloween theme by adding fun cupcake toppers like plastic spiders, gummy worms, or tiny candy eyeballs. These add an extra element of surprise and creepiness!
Festive Liners: Invest in some fun, spooky Halloween-themed muffin liners. They instantly add to the overall presentation, even before the frosting and blood go on!
Consistent Piping: If you’re new to piping, practice on a piece of parchment paper first. You can scrape the frosting back into the bag and reuse it until you get the hang of the brain design.
Temperature is Key: Ensure your butter and cream cheese are truly softened for the frosting, but not melted. This makes for a smooth, lump-free frosting that pipes beautifully. If it gets too warm, chill it briefly.
More Hauntingly Delicious Halloween Recipes to Love
If you’re anything like us, you believe Halloween is the perfect excuse for creative and themed food! I’ve curated a collection of fun and festive recipes to make your Halloween celebrations truly special:
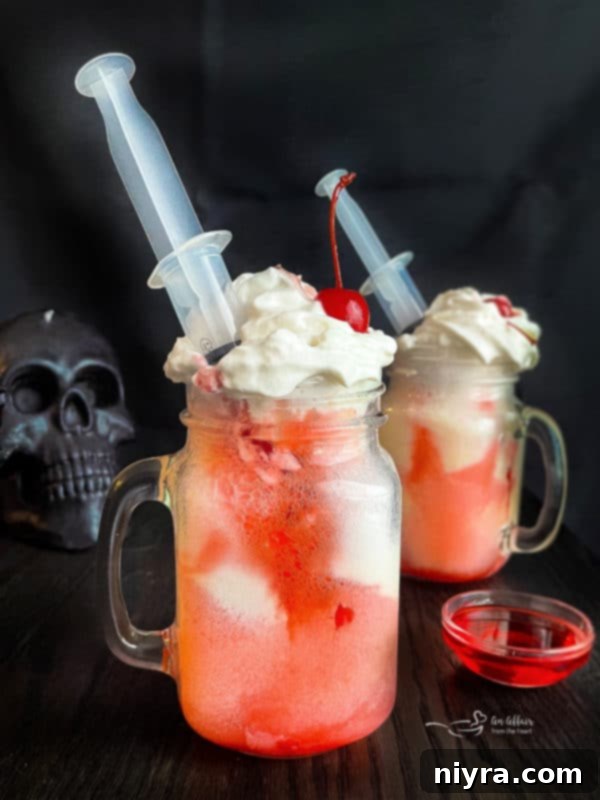
- Bloody Dirty Shirley Floats (pictured above)
- Ghostly Pop Tarts
- Rolo Pretzel Eyeballs
- Homemade Caramel Apples
- Spiderweb Ice Cream Pie
- Halloween Snack Board
See ALL of my Halloween Recipes for even more spooky inspiration!

These Halloween brain cupcakes are more than just a dessert; they’re a centerpiece for your spooky festivities. Their impressive appearance and delicious flavor make them an unforgettable treat for any Halloween gathering. So go ahead, bake a batch today, and watch these ghoulishly good creations disappear!

LIKE THIS RECIPE?
Don’t forget to give it a ⭐️⭐️⭐️⭐️⭐️ star rating and
leave a comment below the recipe!

Print Recipe
Halloween Brain Cupcakes
Equipment
- Rubber Spatulas
- Kitchenaid Stand Mixer
- KitchenAid Hand Mixer
- Piping Bags and Tips set
- Wilton Perfect Results Premium Non-Stick Bakeware Muffin Pan & Cupcake Pan, 12-Cup, Steel
- Eoonfirst Standard Size Baking Cups Food-Grade Greaseproof Paper Cupcake Liners 200 Pcs (Natural)
- Wilton Cupcake Decorating Icing Tips, 12-Piece Set
Ingredients
- For the Cupcakes
- 1 cup Milk
- 1 tablespoon Apple Cider Vinegar
- 1 ½ cups Flour
- ¾ cup White Sugar
- 2 tablespoons Cocoa Powder
- 1 tablespoon Baking Powder
- ½ teaspoon Salt
- ½ cup Vegetable Oil
- 2 drops – 1 teaspoon Red Food Coloring
- For the Cream Cheese Frosting
- ½ cup Butter softened
- ½ cup Cream Cheese
- 3 cups Powdered Sugar
- 1-3 drops Red Food Coloring
- Optional- 1 teaspoon Milk
- For the Edible Blood
- ¼ cup Dark Corn Syrup
- 2 tablespoon Water
- Brown Food Coloring
- Red Food Coloring
Instructions
- Preheat the oven to 350℉ and set up your muffin tin with liners, or silicone cups on a baking sheet.
- Prepare the cupcakes: Make ‘buttermilk’ by mixing the apple cider vinegar in with the milk.
- Mix together all dry ingredients for the cupcakes. Make a well in the middle of the dry ingredients and pour in all of the wet ingredients, including the dye. Stir well.
- Fill your liners ⅔ of the way up with the batter and bake for 20 minutes.
- Prepare the frosting: Make the cream cheese icing by using a hand mixer, or stand mixer, and mixing together all of the ingredients for the frosting.
- Prepare the Edible Blood: Make the edible blood by mixing together the corn syrup, water, and enough drops of red and brown food dye to make a bloody color.
- When the cupcakes are done baking, allow them to cook completely and then frost.
- Frost the cupcakes by spreading a thin layer over the top, then using a round piping tip draw two lines down the middle and multiple squiggly lines on both sides. For added effect, allow these to harden slightly in the fridge and then trace over the frosting with a second layer of lines and squiggles.
- Add drops of the ‘blood’ to the top of each brain and ‘dig in’! Or devour it like a zombie would!
Notes
These keep well in the fridge for up to 2-3 days. Preferably in an airtight container, however, they will last well overnight not in a container as long as the cupcake portion is completely covered with a wrapper and frosting.
Nutrition
HAPPY HALLOWEEN!!! Welcome to 2023’s #HalloweenTreatsWeek event!
If you’re new here, welcome to the fun! For our returning ghoul-friends, welcome back to the most spooktacular event of the season!
#HalloweenTreatsWeek is an eagerly anticipated annual Halloween blogging event, proudly hosted by Angie from Big Bear’s Wife. This lively, week-long online celebration brings together an array of talented food bloggers who passionately share their most creative, yummy, and frightfully fun Halloween treats and recipes. It’s the perfect destination for anyone looking to add a dash of delicious horror to their holiday!
For this year’s 6th annual #HalloweenTreatsWeek, we are thrilled to feature 18 hauntingly talented bloggers who are eager to share their favorite Halloween-inspired culinary creations throughout the entire week! Make sure to follow the hashtag #HalloweenTreatsWeek across all social media platforms to effortlessly collect all these amazing, frightful recipes. They are perfect for inspiring your own Halloween parties, gatherings, and events, ensuring your celebration is both tasty and terrifying!
Don’t miss out! Be sure to check out all the wonderfully fun Halloween recipes we’re sharing this week:
- Evil Dragon Deviled Eggs from Big Bear’s Wife
- Chocolate Cherry Skull Cakes from Semi-Homemade Recipes
- Witch Hat Garlic Bread from Cheese Curd In Paradise
- Candy Corn Cookie Cake from The Spiffy Cookie
- Wicked Good Apple Cider Muffins from Our Good Life
- Spooky Spider Decadent Cupcakesfrom For the Love of Food
- Monster Mash Cereal Cheesecake from Sweet ReciPEAs
- Pumpkin Cheesecake Bitesfrom It’s Shanaka
- Halloween Brains Cupcakes from An Affair from the Heart
- Breadstick Snakesfrom Karen’s Kitchen Stories
- Jack O’Lantern Tostadas from Palatable Pastime
- Witches Broom Cookies from Best Cookie Recipes
- Baked Intestine Pie from A Kitchen Hoor’s Adventures
- Spooky Roasted Potato Skulls from Savory Moments
- Mummy Donuts from The Redhead Baker
- Caramel Apple Barkfrom Best Dessert Recipes
- Mummy Dogsfrom Savory Experiments
- Halloween Taco Dip from Jen Around the World
- Easy Spider Cupcakes from Hezzi-D’s Recipe Box
- Creamy Pumpkin Hummus from Jolene’s Recipe Journal
