Indulge in a delightful and wholesome treat with our creamy, guilt-free Peanut Butter Banana Ice Cream, affectionately known as “Nice Cream.” This incredibly simple recipe combines the natural sweetness of frozen bananas with the rich flavor of peanut butter to create a dessert that’s both satisfying and surprisingly healthy. Forget the need for heavy cream, added sugars, or even an ice cream maker – with just a few basic ingredients and a blender, you can whip up this low-fat, dairy-free friendly masterpiece in minutes. It’s the perfect solution for satisfying your sweet cravings without compromising your wellness goals.
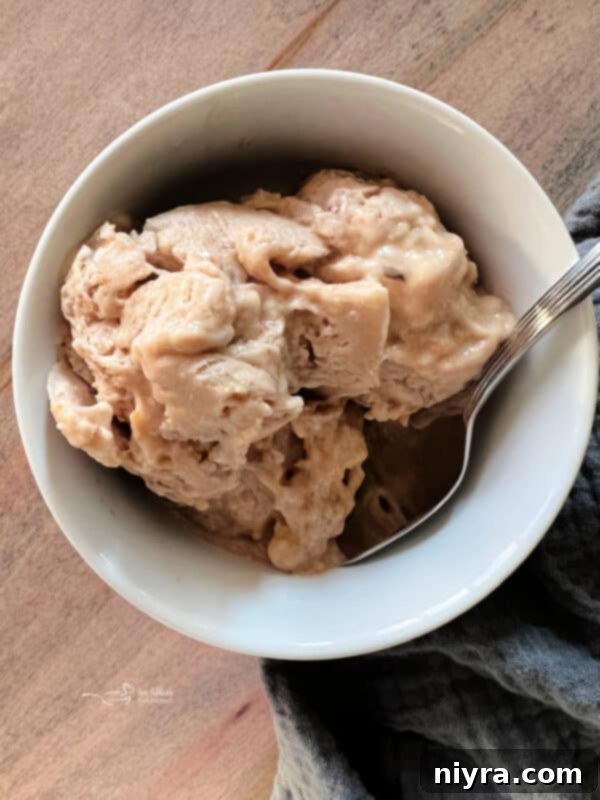
What is Nice Cream? Your Guide to a Healthier Frozen Treat
Nice cream is a fantastic, healthier alternative to traditional ice cream, primarily made from frozen fruit. The magic lies in the frozen bananas, which, when blended, transform into a remarkably smooth, creamy, and soft-serve-like texture. Unlike conventional ice cream, nice cream typically contains no dairy, refined sugar, or artificial ingredients, making it an excellent choice for those looking for a plant-based, low-fat, or gluten-free dessert option. It’s also incredibly versatile, serving as a blank canvas for a myriad of flavor combinations, but none are quite as iconic and beloved as peanut butter and banana.
For this particular Peanut Butter Banana Nice Cream recipe, frozen ripe bananas form the sweet and creamy base, effectively replacing heavier ingredients like whipping cream or full-fat dairy. While ripe bananas offer plenty of natural sweetness, a touch of vanilla and a hint of powdered sugar can be added to elevate the flavor to your personal preference. The beauty of nice cream is its adaptability; you are in complete control of the sweetness and texture, ensuring every scoop is exactly to your liking.
Why Peanut Butter and Banana? A Classic Combination
The pairing of bananas and peanut butter is a culinary match made in heaven, a flavor duo that has captured hearts for generations. For many, this combination evokes nostalgic memories of childhood peanut butter and banana sandwiches – a simple, yet profoundly satisfying snack. This enduring popularity stems from the perfect balance they strike: the creamy, slightly savory notes of peanut butter beautifully complement the inherent sweetness and distinct flavor of banana. When transformed into a frozen dessert, this classic duo creates an unbelievably rich, satisfying, and comforting experience that feels both indulgent and wonderfully wholesome. If you cherish this timeless combination, you’re sure to fall in love with this easy Peanut Butter Banana Ice Cream recipe.
If you’re already a fan of this delightful frozen banana treat, you might also enjoy exploring other homemade ice cream creations. While traditional ice cream often calls for an ice cream maker, the world of frozen desserts offers endless possibilities. For those who appreciate the ease of no-churn options, this banana nice cream is just the beginning!
Ingredients for Your Delicious Banana Nice Cream Recipe
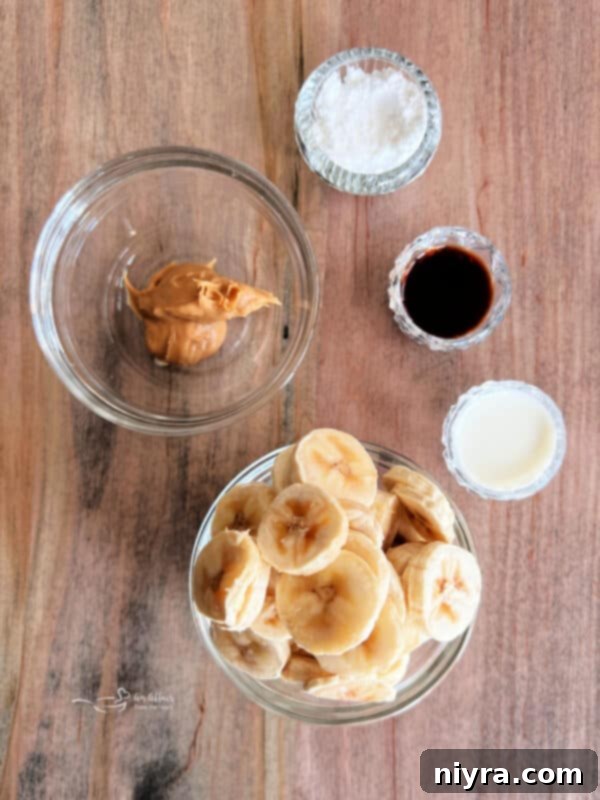
Crafting this incredible Peanut Butter Banana Nice Cream requires only a handful of readily available ingredients. The key is selecting the right quality to ensure the best flavor and texture for your homemade healthy ice cream. Here’s a closer look at what you’ll need:
- Bananas: The star of our nice cream! Always opt for very ripe bananas, the kind with brown spots on their peels. These extra-ripe bananas are naturally sweeter and blend into a much creamier consistency, essential for achieving that perfect “ice cream” texture. You’ll need to slice them before freezing, which helps them blend more easily.
- Powdered Sugar: Also known as confectioner’s sugar, a small amount can enhance the sweetness without altering the texture. This ingredient is entirely optional and can be adjusted based on the ripeness of your bananas and your personal taste. You can easily taste-test the mixture before adding more. For a more unrefined sweetener, coconut sugar also works beautifully.
- Milk: A splash of milk helps to thin out the frozen bananas, making them easier to blend into a smooth, creamy texture. You can use any type of milk you prefer. Dairy milk works perfectly, but for a dairy-free or vegan ice cream, unsweetened almond milk, oat milk, or cashew milk are excellent plant-based alternatives. Just ensure they are unsweetened to control the overall sugar content.
- Vanilla Extract: Real vanilla extract adds a lovely depth of flavor that complements both the banana and peanut butter beautifully. A high-quality extract can make a noticeable difference in the final taste.
- Peanut Butter: This provides the signature rich, nutty flavor. For the healthiest option, choose natural peanut butter that contains only peanuts (and perhaps a touch of salt) with no added sugars or oils. Both chunky peanut butter for added texture and smooth peanut butter for a velvety finish work wonderfully in this recipe.
How to Make This Easy Frozen Banana Ice Cream Recipe
Creating this delicious Peanut Butter Banana Nice Cream is incredibly straightforward, requiring minimal effort and no specialized equipment. Follow these simple steps for a perfect frozen treat every time:
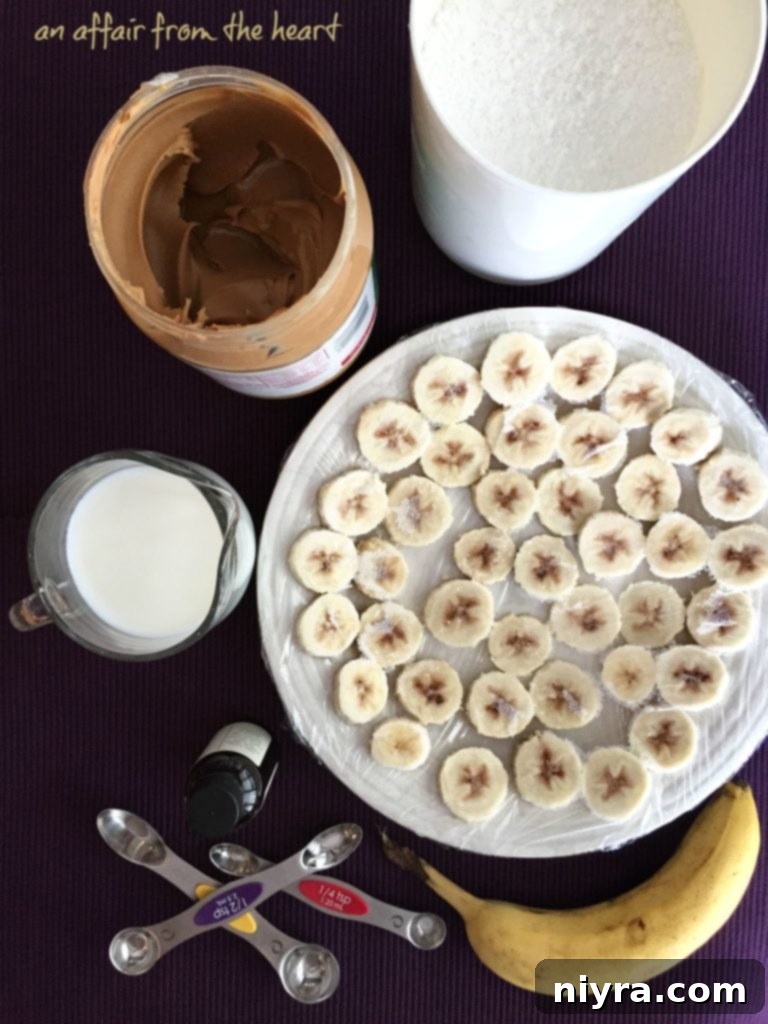
Step 1: Prepare and Freeze Your Bananas
The first crucial step for perfect nice cream is freezing your bananas correctly. Begin by peeling your very ripe bananas and cutting them into roughly 1-inch thick slices. Arrange these banana slices in a single layer on a plate or baking sheet lined with parchment paper. This prevents them from sticking together as they freeze. Cover the plate tightly with plastic wrap to prevent freezer burn and place it in the freezer for a minimum of 2 hours, or until the banana slices are completely solid. Freezing them individually ensures they blend smoothly and evenly.
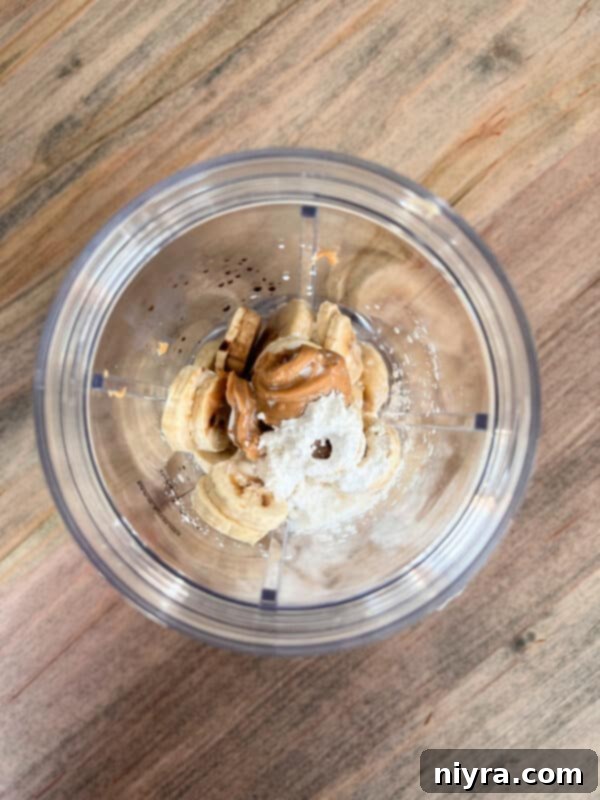
Step 2: Blend for Unbeatable Creaminess
Once your banana slices are rock-hard, transfer them from the freezer into a high-speed blender or a powerful food processor. Add your chosen milk (start with the smaller amount and add more if needed) and vanilla extract. Begin blending, starting on a low speed and gradually increasing. You might need to pause and scrape down the sides of the blender with a spatula several times to ensure all the banana gets incorporated. Continue blending until the mixture transforms into a wonderfully smooth, creamy, and soft-serve-like consistency. Patience is key here; it might look chunky at first, but it will eventually smooth out.
Step 3: Incorporate the Rich Peanut Butter
Now, add the peanut butter to your creamy banana base. Continue to blend for another minute or two, ensuring the peanut butter is fully incorporated and evenly distributed throughout the nice cream. The mixture should maintain its smooth and luxurious texture, with the nutty flavor beautifully infused.
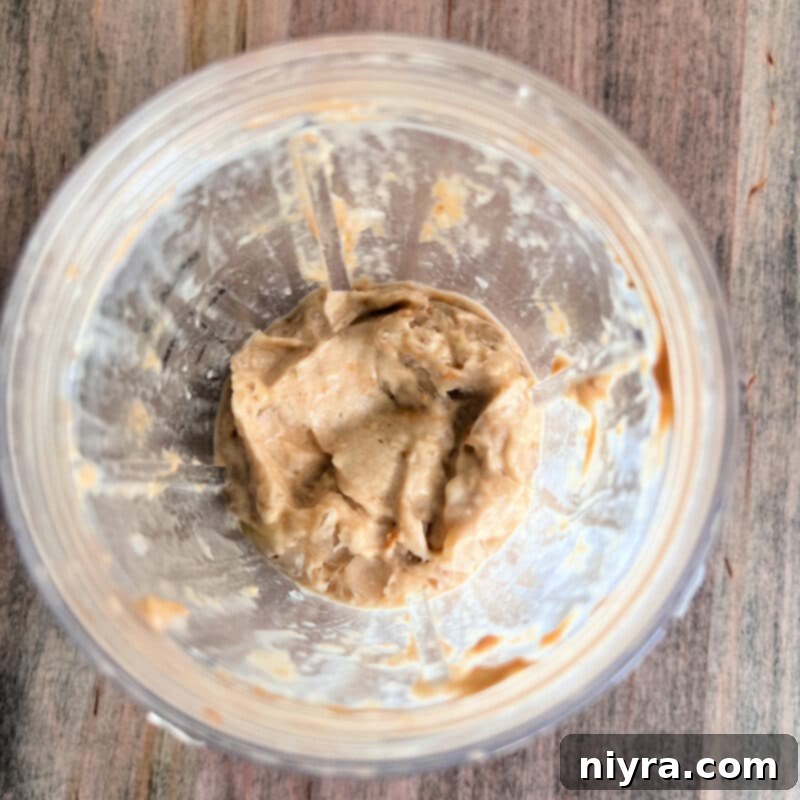
Step 4: Serve Immediately or Freeze for a Denser Scoop
Your Peanut Butter Banana Nice Cream is now ready to enjoy! It will have the consistency of soft-serve ice cream, perfect for immediate consumption. If you prefer a denser, more traditional hard-scoop ice cream texture, transfer the mixture into an airtight container or a loaf pan. Cover it with plastic wrap and place it back in the freezer for an additional 1-2 hours, or until it reaches your desired firmness. When ready to serve, if it’s too hard, let it sit at room temperature for a few minutes to soften slightly before scooping.
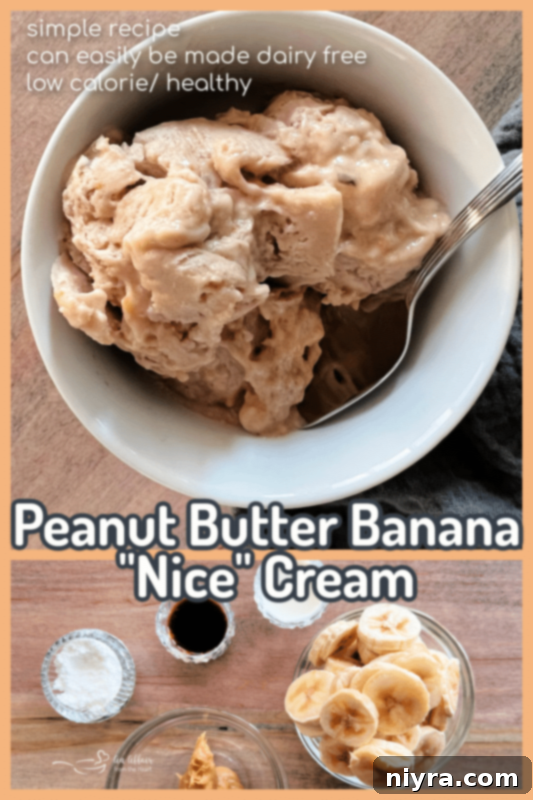
Tips & Tricks for the Best Nice Cream Experience
Achieving perfect Peanut Butter Banana Ice Cream every time is easy with a few simple tips:
- Always Use Ripe Bananas: This cannot be stressed enough! The riper the bananas (the more brown spots they have), the sweeter and creamier your nice cream will be. Under-ripe bananas will result in a less sweet taste and a more icy, less smooth texture.
- Pre-Freeze in Advance: To make nice cream a spontaneous treat, peel and slice whole ripe bananas and keep a stash in an airtight container or freezer bag in your freezer. This way, you’re always ready to whip up this recipe without waiting for bananas to freeze. It’s a fantastic way to utilize bananas that are getting too ripe, saving them from banana bread duty for another day.
- Adjust Milk Gradually: When blending, start with the smallest amount of milk recommended. Add more only if your blender struggles to process the frozen bananas. Too much liquid will result in a smoothie rather than a thick, creamy nice cream.
- For a Harder Scoop: If you’re a fan of hard-scoop ice cream rather than a soft-serve texture, transfer the freshly blended nice cream mixture into a freezer-safe container, like a loaf pan. Cover it tightly with plastic wrap to prevent ice crystals from forming, and freeze for an additional 2-4 hours, or until it reaches your desired firmness.
- Effortless Scooping: To make scooping frozen nice cream easier, run your ice cream scoop under hot water for a few seconds before each scoop. This will glide through the dessert effortlessly.
- Make it Vegan: This recipe is naturally adaptable for vegan diets. Simply ensure you use a plant-based milk alternative (like almond, oat, or soy milk) and natural peanut butter without any animal-derived ingredients (though most peanut butter is vegan).
- Peanut Butter Swirl: For an extra touch, melt a small amount of coconut oil with peanut butter and drizzle it over the nice cream before serving, or swirl it in gently after blending for beautiful ribbons of peanut butter.
- Storage Solutions: Leftover nice cream can be stored in an airtight container in the freezer for up to 3 months. While it’s best enjoyed fresh, it maintains its quality well. When ready to eat from the freezer, let it thaw on the counter for 5-10 minutes to reach a scoopable consistency.
Substitutions and Variations to Explore
The beauty of Peanut Butter Banana Nice Cream lies in its versatility. Feel free to experiment with these exciting substitutions and variations to customize your frozen treat:
- Nut Butter Alternatives: Not a fan of peanut butter or have an allergy? Swap it out for almond butter, cashew butter, or sunflower seed butter for a similar creamy, nutty profile. For a completely nut-free ice cream, tahini (sesame seed paste) or pumpkin seed butter are excellent choices that still offer a rich flavor.
- Spice it Up: A pinch of ground cinnamon or a dash of nutmeg can add a warm, comforting note that perfectly complements bananas and peanut butter.
- Chocolate Lover’s Dream: Stir in a handful of your favorite chocolate chips – dark, semi-sweet, or milk chocolate all work wonderfully. For a healthier crunch, consider adding cocoa nibs. Alternatively, blend in a tablespoon of unsweetened cocoa powder with the bananas for a delicious chocolate-flavored banana ice cream.
- Sweetener Swap: If you prefer to avoid powdered sugar, maple syrup or agave nectar can be used as liquid sweeteners. Adjust to taste, remembering that these might slightly alter the texture if too much is added.
- Textural Additions: For extra crunch and flavor, mix in toasted coconut flakes, finely chopped peanuts, or other chopped nuts like walnuts or pecans. A sprinkle of granola can also add a delightful texture.
- Fruity Boost: While bananas are the base, you can blend in a handful of other frozen fruits for a flavor twist. Try frozen berries for a peanut butter and jelly inspired nice cream, or a few mango chunks for a tropical fusion.
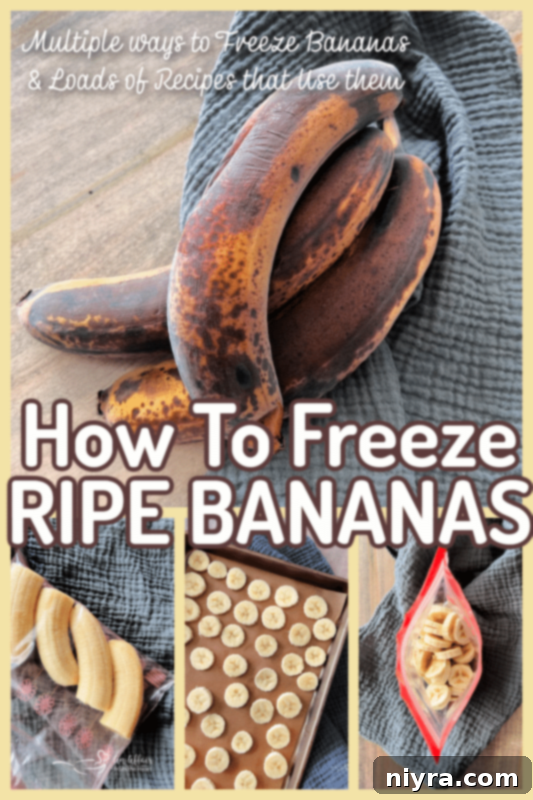
How to Freeze Ripe Bananas for Future Use
Never throw away overripe bananas again! Freezing ripe bananas is a game-changer for making smoothies, baked goods, and of course, this delicious Peanut Butter Banana Nice Cream. Here’s a detailed guide on how to properly freeze ripe bananas, ensuring they are ready whenever inspiration strikes:
- Choose the Right Bananas: The ideal bananas for freezing are very ripe, with plenty of brown spots on their peels. This indicates maximum sweetness and flavor. Avoid using green or under-ripe bananas as they won’t blend as smoothly and will result in a less flavorful nice cream.
- Peel Them First: Always peel your bananas before freezing. Trying to peel a frozen banana is a difficult and messy task.
- Slice or Leave Whole:
- For Nice Cream and Smoothies: Slicing bananas into ½ to 1-inch thick rounds is the best method. This allows them to freeze quickly and makes them easier for your blender or food processor to handle.
- For Baking (like banana bread): You can freeze peeled bananas whole or in large chunks. They will soften considerably when thawed, making them perfect for mashing into batters.
- Prevent Sticking: If slicing, arrange the peeled banana pieces in a single layer on a parchment paper-lined baking sheet or large plate. This crucial step prevents them from freezing into one solid clump.
- Flash Freeze: Place the baking sheet with the banana slices in the freezer for 1-2 hours, or until the pieces are firm and individually frozen.
- Store Long-Term: Once flash-frozen, transfer the solid banana pieces to an airtight freezer-safe bag or container. Squeeze out as much air as possible if using a bag to prevent freezer burn. Label with the date.
- Shelf Life: Frozen bananas can be stored for up to 3-4 months. They will still be safe to eat beyond this, but their quality and flavor may start to diminish.
Having a stash of frozen ripe bananas ensures you’re always just minutes away from a healthy and delicious treat like this nice cream, or ready to bake up a batch of moist banana bread! This simple freezing technique maximizes their use and minimizes waste, making it a sustainable practice for any kitchen.
Frequently Asked Questions (FAQ) About Banana Nice Cream
Does banana and peanut butter go well together? Absolutely! Banana and peanut butter is an iconic and incredibly popular flavor combination. Their sweet and savory notes perfectly complement each other, creating a harmonious and satisfying taste experience, especially in a frozen treat like nice cream.
Is peanut butter and banana a thing? Yes, it’s definitely “a thing” and a very beloved one at that! From sandwiches and smoothies to desserts and snacks, the pairing of peanut butter and banana has become a classic and widely recognized flavor combination enjoyed by many.
Is eating a banana with peanut butter good for you? Yes, eating a banana with peanut butter can be a very nutritious and beneficial snack or dessert. Bananas provide potassium, fiber, and vitamins, while natural peanut butter offers healthy fats, protein, and fiber. To maximize the health benefits, always choose natural peanut butter that has no added sugars or hydrogenated oils. Read the label carefully!
Why is my banana nice cream bitter? If your nice cream has a bitter taste, it’s most likely because your bananas were not ripe enough. Unripe bananas contain more starch and less sugar, and can have a slightly astringent or bitter flavor. For the best-tasting nice cream, always use bananas that are very ripe, showing plenty of brown spots on their peels, with as little green as possible.
Does banana nice cream taste like bananas? Yes, banana nice cream absolutely has a prominent banana flavor. Since frozen bananas are the primary ingredient, their natural sweetness and distinct taste are at the forefront. The peanut butter adds a wonderful complementary nutty flavor, but the essence of banana remains strong.
Is peanut butter and banana a healthy snack? Yes, when chosen wisely, peanut butter and banana make a fantastic healthy snack. This combination provides a good balance of carbohydrates (from the banana), healthy fats, and protein (from the peanut butter), which helps keep you full and energized. Remember to opt for natural peanut butter without unnecessary additives, sugar, or oils to keep it as wholesome as possible.
More Banana Recipes to Love:
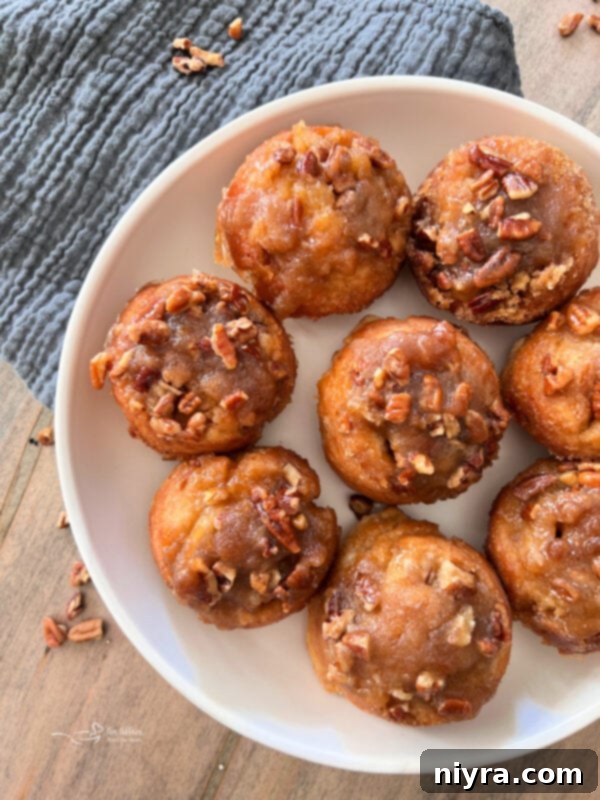
If you’re a fan of bananas, there are countless ways to enjoy them beyond nice cream! I recently shared a recipe for Easy Banana Pecan Rolls that are incredibly yummy. And for those who can’t get enough of banana bread, I have a wide variety of Banana Bread recipes to explore: try The Best Banana Bread, a unique Chocolate Orange Banana Bread, a delightful Banana Bread Coffee Cake, and for chocolate lovers, this Chocolate Banana Cake is simply delicious!
Love Ice Cream? Us too!
If your love for frozen treats extends beyond nice cream, be sure to check out these other fantastic ice cream recipes: Homemade Cinnamon Vanilla Ice Cream, a decadent Reese’s Peanut Butter Ice Cream Cake, a fun Fried Ice Cream Pie, a nostalgic Grape Nut Ice Cream, and a refreshing Lemon Ice Cream.
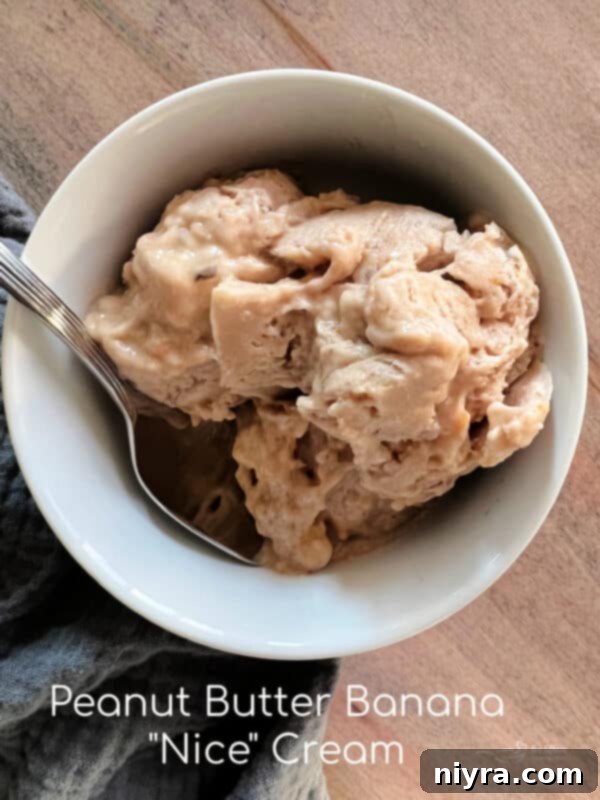
The quest for a truly satisfying yet healthy dessert often leads us to compromises. But with this Peanut Butter Banana Ice Cream, you get the best of both worlds: the indulgent creaminess of ice cream without the heavy sugars or guilt. It’s a quick, easy, and delightful treat that proves healthy eating can be utterly delicious. Make this simple dessert today and savor every spoonful of a truly decadent yet wholesome experience.

Peanut Butter & Banana Ice Cream (Nice Cream)
LIKE THIS RECIPE?
Don’t forget to give it a star rating and
leave a comment below the recipe!
Peanut Butter & Banana Ice Cream (Nice Cream)
The creaminess of ice cream, without the sugars or the guilt – make this Peanut Butter & Banana “Ice Cream” today – no ice cream maker needed.
5 mins
2 hrs
2 hrs 5 mins
Cuisine: American
Keyword: 4 ingredients, easy, frozen bananas, ice cream, Nice cream, peanut butter, Peanut Butter & Banana Ice Cream
Servings: 1
Calories: 291 kcal
Author: Michaela Kenkel
Equipment
- 12-Piece Black Sharp Knife Set with Covers, Cutting Board and Sharpener
- Ninja BN701 Professional Plus Blender
- Nutribullet Personal Blender
Ingredients
- 2 ripe bananas, sliced
- 1 teaspoon powdered sugar (optional, adjust to taste)
- 1/2 teaspoon vanilla extract
- 1-2 teaspoons natural peanut butter
- 1/2-1 teaspoon milk (dairy or plant-based, optional, for blending)
Instructions
- Cover a plate with plastic wrap, then arrange sliced ripe bananas in a single layer on the plate. Freeze for approximately 2 hours until solid.
- Transfer the frozen banana slices to a high-speed blender or food processor. Add milk (start with 1/2 tsp) and vanilla extract. Blend until the mixture becomes completely smooth and creamy, scraping down the sides as needed.
- Add the peanut butter to the blender and blend again until fully combined and incorporated.
- Serve immediately for a soft-serve consistency, or transfer to an airtight container and freeze for an additional 1-2 hours for a denser, scoopable texture.
Nutrition
Calories: 291 kcal
Carbohydrates: 59 g
Protein: 5 g
Fat: 6 g
Saturated Fat: 1 g
Polyunsaturated Fat: 4 g
Sodium: 56 mg
Fiber: 7 g
Sugar: 32 g
This recipe was originally posted on August 7, 2015. It has been updated to improve user experience and re-shared on May 30, 2023.
Adapted from allrecipes.com
