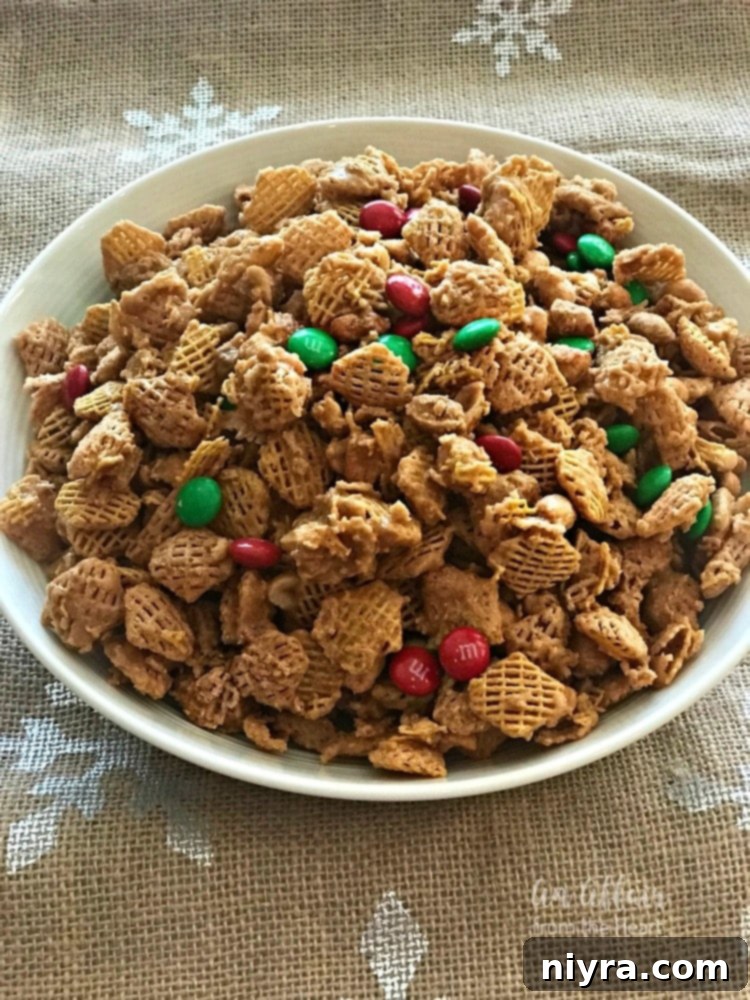
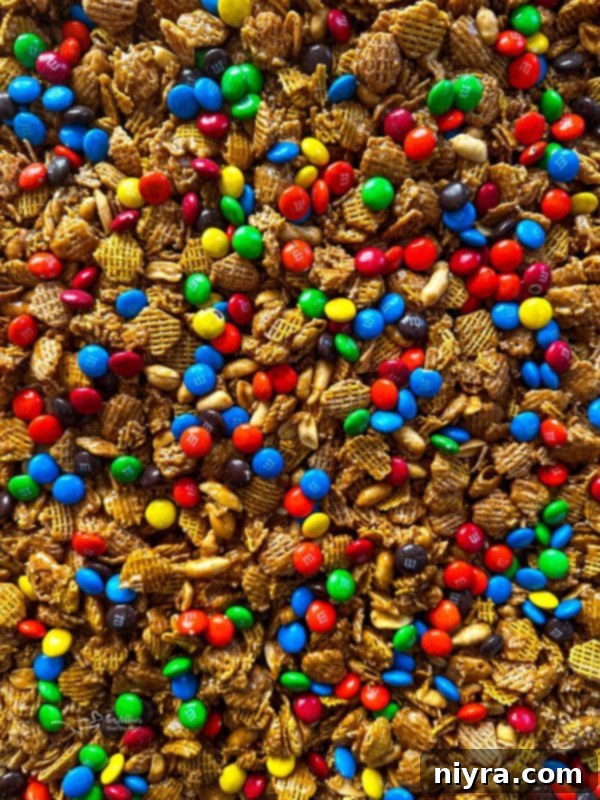
Irresistibly Delicious Candy Coated Crispix Mix: Your Ultimate Sweet & Salty Snack
Prepare yourself for an addiction! This homemade Candy Coated Crispix Mix is so incredibly delicious, it disappears the moment it hits the table. Consider this your official warning: you’ll want to make a double batch of this absolutely irresistible sweet and salty snack mix. Whether you’re planning a festive holiday gathering, a casual game night, or simply craving a crunchy treat, this easy Crispix Mix recipe is your perfect solution. Featuring minimal ingredients like Crispix cereal, rich brown sugar, creamy butter, light corn syrup, crunchy peanuts, and colorful M&M’s, it’s a big-batch recipe designed for sharing, celebrating, and gifting.

A Timeless Snack Mix Tradition
This delightful Crispix snack mix recipe has been a beloved family favorite for decades. It was originally shared with me by a dear friend, quickly becoming my signature contribution to our annual holiday cookie exchange. One memorable year, I transformed simple Pringles cans into charming, festive containers, filling them to the brim with this irresistible mix. Everyone adored them, and the joy of gifting this homemade treat became as cherished as the snack itself. It’s a testament to how truly special and universally loved this crunchy, candy-coated creation is.

Why This Crispix Mix Will Be Your New Favorite
This caramel-coated Crispix snack mix isn’t just a recipe; it’s an experience. It’s the perfect concoction for holiday parties, festive cookie exchanges, or heartfelt edible gifts. What makes it truly stand out is its efficiency and generosity: it comes together in just over an hour and yields a massive batch – approximately 18 cups! That’s more than enough crunchy, sweet, and salty goodness to fill numerous holiday tins, perfect for sharing with friends, neighbors, teachers, or extended family. Imagine the smiles when they receive a tin of this homemade delight!
The beauty of this recipe lies in its simplicity and the use of common pantry staples. You likely already have most of the ingredients on hand: butter, brown sugar, corn syrup, a pinch of salt, the star Crispix cereal, salted peanuts, and your favorite M&M’s. The preparation couldn’t be easier. You combine everything in a single pot on the stove, bring it to a boil to create that luscious caramel coating, then bake it to achieve the perfect crispness. The most challenging part? The agonizing wait for it to cool before you can dive in and enjoy its exquisite flavors and textures.

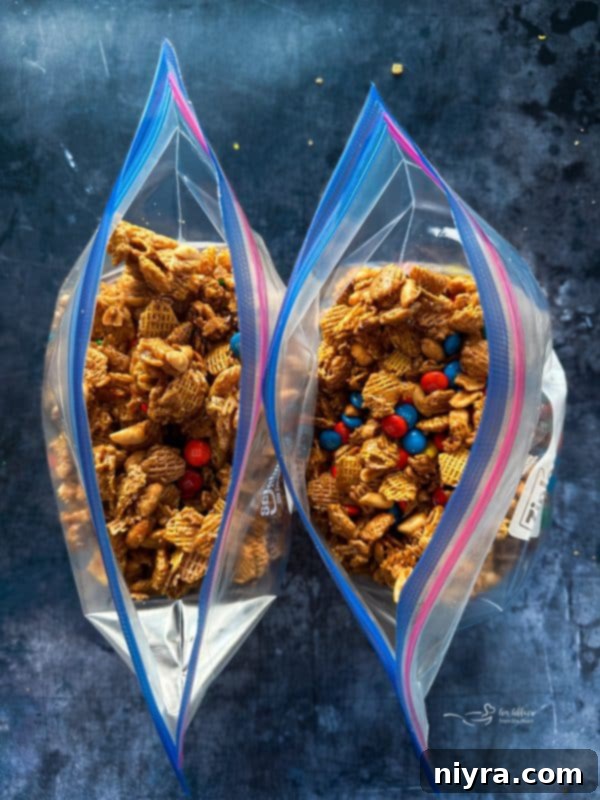
Both children and adults alike will find themselves enchanted by the delightful blend of flavors and satisfying textures in this snack mix. It serves as an ideal finger-food snack for any occasion, from lively holiday parties to cozy family game nights. Simply set out a large bowl and watch as guests eagerly grab handfuls. Alternatively, present it beautifully in decorative tins or cellophane bags, transforming it into thoughtful edible gifts for teachers, bus drivers, mail carriers, or anyone you wish to express gratitude to during the most wonderful time of the year. No matter how you choose to share it, this Candy Coated Crispix Mix is destined to be an overwhelming success!
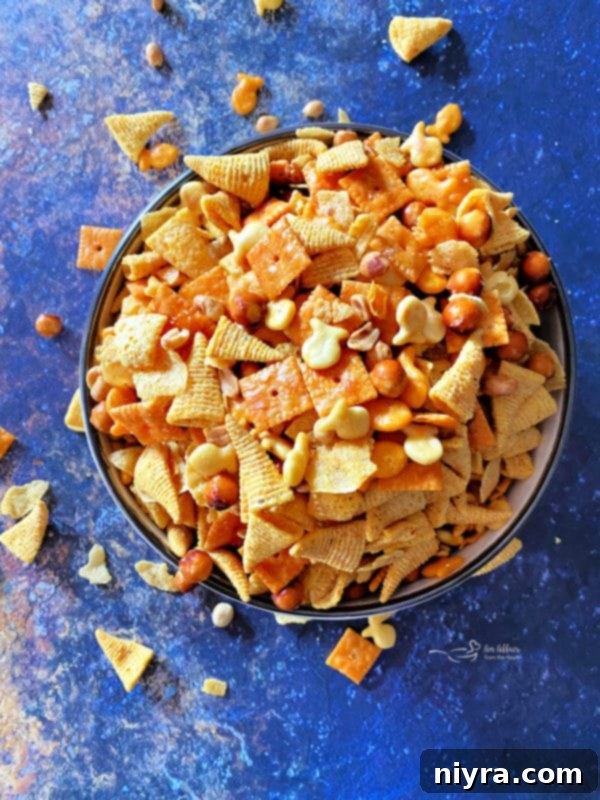
If you find yourself utterly captivated by this sensational mix, be sure to explore more of our fantastic snack creations! You might love my Touchdown Snack Mix (pictured above), which is perfect for game day gatherings. Also, don’t miss out on the unique flavors of my Coconut Muddy Buddies and the famously addictive Better Than Sex Chex Mix! Each offers a distinct flavor profile, ensuring there’s a snack mix for every palate and every occasion.
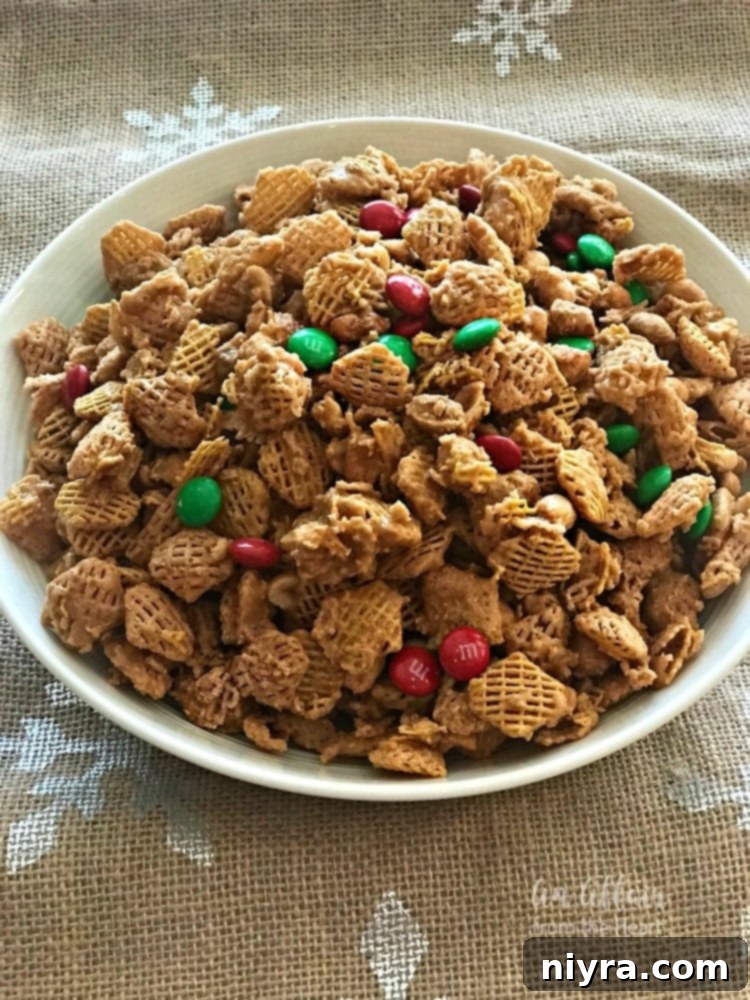
The Magic of Christmas Crispix Mix
While this delightful Crispix Mix has become a year-round craving in our household, it truly shines during the festive season. The addition of colorful M&M’s always makes it a fun snack, but for the holidays, I make a special point to grab the iconic red and green M&M’s. This simple swap instantly transforms it into a quintessential Christmas Crispix Mix, perfectly embodying the spirit and colors of the season. It’s a wonderful way to add a touch of holiday cheer to your snack spread or gift baskets.

Essential Ingredients for Your Crispix Mix
Crafting this sweet and salty candy Crispix snack mix requires a handful of key ingredients, most of which are likely already in your pantry. Each component plays a crucial role in achieving the perfect balance of flavors and textures that make this mix so incredibly addictive. You’ll find the complete list and detailed instructions in the printable recipe card at the bottom of this post, but let’s take a moment to understand each star player:
- Brown Sugar: This is the foundation of our luscious caramel coating. Both light or dark brown sugar will work beautifully, imparting a rich, molasses-like sweetness and a deep, inviting color to the mix.
- Butter: I typically use salted butter for an extra depth of flavor that enhances the salty element of the snack. However, unsalted butter is a perfectly acceptable substitute; just be mindful that you might want to slightly increase the amount of salt in the recipe to achieve that perfect sweet-salty harmony.
- Corn Syrup: Specifically, light Karo Syrup is recommended here. Its primary role is to prevent the sugar from crystallizing, ensuring a smooth, glossy, and pliable caramel coating. It also helps in keeping the coating a desirable light golden-brown hue, making the snack visually appealing.
- Salt: A crucial ingredient that elevates the entire flavor profile. Whether you opt for table salt or sea salt, it beautifully contrasts the sweetness of the caramel, creating that irresistible sweet and salty combination that makes this snack so popular.
- Crispix Cereal: The namesake and textural hero of this mix! Its unique, dual-textured flakes (one side rice, one side corn) offer an exceptional crunch and a light, airy base that perfectly absorbs the caramel. If Crispix cereal proves hard to find in your area, Rice Chex makes an excellent alternative. For reference, 17 ounces of Crispix Cereal is roughly equivalent to about 11 1/3 cups of Rice Chex cereal, ensuring you get the same voluminous batch.
- Salted, Dry-Roasted Peanuts: These provide a fantastic nutty flavor and an additional layer of crunch, further enhancing the savory side of our sweet and salty equation. Their inherent saltiness is key to balancing the overall sweetness.
- M&M’s: The fun, colorful, and customizable element! Feel free to use your favorite variety. Plain chocolate M&M’s are a classic, but peanut, pretzel, or even peanut butter M&M’s can add exciting twists and extra textures. During the holidays, seasonal red and green M&M’s are a must for that festive touch.
- Baking Soda: This unassuming ingredient is vital for creating the “foamy effect” in the caramel mixture. When added, it reacts with the acid in the brown sugar, producing tiny air bubbles that make the caramel lighter, more tender, and easier to coat the cereal without becoming overly sticky or hard.
Crafting Your Perfect Candy Coated Crispix Mix: A Step-by-Step Guide
Making this delightful Candy Coated Crispix Mix is surprisingly straightforward. Follow these steps to create a batch that will impress everyone:
- Prepare Your Workspace: Begin by preheating your oven to a low 200 degrees Fahrenheit (93 degrees Celsius). Line a large baking sheet with parchment paper. This crucial step prevents sticking and makes cleanup a breeze, ensuring your beautifully coated mix doesn’t adhere to the pan.
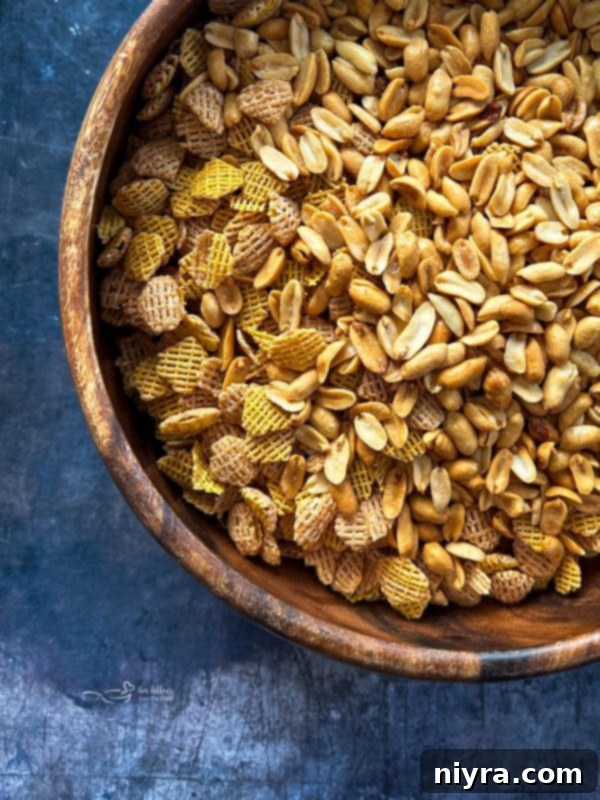
- Combine Dry Ingredients: In a generously sized bowl, gently combine the Kellogg’s Crispix cereal with the salted, dry-roasted peanuts. Give them a light toss to distribute them evenly. Set this bowl aside, ready for the caramel magic.
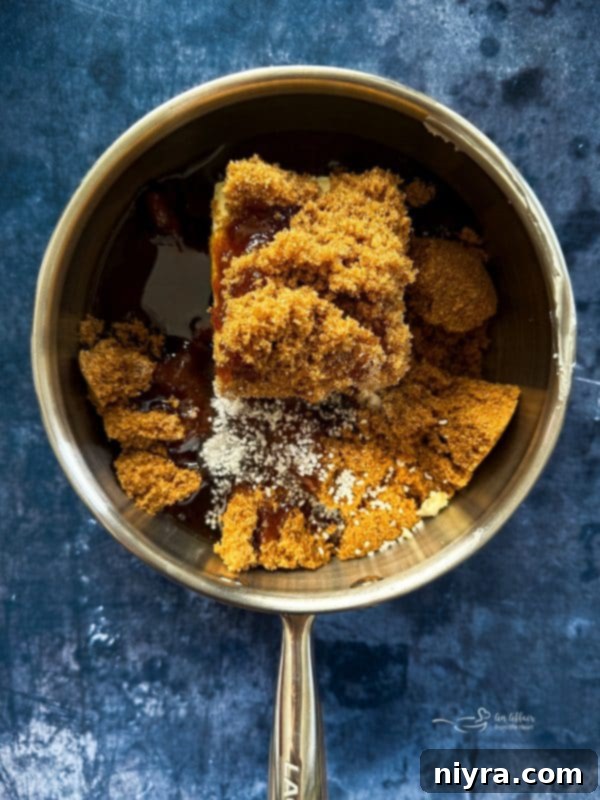
- Prepare the Caramel Mixture: In a medium saucepan, combine the butter, brown sugar, corn syrup, and salt over medium heat. Stir these ingredients frequently as they melt together. Bring the mixture to a rolling boil, then continue to boil for exactly 5 minutes, stirring constantly to prevent scorching and ensure an even, smooth caramel. This boiling time is essential for the caramel to reach the correct consistency.
- Activate the Baking Soda: Remove the saucepan from the heat and immediately stir in the baking soda. You’ll notice the mixture becoming light, foamy, and frothy. This reaction creates air pockets in the caramel, resulting in a tender, crispy coating for your cereal.
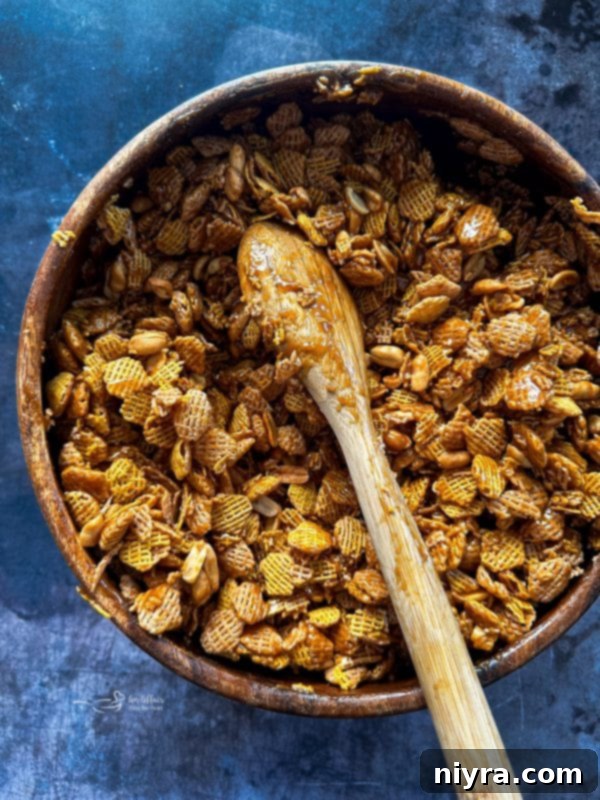
- Coat the Cereal: Promptly pour the warm caramel mixture over the cereal and peanut mixture in the large bowl. Working quickly but gently, mix everything together thoroughly. Use a sturdy spoon or spatula and fold the ingredients carefully to coat every piece without crushing the delicate cereal flakes.
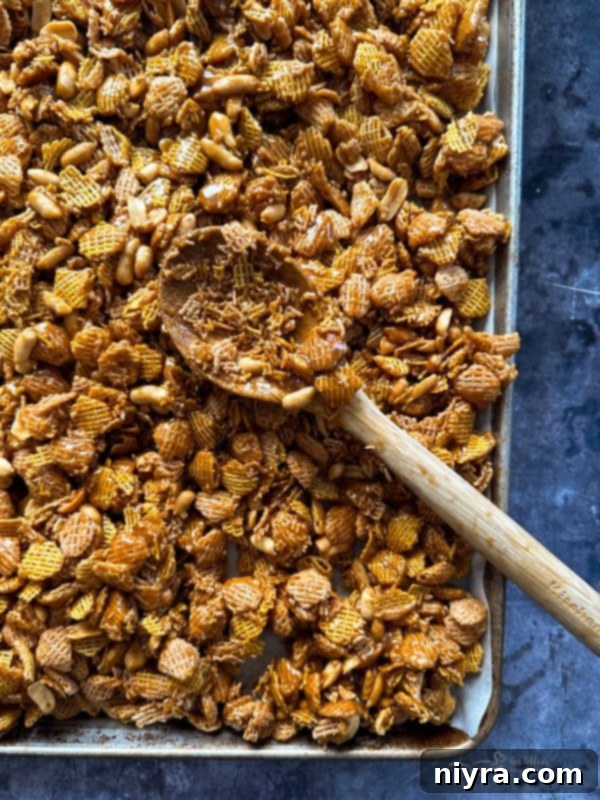
- Bake to Perfection: Spread the coated cereal mixture evenly in a single layer onto your prepared large baking sheet. Bake for 1 hour, making sure to stir the mixture every 15 minutes. This regular stirring ensures that all sides of the cereal get evenly toasted and coated, achieving a consistent crispness and preventing any part from burning.
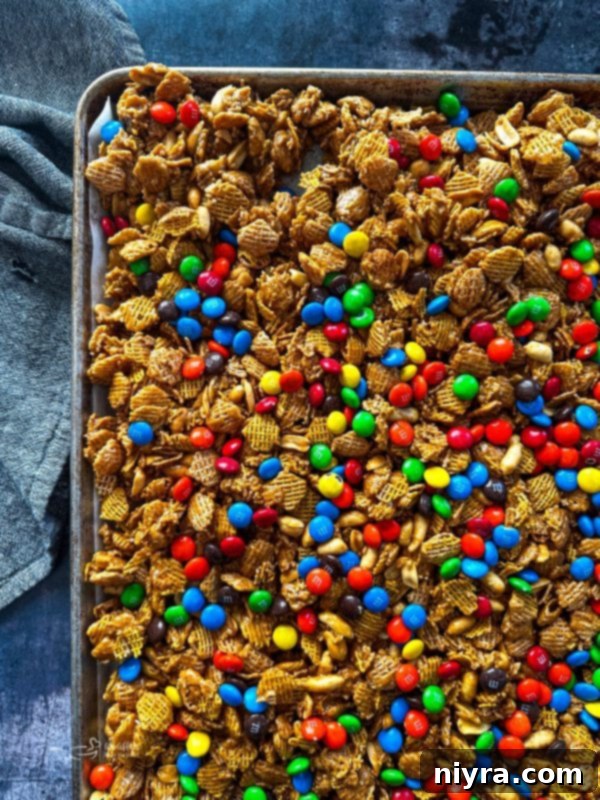
- Cool and Finish: Once baked, remove the Crispix Mix from the oven and allow it to cool completely on the baking sheet. This cooling period is vital for the caramel to harden and become perfectly crunchy. Only after it has fully cooled, mix in your chosen M&M’s. Adding them too soon will cause them to melt, resulting in a messy, less appealing snack.
- Storage: Store your cooled and finished Candy Coated Crispix Mix in an airtight container. Kept in a cool, dry place, it will remain fresh and delicious for a couple of months. Freezing this snack mix is not recommended, as it can affect its desirable crunchy texture.

Love This Recipe? Pin It for Later!
If you’re already dreaming about making this incredible Crispix Mix – and who wouldn’t be? – make sure you can easily find the recipe when you’re ready! Pin it to your favorite recipe board on Pinterest now so it’s always just a click away. Sharing is caring, and this recipe is definitely worth sharing with your followers!
Frequently Asked Questions About Crispix Mix
Here are some common questions to help you perfect your Candy Coated Crispix Mix:
- How long does this snack mix last? When stored properly in an airtight container in a cool, dry place, this delightful snack mix will maintain its freshness and crunch for a month or even two.
- Can I use unsalted butter instead of salted butter? Absolutely! Unsalted butter works perfectly fine. However, to compensate for the flavor, you might want to slightly increase the amount of salt in the caramel mixture to about 3/4 teaspoon, ensuring that classic sweet and salty balance.
- What if some cereal gets smashed during mixing? Don’t fret at all! It’s completely normal for some cereal pieces to break or clump together, and rest assured, it will still taste absolutely delicious. In fact, many find those crunchy, caramel-coated clumps to be the most desirable part of the mix!
- Can I use other types of cereal? While Crispix offers a unique texture, Rice Chex is an excellent substitute. Other cereals like Corn Chex or even a combination of Chex cereals can work, but Crispix’s distinct shape and texture are ideal for absorbing the caramel.
- Is this recipe suitable for dietary restrictions? This recipe contains dairy, gluten (from Crispix/Chex), and nuts. Please be mindful of allergies and dietary needs when serving.

Expert Tips for Making the Best Crispix Candy Recipe
Achieving snack mix perfection is easy with these helpful tips:
- Parchment Paper is Your Best Friend: Always use parchment paper or a silicone baking mat to line your baking sheets. This ensures that the caramel-coated mix can be easily lifted off the sheet after baking, preventing sticking and making cleanup effortless.
- Stir Regularly for Even Coating: During the baking process, remember to stir the mix every 15 minutes. This simple action is crucial for even cooking and ensures that every piece of cereal and every peanut gets perfectly toasted and evenly coated with the delicious caramel.
- Cool Completely Before M&M’s: Patience is key! Allow the Crispix Mix to cool completely and harden before you add the M&M’s. Adding them to a warm mix will cause them to melt, leading to a smudged, unappealing appearance and texture.
- Gentle Mixing: When coating the cereal with caramel, be gentle but thorough. Use a large, sturdy spoon or spatula to fold the mixture, aiming to coat everything without crushing too many of the delicate Crispix flakes.
- Use a Large Bowl: Start with a really large mixing bowl for combining the cereal and peanuts, and later for coating with caramel. This gives you ample space to mix everything without spilling and makes the process much easier.
Discover More Irresistible Chex Mix Recipes to Love
Adore snack mixes as much as we do? You’re in luck! I’ve dedicated an entire section on my website to these delightful, munchable creations. Once you’ve mastered this Candy Coated Crispix Mix, you’ll surely want to venture into more of our fantastic recipes. You absolutely must try my famous Crack Corn recipe, which lives up to its name for being unbelievably addictive. And for a festive twist, whip up my Peppermint Bark Popcorn during the winter holidays. Don’t forget to prepare a batch of Lucky Leprechaun Bait when St. Patrick’s Day rolls around for a magical green treat! Here are some more of our favorite finger-food snack mix recipes that are perfect for any gathering:
- Praline Crunch Snack Mix: A rich and nutty caramel delight.
- Homemade Moose Munch Popcorn: A gourmet, chocolatey popcorn experience.
- Caramel Churro Chex Mix: Sweet and cinnamon-spiced, just like your favorite churro.
- Crockpot Chex Mix: An effortlessly savory and seasoned classic.
- Mexican Hot Chocolate Chex Mix: A spicy and sweet chocolate sensation.
- Winter Wonderland Snack Mix: A magical mix perfect for chilly days.
- Spicy Sriracha Snack Mix: For those who love a fiery kick in their snacks.

I sincerely hope you try this delightful sweet and salty Crispix party mix for your next game day, road trip, or holiday gathering! It’s truly a standout snack that’s sure to be a massive hit, bringing smiles and satisfaction to everyone who tries it. Enjoy creating and sharing this addictive treat!

LIKE THIS RECIPE?
Don’t forget to give it a ⭐️⭐️⭐️⭐️⭐️ star rating and
leave a comment below the recipe!

Print Recipe
Original Candy Coated Crispix Mix Recipe
Equipment
- Oggi Mixing Bowl, 4 Quart
- OXO 3- Piece Wooden Spoon Set
- Cuisinart Chef’s Classic Nonstick 1-Quart Saucepan with Lid
- Reynolds Kitchens Non-Stick Parchment Paper
- Silicone Baking Mat Set of 4
- 13×18 Half Sheet Pan
Ingredients
- 2 cups brown sugar
- 1 cup butter
- 1/2 cup light corn syrup
- 17 ounces of Crispix Cereal
- 1 pound of M&M’s
- 2 cups salted Dry roasted peanuts
- 1/2 teaspoon salt
- 1 teaspoon baking soda
Instructions
- In a large bowl, empty the cereal and the peanuts.
- In a saucepan on the stove melt butter, sugar, syrup, and salt. Bring to a boil and boil for 5 minutes stirring constantly. Add the baking soda, and stir, ingredients will foam and become frothy.
- Pour the mixture over the cereal and peanuts. Mix quickly but carefully. You don’t want to smash all of the cereal. Spread onto a cookie sheet lined with non-stick foil or sprayed with non-stick cooking spray.
- Bake at 200 degrees for one hour, turning mix over every 15 minutes.
- When the mix has cooled, add the M&M’s.
Notes
Nutrition

