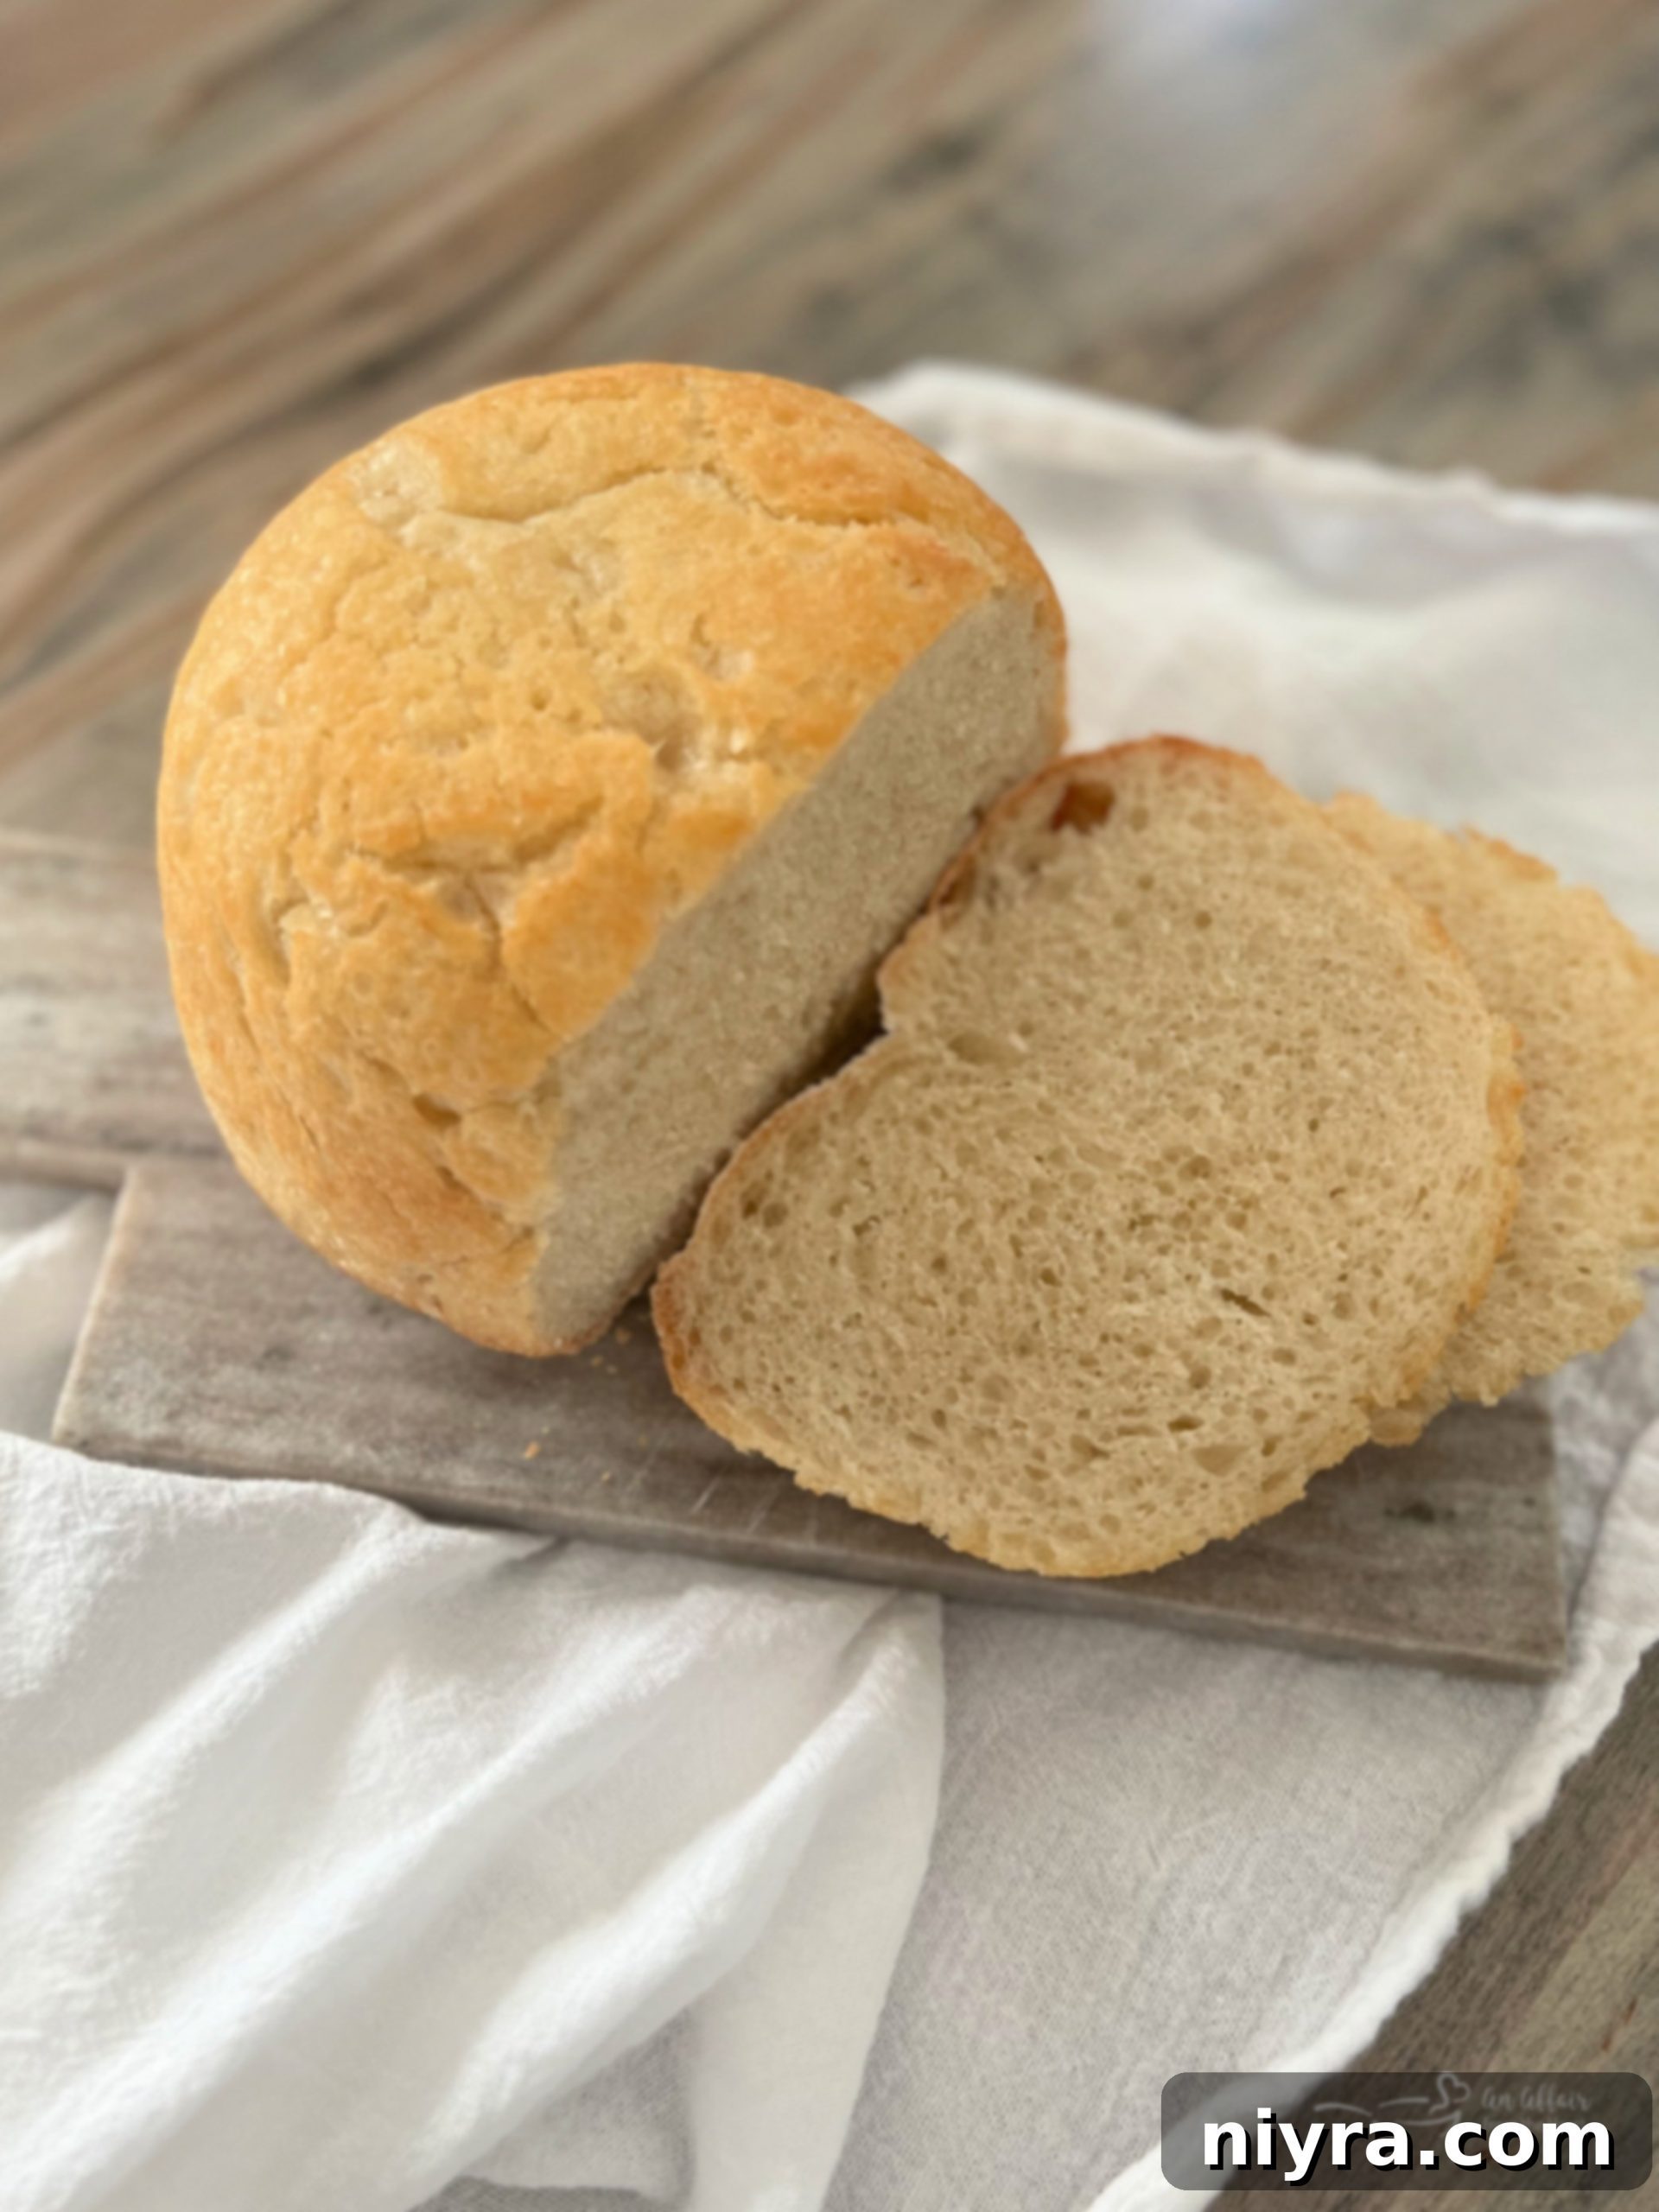
Prepare to be captivated by this extraordinary buttery soft, artisan Peasant Bread recipe. Renowned for its unparalleled simplicity and heavenly flavor, this crusty homemade bread boasts a perfectly soft, airy center encased in a delightfully crisp crust. Ideal for both novice bakers and seasoned pros, this no-knead bread recipe yields two beautiful loaves, baked effortlessly right in your Pyrex bowls!
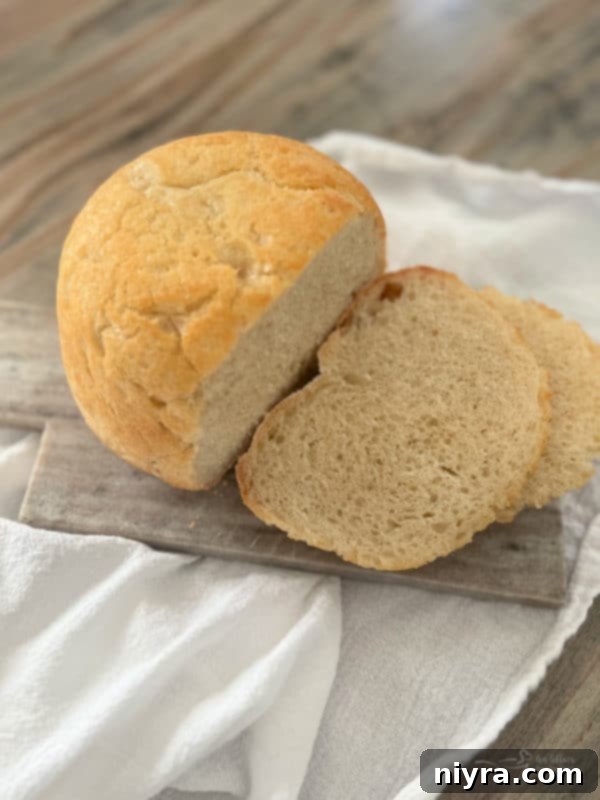
Unlock the Secret to Perfect Homemade Peasant Bread
Listen up, bread lovers! This isn’t just another recipe; it’s a culinary revelation. You absolutely, positively HAVE to make this peasant bread. Seriously, it’s a public service announcement for your taste buds.
My journey with this incredible recipe began back in 2016. A friend shared it on my Facebook newsfeed, and from the moment I laid eyes on those golden, crusty loaves, I knew it was destined for my kitchen. For years, I found myself inexplicably intimidated by recipes that called for yeast. I loved to bake, but my repertoire mostly consisted of quick breads – delicious, certainly, but lacking that unique yeast-infused magic. My beloved Banana Bread recipe, for instance, (which I still swear is the last one you’ll ever need!) was a staple, but it couldn’t quite satisfy that craving for a truly artisanal loaf.
Then came the breakthrough: I ventured into making No-Knead Crusty Dutch Oven Bread. Oh, my stars, it was a game-changer! I was so proud, I didn’t think I could ever make another bread quite so yummy. But then, this peasant bread entered my life, and it proved me delightfully wrong. This recipe isn’t just simple; it’s an absolute joy to make. Using minimal, everyday ingredients, it yields bread with the most wonderfully buttery exterior and a cloud-like soft interior. The fact that you bake it right in a Pyrex bowl makes it incredibly accessible. I’ll confess, the first day I tried it, I made it twice – that’s how irresistible it is!
Why Peasant-Style Bread is a Must-Try for Every Home Baker
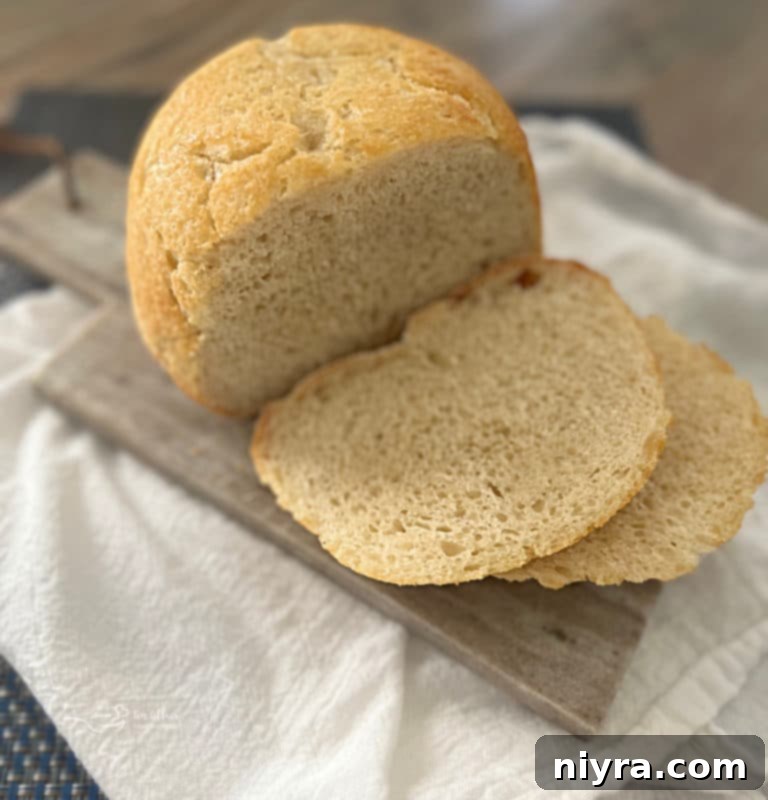
If you’re anything like us, the aroma and taste of freshly baked bread are pure bliss. This homemade, no-knead peasant bread is truly the ultimate solution for your bread cravings. Its straightforward, basic steps make it incredibly easy to prepare, removing all the fuss and intimidation often associated with yeast bread.
Artisan bread holds a special place in my heart, and this particular variety truly embodies its best qualities. Each loaf is buttery soft on the inside with a satisfyingly crisp crust, making it absolutely divine to savor on its own. But its versatility doesn’t stop there! This bread forms the perfect foundation for amazing sandwiches. In fact, my husband declared that he had never tasted a better grilled cheese than the one made with this rustic loaf. The subtle crunch of the crust, paired with the tender, fluffy crumb, elevates any sandwich to a gourmet experience.
Beyond sandwiches, this rustic crusty bread is wonderfully delicious when torn and used for dipping in hot, savory soups, offering a meal brimming with warmth and comfort. Imagine pairing a thick slice with a hearty bowl of my homemade Cheesy Potato Soup, the robust flavors of Sauerkraut, Bratwurst, and Potato Soup, or a comforting classic like Hamburger Soup. The way this bread absorbs the rich broth while maintaining its integrity is simply delightful. Its simple yet profound flavor profile makes it a perfect complement to a wide array of dishes, making it an indispensable addition to your homemade baking repertoire.
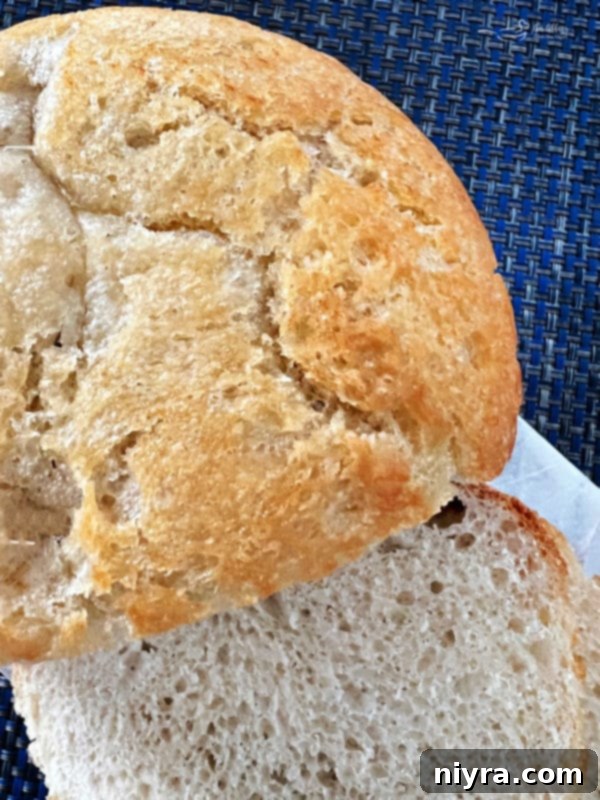
Unraveling the Name: Why is it Called Peasant Bread?
This wholesome homemade artisan bread carries the humble name “peasant bread” due to its historical roots and preparation method. It’s made in much the same simple way that European peasants traditionally prepared their rustic loaves – with very few steps and straightforward, readily available ingredients. Historically, peasant-style bread was a staple in daily life, often crafted from whole grains and consumed at every meal, from breakfast to dinner, and even as an accompaniment to appetizers. Its simplicity and hearty nature made it accessible and sustaining for everyone.
Today, the term “peasant bread” celebrates this tradition, emphasizing its unpretentious charm and universal appeal. It’s a bread that doesn’t require fancy techniques or exotic ingredients to be incredibly delicious. It’s about getting back to basics, celebrating the natural flavors of flour, water, yeast, and salt, and creating something truly nourishing and satisfying with minimal effort. The beauty of this recipe lies in its ability to deliver an authentic, rustic experience right in your modern kitchen, bridging the gap between historical simplicity and contemporary convenience.
Key Ingredients for This Rustic, Crusty, Yet Soft Loaf
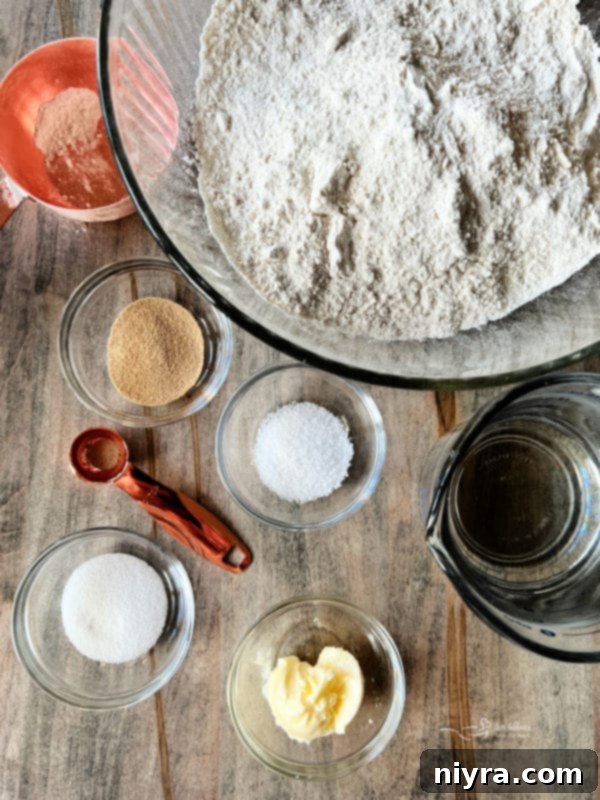
Crafting this delicious no-knead peasant bread requires only a handful of common pantry staples. Each ingredient plays a crucial role in developing the bread’s incredible flavor and texture:
Yeast: For this recipe, I typically use active-dry yeast. This type of yeast requires activation in warm water and sugar, which gives you visual confirmation that it’s alive and ready to work its magic. While I love the assurance of active-dry yeast, I’ve also included instructions for using instant yeast, which can speed up the process slightly as it doesn’t require prior activation and can be mixed directly with the dry ingredients. Regardless of your choice, yeast is what gives the bread its beautiful rise and airy crumb.
Sugar: A small amount of granulated sugar isn’t just for sweetness; it’s primarily used to feed the yeast, especially when activating active-dry yeast. It kickstarts the fermentation process, helping the yeast become frothy and active. In the final bread, it also contributes to a balanced flavor profile and a lovely golden crust.
Water: Lukewarm water is essential for activating the yeast. Water that is too cold won’t wake up the yeast, while water that’s too hot can kill it. Achieving the perfect lukewarm temperature (around 105-115°F or 40-46°C) is key for a successful rise. A simple trick is to mix cold water with a small amount of boiling water until it feels comfortably warm to the touch – think baby bathwater temperature. (More specific guidance can be found in the detailed recipe card below).
Flour: All-purpose flour is my go-to for this recipe. Its moderate protein content makes it incredibly versatile and forgiving, perfect for creating a tender yet structured crumb without the need for kneading. It’s an easy and accessible white flour that consistently delivers excellent results in various baking applications, making it ideal for this “easy peasy” bread!
Salt: Kosher salt is used to enhance the bread’s flavor significantly and balance the sweetness and richness. Beyond taste, salt plays a critical role in controlling yeast activity and strengthening the gluten structure in the dough, contributing to a better rise and texture during baking. Don’t skimp on the salt, as it’s vital for a flavorful loaf.
Butter: Softened butter is generously applied to grease the Pyrex dishes. This step is twofold: it prevents the bread from sticking, ensuring a clean release, and it imparts an extra layer of rich, buttery flavor to the crust. The result is a beautifully golden-brown exterior that is both crusty and incredibly tender, truly making this no-knead bread emerge buttery and perfect.
The Revolutionary Simplicity: Baking Bread in a Pyrex Bowl
You might wonder, how easy is baking bread in a Pyrex bowl? The answer is: remarkably easy! One of the greatest advantages of this method is its sheer simplicity. Unlike some bread-baking techniques that require preheating heavy Dutch ovens or specialty bakeware, baking in a Pyrex bowl is fuss-free. All you need to do is grease the bowl thoroughly with butter – no need to preheat it beforehand.
Baking bread in an oven-safe glass bowl provides several benefits. The glass conducts heat evenly, ensuring that your loaf bakes to a consistent, beautiful golden-brown color all around. This even heat distribution contributes to that desired crusty and crunchy exterior, while simultaneously helping the interior remain wonderfully soft and moist. It effectively creates a steamy environment similar to a Dutch oven, without the extra step of heating a heavy pot. This method is especially forgiving for beginners, as the Pyrex bowl helps maintain the shape of the loaf and encourages a uniform rise.
It’s important to always follow any safety guidelines provided with your specific glass bakeware to ensure it’s oven-safe at the recommended temperatures. With Pyrex, you’re not just baking bread; you’re simplifying the entire process, making delicious, artisanal loaves accessible to everyone.
How to Make Buttery, Homemade Peasant Bread: A Step-by-Step Guide
Creating this delightful buttery, homemade peasant bread is a straightforward and rewarding process. Follow these simple steps to achieve perfect loaves every time.
Step 1: Activate the Yeast for Optimal Rise
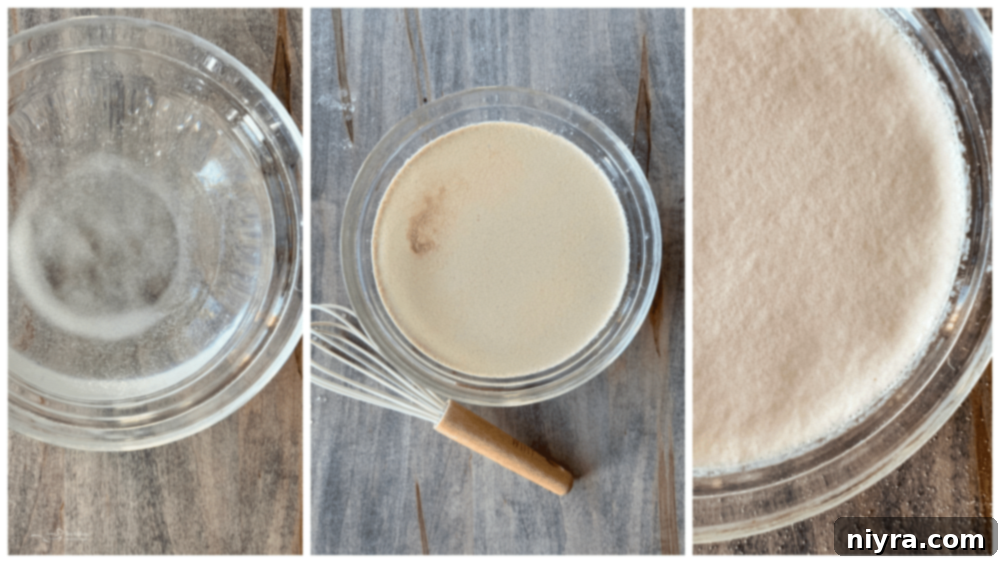
Begin by combining the granulated sugar and lukewarm water in a small bowl. Stir until the sugar is fully dissolved. Once dissolved, carefully sprinkle the active dry yeast over the surface of the water. It’s crucial not to stir the mixture at this point; simply let the yeast settle. Allow this mixture to sit undisturbed for about 10-15 minutes. During this time, the yeast will begin to foam and bubble, forming a frothy layer on top. This frothing is your visual cue that the yeast is active and alive, ready to leaven your bread. If your yeast doesn’t become frothy, it might be expired or the water temperature was incorrect, and you should start over with new yeast.
(A helpful tip from the original blogger on achieving the perfect “lukewarm” water temperature is provided in the printable recipe card below!)
Step 2: Effortlessly Make the Dough (No Kneading Required!)
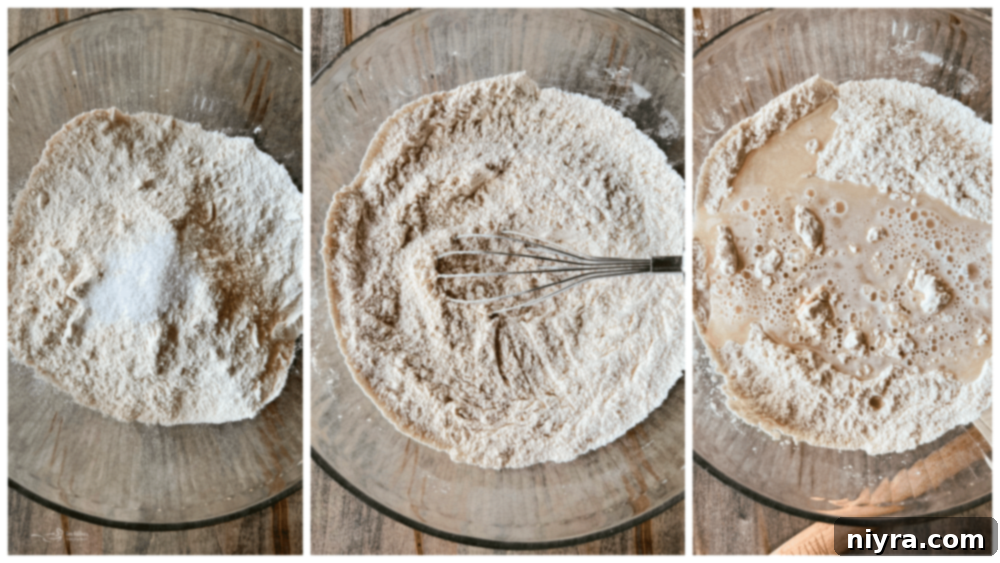
In a large mixing bowl, combine the all-purpose flour and kosher salt. Whisk these dry ingredients together thoroughly to create a well-integrated base. Once your yeast mixture is frothy, give it a gentle stir and then pour it into the bowl with the flour and salt. Mix everything until all the flour is fully absorbed and a shaggy, wet dough forms. This is truly a “no-knead” dough, so there’s no need for extensive mixing or developing gluten through traditional kneading. A wooden spoon or sturdy spatula works perfectly for this step. The dough will be quite sticky, which is exactly what you want for a moist and tender crumb.
Step 3: Allow the Dough to Rise (First Rise)
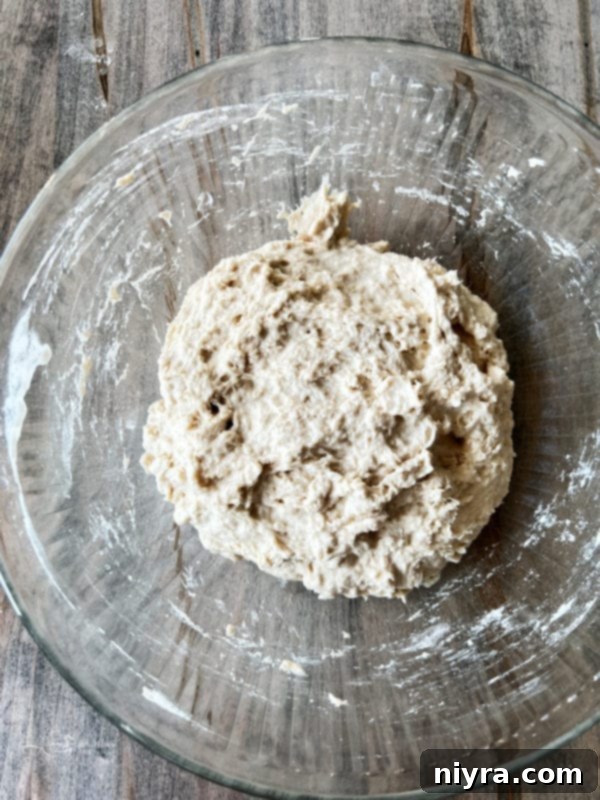
Once the flour is completely absorbed and your dough is mixed, it’s time for the crucial first rise, also known as bulk fermentation. Gently cover the bowl containing the dough with a clean tea towel or plastic wrap. Place the covered bowl in a warm and relatively humid spot in your kitchen. The ideal temperature for rising dough is typically between 70-80°F (21-27°C). If your kitchen is warm, the bread will take approximately one to one and a half hours to rise. In a cooler setting, it might take up to two hours to double in size. A good visual cue is when the dough has visibly expanded and appears bubbly and light. You can create a warm environment by turning your oven on for just one minute, then turning it off and placing the covered bowl inside.
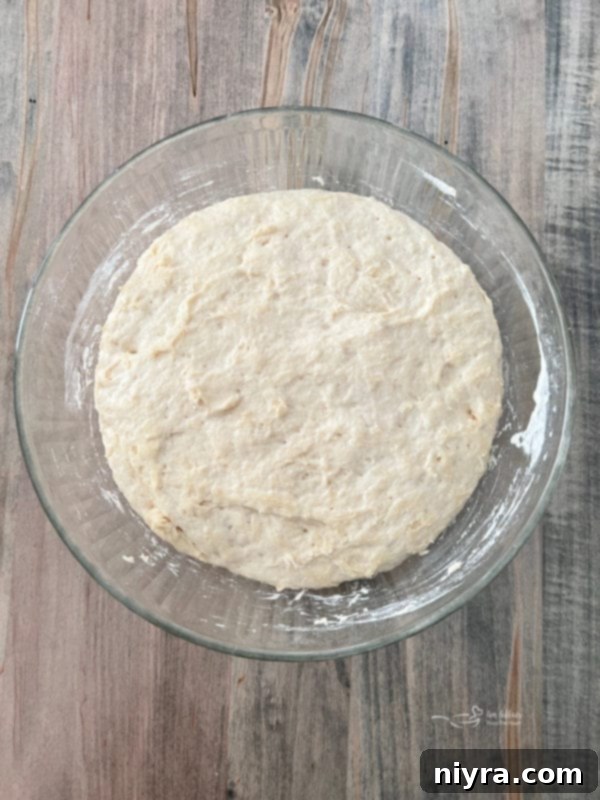
Step 4: Preparing for Baking and Dividing the Dough
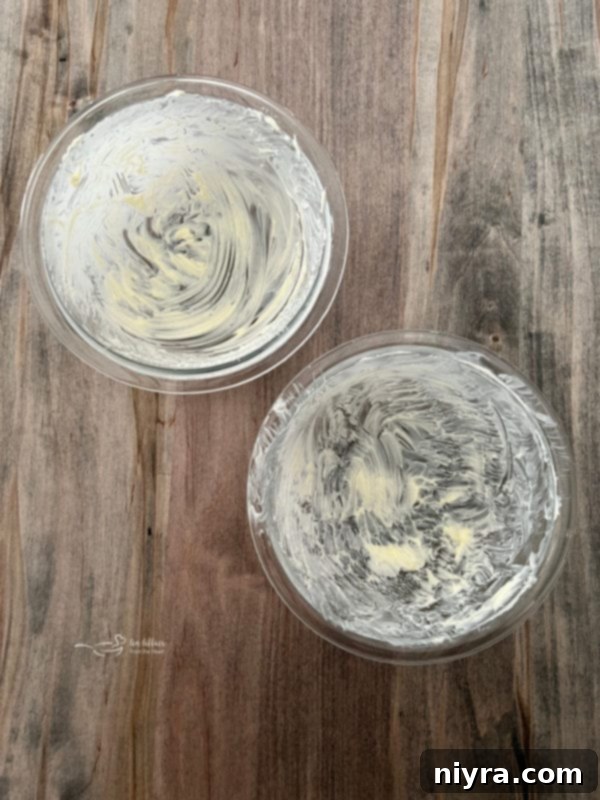
Once your dough has completed its first rise, it’s time to prepare for baking. First, preheat your oven to 425 degrees Fahrenheit (220°C). While the oven heats, generously grease two oven-safe glass bowls, such as one-quart Pyrex dishes, with softened butter. The butter not only prevents sticking but also contributes to that beautiful, rich, buttery crust we love. Using two forks (smaller ones work best), gently push down the risen dough to deflate it slightly. Scrape the sides of the bowl to ensure all the dough is intact and then turn the dough onto itself towards the middle of the bowl. This helps to gently reform the dough without overhandling it.
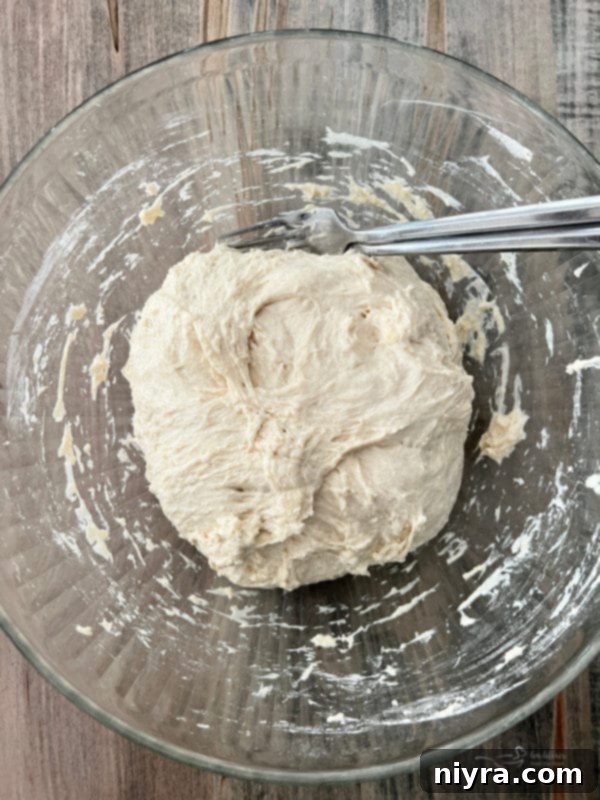
Next, carefully loosen the dough completely from the bowl using your two forks. With the same two forks, gently divide the dough into two equal portions. Scoop up each half and carefully place them into the prepared, buttered Pyrex bowls. Try to handle the dough as little as possible to retain as much of the airy structure as you can. This division creates two perfectly sized loaves, ready for their final rise.
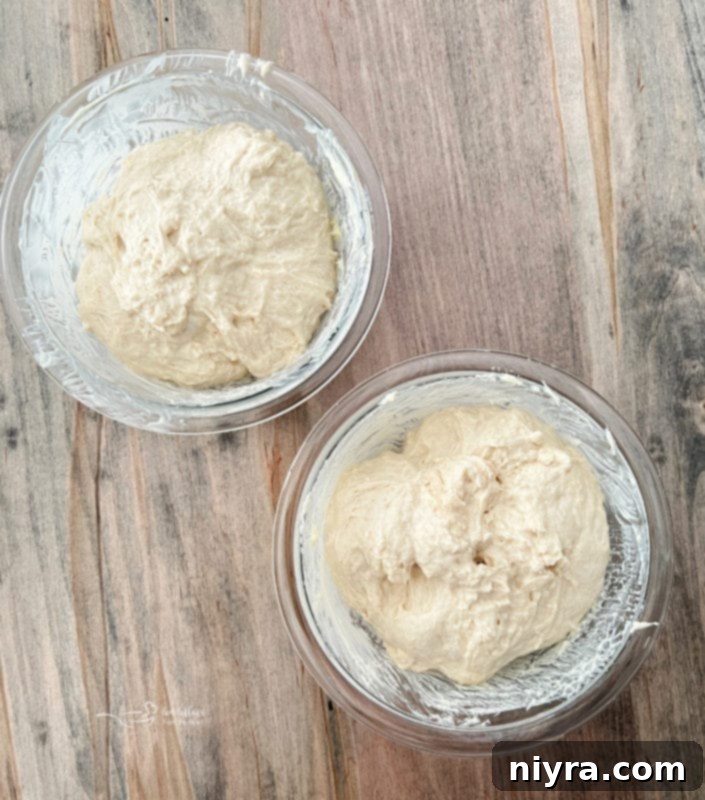
Step 5: The Second Rise for Ultimate Fluffiness
Allowing the dough to undergo a second rise, often called proofing, is a crucial step that ensures your bread will be fully fluffy and extra soft. This final rise develops the internal structure, contributing to an open, airy crumb and a tender texture.
Place the bowls with the divided dough in a warm area for their second rise. This usually takes between twenty to thirty minutes. A fantastic and convenient spot for this final proof is on the stovetop, directly on top of your preheated oven or right next to it. The residual heat emanating from the oven provides the perfect warm environment for the dough to comfortably expand. Let the dough rise until it reaches just at or slightly above the tops of the bowls you are using. This visual cue indicates that the dough is adequately proofed and ready for baking, promising a beautiful and tender loaf.
Step 6: Bake the Crusty Peasant Bread to Golden Perfection
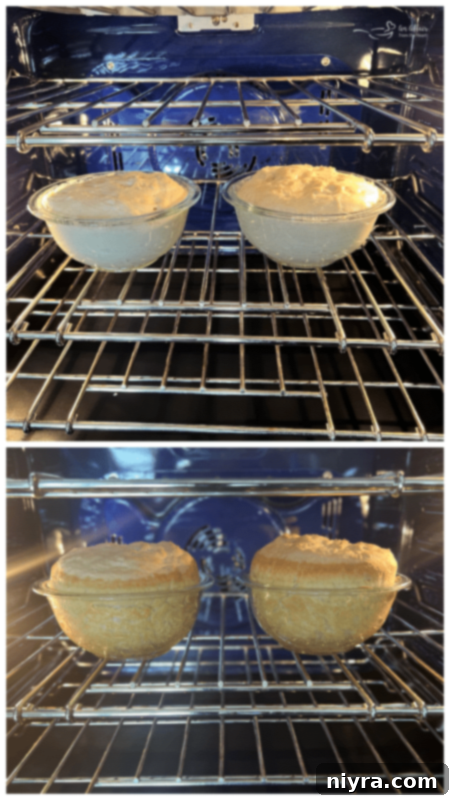
With the dough beautifully risen, it’s time for the grand finale! Carefully place the Pyrex bowls containing the dough into your preheated oven. Bake at 425 degrees Fahrenheit (220°C) for the initial fifteen minutes. This high initial heat helps create a powerful oven spring, causing the bread to rapidly expand and develop a robust, crispy crust.
After the first fifteen minutes, reduce the oven temperature to 375 degrees Fahrenheit (190°C) and continue baking for another fifteen minutes. This reduction in temperature is key to ensuring that the interior of the bread, also known as the crumb, bakes thoroughly without drying out. It allows the bread to cook through, resulting in a perfectly moist and soft center while the crust continues to crisp up to a beautiful golden brown.
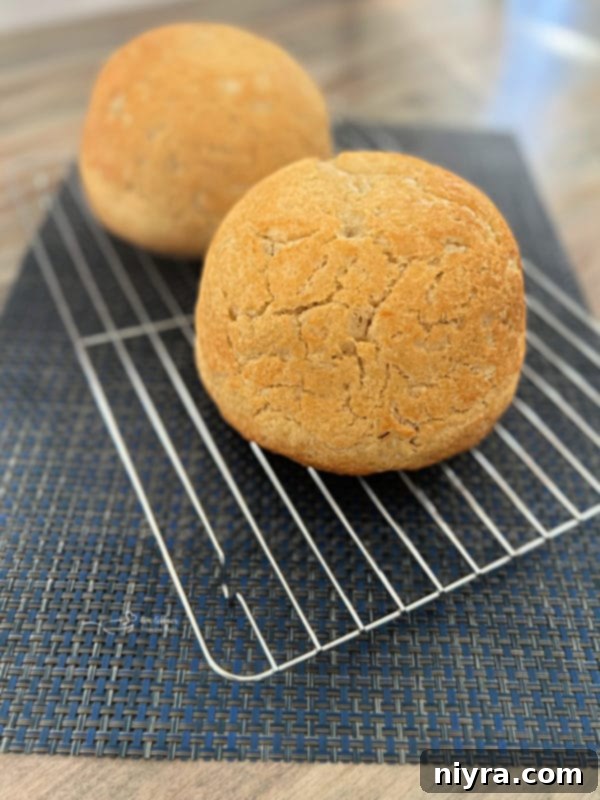
Finally, once the baking is complete and the loaves are deeply golden, carefully remove them from the oven. Immediately turn the hot loaves out onto wire cooling racks. It’s essential to allow the bread to cool for at least ten minutes before attempting to slice it. This cooling period is critical; it allows the internal structure of the bread to set and prevents it from crumbling when cut, ensuring each slice is perfect. The wait is the hardest part, but it’s absolutely worth it for that ideal texture!
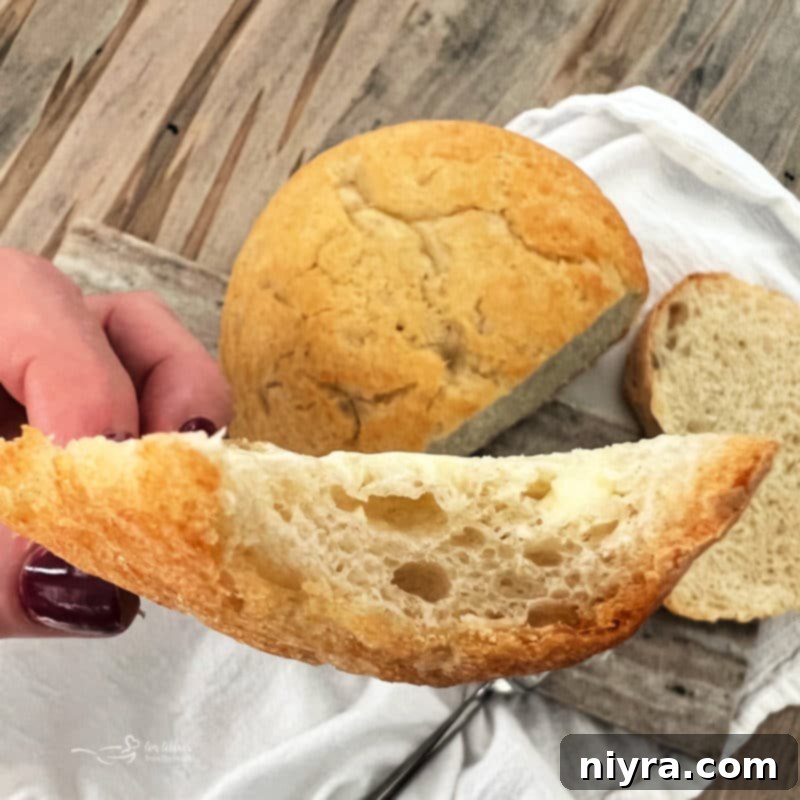
This truly is the easiest, most buttery, and utterly delicious bread you’ll ever bake, especially considering it’s made right in a simple Pyrex bowl. It’s quite possibly the most perfect homemade bread!
Expert Tips for Enjoying and Storing Your Homemade Peasant Bread
Once your glorious loaves of peasant bread are baked and cooled, the real fun begins! This versatile bread is a fantastic base for countless meals and snacks. Here are some expert tips to make the most of your homemade creation:
- **Delicious Pairings:** Enjoy this homemade soft bread recipe with classic toppings like your favorite jams, jellies, or homemade preserves. A slather of sweet honey and butter on a warm slice is pure comfort. You can also elevate it with various savory spreads like cream cheese, hummus, or a flavorful olive tapenade.
- **Versatile Uses:** This no-knead bread is incredibly adaptable. Use it as the foundation for trendy avocado toast, build classic PB&Js, or transform it into your ultimate French toast for a decadent breakfast. It’s also simply perfect for toasting and enjoying with your morning coffee.
- **Creative Leftovers:** Don’t let a single crumb go to waste! Any leftover peasant bread is ideal for making your very own homemade croutons. Simply cut the bread into cubes, toss with olive oil and seasonings, and bake until crispy. These are far superior to store-bought croutons and elevate any salad or soup.
- **Storage Solutions:** To keep your bread fresh, store any leftovers in an airtight container or a bread bag at room temperature. It will maintain its deliciousness for up to four days. For longer storage, you can also wrap it tightly in plastic wrap before placing it in an airtight container.
- **Freezing for Freshness:** If you have more bread than you can eat within a few days, slices of peasant bread freeze beautifully. Place individual slices or entire halves in a freezer-safe bag or wrapped tightly in foil and then a freezer bag. It will keep well for up to three months. When you’re ready to enjoy it again, simply allow it to thaw overnight in the refrigerator, or pop a slice directly into the toaster for a quick revival.
Love It? Pin It!
Don’t let this amazing recipe get lost in the shuffle! Make sure you can easily find it whenever you’re ready to whip up some of this yummy peasant bread. Pin it to your favorite Pinterest board now so it’s always just a click away!
From My Kitchen to Yours: A Personal Note

When I first shared this recipe, I included a charming little instruction in the baking notes: “Pause momentarily to kiss the nose of your audience.” That audience, in my case, was often our beloved boxer, Theo. This picture captures him at just 12 weeks old, already my dedicated kitchen sidekick. Theo has always had an incredible nose for all things food, but he becomes especially curious and attentive whenever I’m making whipped cream or, of course, baking bread. His presence always adds an extra layer of warmth and joy to my kitchen adventures.
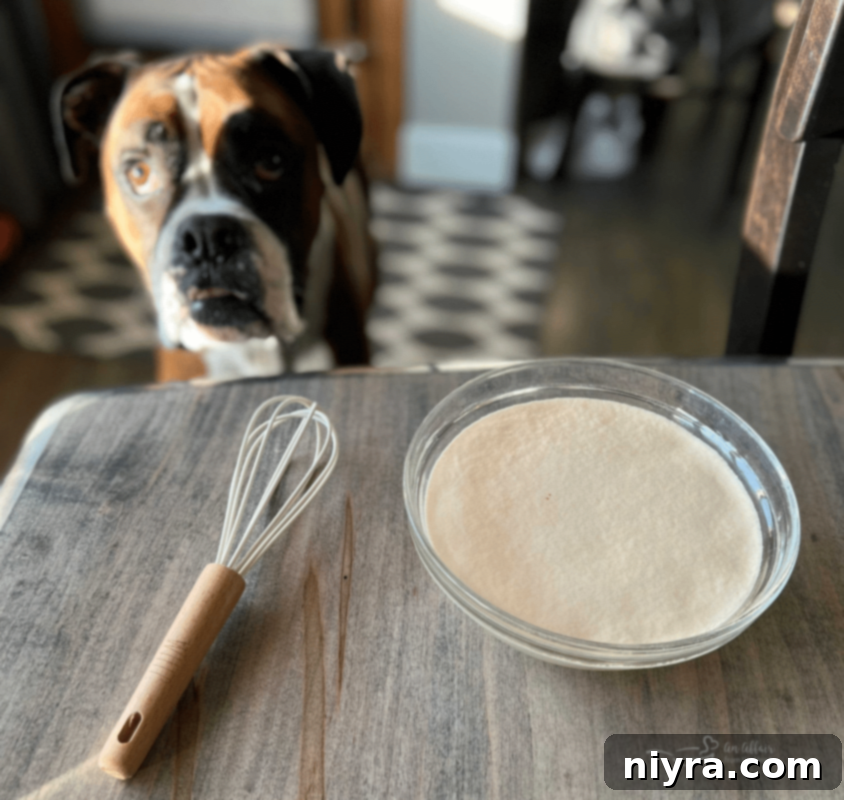
Here he is, six years later, still faithfully guarding that precious yeast for Mom. He’s truly such a good boy, and a constant reminder of the simple joys that fill our home, especially when fresh bread is baking. Baking, for me, isn’t just about the food; it’s about creating memories, sharing warmth, and yes, sometimes sharing a quiet moment with a furry friend in the kitchen.
Explore More Irresistible Bread Recipes You Will Love
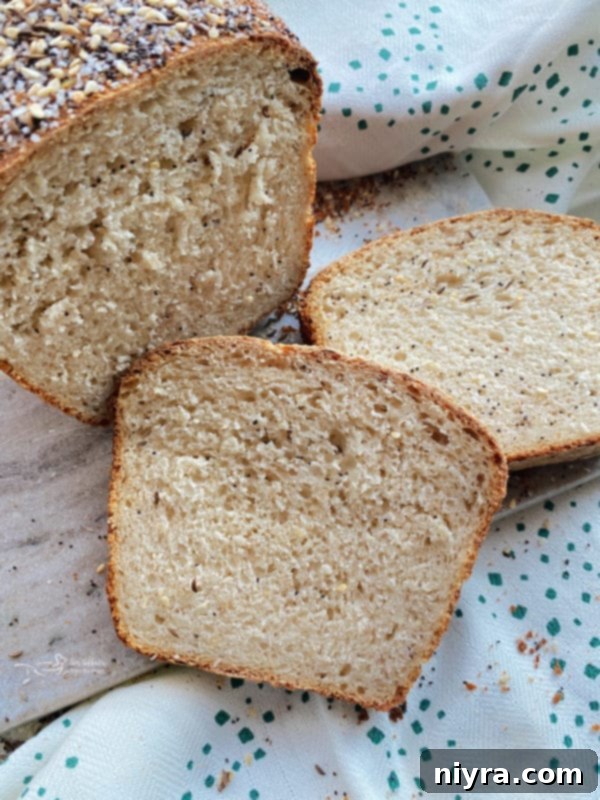
If you’ve fallen in love with the art of bread making, or simply enjoy a delicious homemade loaf, here are more fantastic bread recipes from my kitchen that I’m sure you’ll adore:
- Everything Sauerkraut Bread (pictured above)
- Crack Bread
- Lemon Sweet Rolls
- Honey Cornbread Recipe
- Lemon Blueberry Sweet Rolls
- Irish Soda Bread
- Cheesy Bacon Pull Apart Bread
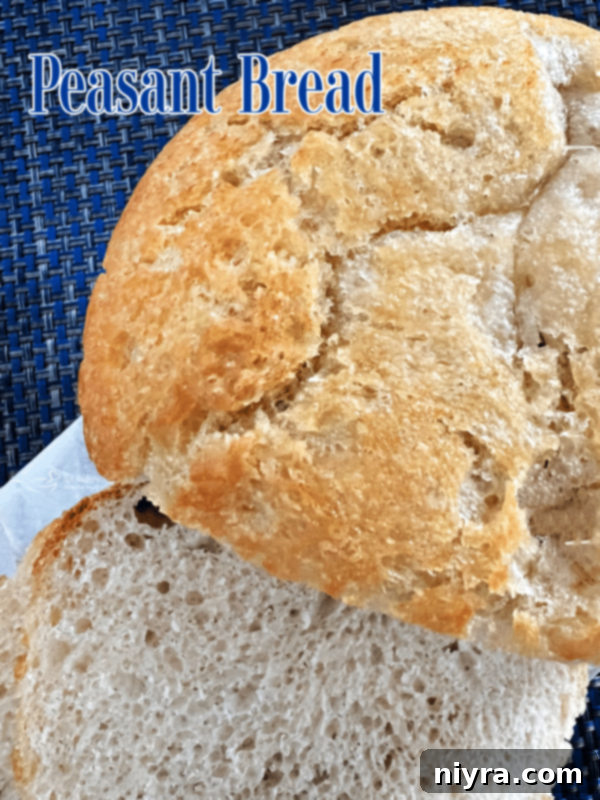
Are you ready? Let’s make some glorious Peasant Bread! 
LIKE THIS RECIPE?
Don’t forget to give it a ⭐️⭐️⭐️⭐️⭐️ star rating and
leave a comment below the recipe!

Print Recipe
Peasant Bread
Ingredients
- 4 cups all-purpose UNBLEACHED Flour
- 2 teaspoons kosher salt
- 2 cups lukewarm water **Tip from Alexandra: add 1 1/2 cups cold water to 1/2 cup boiling water to have the perfect temperature
- 2 to 3 teaspoons sugar I used 2 1/2
- 2 teaspoons active-dry yeast
- 2 Tablespoons butter room temperature
Instructions
- Mixing the dough: If using active-dry yeast: Dissolve the sugar into the water, in a small bowl. Sprinkle the yeast over top. (no need to stir) Let it stand for about 10 to 15 minutes or until the mixture is foamy. — this step ensures that the yeast is active. In a large bowl, whisk together flour and salt. When yeast/water/sugar mixture is foamy, stir it up, and add it to the flour bowl. Mix until the flour is absorbed. ** If you are using instant yeast: In a large mixing bowl, whisk together the flour, salt, sugar, and instant yeast. Add the water. Mix until the flour is absorbed.
- Rising Dough: Cover bowl with a tea towel or plastic wrap and set aside in a warm place to rise for 1 – 1 1/2 hours. (If you are letting the bread rise in a cool place, it can take as long as two hours to rise.) ** Tip from Alexandra: Create a slightly warm spot for your bread to rise by turning the oven on to 350 degrees for a minute, then turn it off. Note: Do not allow the oven to heat for more than 1 minute — it will be too hot. Place bread in warm(ish)oven to rise.
- Dividing Dough: Preheat the oven to 425ºF. Grease two oven-safe glass bowls (such as a 1 quart pyrex) with about a tablespoon of butter each. Using two (smaller sized) forks, punch down your dough and scrape it from the sides of the bowl. Turning dough onto itself towards the middle. Loosen entirely from the sides of the bowl. Using your two forks, divide the dough into two equal portions — scoop up each half and place into your buttered bowls.
- Second Rise: Let the dough rise for about 20 to 30 minutes (uncovered) in a warm place. (If your stove top is over your oven place it on your stove top, this will work great. I have a wall oven, so I just placed mine on the counter next to the oven) Let it rise until just below or slightly above (depending on what size bowl you are using) the top of the bowls.
- Baking the bread: Place bowls in oven, and bake for 15 minutes. Reduce the heat to 375º and bake 15 minutes longer. Remove from oven and turn loaves onto a cooling rack. Cool for 10 minutes before slicing..
Notes
Nutrition
This delightful Peasant Bread recipe was originally posted on January 23, 2016. It has been thoroughly updated and re-shared on January 21, 2022, to enhance user experience, provide clearer instructions, and enrich the content.
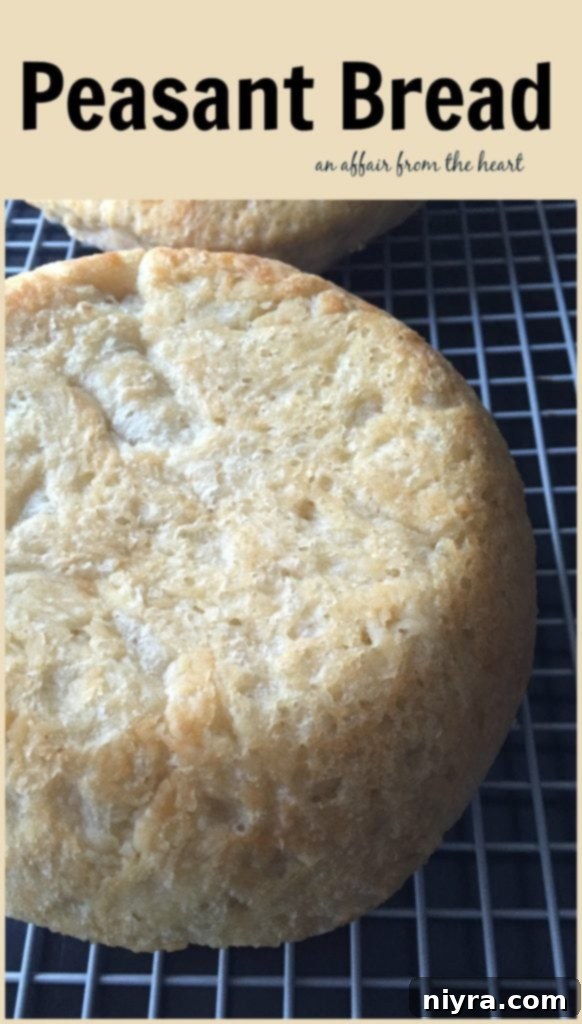
I hope you cherish this recipe as much as I do!
Happy Baking!
