Microwave Parmesan Cheese Bowls: The Ultimate Edible Salad Experience
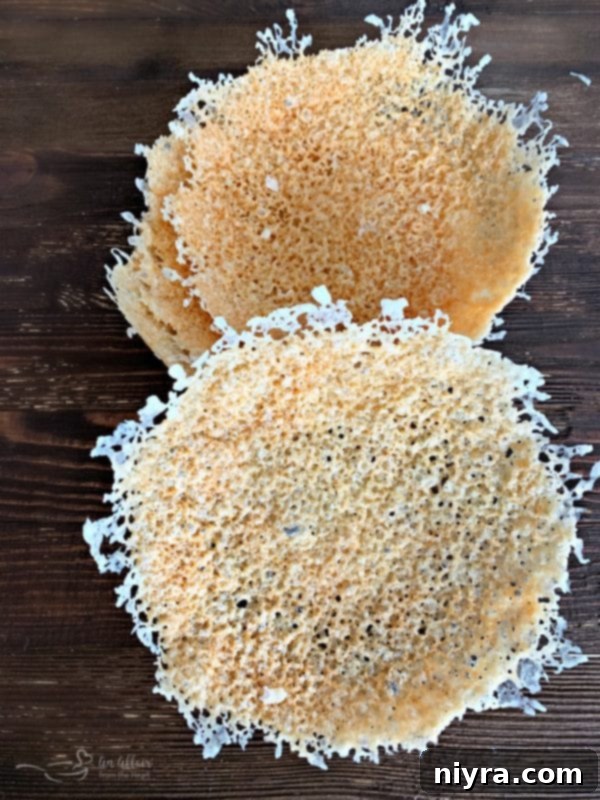
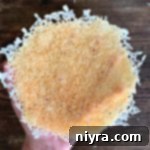
Transform your dinner parties and everyday meals with these exquisite edible Parmesan cheese bowls! Surprisingly simple to make right in your microwave, these bowls offer a stunning lattice effect from the shredded cheese, elevating any salad or appetizer into a gourmet presentation.
Imagine serving a vibrant, fresh salad or a delightful appetizer in a bowl that your guests can actually eat! These incredible Parmesan cheese bowls are not only beautiful but also incredibly easy to create. In this comprehensive guide, we’ll walk you through the simple, step-by-step process of making these show-stopping edible bowls using just your microwave. Get ready to impress with minimal effort and maximum flavor, turning any ordinary meal into an extraordinary culinary experience.
A Culinary Journey: The Inspiration Behind These Edible Bowls
My journey with these fantastic Parmesan cheese bowls began back in 2013 when I was planning a special Valentine’s Luncheon for my dearest girlfriends. I vividly remember my friend, Sheri, raving about them after encountering them at a party. Her description alone was enough to pique my interest, and I knew instantly that I had to try making them myself. The idea of serving individual salads in charming, savory, edible vessels was simply irresistible, promising a unique and memorable dining experience.
That year, our luncheon theme revolved around salads and pizza – a perfect pairing, if you ask me! These homemade Parmesan cheese salad bowls quickly became the undisputed stars of the event, alongside a delicious Spinach Artichoke Pizza. There’s just something universally appealing about melted, crispy cheese, isn’t there? Who could possibly resist such a cheesy delight, especially when it’s transformed into a functional and delicious serving vessel?

Over the years, as I’ve continued to craft these delightful edible cheese bowls, I’ve gathered invaluable insights and refined my technique. The single most important lesson I’ve learned? The quality of your Parmesan cheese makes all the difference. While my initial attempts using pre-packaged shredded Parmesan yielded pretty results, as seen in my older photos, the true transformation came with a simple switch to freshly grated cheese. The difference in taste and texture is monumental, and it’s a detail that truly elevates these Parmesan cheese bowls from good to absolutely phenomenal.
The Unbeatable Advantage of Freshly Grated Parmesan Cheese
When it comes to making the best Parmesan cheese bowls, investing a little extra time in grating your own cheese is a game-changer. There are several compelling reasons why a block of authentic Parmesan, freshly grated, will always outperform its pre-shredded or canned counterparts.
Superior Flavor Profile
Freshly grated Parmesan offers an incredibly rich, nutty, and complex flavor that packaged shredded cheese simply cannot match. Pre-shredded varieties often contain anti-caking agents, cellulose, and other additives designed to prevent clumping and extend shelf life. These chemicals not only dilute the pure taste of the cheese but can also leave an unwanted powdery or starchy mouthfeel. When you grate cheese from a block, especially a high-quality Parmigiano Reggiano, you experience the authentic, unadulterated taste, free from any artificial interference. This pure flavor is crucial for the overall deliciousness of your edible bowls.
Optimal Melting Characteristics
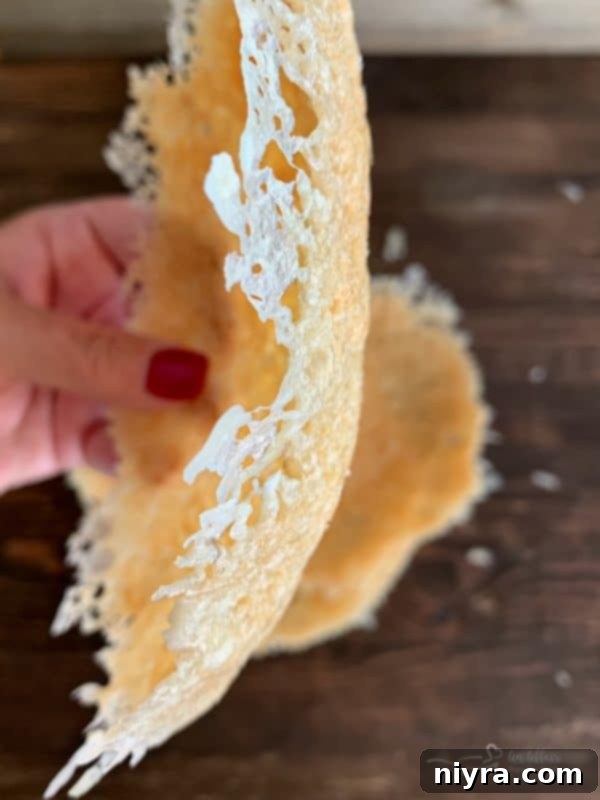
The preservatives and starches found in bagged shredded cheese are specifically added to keep the individual shreds from sticking together. While useful for storage, these additives actively inhibit the cheese from melting smoothly and creamily. Freshly grated Parmesan, on the other hand, melts beautifully and uniformly, creating a more cohesive, pliable sheet of cheese that is perfect for shaping into bowls. This results in the desired crispy, yet slightly chewy, texture that makes these edible Parmesan bowls so delightful and easy to mold.
A More Economical Choice
It might seem counterintuitive, but buying a block of Parmesan cheese is often more cost-effective than purchasing the same weight in pre-shredded form. The convenience of pre-shredded cheese comes with a hidden “convenience charge,” covering the cost of processing and packaging. When you buy a block, you’re paying purely for the cheese itself, without these added expenses and often unnecessary additives. You truly get more cheese for your money, making it a smarter choice for both your palate and your wallet in the long run.
Avoid Canned Parmesan Entirely
And for the love of good food, please, avoid the stuff that comes in a can. This product bears little resemblance to actual Parmesan cheese and is typically filled with an array of fillers, starches, and preservatives. Using it for these edible bowls would not only compromise the structural integrity but also result in a bland, unappetizing product that lacks the true essence of Parmesan. Stick to real, fresh cheese for real, delicious results.
So, take my word for it: choose a high-quality block of real Parmesan cheese and grate it yourself. You will not only see but profoundly taste the difference that this simple step makes. I promise you, the extra effort is worth every single shred. And as an added bonus, you’ll even get a slight arm workout in the process, preparing you for the magnificent feast to come!
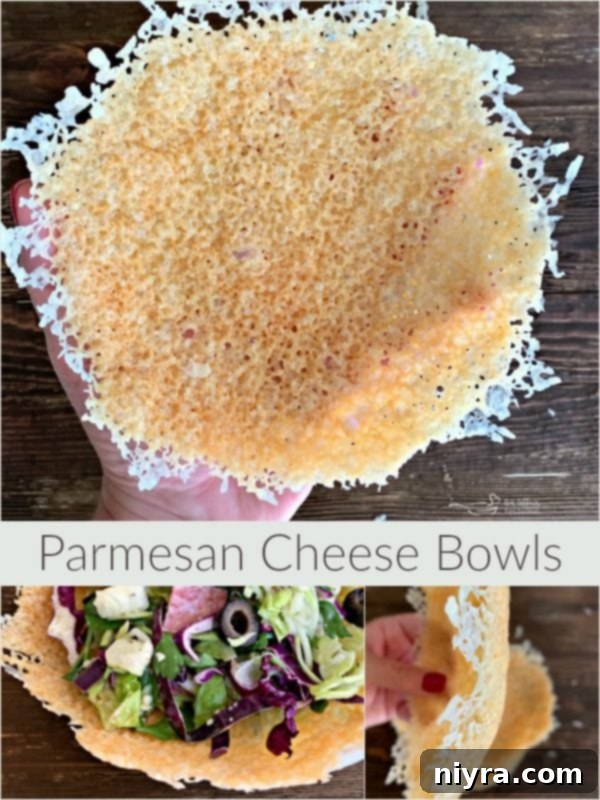
^Love these edible creations? Don’t forget to Pin this Recipe for later!^
Now that we’ve established the golden rule of using freshly grated Parmesan, let’s gather the other essential tools and dive into the simple yet magical process of making these show-stopping edible cheese bowls.
Essential Equipment for Perfect Parmesan Bowls
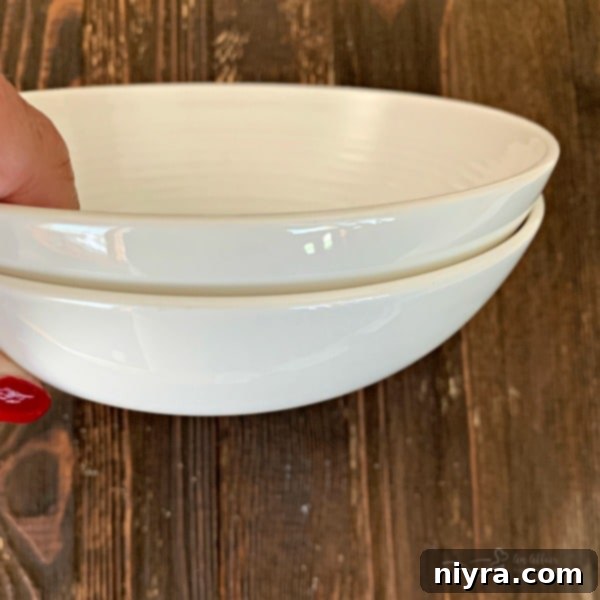
You’ll need just a few simple items from your kitchen to create these edible masterpieces. Having everything organized and within reach will streamline your process and lead to better results:
- Two microwave-safe dinner plates: These plates serve as a stable base for cooking your cheese and supporting the inverted bowl during the shaping process. Ensure they are fully microwave-safe to prevent any accidents.
- Good quality parchment paper: This is absolutely essential! Parchment paper prevents the melted cheese from sticking to your plate and allows for easy transfer of the hot cheese. Do not substitute with wax paper, which is not suitable for microwave cooking and can melt or burn.
- Two microwave-safe nesting bowls: These bowls are crucial for shaping your Parmesan crisps into perfect, uniform edible bowls. When selecting your bowls, ensure they are not too large (consider the portion size you desire) and that they can nest tightly together. I found that standard cereal bowls or soup bowls from my everyday dish set worked perfectly.
Before you begin, ensure all your equipment is clean and ready. Having everything at hand will make the process smooth, enjoyable, and efficient, allowing you to focus on the art of crafting your edible bowls.
Step-by-Step Guide: Crafting Your Edible Parmesan Bowls in the Microwave
Prepare Your Shaping Station
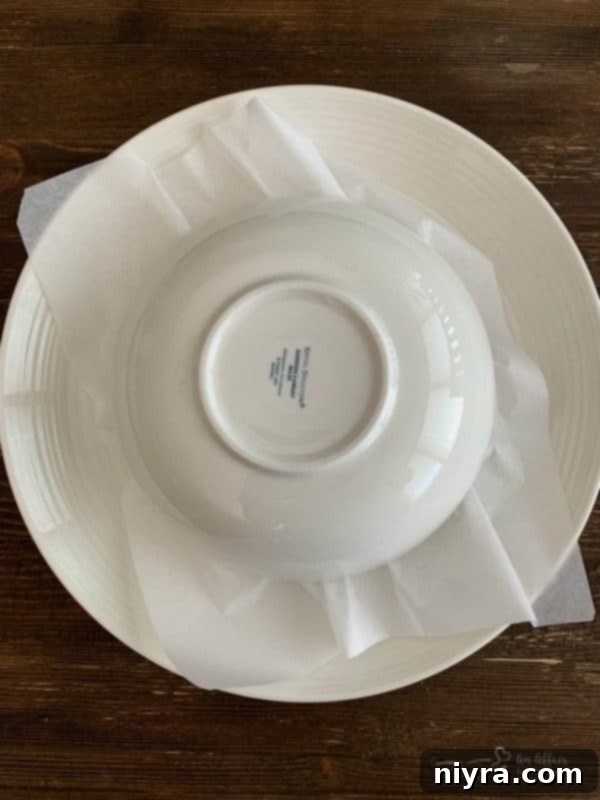
Begin by taking one of your microwave-safe dinner plates and inverting one of your nesting bowls onto its center. This inverted bowl will act as the mold over which you’ll shape your hot, pliable cheese. Setting this assembly aside beforehand ensures you can work quickly once the cheese is out of the microwave.
Portion and Shape the Cheese

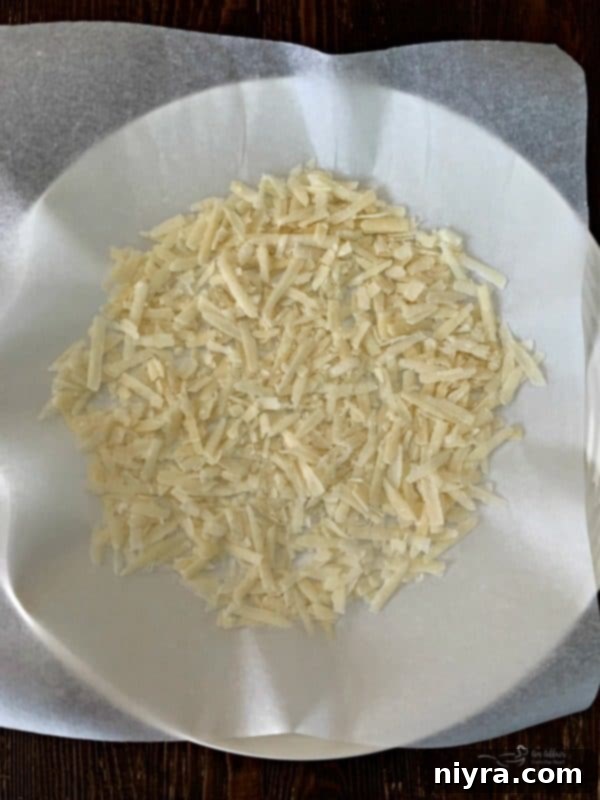
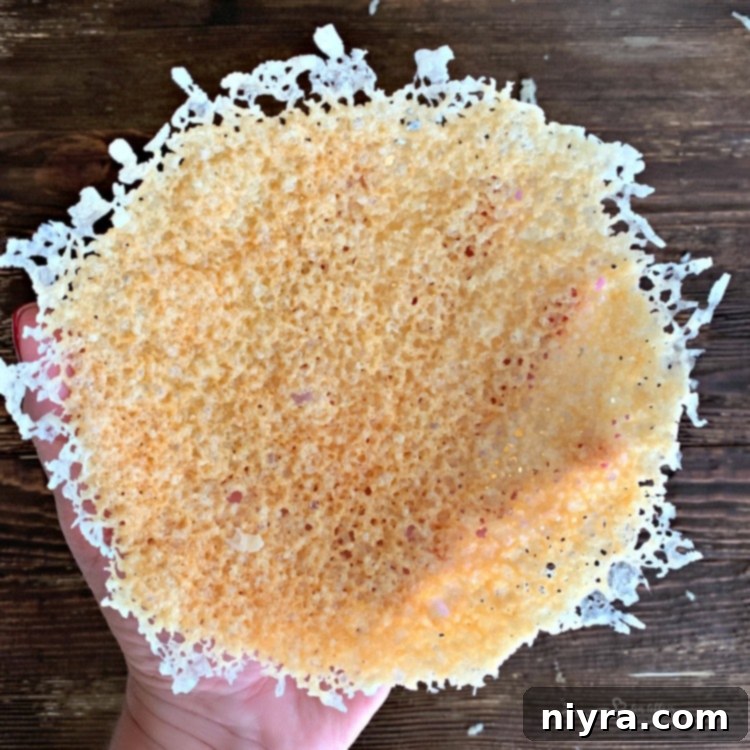
Cut a piece of good quality parchment paper to fit and cover your second microwave-safe plate. Place the parchment paper on the plate. In the very center of this parchment-lined plate, place approximately 1/2 cup of freshly grated Parmesan cheese. Using your fingers, gently spread the cheese into an even circle. Aim for a circle that is about 1/2 inch larger in diameter than the inverted bowl you prepared in Step 1. Don’t worry about achieving a perfectly solid circle; small gaps and holes are actually desirable as they will create that beautiful, delicate “lattice” effect once the cheese is cooked, adding to its visual appeal.

Microwave to Perfection

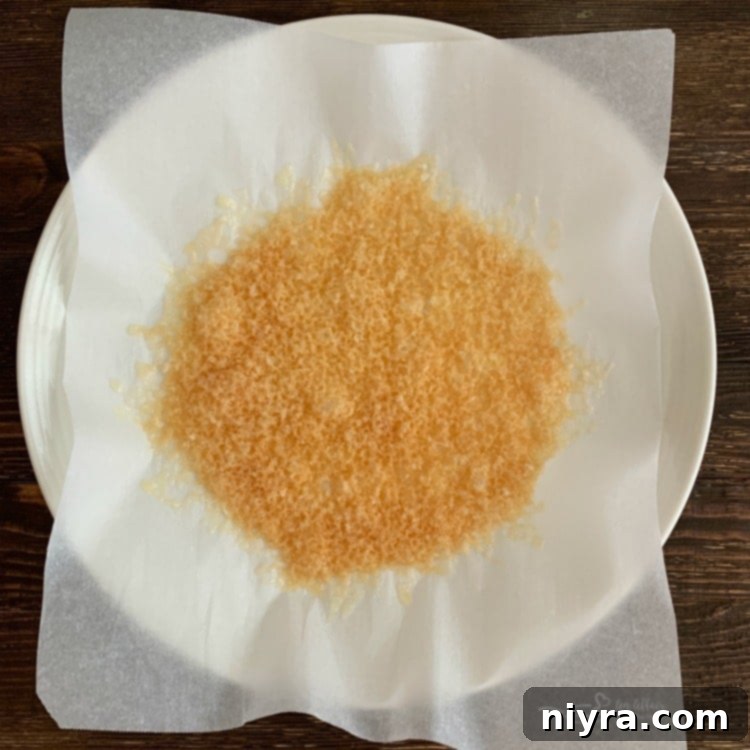
Carefully place the plate with the cheese and parchment paper into your microwave. Cook on high for approximately 2 minutes. Cooking times can vary based on your microwave’s wattage, so it’s crucial to keep a close eye on the cheese. It will begin to bubble vigorously and should start to turn a light golden brown around the edges. This browning indicates it’s crisping up beautifully. If it’s not quite golden after 2 minutes, cook for another 15-30 seconds, but be extremely careful not to burn it, as it can go from perfect to overdone very quickly.
Shape the Hot Cheese

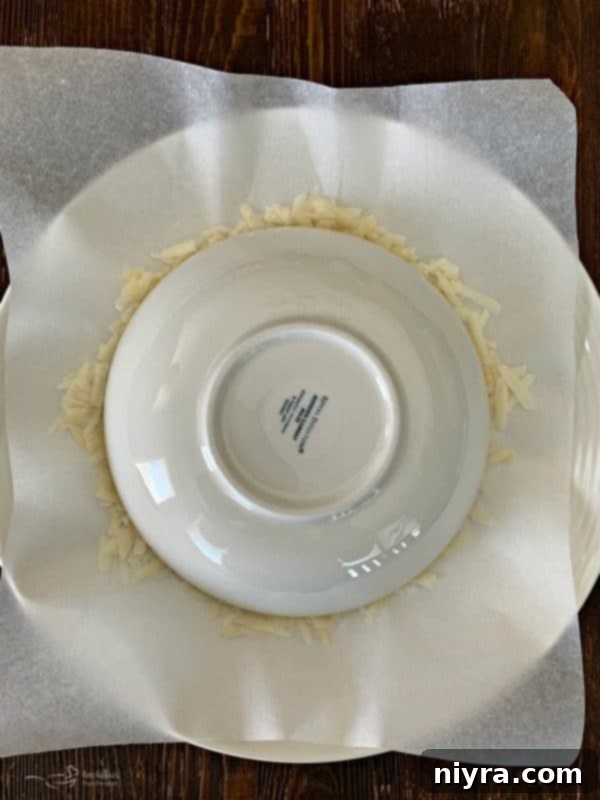
Immediately and carefully (beware, the cheese and plate will be very hot!), remove the plate from the microwave. The cooked cheese will still be pliable, but will start to harden quickly. Working quickly, gently lift the parchment paper with the melted cheese and flip it upside down directly onto the inverted bowl you prepared earlier. The cheese should drape elegantly over the rounded bottom of the bowl. To help it form a perfect, stable bowl shape, take the second nesting bowl and place it right on top of the cheese, pressing down gently to mold the cheese between the two bowls. This technique ensures a beautifully rounded, stable edible bowl.
Cool and Release

Allow the cheese to cool and set for about 30 seconds while it’s still on the bowl mold. It cools remarkably quickly as it’s quite thin. Once it has firmed up but is still slightly warm, carefully remove it from the inverted bowl. The Parmesan bowl should lift off easily without sticking. Place it on a wire rack or a clean plate to cool completely before handling or stacking. Ensuring they are fully cooled will prevent them from sticking together or losing their perfectly sculpted shape.
Repeat for More Bowls
You can typically reuse the same piece of parchment paper for several bowls without any issue, making the process even more efficient and reducing waste. Simply repeat the steps for each additional edible bowl you wish to create. It’s advisable to make them in batches, especially if you’re serving a larger group, ensuring a continuous supply of these delicious vessels.
Serving Suggestions & Creative Uses for Your Edible Parmesan Bowls
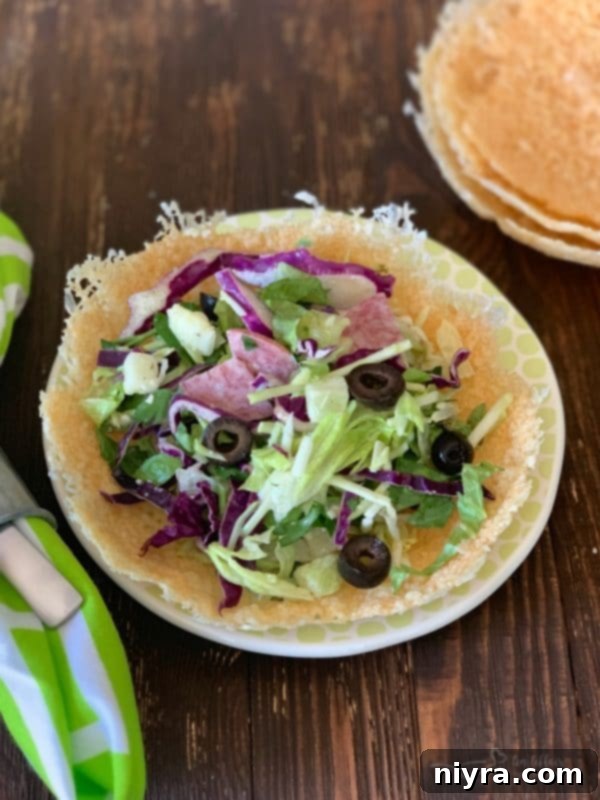
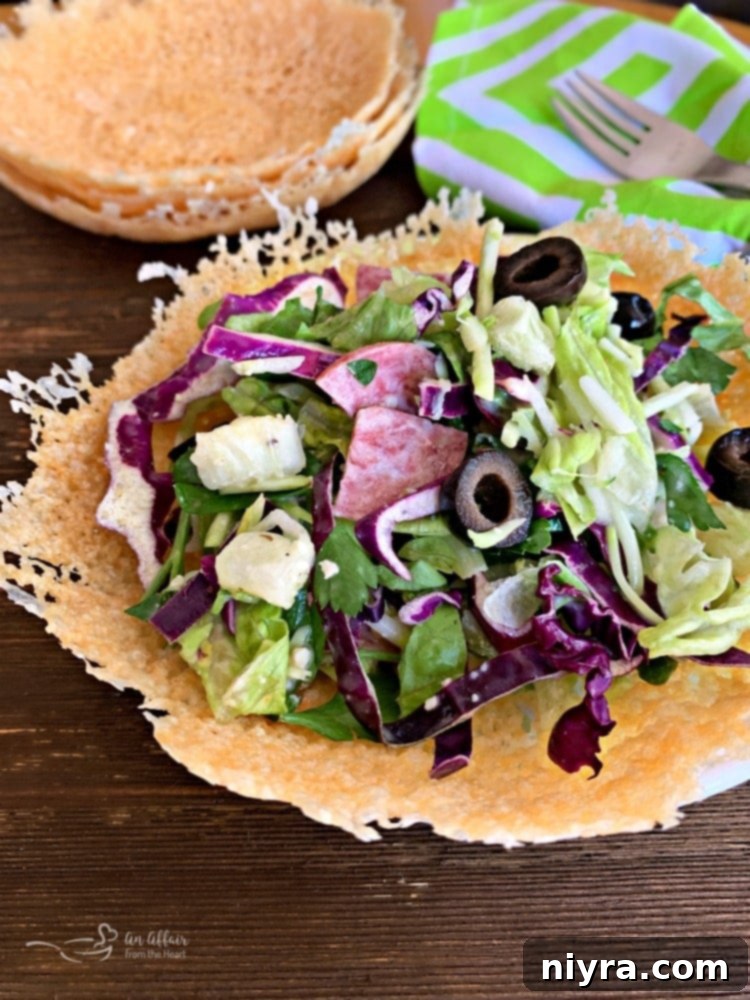
Once your beautiful edible Parmesan cheese bowls are cooled and ready, the possibilities are endless! I personally love filling them with a fresh, crisp Italian chop salad, as shown in the picture. The savory, salty crunch of the Parmesan perfectly complements the fresh vegetables and zesty dressing, adding an extra layer of flavor and texture. The biggest challenge? Keeping my family from devouring these addictive bowls before I’ve even had a chance to add the salad! If you’ve ever enjoyed a Parmesan Cheese Crisp, you know exactly what I mean – they’re irresistibly delicious on their own!
Beyond traditional green salads, consider these creative and delicious uses to showcase your edible Parmesan creations:
- Appetizer Holders: These bowls are ideal for individual appetizer portions. Fill them with elegant bruschetta toppings, a vibrant scoop of fresh guacamole, zesty salsa, or a light seafood salad. They instantly elevate any starter.
- Soup Garnishes: While not designed for hot liquids due to their delicate nature, a small Parmesan bowl could sit artfully on the side of a creamy tomato soup, a rich butternut squash soup, or even a classic French onion soup, ready to be crumbled in by guests for an extra burst of savory flavor and crunch.
- Savory Dessert Explorations: For the truly adventurous, imagine a unique savory ice cream (like a basil or olive oil flavor) presented within these bowls. Or, for a simpler, elegant option, a mini caprese salad with cherry tomatoes, fresh mozzarella, and basil drizzle would be stunning.
- Party Platters: Use various sizes of Parmesan bowls to organize and present different dips, spreads, or small portions of antipasto on a festive party platter. They make for a cohesive and impressive display.
If you’re already digging these versatile edible Parmesan cheese bowls, I bet you’ll also love making Air Fryer Taco Salad Bowls the next time you prepare taco salad! It’s another fantastic way to enjoy your meal right down to the last delicious bite, adding a fun, edible twist to your favorite dishes.
Tips for Success & Troubleshooting Your Parmesan Bowls
To ensure your Parmesan cheese bowls turn out perfectly every time, keep these expert tips and troubleshooting advice in mind:
- Know Your Microwave: Every microwave has a different wattage and heats differently. The first bowl you make might serve as a test run. Adjust cooking time by 15-second increments until you find the sweet spot for your specific appliance. You’re aiming for a beautiful golden-brown color, not a burnt, acrid taste.
- Work Quickly: The melted cheese hardens remarkably fast once it’s removed from the microwave. Have your inverted bowl ready and be prepared to shape the cheese immediately. Speed is key to achieving that perfect bowl form.
- Parchment Paper is Key: Do not substitute parchment paper with wax paper or aluminum foil in the microwave. Parchment paper is essential for its non-stick properties and ability to withstand microwave heat. Using other materials can lead to sticking, burning, or even dangerous situations.
- Even Spreading: Spreading the grated cheese evenly into a circle on the parchment paper ensures uniform melting and crisping. Uneven spots might result in some areas burning while others remain too soft and won’t hold their shape.
- Proper Storage: Once completely cooled and hardened, store your Parmesan bowls in an airtight container at room temperature for up to 2-3 days. Avoid refrigerating them, as the humidity in the fridge can cause them to become soft and lose their crisp texture.
- Make Ahead Advantage: These edible bowls are perfect for making ahead of time, which makes them an ideal choice for entertaining. Prepare them a day or two in advance and store them properly until you’re ready to fill and serve. This allows you to focus on your guests and other dishes on the day of your event.
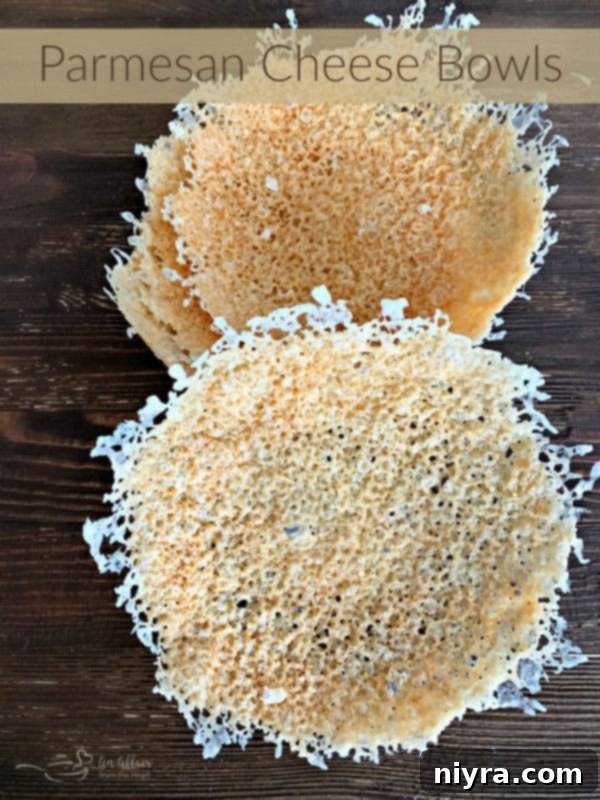
There you have it – all the secrets to crafting stunning, delicious, and incredibly fun edible Parmesan cheese bowls. Whether for a special occasion, a celebratory gathering, or just to add a touch of gourmet flair to your weeknight dinner, these unique bowls are sure to be a hit with everyone. So, what are you waiting for? It’s time to gather your high-quality ingredients and start making some magnificent Parmesan cheese salad bowls!

Parmesan Salad Bowls Recipe
LIKE THIS RECIPE?
Don’t forget to give it a ⭐️⭐️⭐️⭐️⭐️ star rating and
leave a comment below the recipe!
Rated 4.60 out of 5 stars by 10 users
Print Recipe
Parmesan Salad Bowls
Wow your guests and serve their salad in these gorgeous Parmesan salad bowls! They are easily made, right in your microwave. The lattice effect of the shredded parmesan cheese is stunning!
Author: Michaela Kenkel
Ingredients
- 2 cups of grated fresh Parmesan cheese (not the canned stuff!!)
- Good quality parchment paper
- 2 microwave safe nesting bowls (or see comments above for details)
- 2 microwave safe dinner sized plates
Instructions
- Invert one bowl onto a dinner sized plate, set aside.
- Cut your parchment paper to cover your microwave safe plate. In the center of the plate, on the parchment paper, place about 1/2 cup of cheese and spread into a circle with your fingers. It should be about 1/2″ bigger than your bowl you are mimicking. You don’t need to be exact, and there can be small holes. Those give a more “lattice” effect when they are done.
- Place in the microwave and cook for 2 minutes. The cheese will bubble and start to brown.
- Take it out of the microwave, and carefully (IT’S HOT!) flip it upside down, with the parchment, onto the bowl inverted on to the plate. Cover with the other bowl to form the cheese bowls.
- Take off of the bowl while they are warm. They cool quickly, make sure to cool them before stacking them.
- I used the same piece of parchment for all 4 bowls, and never had a problem.
Notes
Recipe found on The Yummy Life.
Nutrition
Serving: 1 | Calories: 210 kcal | Carbohydrates: 7g | Protein: 14g | Fat: 14g | Saturated Fat: 8g | Polyunsaturated Fat: 4g | Cholesterol: 43mg | Sodium: 902mg
