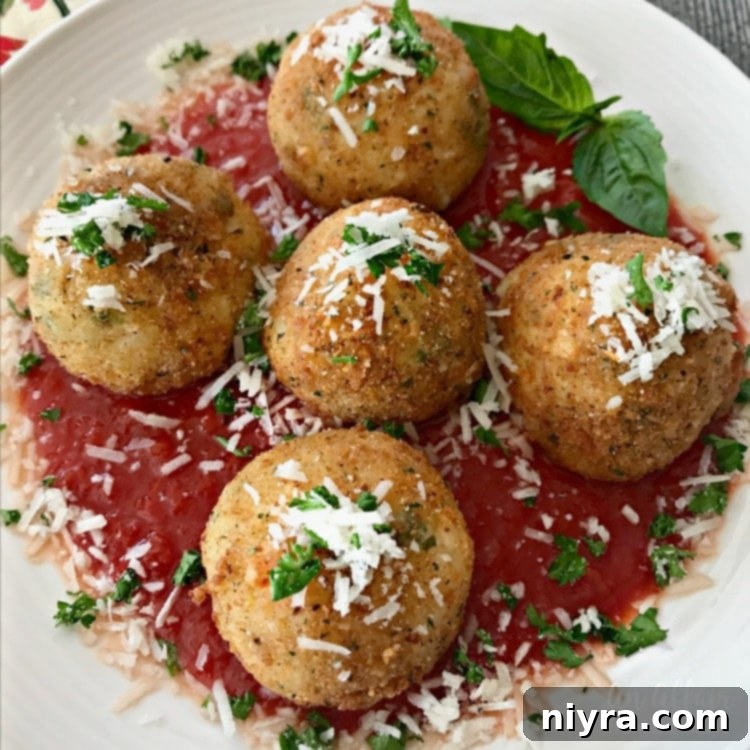
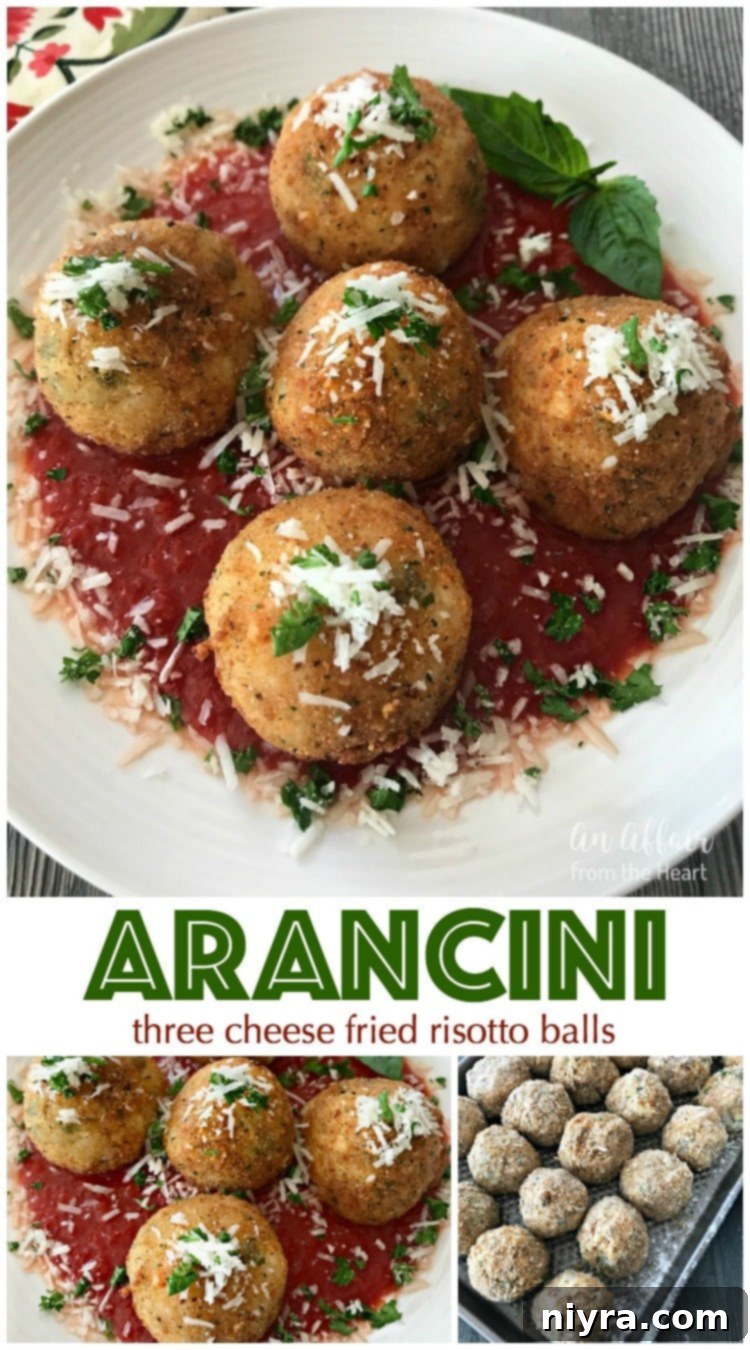
Indulge in the exquisite flavor of these Italian Three Cheese Fried Risotto Balls, famously known as Arancini. Perfectly golden-brown and delightfully crispy, these savory morsels made with creamy Arborio rice, a blend of fine cheeses, aromatic garlic, and fresh herbs are more than just an appetizer; they can transform into a satisfying meatless meal. Served with a rich marinara sauce and a generous dusting of grated cheese, Arancini offers a taste of authentic Italian comfort food right in your home.
Discovering the Magic of Homemade Arancini
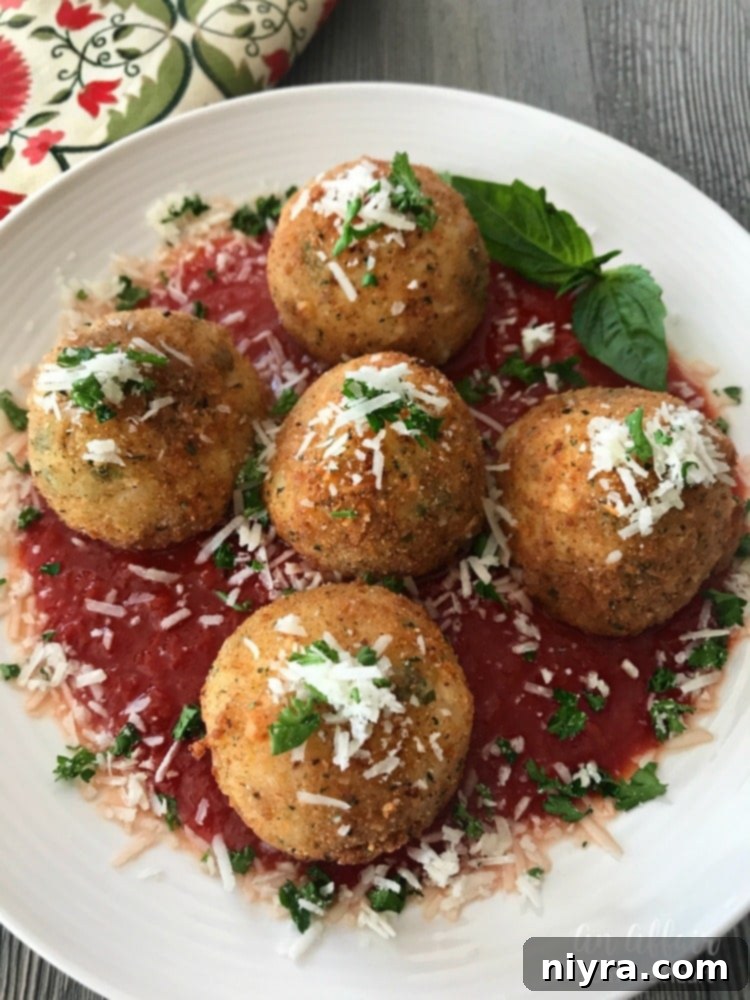
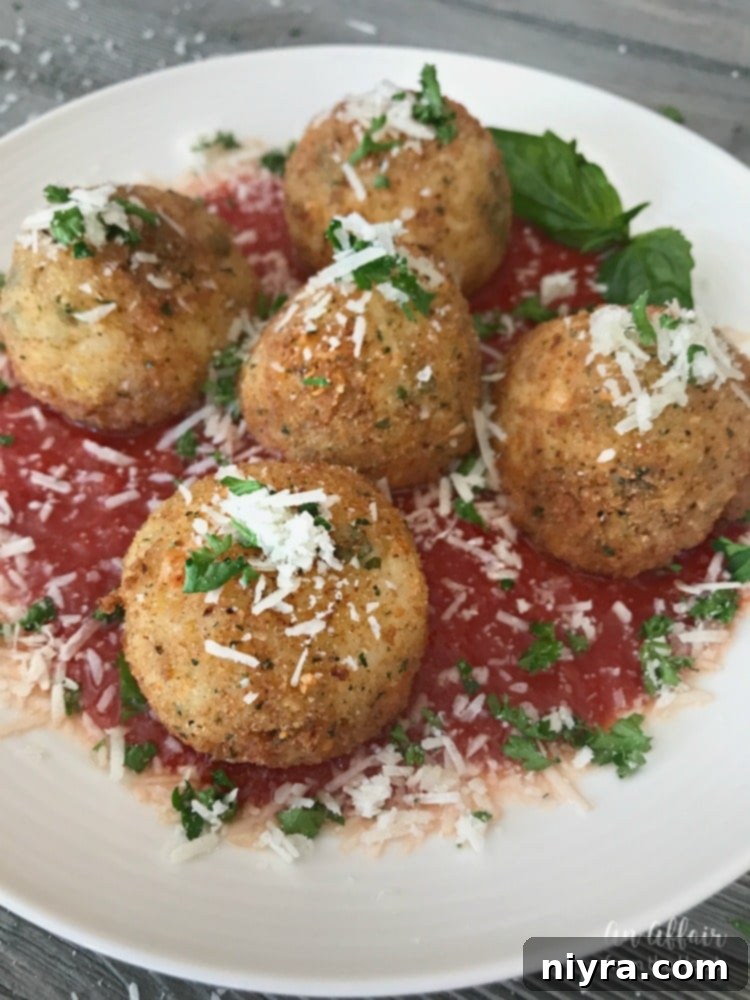
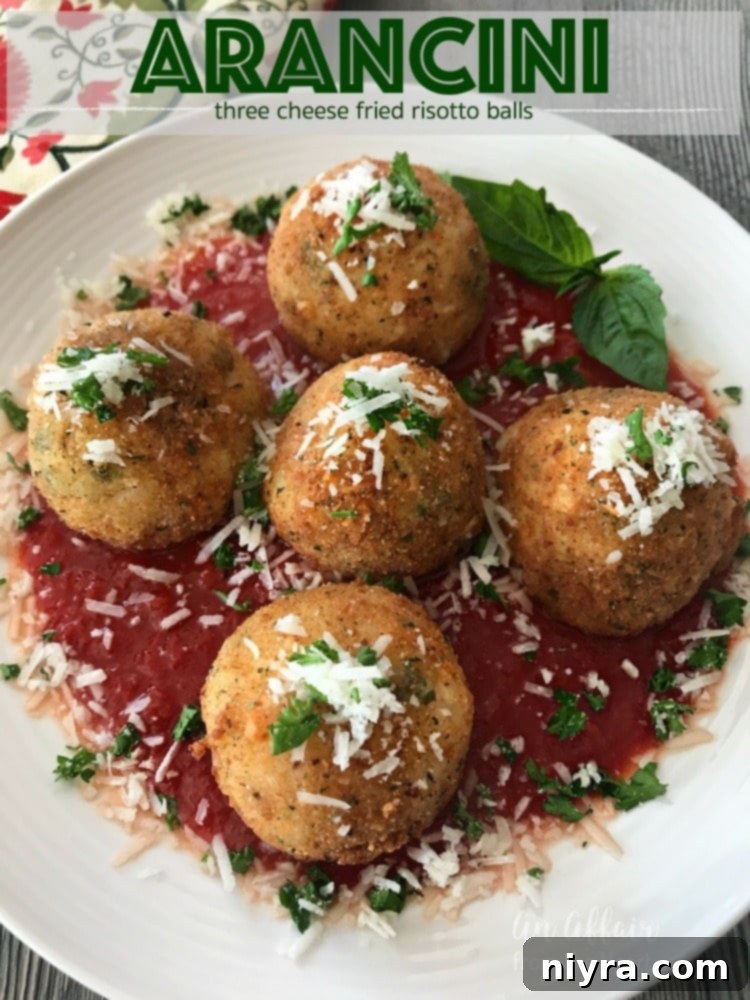
My culinary journey often takes me back to the cherished flavors found at our beloved hometown Italian restaurant, Bella Vita. Among their many delightful offerings, the Arancini always stood out as my absolute favorite appetizer. The presentation itself is a work of art: perfectly spherical, golden-fried risotto balls elegantly arranged on a small plate, bathed in a vibrant marinara, and garnished with a sprinkle of grated cheese and fresh Italian parsley. It’s a feast for the eyes, but truly, the real magic begins when you break through that crispy exterior. The moment you cut into one, revealing its warm, cheesy interior, all thoughts of prettiness vanish, replaced by an irresistible urge to savor every single bite. The experience is pure culinary bliss, leaving the plate immaculately clean.
That unforgettable experience at Bella Vita ignited a desire within me to recreate these incredible fried risotto balls at home. While restaurant-quality Arancini are a treat, mastering them in your own kitchen offers a unique sense of accomplishment and the joy of sharing a truly special dish with loved ones. It’s about bringing a piece of Italian tradition and comfort to your table, with the added benefit of customizing it to your exact taste.
The Excitement of Freaky Friday: A Culinary Collaboration
Today marks another exciting installment of “Freaky Friday,” a unique blogging event I had the pleasure of initiating several years ago. For those unfamiliar, Freaky Friday is a secret recipe exchange among food bloggers. Each participant is secretly assigned another blogger’s page, tasked with choosing and recreating one of their recipes. Then, on a designated Friday, we all simultaneously reveal our chosen dishes and share our experiences. It’s a wonderful way to discover new recipes, explore different cooking styles, and celebrate the incredible talent within our blogging community. The element of surprise and the shared passion for food make it an incredibly fun and, without a doubt, delicious event every single time.
This round of Freaky Friday was particularly special because it gave me the perfect opportunity to finally recreate a dish I had long admired. The spirit of this collaborative event encourages us to step outside our comfort zones and truly appreciate the diverse culinary creations of our peers. It’s always a journey of discovery, bringing new flavors and techniques into our own kitchens, and forging stronger connections with fellow food enthusiasts. The anticipation leading up to the reveal day is always palpable, making the resulting feast even more rewarding.
Explore Past Freaky Friday Recipes

A Deep Dive into LeMoine Family Kitchen: A Treasure Trove of Recipes
For this round of Freaky Friday, I was thrilled to be assigned LeMoine Family Kitchen, the scrumptious recipe blog helmed by the exceptionally talented Angela LeMoine. Angela is a true culinary gem, a wife to her high school sweetheart, Steve, and a loving mom to two adorable boys, Jack and Ryan. Hailing from New Jersey and boasting a proud Italian heritage, Angela infuses her cooking with authentic passion and flavor. Beyond her kitchen prowess, Angela is a woman of many talents; she dedicates her time to yoga, teaches invigorating Zumba classes, and possesses an incredible knack for home decorating, transforming ordinary furniture pieces into breathtaking masterpieces through paint. Meeting Angela (even virtually) has been an absolute pleasure; her sweet disposition and genuine talent shine through in everything she does. I sincerely hope that one day our paths will cross in person!
This isn’t my first delightful encounter with Angela’s blog. I previously had the joy of making her Spinach & Artichoke Stuffed Shells, a dish that perfectly encapsulated her knack for creating comforting and flavorful Italian cuisine. Given her Italian background, it almost feels sacrilegious to choose something non-Italian from her vast repertoire, as there are so many exquisite choices! However, Angela’s culinary range extends far beyond Italian classics. A funny story highlights this: my blogger friend Brandi raved about Angela’s Black Bean Soup. Then, another friend, Candi, made it after Brandi’s recommendation and loved it just as much. Naturally, I had to see what all the fuss was about, and indeed, we loved it too! This goes to show that Angela is truly versatile. In fact, she is practically the queen of scones. You absolutely must check out her delightful Chocolate Chip Scones from last fall, or her incredible muffins. She once shared that her husband declared her Mixed Berry Muffins to be the best ever – a claim that makes you instantly want to bake them yourself! Angela’s blog truly offers something for everyone, making it a constant source of inspiration.
Crafting the Perfect Three Cheese Arancini at Home
But I digress! Let’s bring our focus back to these incredible Three Cheese Arancini. It wasn’t long ago that I stumbled upon Angela’s recipe for them, and a lightbulb immediately went off: “These are exactly like the amazing Arancini I adore at Bella Vita! I absolutely *must* make them.” So, when Angela’s name was drawn for this round of Freaky Friday, my recipe choice was a foregone conclusion. The anticipation was intense, and keeping this delicious secret from you all until now has been the hardest part!
I dedicated a Friday afternoon a few weeks ago to making my first batch. I prepared enough to sample and capture some beautiful photos, then thoughtfully froze the remaining balls. This proved to be a brilliant strategy, as they were ready to be pulled out and quickly fried for Super Bowl Sunday, making for an effortless and impressive game-day snack. For that initial small batch, I fried them in my trusty cast iron skillet, which yielded a wonderfully crisp crust. For the larger batch, I retrieved my dedicated Fry Daddy fryer to expedite the process, and it worked like a charm. This experience, however, sparked a new culinary curiosity: how would these Arancini fare in an air fryer? The thought of achieving that same crispy exterior with less oil is certainly intriguing and something I plan to experiment with in the future.
While making these Arancini does involve a few distinct steps, please don’t be deterred by the process. The effort invested is profoundly rewarded by the incredibly satisfying result. Plus, as I discovered, the ability to freeze them and cook them as needed makes them a fantastic make-ahead option for entertaining or for a quick, delicious meal. Once you taste these homemade three-cheese risotto balls, you’ll undoubtedly agree that every step was worthwhile!
Essential Ingredients for Authentic Arancini
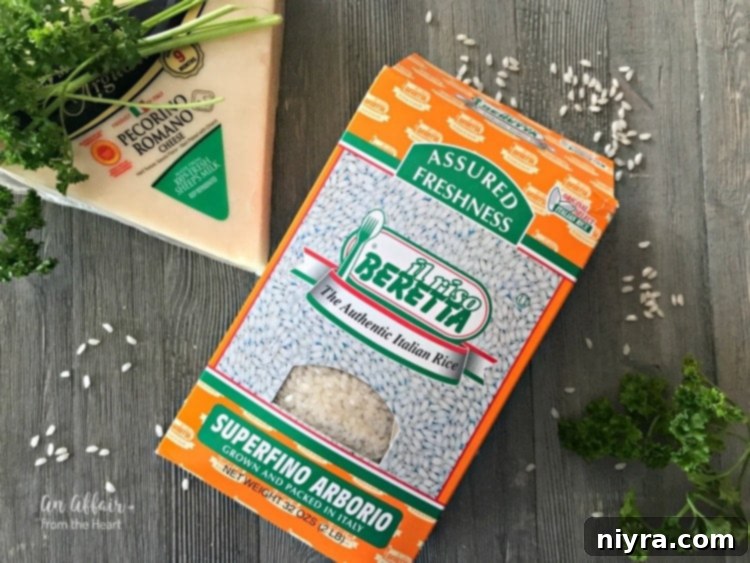
The foundation of exceptional Arancini begins with the right ingredients. Our recipe calls for Arborio rice, a short-grain Italian rice specifically designed for risotto due to its high starch content, which yields that signature creamy texture. I often find mine at specialty stores like World Market, but it’s becoming increasingly available in well-stocked grocery stores. Another non-negotiable ingredient is Pecorino Romano cheese. Its sharp, salty, and distinct flavor is crucial for the authentic Italian taste profile of these risotto balls, complementing the other cheeses beautifully.

Once the Arborio rice is perfectly cooked, it’s combined with tempered eggs, a luscious trio of cheeses (Pecorino Romano, ricotta, and shredded mozzarella), fresh parsley, and a touch of salt. This harmonious mixture forms the flavorful core of your Arancini.
How To Temper an Egg
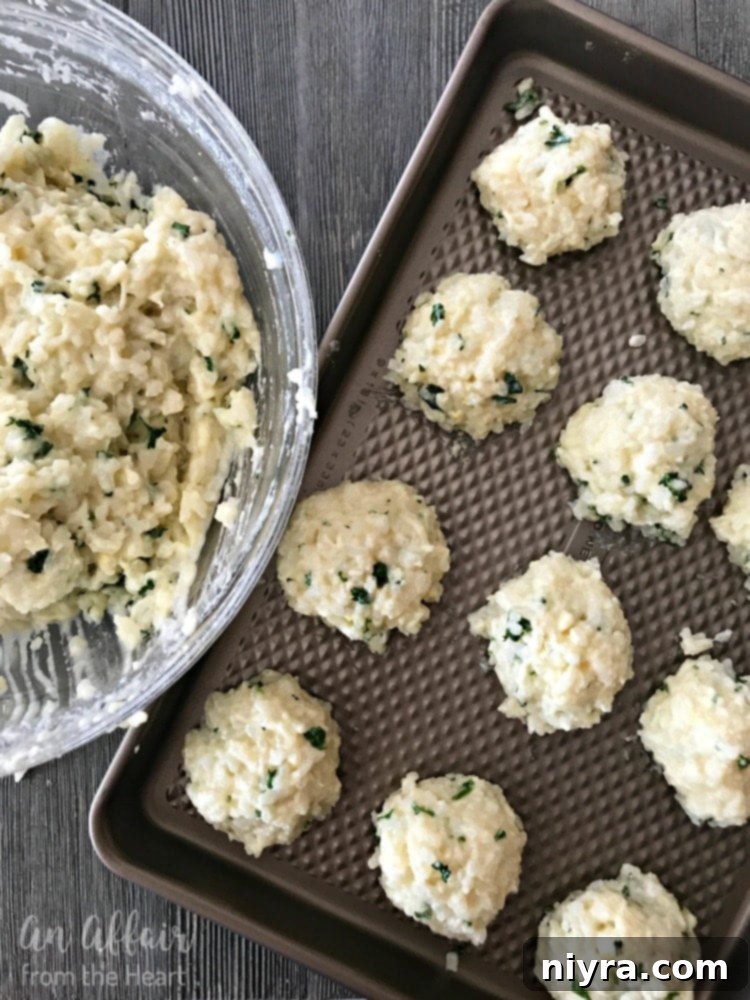
Using a ¼ cup measuring scoop ensures uniform size for each Arancini. Form the mixture into neat balls and place them onto a baking sheet. Refrigeration is a crucial step here; allow them to chill for at least 15 minutes, or until they are completely cool and firm enough to handle with ease. This firmness prevents them from falling apart during the breading and frying process.
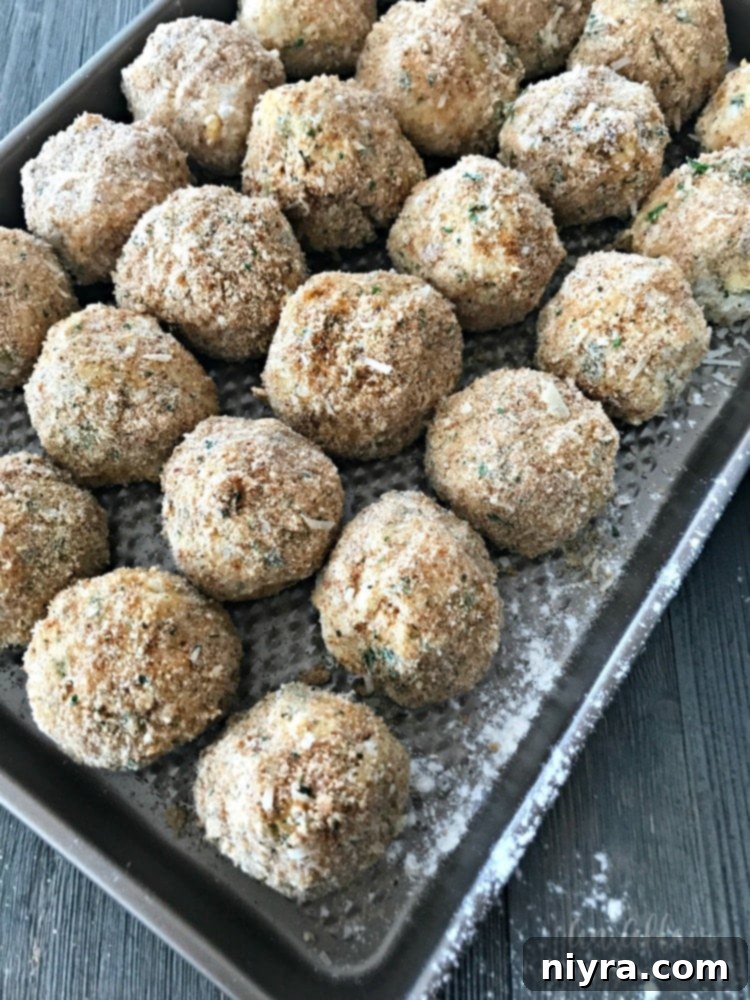
The classic breading technique involves a simple three-step process: first, roll each chilled risotto ball in all-purpose flour for a dry base; next, coat it thoroughly in beaten egg to help the crumbs adhere; and finally, generously roll it in Italian seasoned breadcrumbs. You can elevate your breadcrumbs by mixing in a bit of extra chopped parsley and grated Romano cheese for added flavor and visual appeal. At this stage, your breaded Arancini are ready for frying or for freezing to enjoy later. When frying, they achieve a beautiful golden-brown crispness in just a few minutes. Always transfer the freshly fried Arancini to a paper towel-lined plate to drain any excess oil, ensuring they remain perfectly crisp and non-greasy.
Serving Your Delicious Arancini
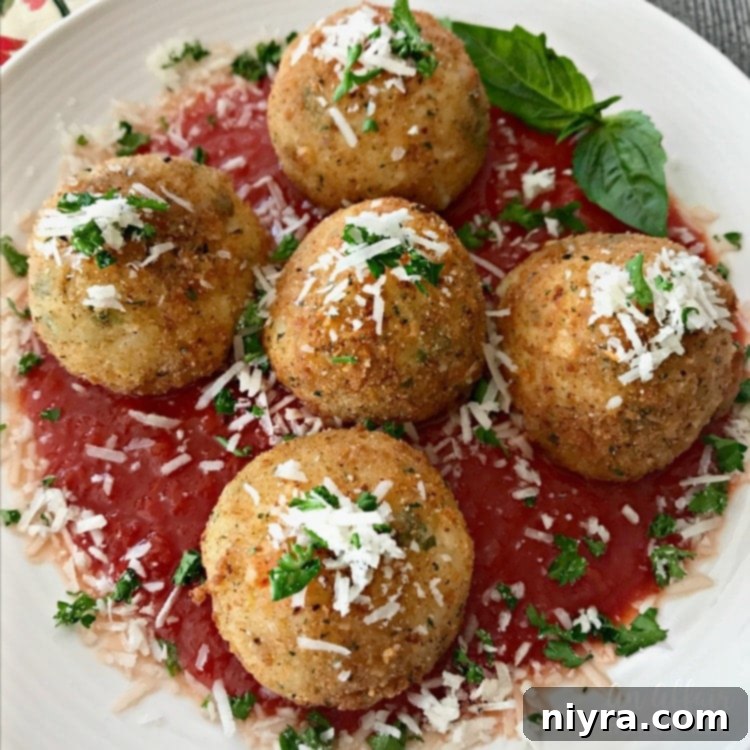
The final presentation is as delightful as the first bite. To serve, spoon a small pool of warm marinara sauce onto the center of each plate, then artfully arrange the golden-fried Arancini on top. Garnish with a final flourish of freshly grated Romano cheese and a sprinkle of vibrant fresh parsley. These exquisite fried risotto balls are not only a gorgeous appetizer, perfect for entertaining or special occasions, but they also make for a wonderfully satisfying meatless meal when accompanied by a fresh, crisp salad. The combination of textures and flavors is simply irresistible, leaving a lasting impression on anyone who tastes them.
Explore More Delights from This Winter Round of Freaky Friday!
A Dish of Daily Life – Cucumber Salsa
An Affair from the Heart – Arancini (Three Cheese Fried Risotto Balls)
A Kitchen Hoor’s Adventures – Healthier Buffalo Chicken Dip
Bacon Fatte – Spiced Bakery Style Ginger Pear Muffins
Bowl Me Over – Beef Tips and Gravy
The Devilish Dish – Chocolate Covered Snickers Strawberries
Full Belly Sisters – Easy Crockpot Caesar Chicken
LeMoine Family Kitchen – Frittata Ranchera Black Bean Salad
Life Currents – Garlic Sesame Noodles
Lisa’s Dinnertime Dish – Low Carb Cheeseburger Meatloaf
Mildly Meandering – Slow Cooker Zuppa Toscana Soup
Plattertalk – Whole Wheat Irish Soda Bread
Seduction in the Kitchen – Reuben Meatball Casserole
Take Two Tapas – BLT Bacon Cups with Avocado
The Foodie Affair – Pineapple Bread Pudding
West Via Midwest – Spicy Smoke Sauced Shrimp
Who Needs a Cape? – Cheez-It Fiesta Baked Chicken
It’s time to get cooking and bring these delightful Arancini to life in your kitchen! 
LIKE THIS RECIPE?
Don’t forget to give it a ⭐️⭐️⭐️⭐️⭐️ star rating and
leave a comment below the recipe!
Rating: 4.75 from 60 votes
Print Recipe
Arancini – Three Cheese Fried Risotto Balls
These Italian three cheese fried risotto balls, Arancini, make the prettiest appetizer, or even a meatless meal. Arborio rice, cheese, garlic and herbs, breaded and fried until golden brown, served up with marinara and a dusting of grated cheese.
Prep Time
30 mins
Cook Time
20 mins
Total Time
50 mins
Cuisine: Italian
Keyword: Arancini – Three Cheese Fried Risotto Balls
Servings: 2 dozen
Calories: 211 kcal
Author: Michaela Kenkel
Ingredients
- 4 cups water
- 1¾ cup Arborio rice
- 2 teaspoons garlic powder
- 4 Tablespoons unsalted butter
- 2 eggs *tempered
- ¼ cup grated Pecorino Romano cheese
- ½ cup ricotta cheese
- 1 cup shredded mozzarella
- 1 handful of fresh chopped parsley
- 1 teaspoon salt
- For the coating:
- ½ cup flour
- 2 eggs beaten
- ½ cup Italian seasoned breadcrumbs (add in a bit of chopped parsley and shredded Romano cheese)
- vegetable oil for frying
- Marinara sauce (chopped parsley and shredded Romano for serving)
Instructions
- Place the water, Arborio rice, garlic powder, and butter into a pot. Bring to a boil, stirring occasionally.
- Cook and continue to stir until all the water is absorbed, and the rice is tender and creamy.
- Whisk the eggs in a small bowl.
- *To temper the eggs, slowly add a small amount of the hot cooked rice to the whisked eggs and stir continuously. This gently warms the eggs, preventing them from scrambling.
- Stir together the tempered eggs, grated Pecorino Romano, ricotta, shredded mozzarella, salt, and fresh parsley with the cooked rice mixture until well combined.
- Scoop the mixture, using a ¼ cup measuring cup for each portion, onto a lined baking sheet. Place into the refrigerator for about 15 minutes, or until completely cool and easy to handle.
- Prepare your breading stations: Place the flour, beaten eggs, and seasoned breadcrumbs into separate shallow bowls. Roll each chilled rice mixture portion into a firm ball, then coat it thoroughly in flour, followed by the beaten egg, and finally generously roll it in the Italian seasoned breadcrumbs.
- Place the breaded rice balls back onto the baking sheet and continue coating all the remaining rice balls.
- At this point, you can either fry them immediately or freeze them for later use.
- To Freeze: Place the breaded rice balls on a baking sheet and double wrap them with plastic wrap. Freeze until solid, then transfer to a freezer-safe bag for longer storage.
- To Fry: You can fry the rice balls in a deep-fat fryer or a heavy-bottomed pan, such as a cast iron skillet. Heat vegetable oil over medium-high heat until it reaches approximately 350-375°F (175-190°C). You’ll know the oil is hot enough when you carefully drop a pinch of breadcrumbs into it, and they immediately bubble and rise to the surface.
- Carefully add a few rice balls to the hot oil, ensuring not to overcrowd the pot. Cook until they are uniformly golden brown and heated through, which typically takes a couple of minutes per batch. Repeat with the remaining rice balls.
- Serve hot, ideally with a side of warm marinara sauce.
Notes
Recipe from: LeMoine Family Kitchen
Nutrition
Serving: 1 |
Calories: 211kcal |
Carbohydrates: 18g |
Protein: 9g |
Fat: 11g |
Saturated Fat: 6g |
Polyunsaturated Fat: 5g |
Cholesterol: 87mg |
Sodium: 473mg |
Fiber: 1g |
Sugar: 1g
