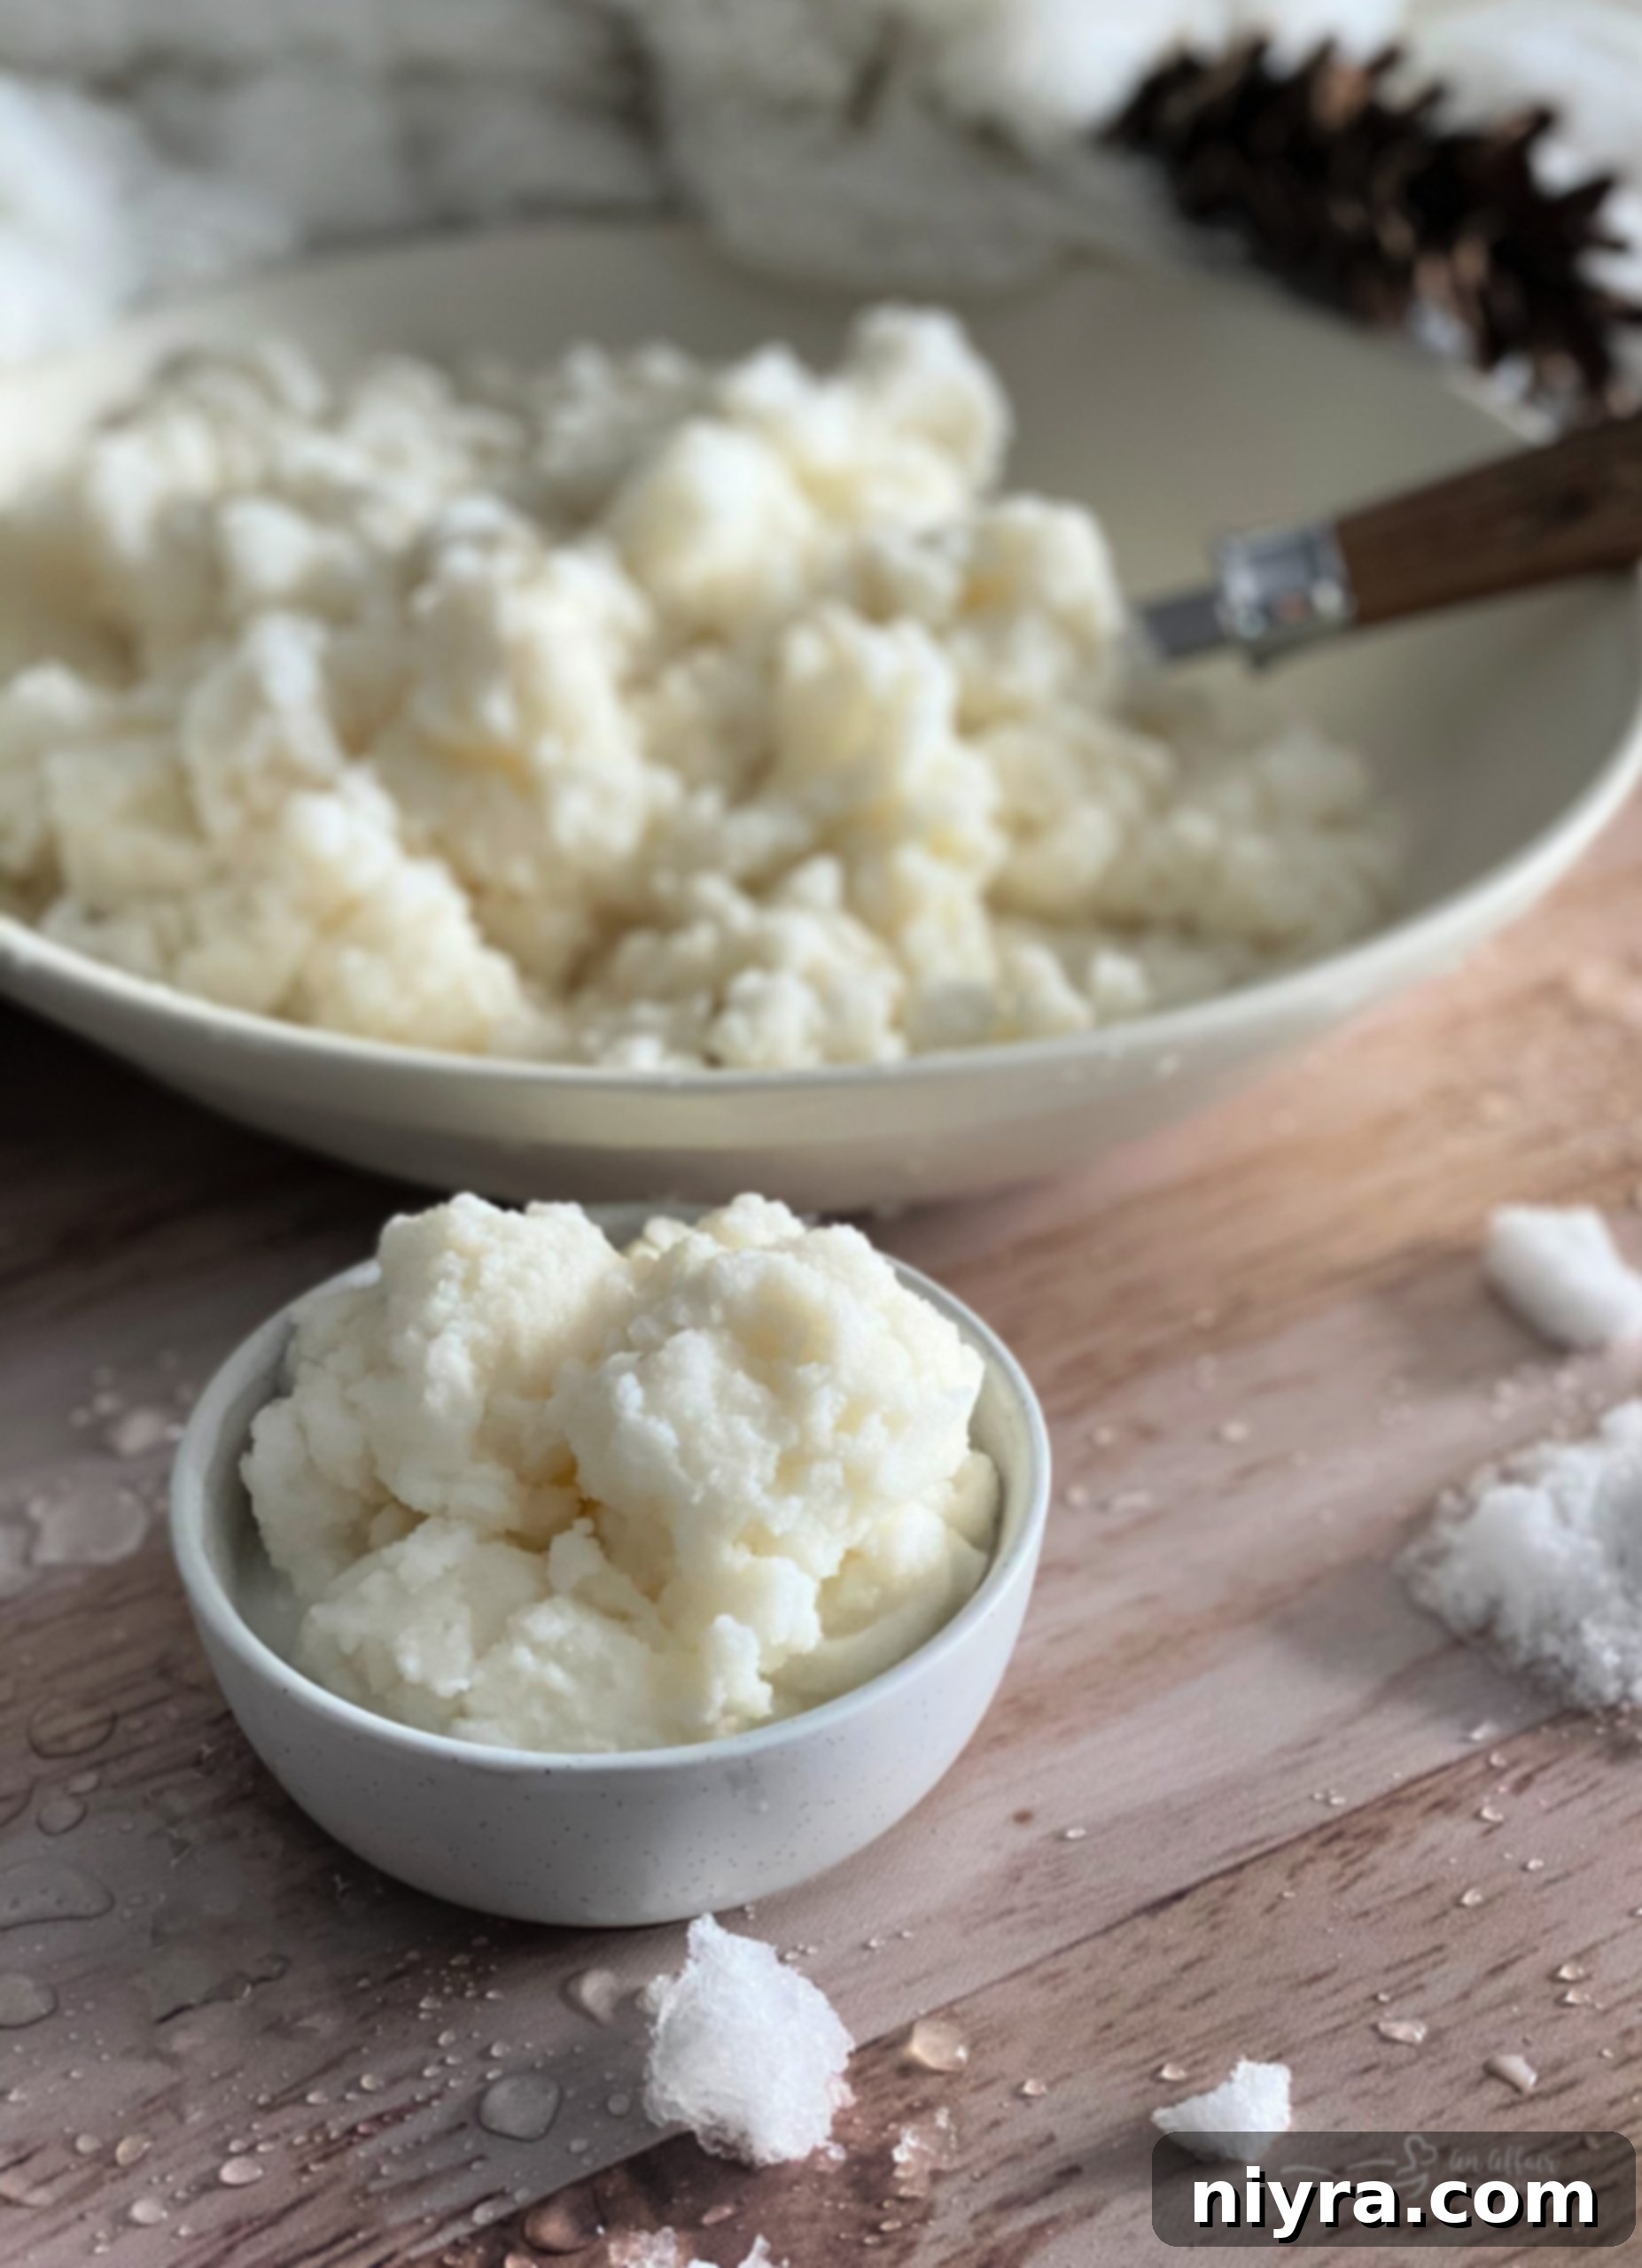
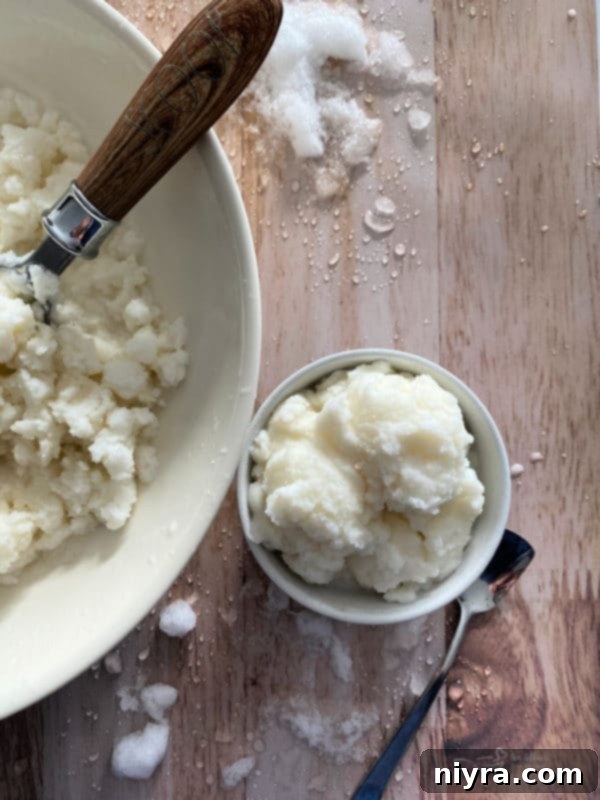
Experience the Magic of Homemade Snow Ice Cream: Your Easiest Winter Treat!
Dive into a whimsical winter wonderland with this incredibly simple and utterly delicious snow ice cream recipe. A cherished family tradition passed down through generations, this treat brings immediate joy – no lengthy freezing required! All you need are three basic ingredients: fresh snow, milk, sugar, and a splash of vanilla. Get ready to create delightful memories and a truly unique dessert that captures the essence of a snowy day.
Embrace Winter’s Bounty: The Joy of Snow Day Ice Cream
When winter blankets the landscape in a fresh layer of white, it’s not just an invitation for snowball fights and sledding; it’s a perfect opportunity for a culinary adventure! Mother Nature graciously provides the star ingredient for our Snow Ice Cream, transforming an ordinary snow day into an extraordinary dessert experience. Imagine the delight on children’s faces, or the nostalgic smile on yours, as you whip up a batch of this creamy, melt-in-your-mouth treat. It’s more than just a recipe; it’s about crafting precious memories, gathering around in a warm kitchen, and celebrating the simple beauty of winter.
This recipe turns the common “snow day” into a sweet occasion, offering a quick, fun activity that culminates in a delectable reward. Forget complicated desserts; this homemade snow ice cream is the epitome of simplicity and instant gratification, making it an ideal project for families on those unexpected days off from school. It’s an easy snow ice cream recipe that truly makes the most of a winter wonderland.
My Go-To Classic Snow Ice Cream Recipe: A Timeless Treat
While my website features a couple of delightful snow ice cream variations, this particular recipe holds a special place in my heart – it’s the original, the one that started it all. Unlike its cousin, which calls for sweetened condensed milk and requires a couple of hours in the freezer to set, this classic version is designed for immediate enjoyment. Its unique charm lies in its simplicity and the pure, unadulterated pleasure of eating it right after mixing. This is truly an easy snow ice cream recipe for instant gratification.
Technically, using milk rather than heavy cream means this dessert is closer to “ice milk,” a term that perfectly captures its lighter, yet equally satisfying, texture. My earliest memory of making this magical homemade snow ice cream dates back to Mrs. Hallstrom’s first-grade class. I can still vividly recall the excitement as a fresh blanket of snow covered our school grounds, and our teacher, with a warm smile, guided us through making it right there in the classroom.
She meticulously wrote the recipe down for each of us, a treasured piece of paper I still possess today. From that day forward, my brother and I eagerly awaited every snowfall, turning each winter flurry into an opportunity to recreate Mrs. Hallstrom’s snow ice cream. It was always a much-anticipated treat, a simple pleasure that marked many of our happiest childhood winters. This recipe isn’t just about ingredients; it’s a portal to those cherished memories, and I’m thrilled to share its enduring magic with you, promising a delightful return to simpler times.
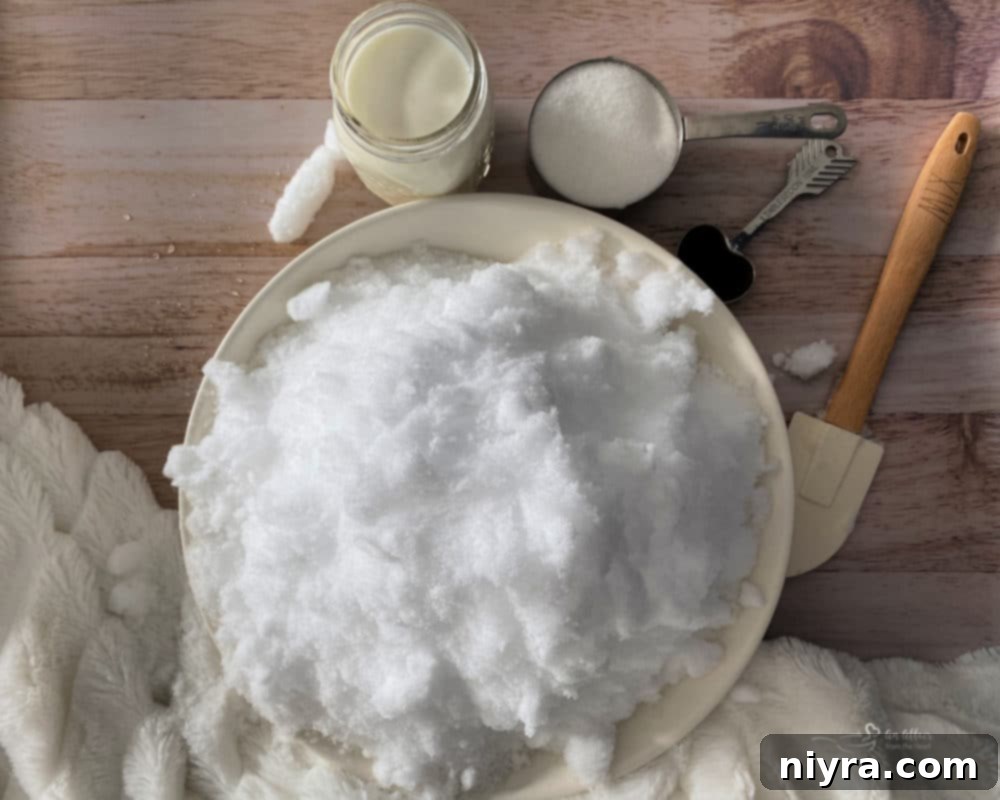
Essential Ingredients for Your Perfect Snow Ice Cream
Creating this delightful winter dessert requires surprisingly few components, making it incredibly accessible and spontaneous. You’ll need just four key elements: about one gallon of pure, clean, fluffy white snow, granulated sugar, a touch of vanilla extract, and your choice of milk. The beauty of this recipe is its flexibility when it comes to milk. Whether you have whole milk, 2% milk, or skim milk on hand, any variety will work wonderfully to achieve that creamy consistency. This means you can easily make homemade snow ice cream with what’s already in your fridge.
For those with dietary preferences or restrictions, this recipe is remarkably adaptable, making it a fantastic option for dairy-free snow ice cream. If you follow a dairy-free lifestyle, feel free to substitute traditional milk with your favorite plant-based alternative. Coconut milk will lend a subtle tropical note, almond milk offers a light and nutty flavor, and oat milk provides a creamy richness. The key is to use a liquid that can bind the snow and dissolve the sugar, creating a smooth, ice-milk-like texture. A good quality pure vanilla extract is also recommended to enhance the overall flavor profile, adding that classic dessert aroma and taste that elevates this simple treat.
Choosing the right snow is paramount for both taste and safety. Aim for freshly fallen snow that is pristine white and has a light, airy texture, ensuring the purest base for your ice cream. This minimal ingredient list proves that sometimes, the simplest things bring the most joy and make for the best snow day ice cream.
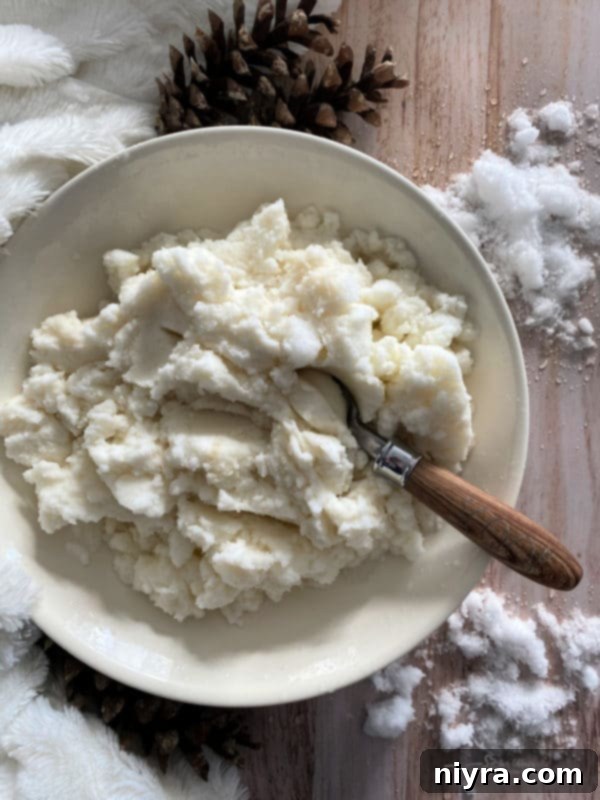
Effortless Preparation: How to Make Snow Ice Cream in Minutes
The appeal of this snow ice cream recipe extends beyond its delicious taste; it’s also incredibly simple to prepare, making it a perfect last-minute treat. The process is as straightforward as it gets: gather your ingredients, combine them in a large bowl, mix until everything is wonderfully creamy, and then scoop and enjoy immediately! There’s no need for an ice cream maker, no churning, and no waiting for it to freeze – the snow itself provides the perfect chilling effect, delivering instant gratification with every spoonful.
One subtle but important modification I made from Mrs. Hallstrom’s original first-grade recipe was omitting the egg. While raw eggs were a common ingredient in some older homemade ice cream recipes, modern food safety guidelines recommend avoiding them due to the risk of salmonella. Therefore, my version ensures a delicious and safe treat for everyone to enjoy without any hesitation. This small change doesn’t compromise the flavor or texture but significantly enhances its safety, allowing you to focus purely on the joy of creating and consuming your snow ice cream without worry.
To make your snow ice cream, simply place the clean, fluffy snow into a large mixing bowl. Pour in the milk, sprinkle in the sugar, and add the vanilla extract. Gently fold and stir the ingredients together with a spoon or spatula. The snow will begin to melt slightly as it combines with the liquid and sugar, transforming into a smooth, thick, and instantly enjoyable “ice milk” consistency. The entire process takes just a few minutes, turning a fresh snowfall into an exciting culinary event perfect for any winter day.
Save This Recipe: Pin It for Future Snow Days!
Don’t let this delightful, easy-to-make snow ice cream recipe slip away! Ensure you have it ready for every future snowfall by pinning it to your favorite Pinterest recipe board. It’s the perfect way to keep this unique winter treat at your fingertips, guaranteeing that you’ll be prepared to whip up a batch whenever a fresh blanket of snow arrives. Sharing this recipe also spreads the joy, inviting friends and family to partake in this simple, magical winter tradition and experience the fun of homemade snow ice cream.
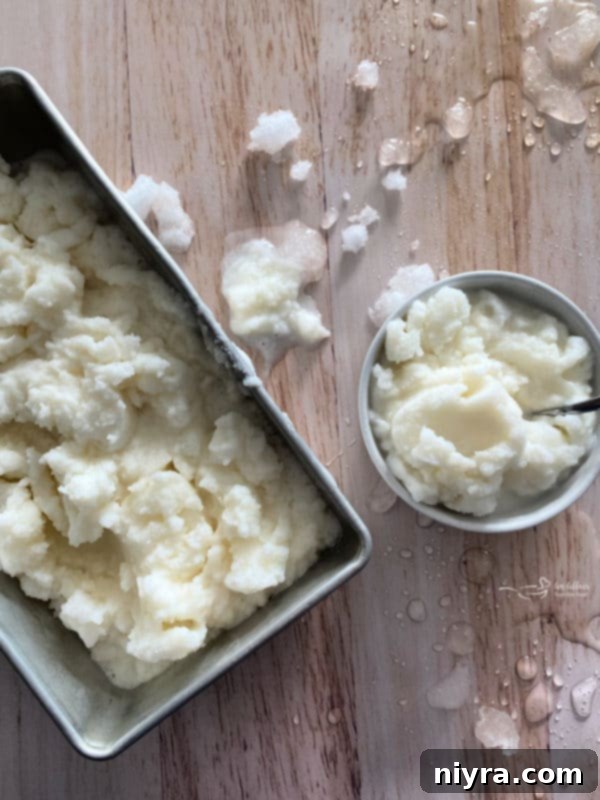
Is Snow Ice Cream Safe to Eat? Essential Safety Tips
One of the most common questions regarding this charming winter dessert is, “Is snow ice cream safe to eat?” The answer is a resounding YES, provided you take a few simple precautions when collecting your snow. The key is to gather fresh, clean, and pristine white snow from a safe environment. Think of it as a natural, untouched ingredient straight from nature’s pantry, making safe snow ice cream a reality.
Here are some crucial guidelines to ensure your snow ice cream is as safe as it is delicious:
- Choose Freshly Fallen Snow: Always opt for newly fallen snow. This is the cleanest and purest. Avoid snow that has been on the ground for a while, as it may have accumulated pollutants or dirt. The fresher, the better for your homemade snow ice cream.
- Select a Clean Collection Area: Gather snow from an area that is untouched and far away from roads, sidewalks, parking lots, and any industrial zones. Snow collected near these areas can contain pollutants from vehicle exhaust, salt, sand, or other chemicals. A wide-open field or your backyard lawn, away from human and animal activity, is ideal.
- Avoid Snow Under Trees: While seemingly natural, snow directly under trees can collect debris, leaves, bird droppings, or other organic matter that you don’t want in your dessert. Always find an open spot to collect your snow for consumption.
- Look for Pristine White Flakes: Only use snow that is entirely white and fluffy. If you see any discoloration (yellow, grey, or brown), avoid it. This is not the snow you want for consumption! “Yellow snow” is a universal no-go.
- Use a Clean Container: For the purest collection, place a large, clean bowl or container outside *before* the snow starts to fall. This allows you to collect pristine snow as it lands, minimizing contact with the ground or other surfaces and ensuring the cleanest possible base for your treat.
- Collect from the Top Layer: If you’re collecting snow that has already settled, always scoop from the very top layer. Never scrape down to the ground, as the bottom layers are more likely to contain dirt and impurities.
By following these simple guidelines, you can confidently and safely enjoy this delightful homemade snow ice cream, turning a snowy day into a memorable culinary event for the whole family, with peace of mind that it’s a safe snow ice cream treat.
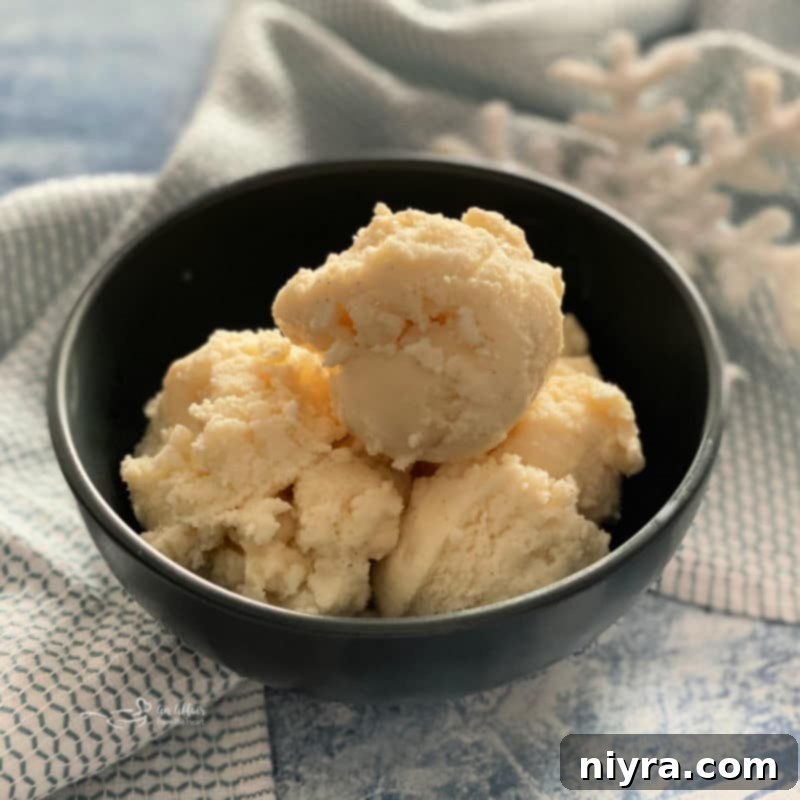
Beyond the Snow: Discover More Homemade Ice Cream Delights
My passion for homemade frozen treats extends far beyond just snow ice cream! If you’ve enjoyed the simplicity and deliciousness of this winter classic, you’ll be thrilled to explore my collection of other ice cream recipes. Whether you prefer the classic churning method with an ice cream maker or are looking for convenient “no-churn” options, there’s a frozen dessert waiting to become your next favorite. From refreshing fruit-based concoctions to rich and creamy indulgences, homemade ice cream offers endless possibilities for customization and flavor exploration. Here are just a few of my personal favorites that I encourage you to try:
- Pineapple Dole Whip: Recreate the iconic theme park treat right in your own kitchen – a refreshing, tangy, and naturally sweet delight perfect for a taste of summer, even in winter!
- Copy Cat Baskin Robbins Daiquiri Ice: Experience the zesty, citrusy burst of this beloved flavor, a vibrant and invigorating dessert that’s surprisingly easy to make and a fantastic no-churn ice cream option.
- Snow Ice Cream 2: (pictured above) For a richer, creamier texture and a slightly different profile, this variation uses sweetened condensed milk and is best enjoyed after a short chill in the freezer – a perfect complement to our original recipe.
- Grape Nut Ice Cream: A unique and unexpectedly delicious ice cream featuring the crunchy texture of Grape-Nuts cereal, a true New England classic that offers a wonderful textural contrast.
- Lemon Ice Cream: Bright, tart, and incredibly refreshing, this lemon ice cream is a perfect palate cleanser and a wonderful choice for citrus lovers looking for a light yet satisfying dessert.
To elevate any of these homemade ice cream creations, my kids absolutely love topping them with a generous drizzle of Hot Fudge Sauce! The combination of cold, creamy ice cream with warm, rich fudge is simply irresistible, making any ice cream experience extra special.
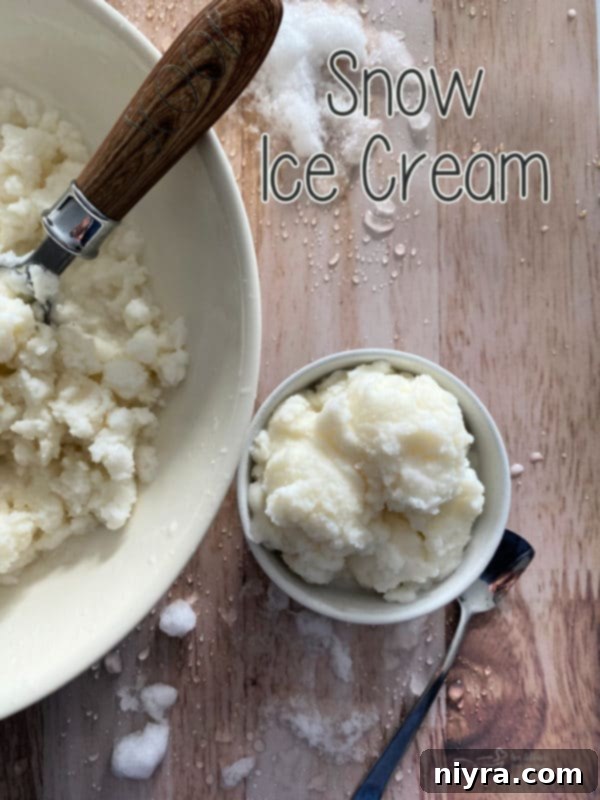
Conclusion: Ready to Make Your Own Snow Ice Cream?
We all scream for ice cream, and when it’s snow ice cream, the excitement doubles! This incredible, super-simple recipe is your ticket to a delightful winter treat that’s both nostalgic and uniquely satisfying. It’s the ultimate easy snow ice cream recipe to brighten any chilly day. So, the next time winter blesses us with a beautiful snowfall, gather your clean, fluffy flakes, your milk, sugar, and vanilla, and get ready to whip up a batch of pure joy. Let the memories begin with this homemade snow ice cream!

LIKE THIS RECIPE?
Don’t forget to give it a ⭐⭐⭐⭐⭐ star rating and
leave a comment below the recipe!
Print Recipe
Snow Ice Cream
Ingredients
- 1 gallon of clean white snow
- 1 cup sugar
- 1 Tablespoon Pure Vanilla
- 2 cups milk I used a little more
Instructions
- Combine all ingredients in a big bowl until creamy.
- Eat immediately.
Nutrition
This recipe was originally posted on February 22, 2013, sharing a cherished family tradition. It was extensively updated on February 12, 2021, to enhance user experience, provide comprehensive safety guidelines, and offer additional tips for enjoying this unique winter treat.
