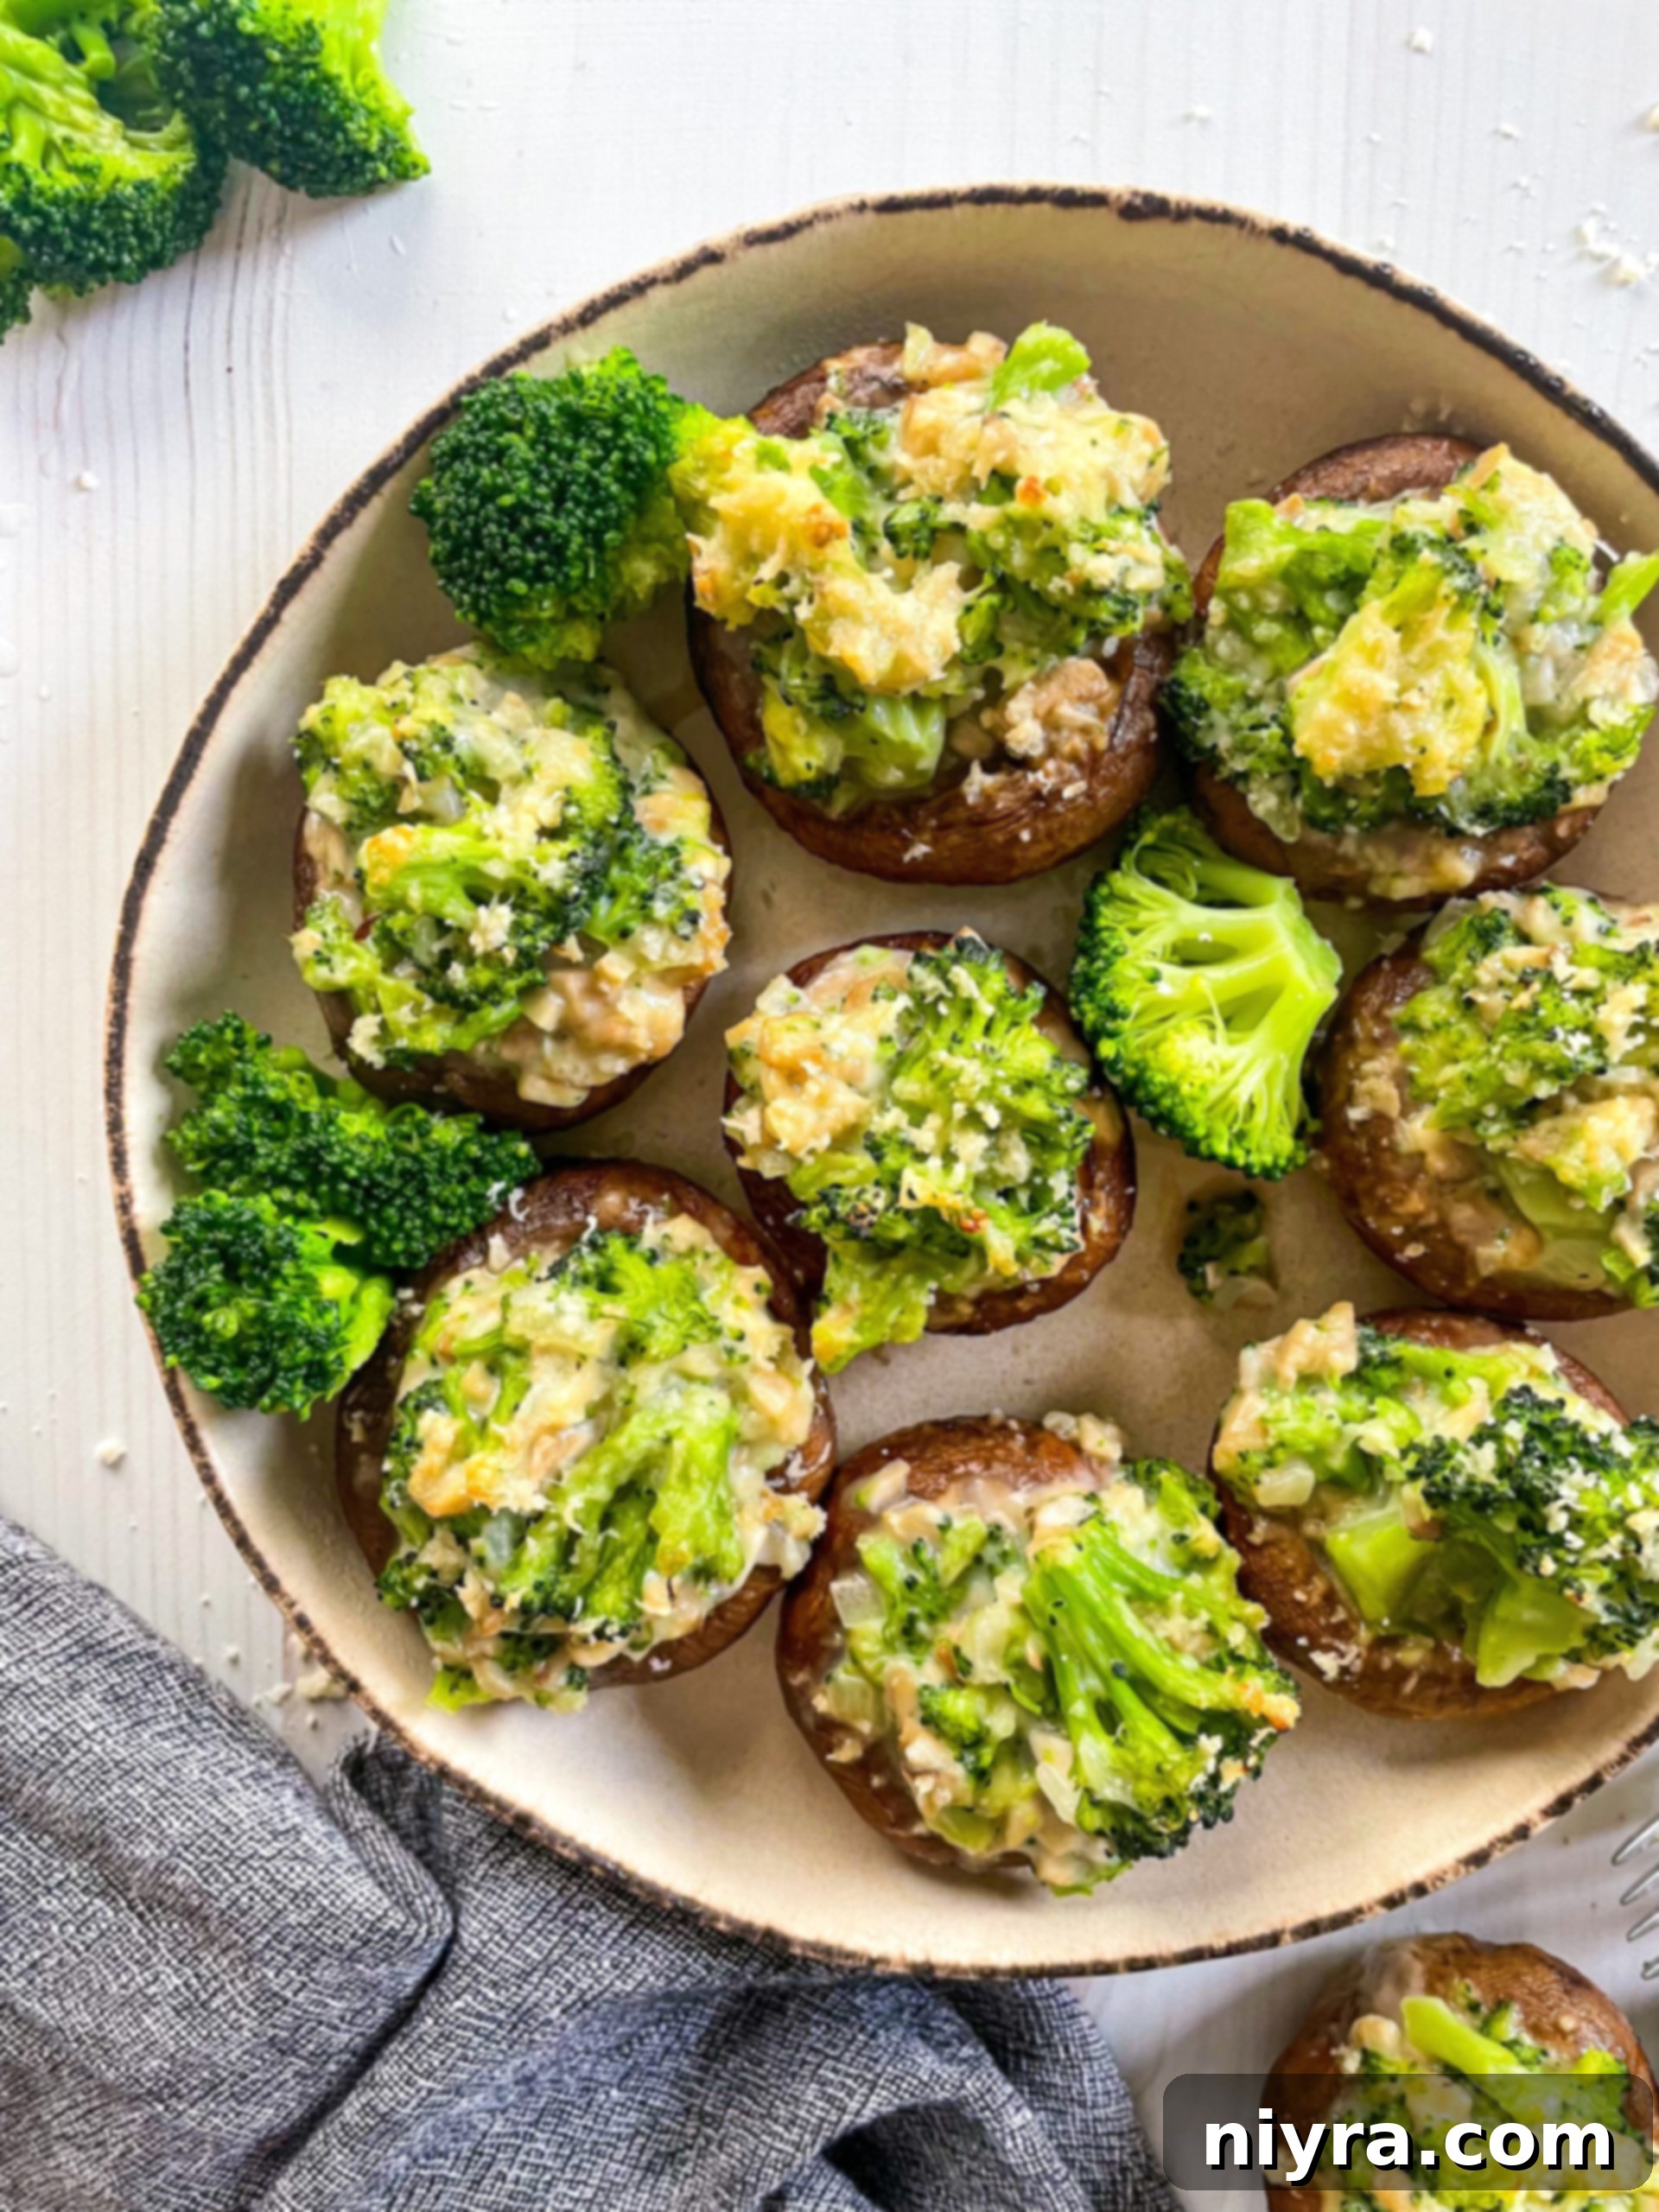
Prepare to fall in love with these incredible Broccoli Stuffed Mushrooms! They are not just delicious; many consider them the absolute best. Imagine fresh, earthy mushroom caps generously filled with a savory blend of finely chopped broccoli and rich Parmesan cheese, then baked to golden perfection. These elegant, bite-sized treats are ideal for any gathering, from festive holiday celebrations like Christmas and New Year’s Eve to casual family get-togethers. Easy to make and universally loved, they’re sure to become a cherished recipe in your culinary repertoire.
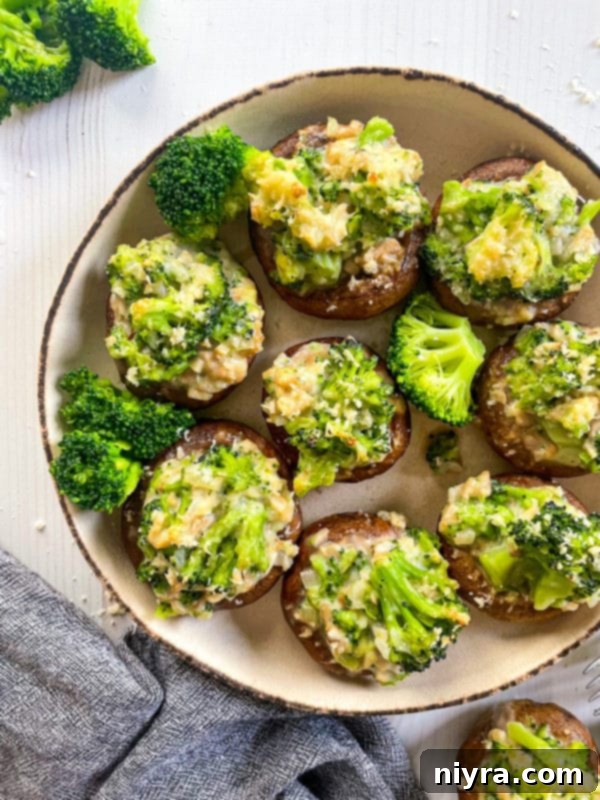
For as long as I can remember, these Broccoli Stuffed Mushrooms have been a cherished tradition at our Christmas Eve dinner. The moment the holidays approach, one of my kids invariably asks, “Is this the holiday when Grandma makes those amazing mushrooms?!” Their anticipation truly speaks to how special this appetizer is to our family.
These stuffed mushrooms are, without a doubt, one of my favorite parts of the Christmas Eve feast. My mom, bless her heart, makes them only once a year, making them even more anticipated. I first shared this recipe back in 2011, and the initial photos were humble snapshots taken right from the cookie sheet on Christmas Eve at my mom’s house. Capturing a decent photo was a challenge because, let’s be honest, we were all known to snatch them straight from the pan the second they emerged from the oven. That familiar “mouth breathing” dance you do when biting into something wonderfully hot? Yep, that was us, risking burnt tongues just to get our share! Taking pretty, styled photos meant risking missing out on the first, most coveted batch.
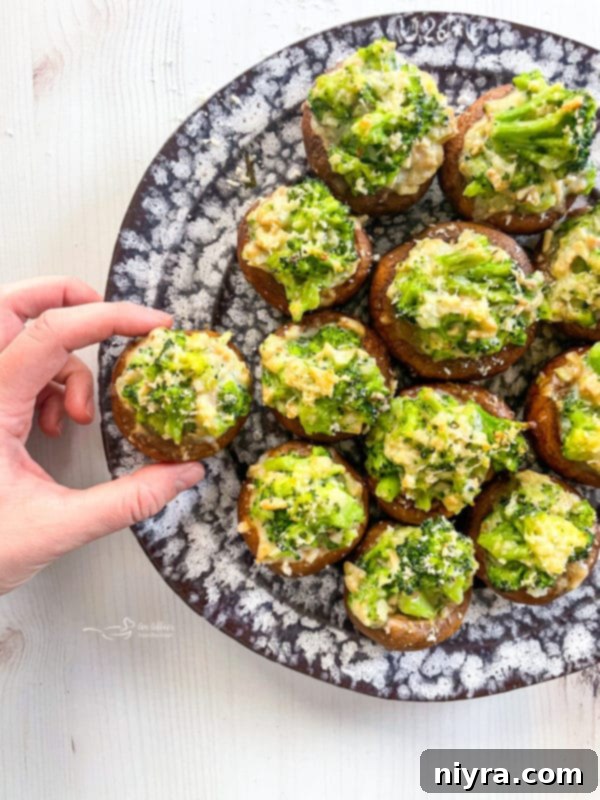
This year, however, these beloved mushrooms finally got the photoshoot they deserved. They were picture-perfect, arranged beautifully, and ready for their close-up. And the verdict? Still incredibly delicious, even with the added patience required for styling. The wait was absolutely worth it!
Easy & Irresistible Vegetarian Stuffed Mushrooms
What makes for the perfect appetizer experience? For me, it’s about relaxing with good company, enjoying tasty flavors, and soaking in a fun atmosphere, perhaps in front of the TV. And for such occasions, these broccoli stuffed mushrooms are simply unparalleled. The tender mushroom caps provide the ideal vessel for a rich, cheesy, and subtly buttery filling, enhanced with a hint of onion. This appetizer recipe is so universally appealing, everyone will surely be clamoring for more – so be sure to bake a generous batch!
These easy-baked stuffed mushrooms offer a quick and stress-free solution whenever you desire flavorful finger foods without extensive effort. One of their greatest advantages is how easily they can be prepped in advance. You can prepare the filling and stuff the mushrooms a day ahead, then simply pop them into the oven when you’re ready to serve. This makes entertaining a breeze!
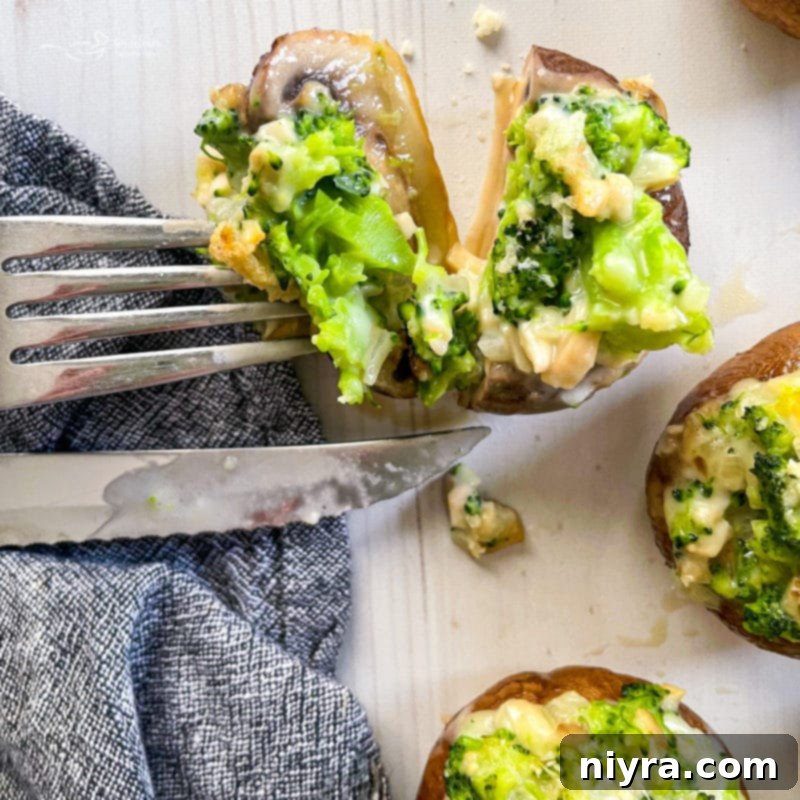
As these mushroom caps bake, your home will be filled with the most delightful, yummy cheesy aromas. The broccoli and cheese meld together, baking until piping hot, intensifying their flavors and creating irresistible notes that will tempt every palate. The combination is simply divine, promising a truly satisfying bite every time.
Speaking of tasty appetizers, I have a few other favorites that pair wonderfully with these stuffed mushrooms, making for an impressive spread. Consider preparing a variety of finger foods like my vibrant pickled beet hummus, the zesty jalapeño popper dip, or a comforting slow cooker crab dip. These selections offer a range of flavors and textures, perfect for a relaxed evening with your favorite crackers and comforting bites.
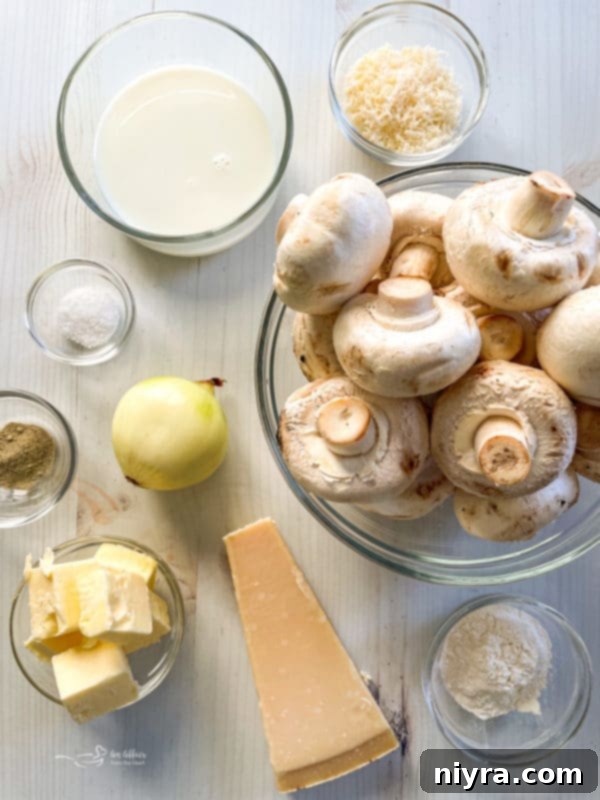
Essential Ingredients for Perfect Stuffed Mushroom Caps
Crafting the perfect broccoli stuffed mushroom starts with high-quality, fresh ingredients. Here’s a closer look at what you’ll need and why each component is essential:
- Mushrooms: We typically opt for white button mushrooms due to their mild flavor and ideal size for stuffing. However, feel free to experiment with other small mushroom varieties like cremini (baby bellas) for a deeper, earthier taste, or even mini portobello caps for a more substantial appetizer. Just ensure they are fresh and firm.
- Onion: A small white onion, finely diced, is crucial for building the foundational savory flavor of the filling. Its gentle sweetness and pungent notes complement the earthiness of the mushrooms and the creaminess of the cheese beautifully, adding depth without overpowering.
- Butter: Whether you choose unsalted or salted butter, or even margarine, this ingredient is key for sautéing and enriching the filling. Butter adds a luxurious mouthfeel and helps create that irresistible golden crust on the mushroom caps. For those watching sodium, unsalted butter allows for more control over seasoning.
- Flour: All-purpose flour acts as a thickening agent for our creamy filling, ensuring it holds together perfectly within the mushroom caps. If you need a gluten-free alternative, cornstarch can be used; simply dissolve it in a little cold milk before adding to the hot mixture to prevent lumps.
- Seasoning: A simple blend of salt and freshly ground black pepper is all that’s needed. The beauty of this recipe lies in allowing the natural flavors of the fresh mushrooms, broccoli, and Parmesan to truly shine. Avoid over-seasoning, as the cheese will also contribute saltiness.
- Milk: A touch of milk helps to achieve the perfect, creamy consistency for the filling, binding all the delicious components together into a cohesive mixture that’s easy to spoon into the mushroom caps. Any type of dairy milk (whole, 2%, or skim) will work, or a non-dairy alternative for dietary restrictions.
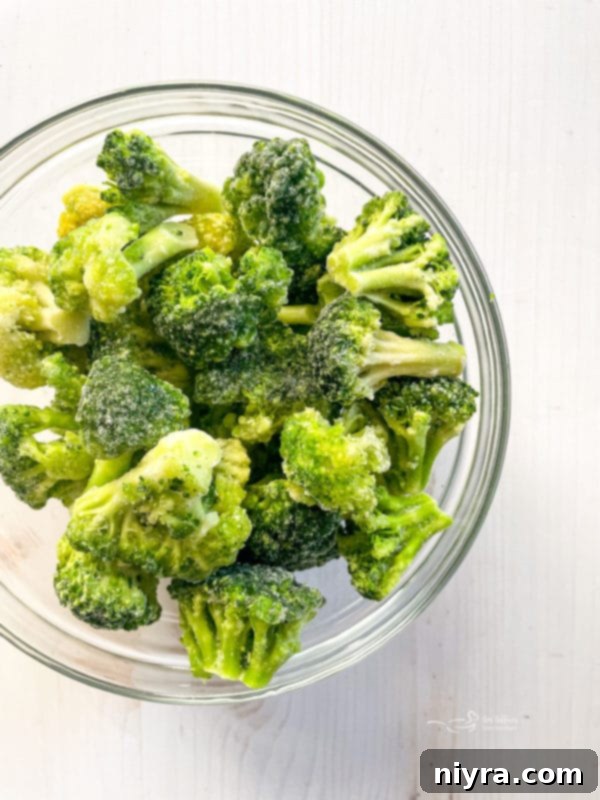
- Broccoli: Freshly chopped broccoli is highly recommended for its vibrant color, subtle crunch, and fresh taste. Ensure the florets are chopped into small, uniform pieces so they blend well into the filling. If using frozen broccoli, be sure to thaw it completely and drain any excess moisture thoroughly before adding it to the mix to prevent a watery filling.
- Cheese: Shredded Parmesan cheese is our choice for its sharp, salty, and nutty flavor profile, which crisps up wonderfully when baked. You can use either finely grated or shredded Parmesan. For a different flavor, consider other melty cheeses like sharp cheddar, Gruyère, or even a hint of pepper jack for a slight kick.
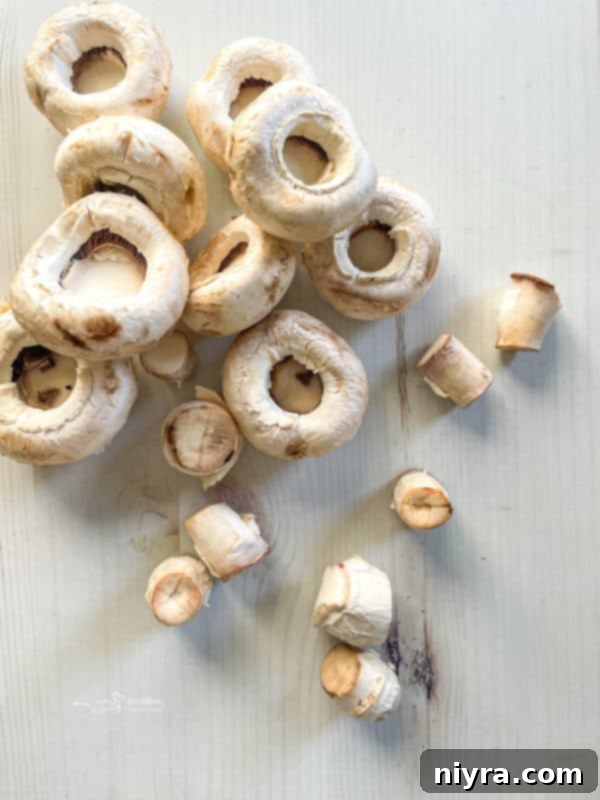
Mastering Mushroom Cleaning for Stuffing
Properly cleaning mushrooms is a crucial first step to ensure your stuffed mushrooms are not watery or gritty. Here’s a detailed guide to preparing your mushroom caps for stuffing:
First, you need to remove any dirt or debris. You have a couple of options: you can gently brush the dirt off the mushrooms with a damp paper towel or a soft mushroom brush. Alternatively, if your mushrooms are particularly dirty, you can quickly rinse them under cool running water in a colander. The key is to be swift and avoid soaking them, as mushrooms absorb water like sponges. After rinsing, it’s absolutely vital to thoroughly dry them with paper towels to prevent sogginess during baking.
Next, carefully remove the stems from each mushroom cap. This is usually done by gently twisting them off, or by using a small spoon or a strawberry huller for a cleaner removal. For this recipe, don’t discard those stems! We’ll be finely chopping them and incorporating them into our savory filling, adding another layer of earthy flavor.
Finally, for an even better texture and to make more space for the delicious filling, gently scrape out the dark gills from the undersides of the mushroom caps using a small spoon. This step is optional but recommended as it helps prevent the mushrooms from becoming too watery during baking and allows the filling to sit more securely. Once the gills are removed, your mushroom caps are perfectly prepared and ready to be stuffed with our flavorful mixture!
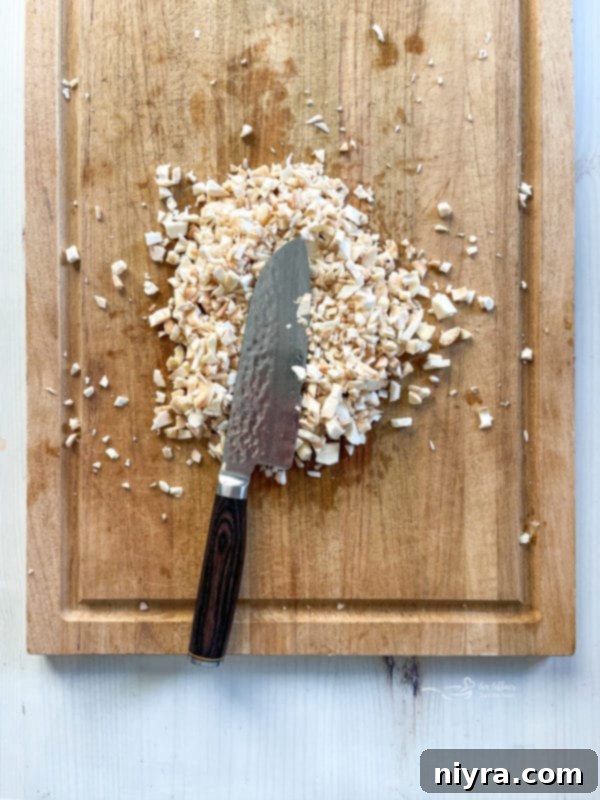
Crafting & Cooking Your Delicious Stuffed Mushrooms
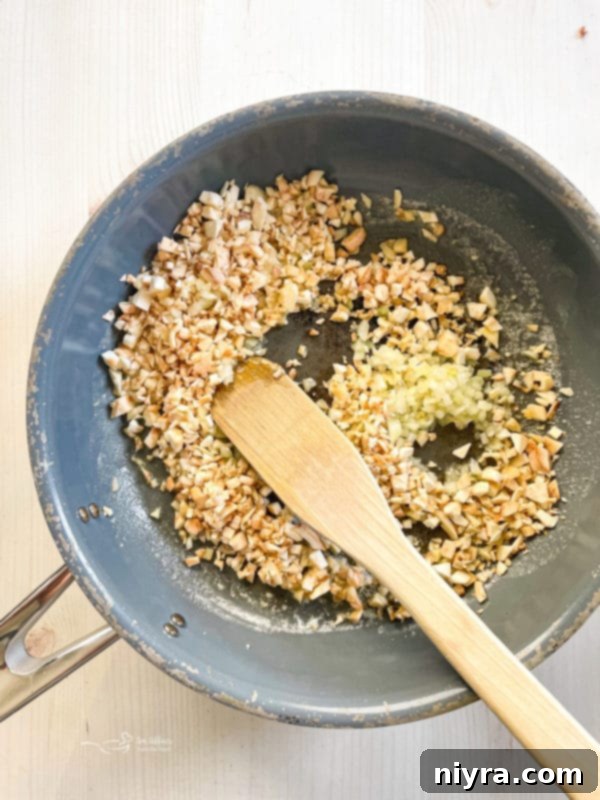
Step 1: Sauté Mushroom Stems and Aromatics
Begin by thoroughly cleaning your mushrooms and carefully removing the stems. A handy tip: a strawberry huller works wonderfully for a swift and clean stem removal! Once removed, finely chop the mushroom stems. In a frying pan or skillet, melt three tablespoons of butter. Add the chopped mushroom stems and the diced onion, then sauté them over medium heat for about three minutes, or until softened and fragrant. Reduce the heat to low, then stir in the flour, salt, and pepper. Cook for another minute, stirring constantly, to cook out the raw flour taste.
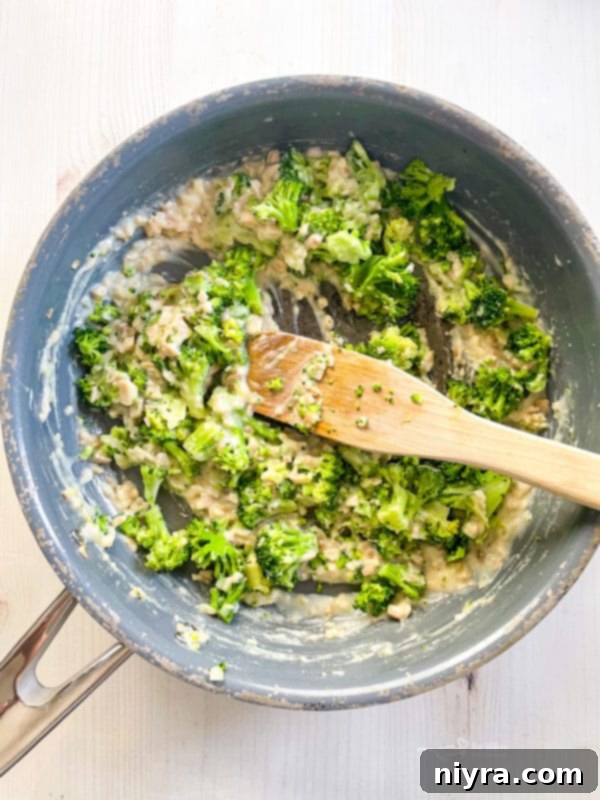
Step 2: Incorporate Broccoli and Thicken the Filling
Gradually pour the milk into the pan, mixing continuously to ensure a smooth consistency. Allow the mixture to simmer gently, stirring regularly, until it thickens to a creamy sauce. At this point, add the finely chopped broccoli (if using frozen, ensure it’s defrosted and well-drained). Continue to cook, stirring, until the broccoli is heated through and well combined with the creamy mixture. Remove from heat and set aside to cool slightly.
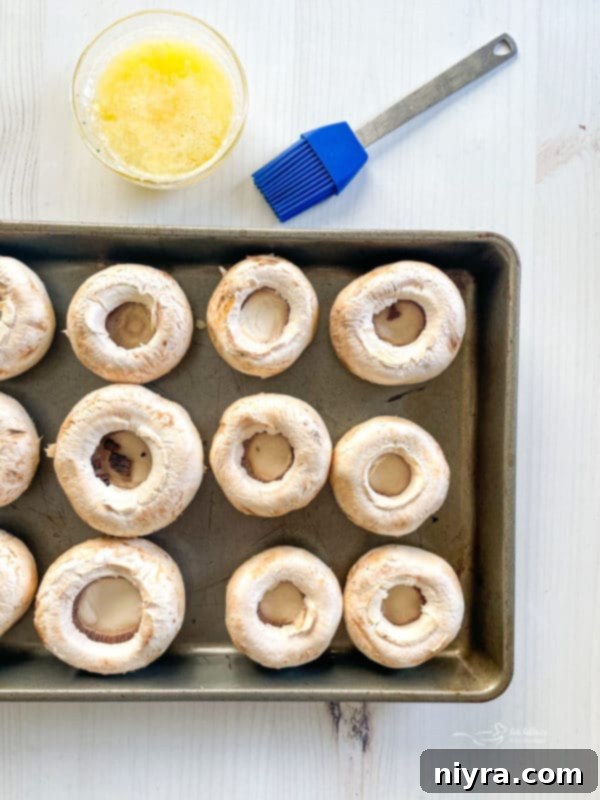
Step 3: Stuff and Bake to Perfection
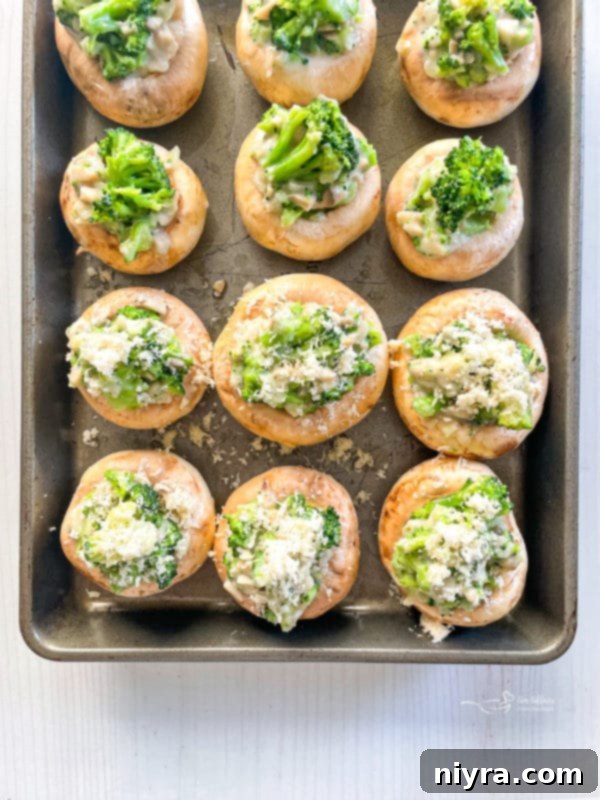
Preheat your oven to 375 degrees Fahrenheit (190 degrees Celsius). Melt the remaining butter and use a pastry brush to lightly coat both the insides and outsides of the cleaned mushroom caps. This adds flavor and helps them brown beautifully. Evenly fill each mushroom cap with the delicious broccoli and cheese mixture. Then, sprinkle a generous amount of Parmesan cheese over the top of each stuffed mushroom for that irresistible cheesy crust.
Arrange the stuffed mushrooms on a baking pan. Bake in the preheated oven for approximately 15-20 minutes, or until the mushrooms are tender, the filling is piping hot, and the cheese on top is melted and slightly golden. Serve these broccoli stuffed mushrooms immediately for the best flavor and texture. They make a fantastic, healthier alternative to many richer comfort appetizers, perfect for any occasion!
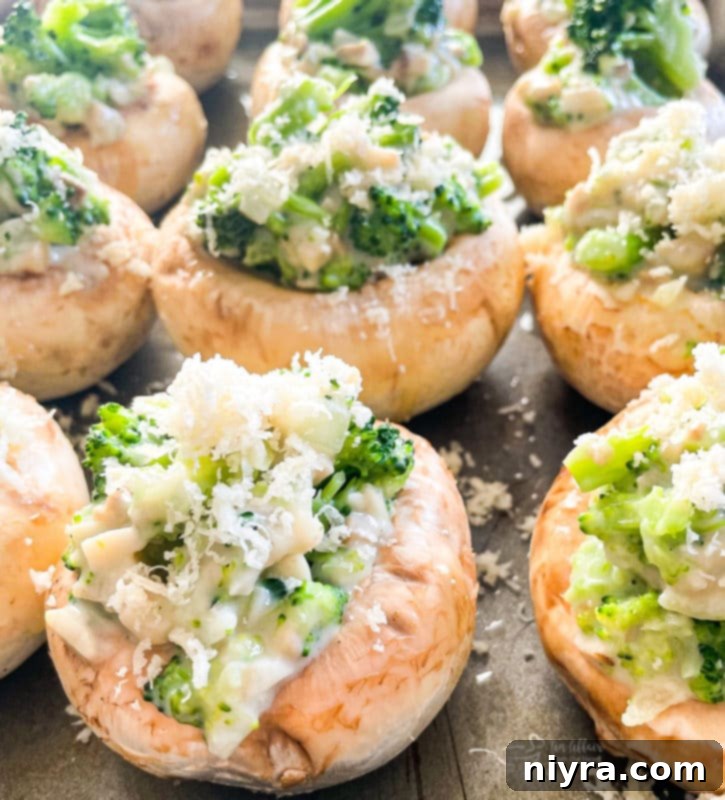
Troubleshooting: Why Are My Stuffed Mushrooms Watery?
It’s a common issue: sometimes stuffed mushrooms can release too much liquid and become watery during baking. This typically happens because mushrooms naturally contain a high percentage of moisture. To prevent this, ensure you thoroughly dry the mushrooms after cleaning them. Pat them meticulously with paper towels before stuffing. Additionally, make sure your oven is adequately preheated to a high enough temperature (like 375°F/190°C), as a hotter oven helps to sear the mushrooms quickly and reduce water release.
Preventing Soggy Stuffed Mushrooms
To avoid soggy stuffed mushrooms, a few key practices are essential. Firstly, as mentioned, steer clear of rinsing or soaking the mushrooms with too much water; a quick wipe or a very brief rinse followed by thorough drying is best. Secondly, ensure you don’t overcrowd your baking pan. Giving the mushrooms enough space allows for proper air circulation, which helps them bake rather than steam. Finally, make sure the oven temperature is high enough – a 375°F (190°C) or 400°F (200°C) oven helps create a nice crust and cooks them quickly without excessive moisture buildup.
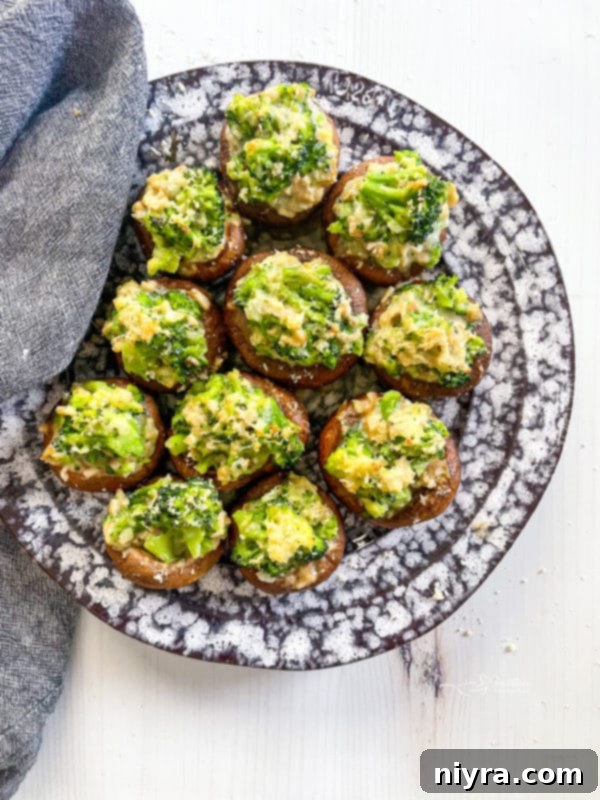
Delicious Variations to Explore
While our classic broccoli and Parmesan recipe is a winner, there are so many lovely ways to customize these stuffed mushroom caps. Get creative with these ideas:
- Shrimp Stuffed Mushrooms: For a delightful seafood twist, cook some small shrimp with butter and your favorite seasonings (garlic, lemon, a pinch of red pepper flakes). Once cooked, dice the shrimp into small pieces and fold them into the creamy broccoli and cheese filling. Stuff the mushrooms and bake as directed for an elegant appetizer.
- Spinach Stuffed Mushrooms: Elevate the veggie factor by adding sautéed, finely chopped spinach to the filling. Simply wilt a handful of fresh spinach, squeeze out all excess water, and mix it with the cheesy base. Spinach and cheese are a timeless, delicious combination that works perfectly here.
- Add Meat for a Heartier Bite: Looking for something more substantial? Incorporate cooked and finely crumbled sausage (Italian or breakfast sausage works well), ground beef, or shredded cooked chicken into the filling. Cook the meat thoroughly before mixing it with the broccoli and cheese for extra protein and flavor, making these mushrooms even more satisfying.
- Explore More Vegetarian Options: The versatility of these mushrooms knows no bounds! For additional vegetable-packed fillings, consider adding other finely diced vegetables such as bell peppers, zucchini, finely grated carrots, or even sautéed kale. These can be added along with or in place of some of the broccoli for different textures and nutritional benefits.
Expert Tips for Success
- Storage and Reheating: For the best flavor and texture, these stuffed mushrooms are best enjoyed immediately after baking. If you have leftovers, store them in an airtight container in the refrigerator for up to two days. To reheat, place them on a baking sheet and warm in a 300°F (150°C) oven until heated through, about 10-15 minutes. Avoid microwaving, as it can make them rubbery and watery.
- Choose Your Mushroom Size: This recipe calls for large mushrooms, perfect for a two-bite appetizer. If you opt for even bigger mushroom caps, like large portobellos, you’ll need to increase the filling ingredients proportionally. Larger mushrooms might also require a longer baking time and are best served with a fork and knife as a side dish or light main.
- Vegan Adaptation: To make this recipe vegan-friendly, simply omit the Parmesan cheese entirely or use your favorite high-quality dairy-free shredded cheese substitute. Ensure all other ingredients (like butter) are plant-based.
- Cheese Versatility: Don’t limit yourself to Parmesan! While it’s fantastic, many other cheeses work beautifully. Try sharp cheddar, creamy Gruyère, smoky provolone, or even a blend of Italian cheeses. Experiment to find your favorite flavor profile.
- Keep Them Warm: If serving a crowd, keeping the mushrooms warm is key. A chafing dish can help, but be aware that prolonged sitting can cause them to become a little watery. For optimal results, bake in batches and serve fresh from the oven, or just before guests arrive if using a warming dish for a short period.
- Prep Ahead: To make entertaining easier, you can prepare the filling a day in advance and store it in an airtight container in the refrigerator. You can also clean and remove the stems from the mushroom caps ahead of time. Stuff and bake just before serving for the freshest taste.
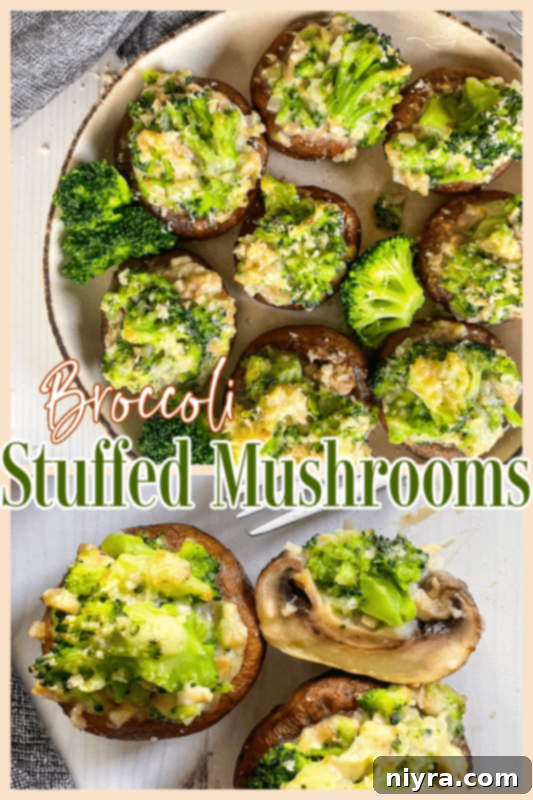
Love It? Pin This Recipe for Baked Stuffed Mushrooms!
Don’t let this easy and delicious appetizer recipe slip away! Save these delectable broccoli stuffed mushroom caps to your favorite food boards on Pinterest. Pin it now so you’ll have it ready for your next holiday gathering, party, or whenever a craving for flavorful finger food strikes!
Explore More Delicious Recipes You’ll Love
If you enjoyed this recipe, you’re in for a treat! Here are some other fantastic dishes and appetizers from our kitchen that we think you’ll adore:
- Mom’s Broccoli Rice and Cheese Casserole: A comforting classic, perfect for family dinners.
- Dorothy’s Hot Taco Dip: A crowd-pleasing, warm, and spicy dip for any gathering.
- Homemade Cream of Mushroom Soup: Far superior to canned, this creamy soup is a delight.
- Fried Cheese Curds: Golden, crispy, and utterly addictive.
- The Best Bacon Wrapped Recipes: Discover a collection of savory, bacon-wrapped delights.
- Cheesy Brussels Sprouts Dip: A surprisingly delicious way to enjoy Brussels sprouts.
- Reuben Cheese Ball: All the flavors of a Reuben sandwich in a festive appetizer.
- Broccoli Salad: A fresh, crunchy, and vibrant side dish.
- Seafood-Stuffed Mushrooms: Another fantastic stuffed mushroom option for seafood lovers.
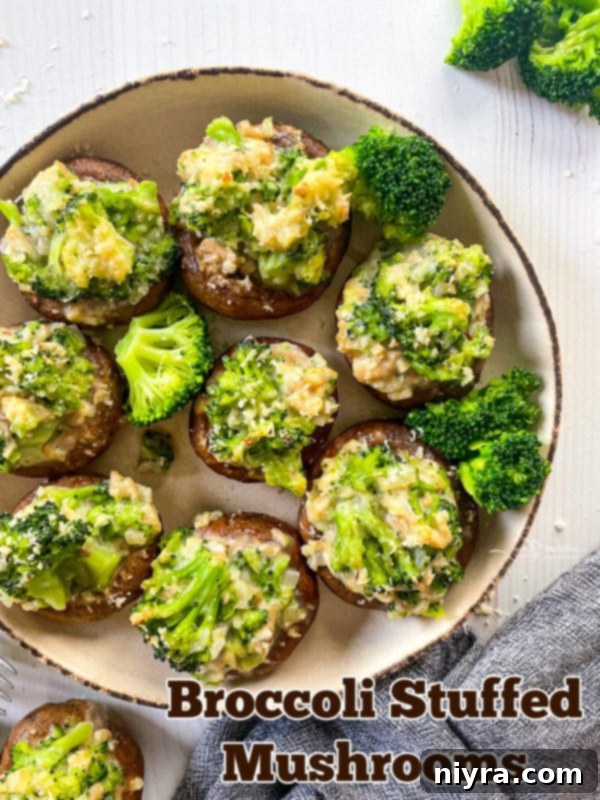
Ready to bake up some of the best broccoli stuffed mushrooms you’ve ever tasted? Enjoy!

LIKE THIS RECIPE?
Don’t forget to give it a ⭐️⭐️⭐️⭐️⭐️ star rating and
leave a comment below the recipe!

User Rating: 4.80 from 5 votes
Print Recipe
Broccoli Stuffed Mushrooms – Your Go-To Appetizer
These Broccoli Stuffed Mushrooms are not only incredibly delicious but are also considered by many to be the best! Fresh, earthy mushroom caps are generously stuffed with a savory blend of chopped broccoli and rich Parmesan cheese, baked to perfect tenderness, and ready to impress at Christmas, New Year’s Eve, or any special occasion.
Equipment
- Lodge Pre-Seasoned Cast Iron Skillet With Assist Handle, 10.25″, Black
- 12-Piece Black Sharp Knife Set with Covers, Cutting Board and Sharpener
- 13×18 Half Sheet Pan
Ingredients
- 12 large mushrooms (we use white)
- 1 very small onion, minced
- 6 Tablespoons butter or margarine
- 2 Tablespoons All-purpose flour
- ¾ teaspoons salt
- Dash of white pepper
- ⅔ cup milk
- 1 (10 oz size) package chopped frozen broccoli, blanched and drained (or fresh, finely chopped)
- 2 Tablespoons finely shredded Parmesan cheese
Instructions
- Remove stems from mushrooms and finely chop them. (A strawberry huller works wonders for this step!)
- In a frying pan, quickly sauté the chopped mushroom stems with the minced onion in 3 tablespoons of butter for approximately 2-3 minutes, until softened. Reduce the heat and stir in the flour, salt, and pepper. Gradually add the milk, continuing to cook and stir constantly until the mixture thickens. Stir in the broccoli and heat thoroughly until warmed through.
- Melt the remaining butter. Using a pastry brush, lightly brush the inside and outside of each mushroom cap. Fill each mushroom cap with an equal amount of the vegetable mixture, then sprinkle generously with Parmesan cheese.
- Place the stuffed mushrooms on a cookie sheet and bake at 375 degrees Fahrenheit (190°C) for 15 minutes, or until the mushrooms are hot and tender, and the cheese is melted and lightly golden.
- Serve immediately for the best flavor and texture.
Notes
I often prepare the filling and stuff the mushrooms a day ahead, then bake them just when I’m ready to serve. While you can keep them warm in a chafing dish, they tend to release moisture and can become a little watery. For the best experience, baking them fresh from the oven and serving immediately is highly recommended.
Store any leftover stuffed mushrooms in an airtight container in the refrigerator for up to 2 days. Reheat gently in the oven.
Nutrition
| Calories: 76kcal
| Carbohydrates: 4g
| Protein: 2g
| Fat: 6g
| Saturated Fat: 4g
| Polyunsaturated Fat: 2g
| Cholesterol: 17mg
| Sodium: 200mg
| Fiber: 1g
| Sugar: 1g
This recipe was originally posted on December 29, 2011. It has been thoroughly updated to improve user experience, enhance clarity, and optimize for search engines, then reshared on December 21, 2021.
