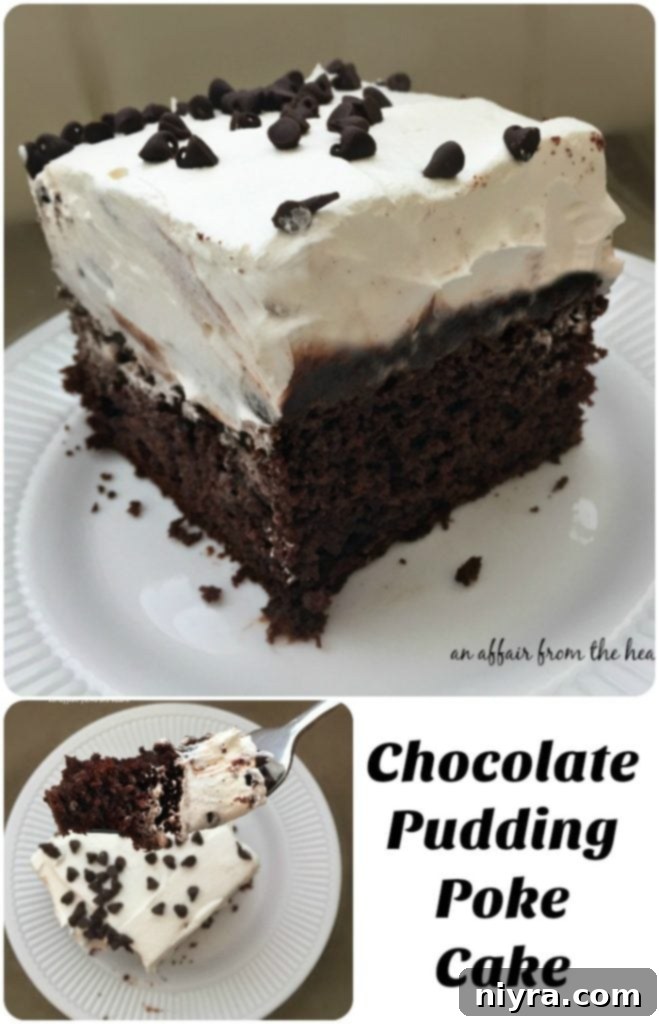
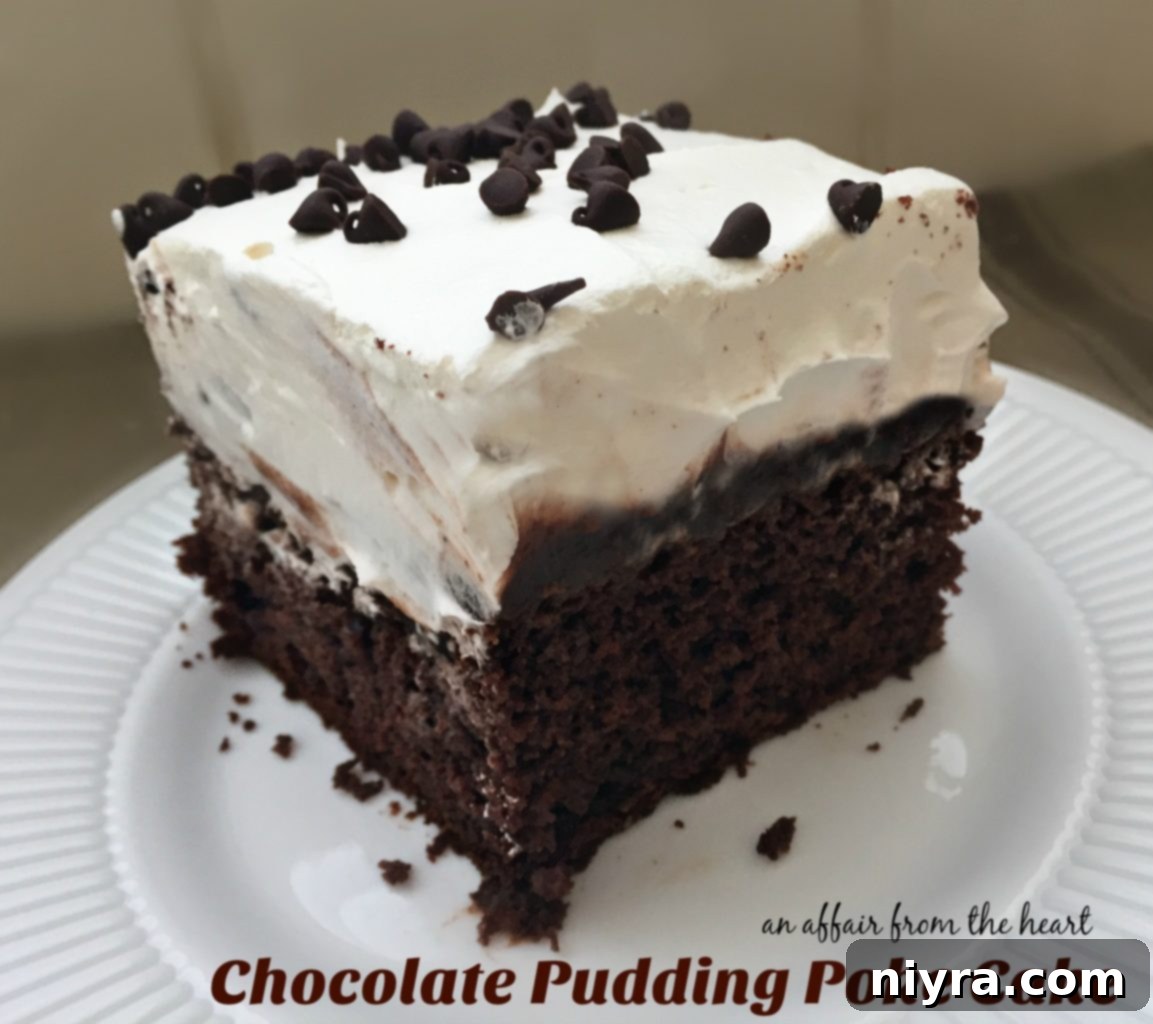
Indulge in the ultimate chocolate experience with this incredibly easy-to-make Chocolate Pudding Poke Cake. Starting with a convenient Devil’s Food cake mix, this dessert masterpiece is transformed with a rich layer of chocolate pudding, a generous topping of fluffy whipped cream (or Cool Whip), and garnished with your choice of elegant chocolate curls, decadent shredded chocolate, or playful miniature chocolate chips. It’s a crowd-pleaser that promises to be a staple in your dessert repertoire!
The Irresistible Allure of Chocolate Pudding Poke Cake
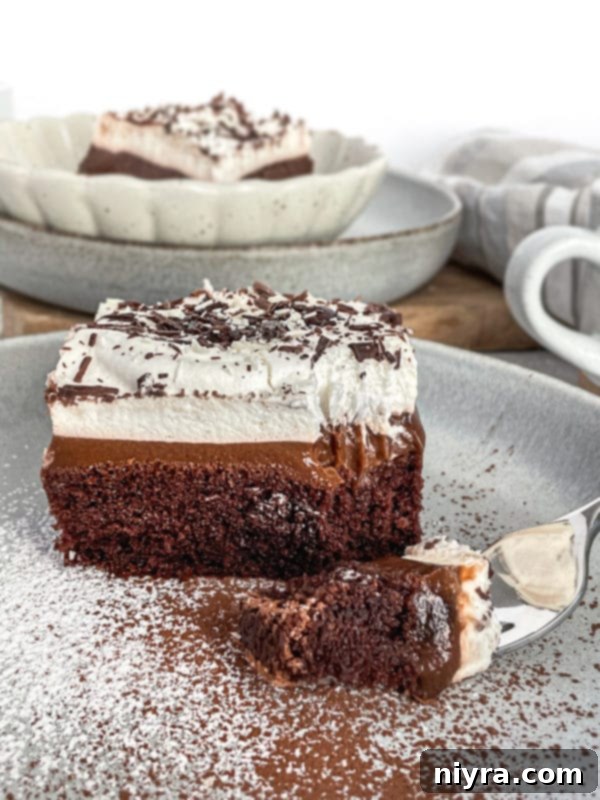
If one word could perfectly encapsulate the essence of this Chocolate Pudding Poke Cake, it would undoubtedly be “luscious.” This delightful confection strikes a masterful balance: it feels wonderfully light and airy, yet delivers an incredibly rich, deep chocolate flavor that will captivate any chocolate enthusiast. Its sheer deliciousness makes it utterly impossible to resist.
Beyond its divine taste, the true charm of this cake lies in its remarkable simplicity. Whether you’re planning an elaborate holiday feast or simply seeking a sweet pick-me-up during a busy week, this recipe fits every occasion. It’s one of those magical desserts that comes together effortlessly with just a handful of staple pantry ingredients, proving that extraordinary flavor doesn’t have to mean complicated preparation.
A Love Affair with Chocolate: How This Poke Cake Became a Family Favorite
Our journey with this Chocolate Pudding Poke Cake began back in 2016, a year that now feels like a distant memory, before the world changed in 2020. Remember those days? Days filled with concerts, movie theater visits, and spontaneous family vacations without a second thought. It was during one such cherished vacation that this cake first graced our table, instantly becoming a beloved family tradition.
We were enjoying a wonderful week at Table Rock Lake in Missouri, staying with my sister and brother-in-law at their charming home in Kimberling City. The drive from our house typically takes about seven hours, so we knew we’d arrive in the afternoon, eager to jump into the boat and enjoy the lake’s serene waters. I wanted to have a special dessert ready for dinner that evening, something delicious yet easy to prepare upon arrival, and most importantly, something that could travel well.

The Evolution of a Perfect Pudding Poke Cake
A couple of months before that vacation, I had experimented with a Coconut Pudding Poke Cake, and it was an absolute sensation! That success sparked an idea: I could bake the cake portion ahead of time and then assemble the rest with ease once we reached our destination. And guess what? It worked like a charm! This time, however, a rich chocolate version was calling my name.
I prepared the Devil’s Food cake, allowed it to cool slightly, carefully poked the holes, and then wrapped it securely in plastic for the journey. Upon our arrival, I quickly whipped up the chocolate pudding, poured it over the prepared cake, and chilled the entire dessert in the refrigerator. By the time we returned from our day on the lake, a decadent, ready-to-eat chocolate cake was waiting. My brother-in-law’s enthusiastic declaration that it was “the best chocolate cake he had ever eaten” confirmed its instant classic status in our family.
Essential Ingredients for Your Chocolate Pudding Poke Cake
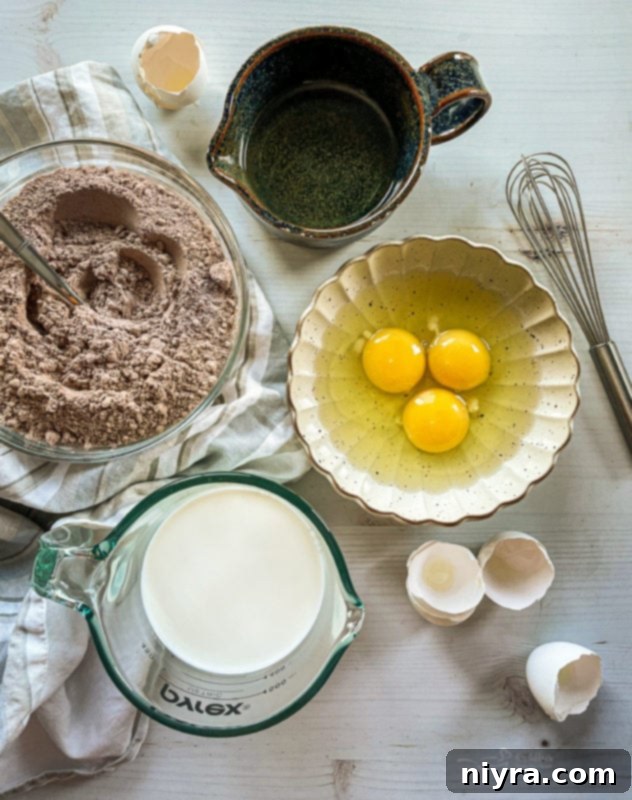
True to its promise of simplicity, this Chocolate Pudding Poke Cake requires only a few fundamental ingredients. You’ll need one box of Devil’s Food cake mix, along with the necessary additions as per the package instructions, typically eggs, oil, and water. A little secret for an even richer cake flavor: I often substitute milk for water in my cake mixes, which I find significantly enhances the taste and texture. You will also need two boxes of instant chocolate pudding mix.
For the luscious topping, you have a couple of wonderful options. You can prepare homemade whipped cream by beating heavy whipping cream with a touch of vanilla and a little powdered sugar for a truly gourmet touch. Alternatively, for ultimate convenience without compromising on taste, a container of Cool Whip or Dream Whip works beautifully. And to complete your masterpiece, you can choose to leave it unadorned for a simple elegance, or elevate it with delicate chocolate curls, finely shredded chocolate, or an abundance of mini chocolate chips.
Step-by-Step Guide: Crafting Your Perfect Chocolate Poke Cake
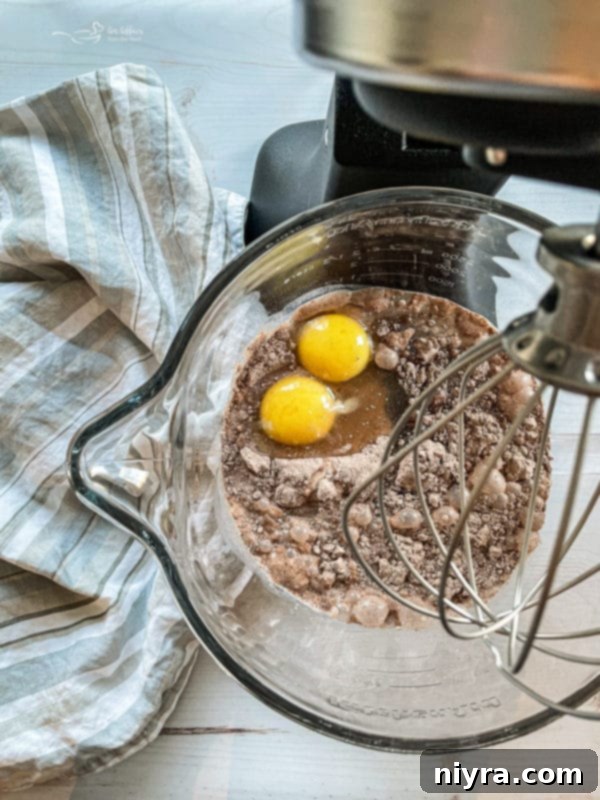
**1. Prepare the Cake Base:** Begin by preparing your Devil’s Food cake mix according to the package directions. Pour the batter into a 9×13 inch baking dish and bake until a toothpick inserted into the center comes out clean. This ensures your cake is perfectly cooked and ready for the next delicious steps.
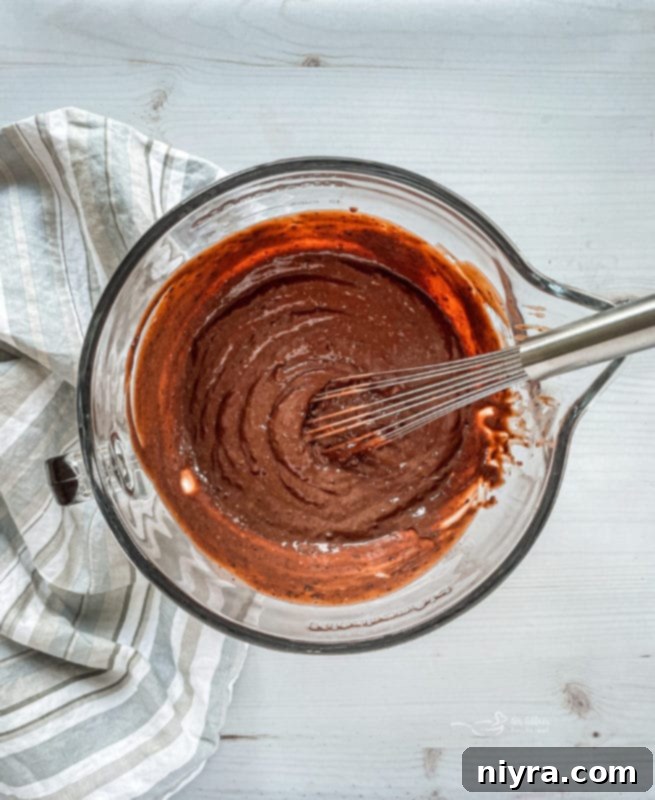
**2. Chill the Pudding:** While your cake is in the oven, take this time to prepare the instant chocolate pudding. Whisk the pudding mix with the specified amount of milk until well combined and thickened. Place it in the refrigerator to chill thoroughly while the cake finishes baking and cools.
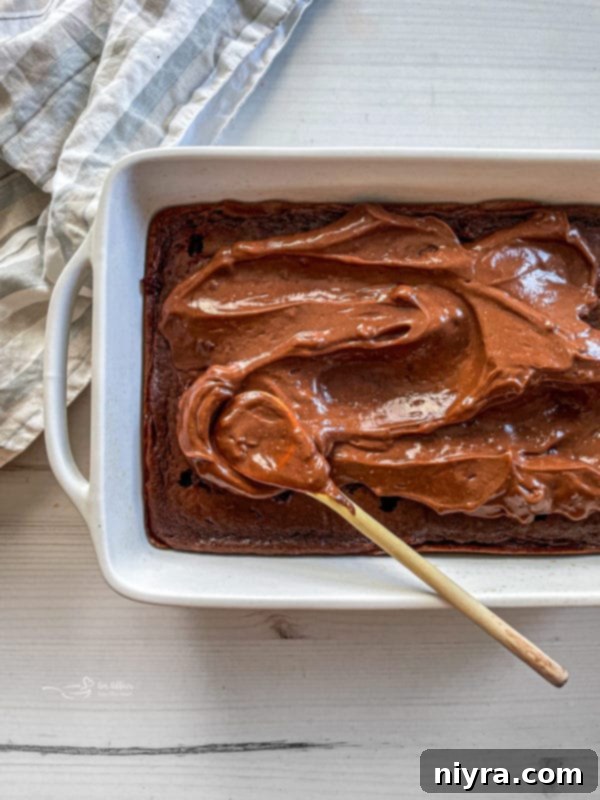
**3. The “Poke” in Poke Cake:** Once the cake is out of the oven, allow it to cool slightly – just enough so it’s warm but not piping hot. Then, using the handle of a wooden spoon or a similar blunt object, gently poke holes evenly across the entire surface of the cake. Make sure these holes go all the way to the bottom of the pan to allow the pudding to seep in and infuse every bite with flavor.
Next, retrieve your chilled chocolate pudding. Pour it generously over the still-warm, poked cake. Use the back of a spoon to gently spread the pudding, ensuring it flows into all the freshly made holes. This crucial step is what gives the poke cake its signature moistness and intense flavor. Return the cake to the refrigerator and allow it to cool completely, letting the pudding set and fully absorb into the cake.
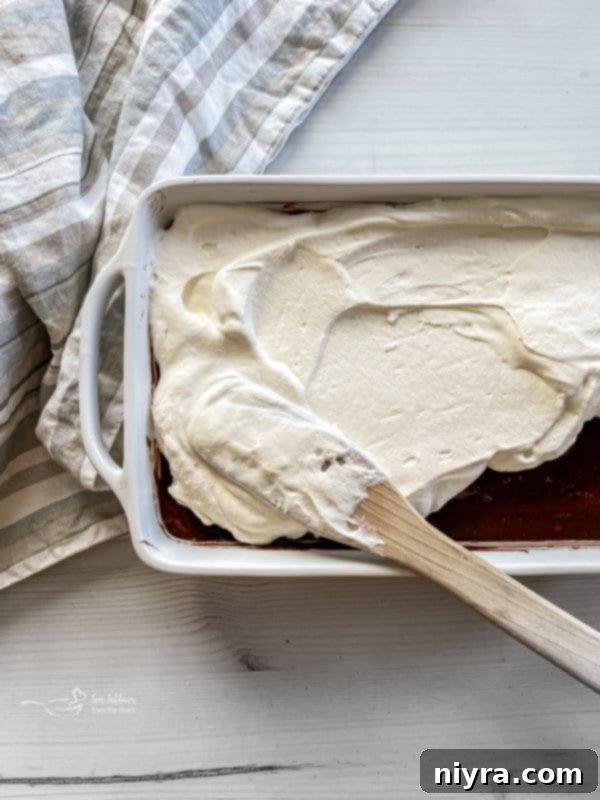
**4. The Creamy Topping:** Once the cake is thoroughly chilled and the pudding has set, it’s time for the final creamy layer. Spread your prepared whipped cream or non-dairy whipped topping evenly over the chocolate pudding. This creates a beautiful contrast in texture and taste, adding a light and airy dimension to the rich chocolate base.
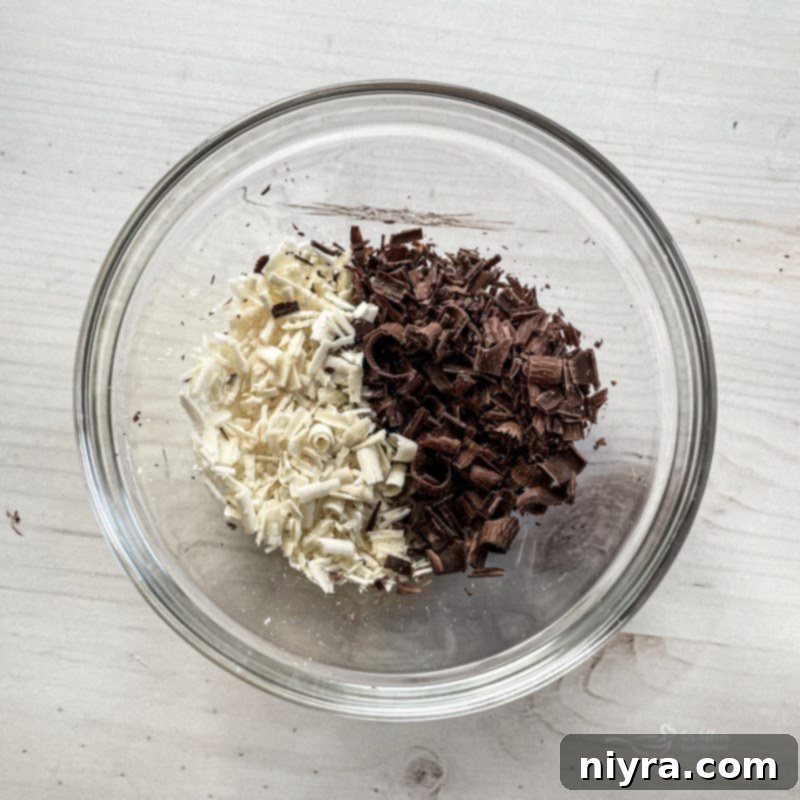
**5. Garnish and Serve:** Now for the fun part – decorating! Whether you opt for miniature chocolate chips, elegantly grated dark or white chocolate, or delicate chocolate curls, a garnish truly elevates the cake’s visual appeal. Feel free to use whatever chocolatey delights you have on hand to make it your own. Serve your beautifully decorated Chocolate Pudding Poke Cake immediately, or store it in the refrigerator until it’s time to impress your guests.
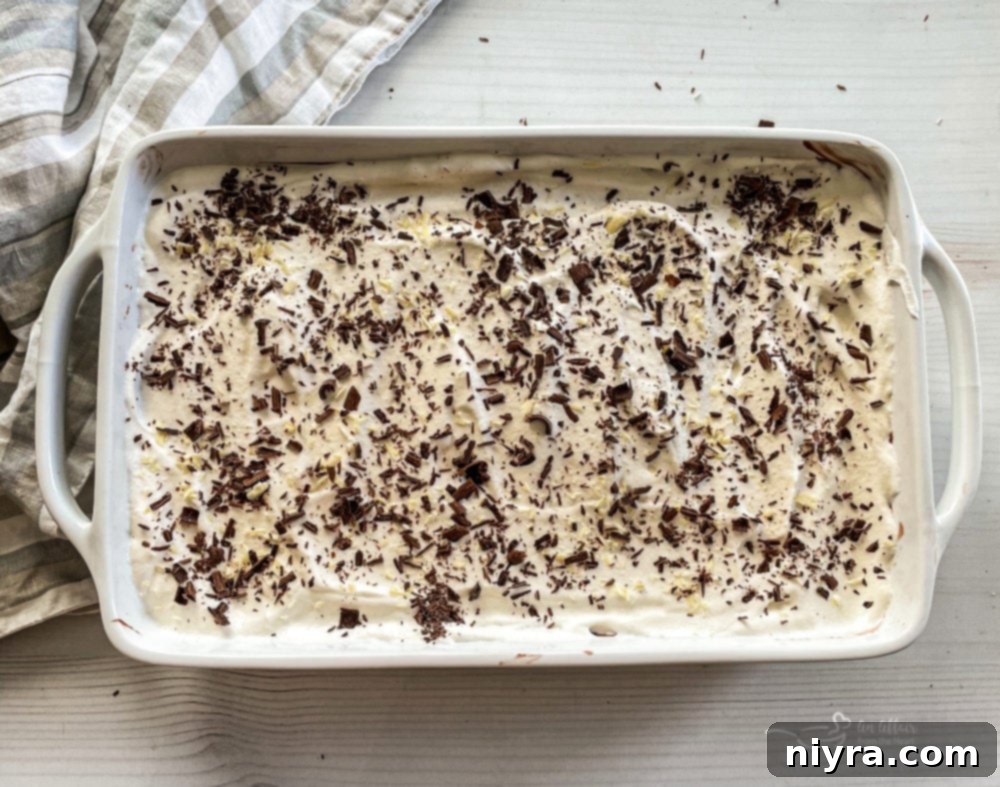
Decorate the top of the cake with your chosen chocolate topping. This adds both visual appeal and an extra layer of chocolatey delight. Serve immediately, or place in the fridge until it’s time to eat it! This cake is best enjoyed chilled, allowing the flavors to meld and the textures to solidify into a perfectly harmonious bite.
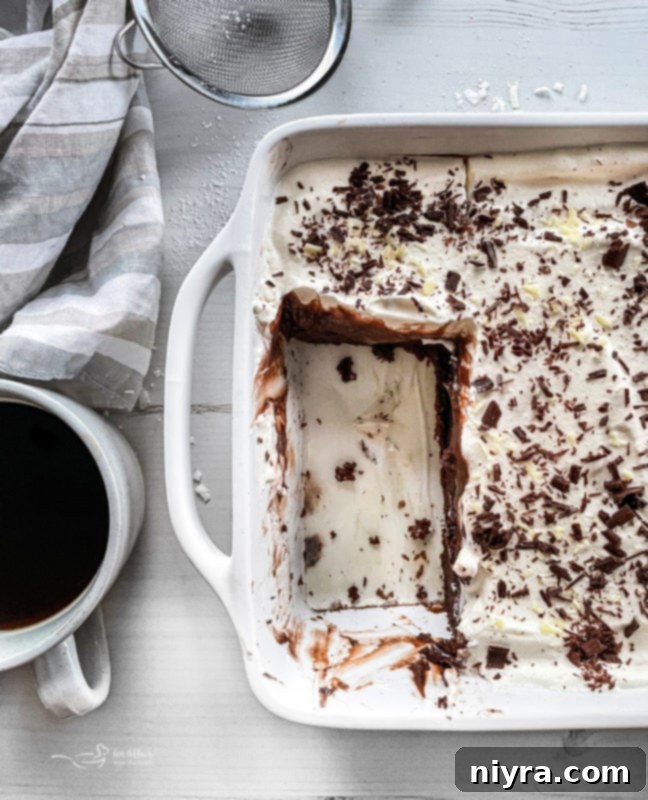
Watch in amazement as this cake disappears slice by delicious slice! Its rich flavor and satisfying texture make it an instant hit at any gathering, or simply as a well-deserved treat for yourself.
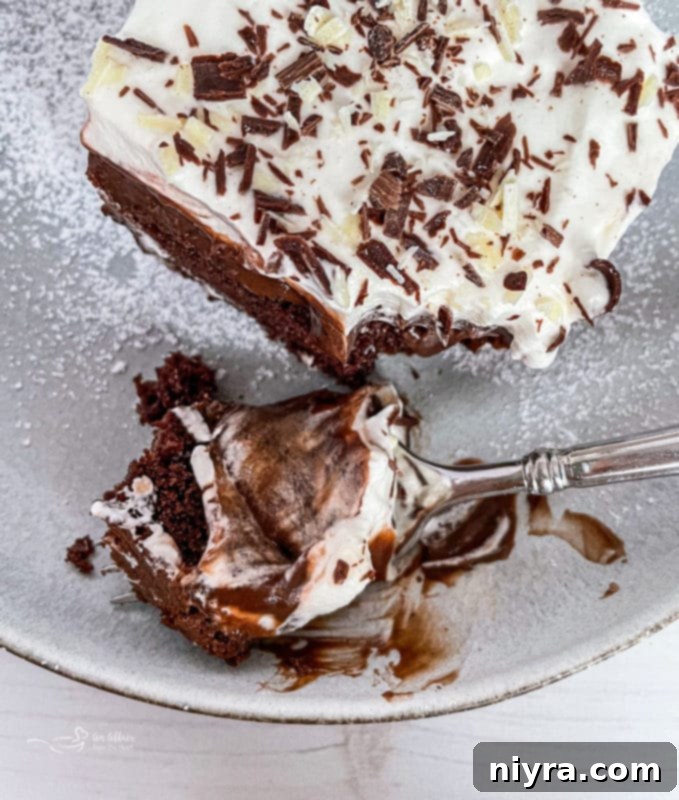
Doesn’t that just make you want to reach through the screen and grab a bite? The layers of moist cake, creamy pudding, and fluffy topping are a feast for the eyes and the palate.
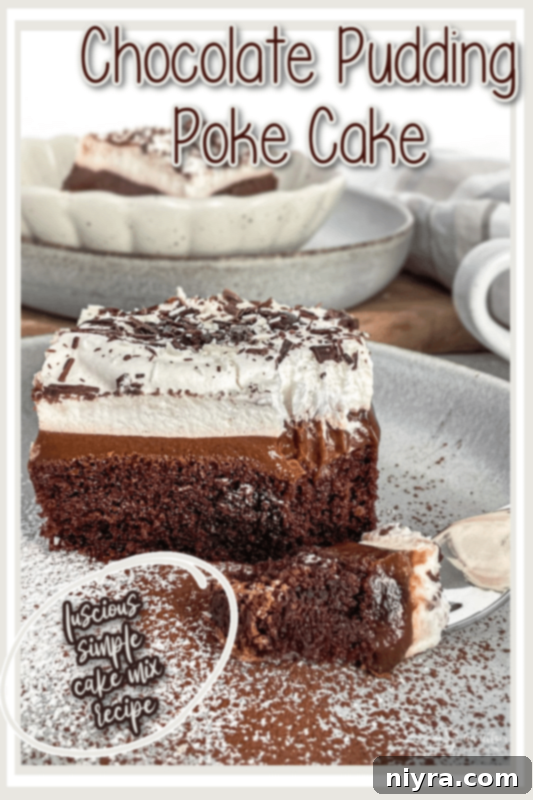
Share the Sweetness: Pin This Recipe for Later!
Loved this recipe for the BEST Chocolate Pudding Poke Cake? Don’t let it get lost in the endless scroll of the internet! Make sure to pin it to your favorite Pinterest recipe board. This way, you’ll always have quick and easy access to recreate this delightful dessert whenever a craving strikes or an occasion calls for something truly special.
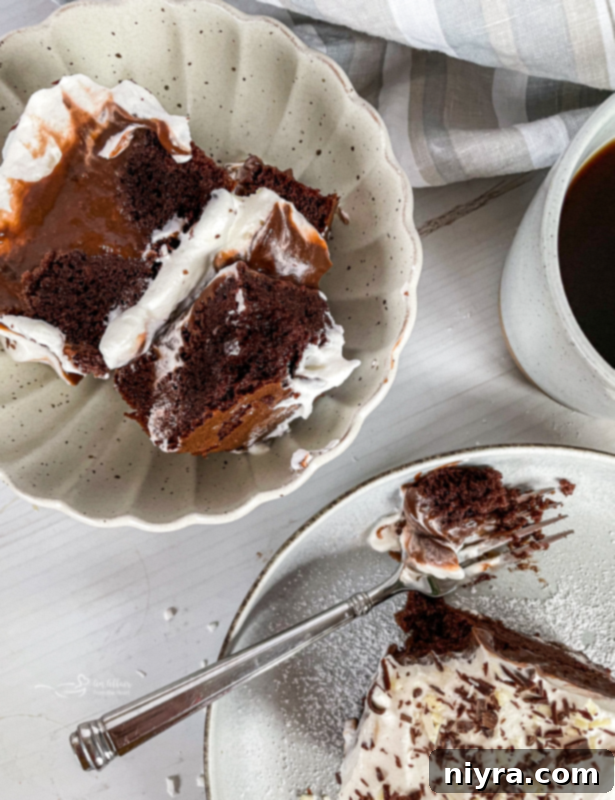
Expert Tips for the Perfect Poke Cake
How Many Holes Should You Poke in a Poke Cake?
For optimal filling distribution and a beautifully moist cake, I always recommend using the handle of a wooden spoon to create the holes. This tool provides the ideal size for the pudding to seep in effectively. Ensure you poke the holes all the way to the bottom of the cake until the spoon lightly touches the baking dish. This ensures every slice gets a generous burst of pudding. Aim to space your holes about one inch apart. If the holes are too far apart, the cake won’t absorb enough filling, resulting in dry spots. Conversely, poking them too close together can make the cake overly moist and prone to falling apart. Precision here makes all the difference in achieving that perfectly infused texture.
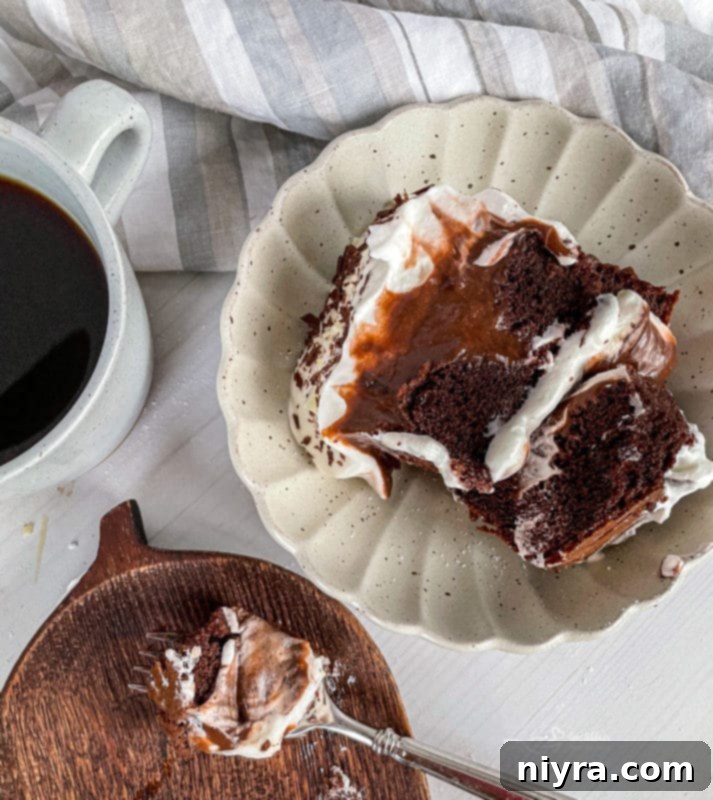
Should You Cool a Cake Before Poking Holes?
Yes, it’s crucial to allow your cake to cool slightly before you begin poking holes. A cake that is too hot may crumble and fall apart when poked, making it difficult to create clean, defined holes. Additionally, spreading pudding on a piping hot cake could cause the pudding to become too thin or even melt. The ideal time to poke holes is when the cake is warm to the touch. This slight warmth helps the pudding seep deeply into the cake, creating that wonderfully moist texture. After poking and spreading the filling, refrigerate the cake immediately to allow it to cool completely and for the pudding to set perfectly.
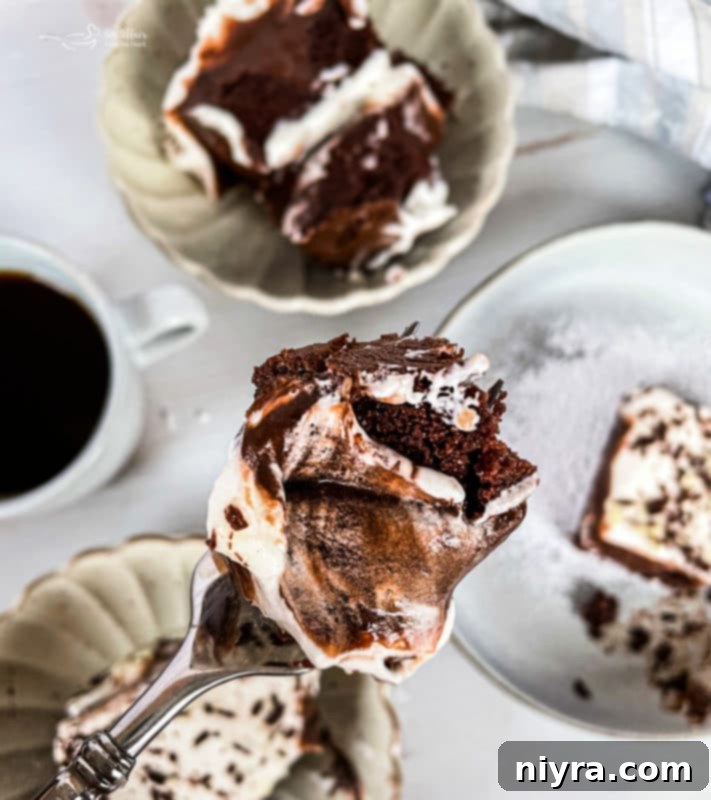
Pudding or Whipped Cream Topping: Which to Choose?
The choice between homemade whipped cream and a non-dairy whipped topping like Cool Whip truly comes down to personal preference and dietary needs. I’ve made this cake with both options, and each yields a delicious result. Some staunch advocates for homemade desserts insist on using real heavy cream, whipped to perfection, for its rich flavor and superior texture. Others, whether due to dietary restrictions, convenience, or simply a preference for its unique taste, find non-dairy whipped topping to be an excellent and easy alternative. You may hear cakes topped with non-dairy whipped cream referred to as a “Chocolate Pudding Cool Whip Cake” or a “Chocolate Cake with Cool Whip Frosting.” Ultimately, your kitchen is your domain, so feel free to choose whichever option best suits your taste, time, and available ingredients. Both will result in a dessert that delights!
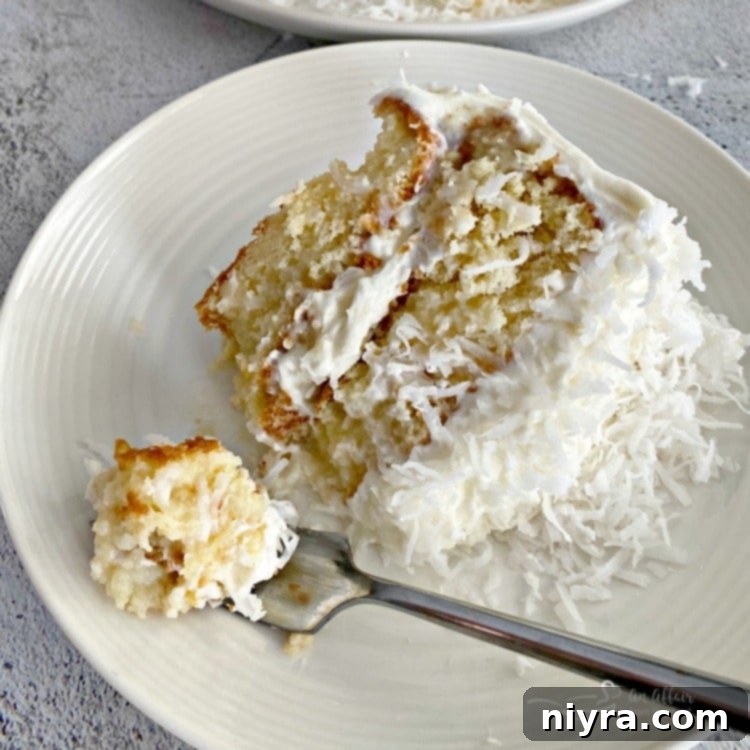
More Irresistible Poke Cake Recipes to Explore!
If you’ve fallen in love with the concept of poke cakes, you’re in for a treat! This versatile dessert style offers endless possibilities, and I’m delighted to share a few more of our family’s favorite poke cake recipes with you. Each one offers a unique flavor profile while maintaining that signature moist, delicious texture:
- Coconut Cream Poke Cake with Coconut Whipped Cream Frosting (pictured above): A tropical dream, this cake is exceptionally moist and features a delicate coconut cream whipped cream frosting, topped with sweetened coconut flakes. A true paradise for coconut lovers!
- Coconut Pudding Poke Cake: Another fantastic coconut option, this one highlights the creamy, luscious texture of coconut pudding infused into a light cake.
- Lemon Pudding Poke Cake: Bright, zesty, and refreshing, this cake is perfect for those who enjoy a tangy twist. The lemon pudding adds a delightful burst of citrus flavor.
- Butterfinger Poke Cake: For candy bar enthusiasts, this cake is a crunchy, chocolatey, and peanut-buttery delight, incorporating the beloved Butterfinger candy.
- Pumpkin Poke Cake: A seasonal sensation, this pumpkin-spiced cake is incredibly moist and flavorful, ideal for autumn gatherings and holiday celebrations.

We sincerely hope you cherish this Chocolate Pudding Poke Cake as much as our family does. It’s a simple recipe that brings immense joy and rich, comforting flavors to any table. Happy baking!

LIKE THIS RECIPE?
Don’t forget to give it a ⭐⭐⭐⭐⭐ star rating and
leave a comment below the recipe!

Print Recipe
Chocolate Pudding Poke Cake
Ingredients
- 1 box Devil’s Food cake mix + eggs, oil and milk (or water) to prepare according to package instructions (milk for richer flavor)
- 4 cups milk
- 2 (3.4 ounce) boxes instant chocolate pudding
- 2 cups heavy whipping cream (prepared) OR 1 (16 ounce) container non-dairy whipped topping (like Cool Whip)
- 1/2 cup mini chocolate chips (for topping, or chocolate curls/grated chocolate)
Instructions
- Prepare cake batter according to package instructions (using milk instead of water if desired for a richer cake). Pour into a 9×13 inch baking dish and bake until a toothpick inserted into the center comes out clean.
- While the cake is baking, prepare the two boxes of instant chocolate pudding with the four cups of milk. Whisk until thickened, then place in the fridge to chill until ready to use.
- Once the cake has cooled for a few minutes (it should still be warm), use the handle of a wooden spoon (or similar size) to make poke holes all over the cake, ensuring they reach the bottom of the pan and are spaced about 1 inch apart.
- Pour the chilled pudding mixture evenly over the warm, poked cake, using the back of a spoon to spread it and make sure it fills all the holes. Place the cake back in the refrigerator to cool completely and allow the pudding to set fully.
- Once the cake is fully chilled and the pudding is set, spread the prepared whipped cream or non-dairy topping evenly over the top of the pudding layer. Sprinkle with mini chocolate chips, chocolate curls, or grated chocolate as a garnish.
- Refrigerate until ready to serve, and always store any leftovers in the refrigerator to maintain freshness and texture.
Nutrition
This recipe was originally posted on August 10, 2016. It was updated to improve user experience and re-shared on December 14, 2020.
