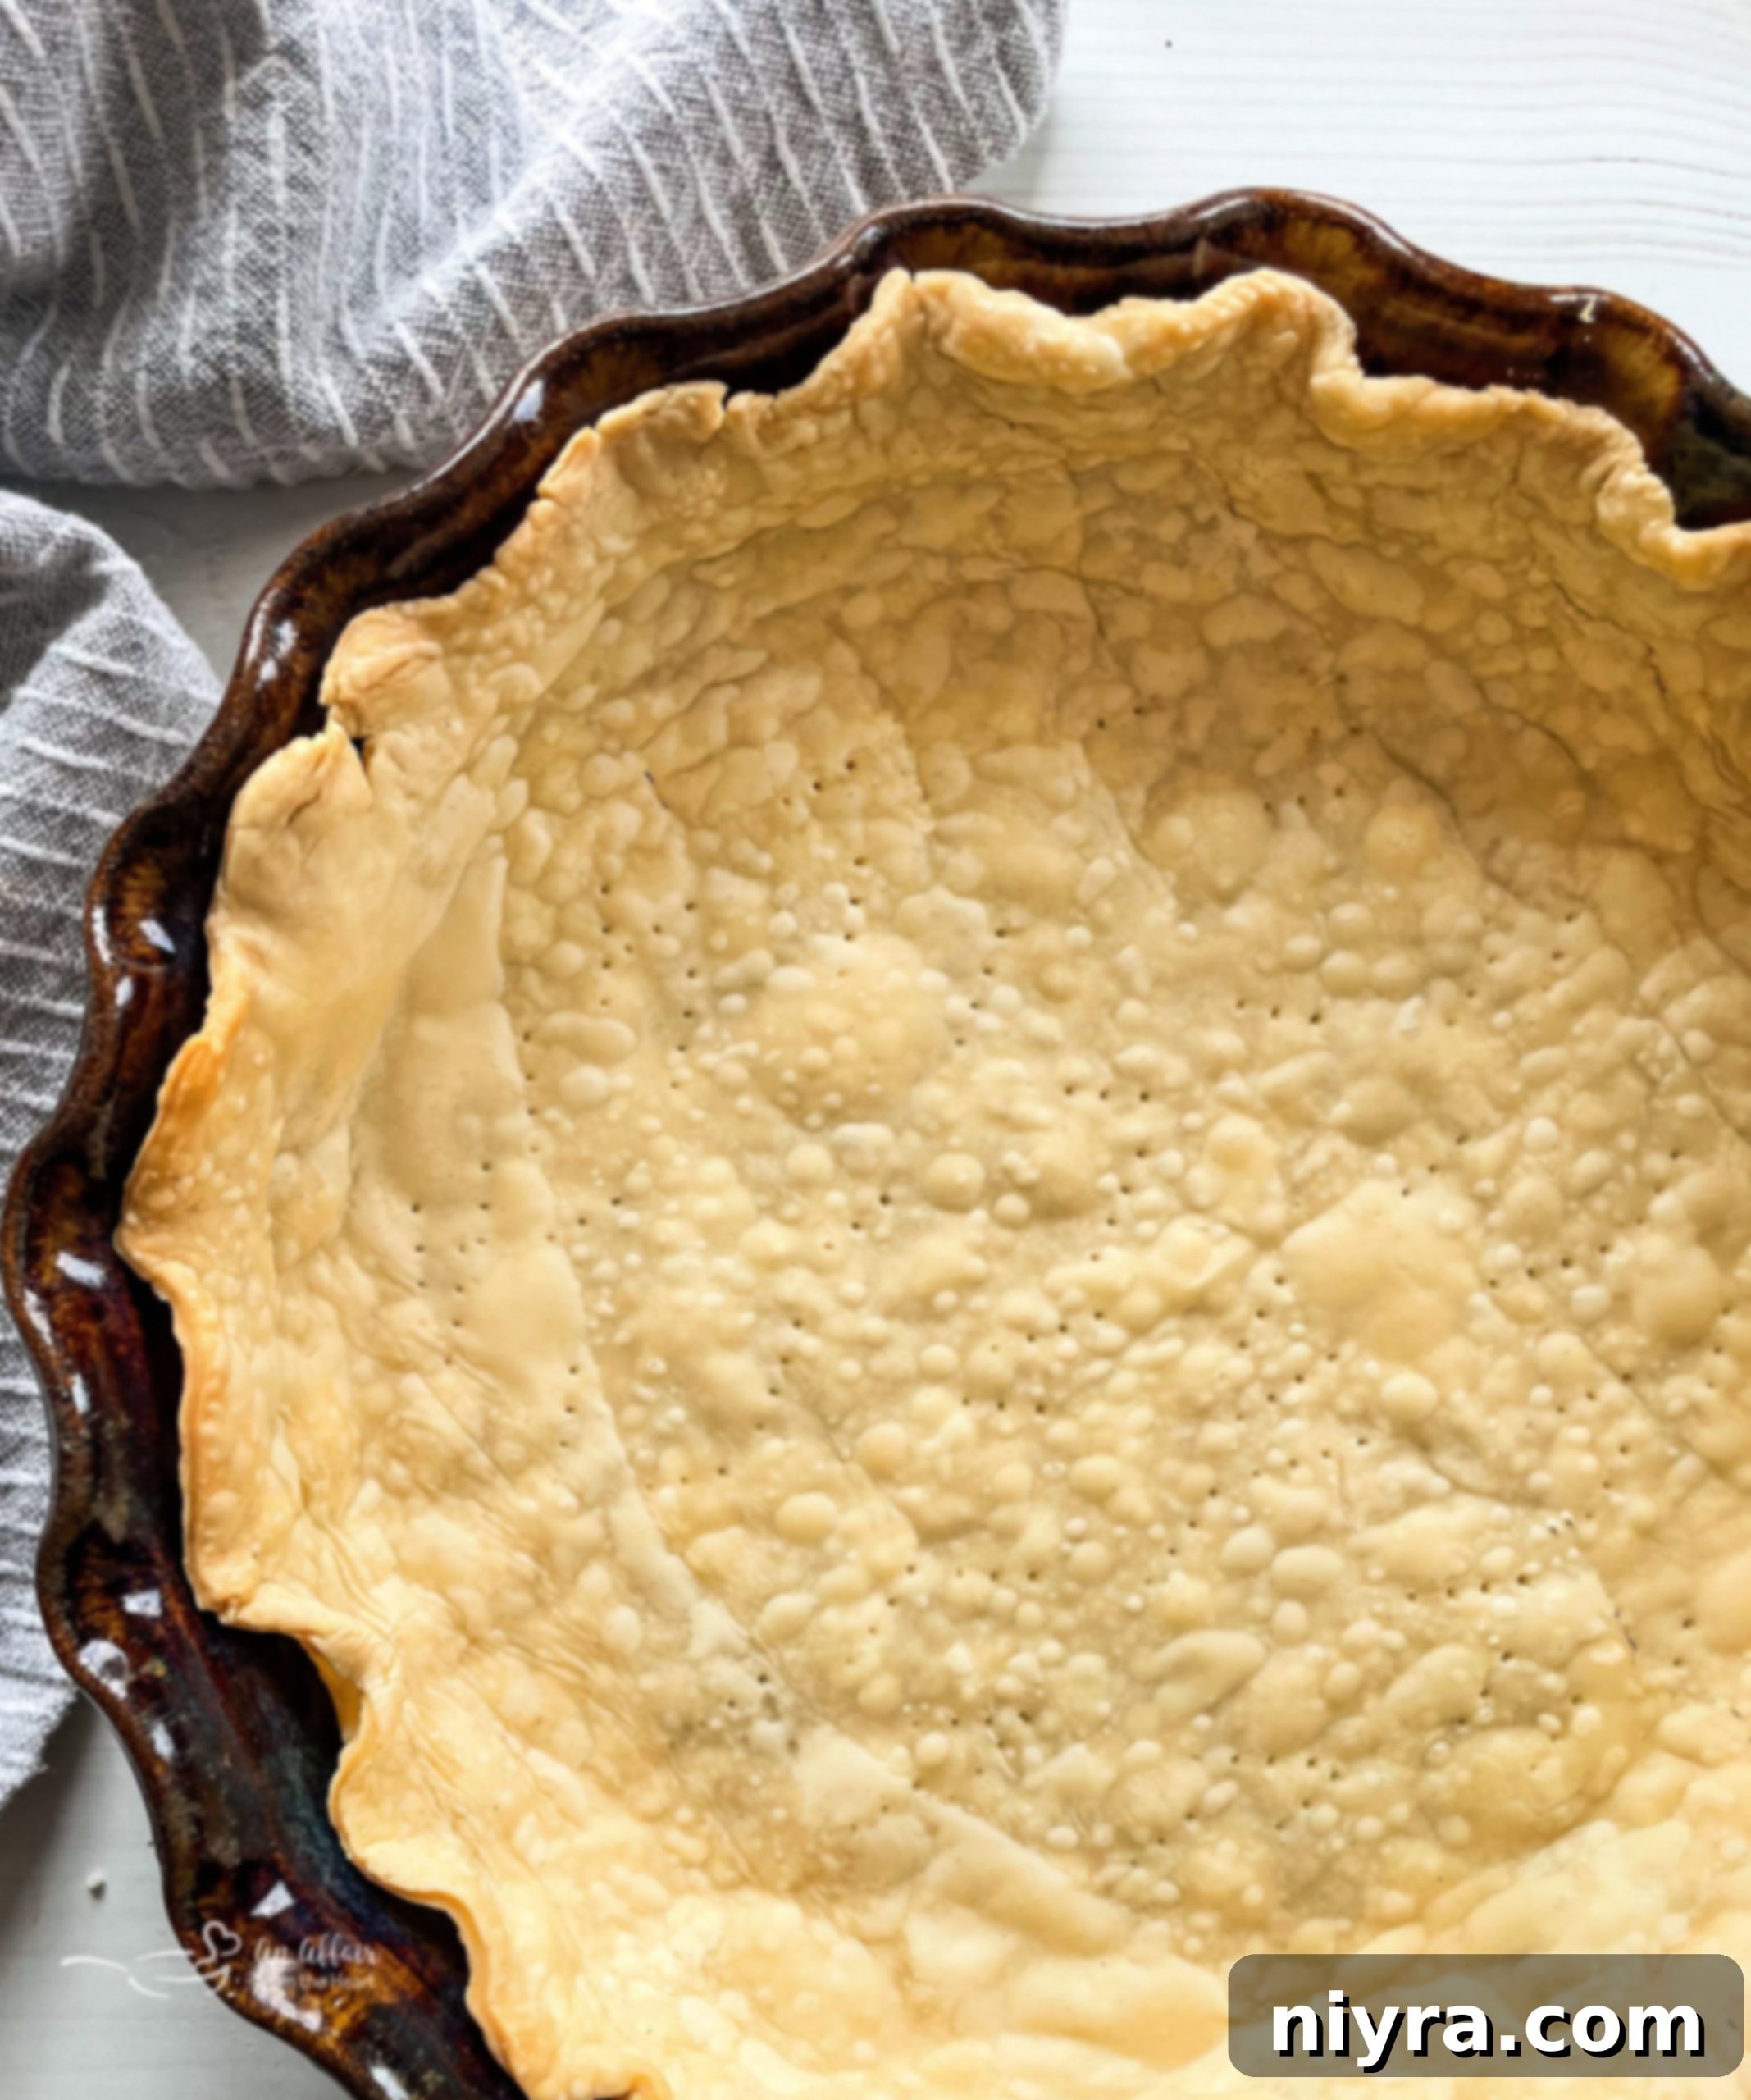
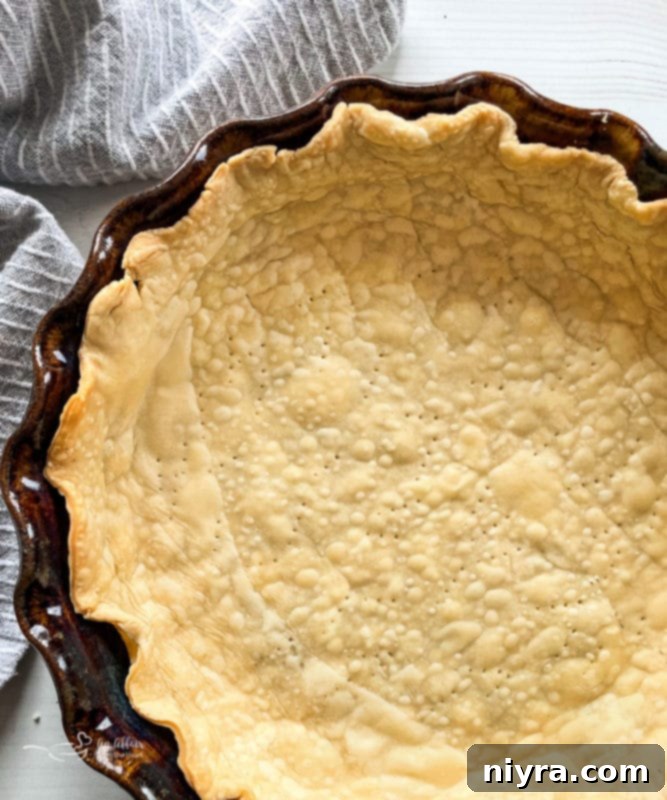
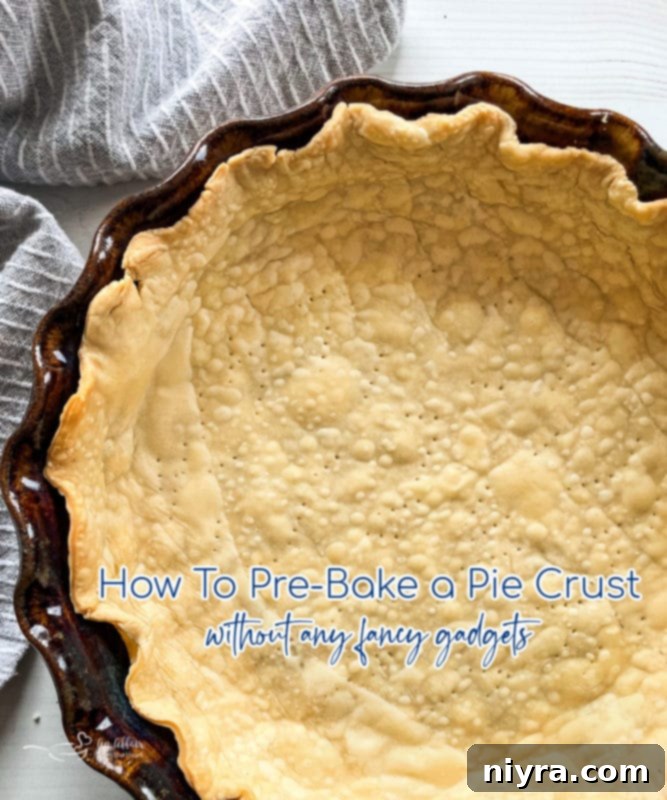
Many beloved pie recipes specifically call for a **pre-baked** or **blind-baked pie crust** before the luscious filling is even considered. This crucial step is the secret to preventing a soggy bottom and achieving a perfectly crisp crust every time. This comprehensive guide will show you exactly **how to blind bake a pie crust**, transforming a potentially tricky task into a simple, straightforward process, even without specialized gadgets – just a humble piece of aluminum foil!
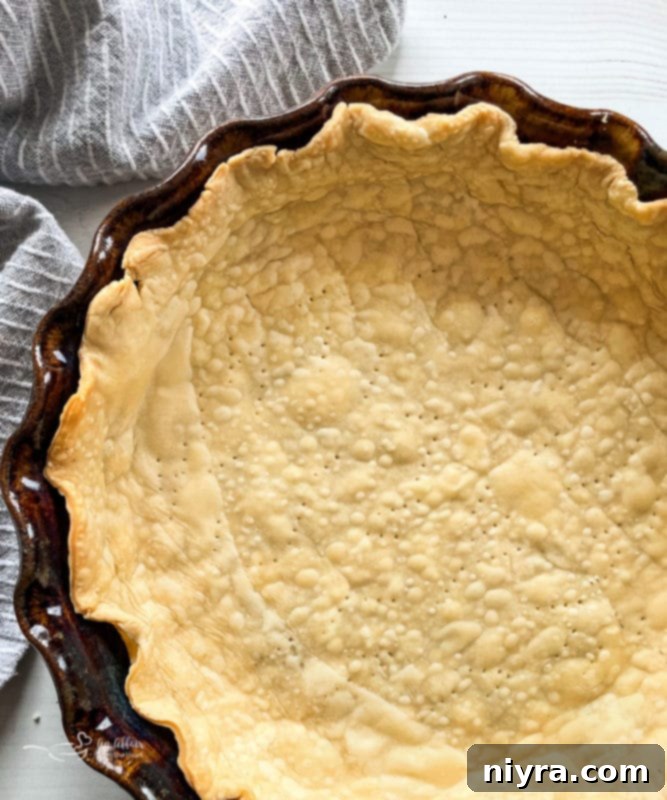
Have you ever diligently prepared a pie crust, only for it to slump down the sides of the pan during baking, turning into a sad, shapeless lump? Perhaps you’ve experienced the disappointment of a beautiful pie with a perfectly golden top, only to find a wet, unbaked mess at the bottom. This common baking dilemma is frustrating, but it doesn’t have to be your pie-making destiny. Many home bakers, at some point, have given up on homemade crusts after such an incident, opting for store-bought alternatives or even just dusting the “fail” with cinnamon sugar for a quick ego-healing snack. We’ve all been there, and we understand the struggle.
But fear not! Mastering the art of **blind baking** is simpler than you might think and will elevate your pie-making skills to new heights. With a few easy tricks, you can ensure your **pie crust** bakes evenly and holds its shape flawlessly. This guide will walk you through the correct method, ensuring your pies are as impressive structurally as they are delicious.
Mastering the Art of Blind Baking a Pie Crust
The term “blind baking” might sound intimidating, but it simply refers to baking a pie crust without its filling. It’s a foundational technique for many pie recipes, especially those with wet fillings like quiches, custards, or fresh fruit pies, which need a barrier to prevent the crust from becoming soggy. When you **blind bake a crust**, your goal is to lightly pre-bake it, establishing its structure and giving it a head start before the filling is added. There are several key techniques to help achieve a perfectly even and crisp result.
What Exactly Does Blind Baking Mean?
The term “**blind baking**” a pie crust has fascinating origins, believed to stem from old English baking traditions. It literally refers to baking the crust “empty” or “naked” – devoid of any other ingredients. Think of it as the crust being “blind” to its future filling, prepared beforehand to be robust enough to handle whatever delicious ingredients are to come. This might sound a little quirky, but baking terminology often has these charming, historical roots. Just as a car trunk is called a “boot” in England, culinary terms can sometimes have unique and memorable etymologies.
Why You Should Pre-Bake Your Pie Crust
Understanding Par-Baking Your Pie Crust
When you **blind bake** a pie crust, you are essentially “par-baking” the dough. Much like parboiling vegetables, par-baking means partially cooking something for a limited amount of time, usually at a higher heat. For pie dough, this light cooking period is just enough to set the structure of the crust, making it firm and preventing it from becoming overly moist once the filling is added. It’s crucial to cook it just long enough to achieve this initial set and a very light golden color, but not so much that it becomes crusty or crumbly, as it will likely bake further with the filling. This partial cooking ensures the dough forms a stable, delicious base without drying out or over-browning too early in the overall baking process.
Optimal Temperature for Blind Baking Your Crust
Achieving the perfect **blind-baked pie crust** isn’t just about the oven temperature; it also depends on the initial temperature of your dough. A critical step often overlooked is chilling the uncooked pie crust in the refrigerator before it goes into the oven. Why is this so important? Chilling firms up the butter or fat within the pie dough, which helps it hold its shape and thickness during baking. Cold fat creates steam when it hits the hot oven, which contributes to a flaky crust and prevents excessive shrinkage. Always start with a well-chilled crust. Once your crust is thoroughly chilled and ready, preheat your oven to a robust **450 degrees Fahrenheit (232°C)**. This high initial heat helps to rapidly set the crust’s structure, minimizing shrinkage and puffing. Once the oven reaches temperature, your crust is ready for its crucial first bake.
How Long to Blind Bake a Pie Dough Crust?
Blind Baking Without Weights: Simple Solutions
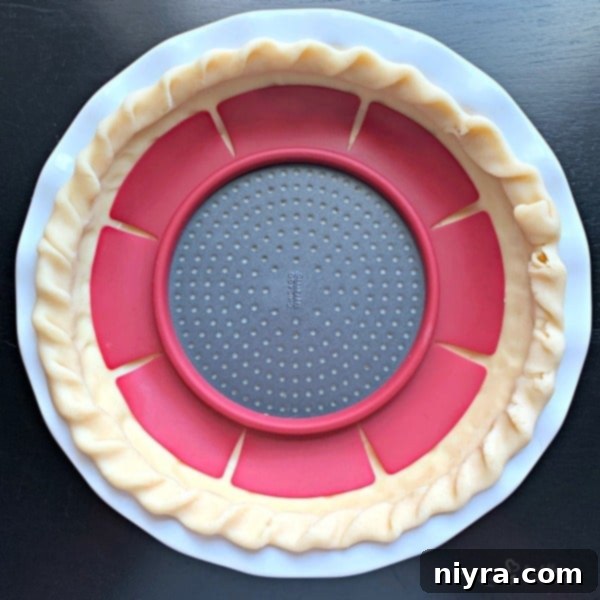
While dedicated **pie weights** are available and designed to help your crust maintain its shape during blind baking, you certainly don’t need to rush to the store if you don’t have them. There are fantastic, everyday alternatives that work just as effectively. My preferred method, and the one demonstrated here, uses simple aluminum foil. Another excellent workaround involves lining the crust with a piece of parchment paper and then filling it with dried beans, uncooked rice, or even clean pennies. These household items provide the necessary weight to keep the crust from bubbling up or shrinking excessively. If using pennies, ensure they are thoroughly washed before use – you never know whose hands they’ve been through! Once the crust has had its initial bake, you can remove the weights (and parchment/foil), reserving the beans/rice for future blind-baking sessions (they won’t be suitable for eating afterward).
Understanding Pie Weight Options
For those who frequently bake pies and prefer to have specialized tools on hand, there are several types of pie weights available:
- Metallic/Silicone Pie Weights – These are durable and reusable, often designed to conduct heat evenly for better baking results. They are a popular and reliable choice.
- Ceramic Pie Weights – Similar in concept to using dried beans, these small ceramic beads are food-safe, reusable, and distribute weight effectively.
- Chain Pie Crust Weights – These unique weights consist of stainless steel balls linked together in a chain, making them easy to place and remove from the crust.
Is Blind Baking a Pie Crust Truly Necessary?
The short and sweet answer is an unequivocal **yes**. If your goal is a pie with a firm, perfectly shaped, and flaky crust that proudly holds its filling, then blind baking is not just recommended, it’s essential. As we’ve discussed, skipping this vital step often leads to a disappointing, slumped-out lump of dough that bears little resemblance to a proper pie crust. Instead, you’ll end up with a watery, undercooked base that can ruin the entire pie experience. Pre-baking the crust ensures it sets its shape beautifully, maintains the correct thickness, and creates a sturdy foundation. This makes the subsequent addition of ingredients, whether hot or cold, much easier and guarantees a superior finished product. Blind baking is your insurance policy against a soggy bottom and your ticket to pie perfection!
Tips for Pre-Baking a Store-Bought Crust
There’s absolutely no shame in using a pre-made crust! Store-bought pie crusts are incredibly convenient and can simplify your baking process, especially on busy days. You’ll typically find them in the grocery store either frozen or refrigerated (unfrozen), and both types work perfectly well for blind baking. The main difference lies in how you prepare them for the oven. If you’re using a frozen raw crust, it’s best to allow it to thaw gently first, but always ensure it remains well-chilled in the refrigerator before baking. This cold temperature is just as important for store-bought crusts as it is for homemade ones, as it helps prevent shrinkage. Once thawed and chilled, the blind-baking process and timing are generally the same as for a homemade or unfrozen crust. With a pre-made crust, you also often have the advantage of a pre-formed edge, reducing one step in the process and making it even easier to achieve a perfect blind bake.
How To Blind Bake a Pie Crust: Step-by-Step
Follow these simple steps for a perfectly pre-baked pie crust:
- Preheat your oven to 450°F (232°C).
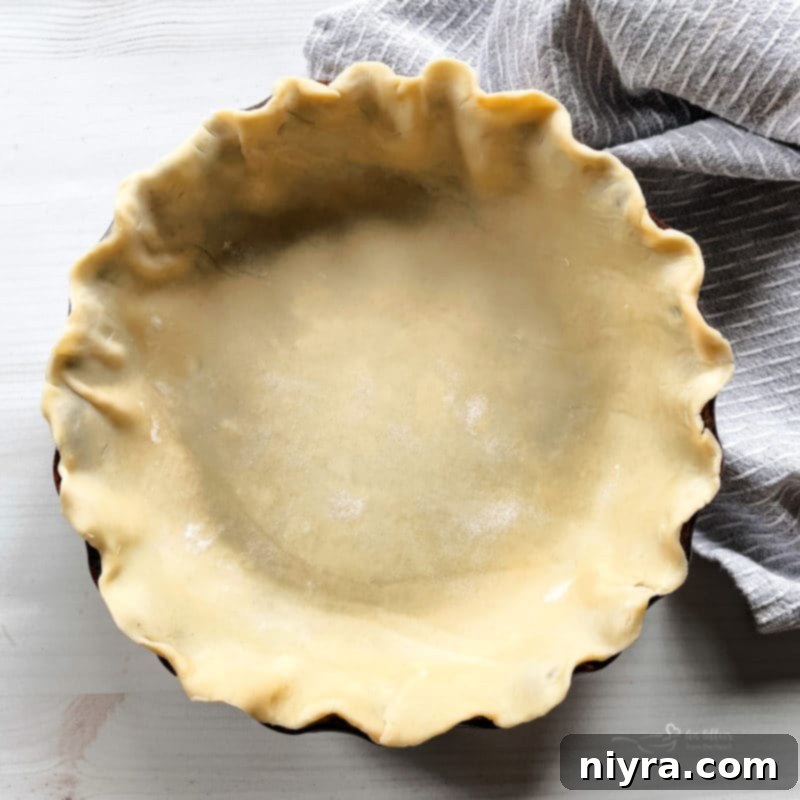
- Carefully lay your chilled pie dough into your pie plate and gently form the crust edge, crimping it as desired.
- Using the tines of a fork, prick holes evenly across the bottom and sides of the pie crust. This allows steam to escape, preventing the crust from puffing up.
- Lay a large piece of heavy-duty aluminum foil directly over the crust, molding it to cover the bottom and sides. This will act as a weight, keeping the crust from shrinking.
- Bake for 4 minutes. Carefully remove the foil (the crust will still be pale) and bake for an additional 2 minutes more, or until very lightly golden.

- Remove the blind-baked crust from the oven and allow it to cool completely on a wire rack before filling, especially for cold or no-bake fillings.
Now, fill with whatever your pie-loving heart desires for a truly sensational dessert!
Fill with whatever your pie-loving heart desires!!
Love It? Pin It!
Don’t let your pie crust woes continue! Be sure to bookmark this page, or pin these helpful tips to your favorite Pinterest board. That way, you’ll always have access to this guide on **how to blind bake a pie crust** whenever a delicious pie craving strikes!
Discover Other Delicious Pie Crust Options
It’s no secret that I have a deep affection for pies of all kinds! In my book, pie is the ultimate dessert, offering endless possibilities for flavor and texture. Once you’ve mastered the classic **blind-baked pie crust**, you’ll be ready to explore a world of other creative crust options. Here are some fun and flavorful ways to approach your next pie:
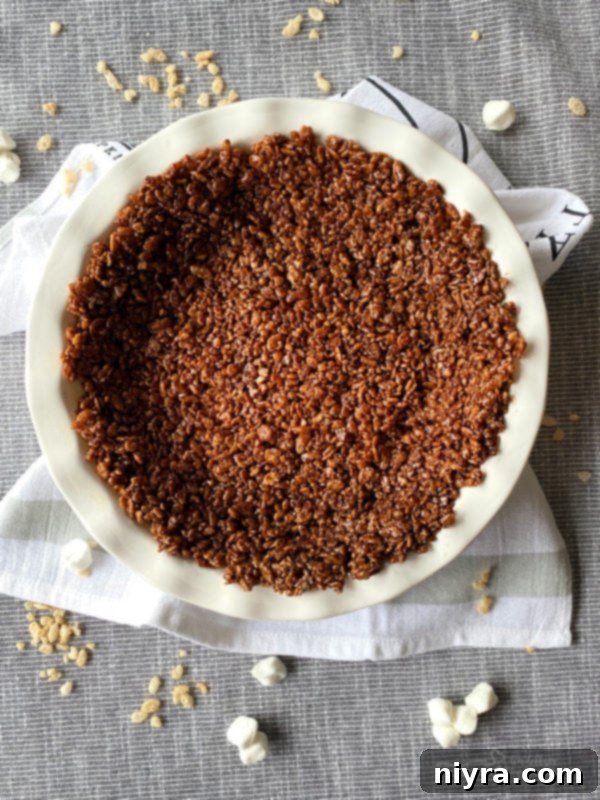
For a simple yet delightful dessert, try my Chocolate Marshmallow Pie Crust, pictured above. Just four ingredients and a few minutes, then fill it with your favorite ice cream for a unique treat. Many of my savory pies, like the comforting Bacon & Swiss Quiche Recipe, perfectly complement my Grandmother’s Homemade Pie Crust – the very recipe I often use in these tutorials.
Ever considered slab pies? My Pumpkin Pie Bars feature a rich Shortbread Crust, offering a different texture and flavor profile. And for a taste of sunshine, my Key Lime Slab Pie boasts a delightfully slightly sweet crust. For those who love a classic with a twist, my French Silk Pie can be baked in either a traditional crust or a decadent Oreo Cookie pie Crust. And for something truly tropical, this Coconut Banana Cream Pie features a crust ingeniously made from toasted coconut! Yum!
Excellent Pie Recipes to Try Next
Now that you have the essential **blind baking technique** down, it’s time to put your skills to the test and make some incredible pies! If you’re feeling ambitious and want to create your pie crust from scratch, my Grandma’s Homemade Pie Crust Recipe is a time-tested favorite that yields wonderfully flaky results.
Of course, a good quality store-purchased crust works beautifully too – it’s all about getting to the delicious finished product!
Here are some of my favorite sweet and savory pie options to inspire your next baking project, or you can browse all of my pies here.
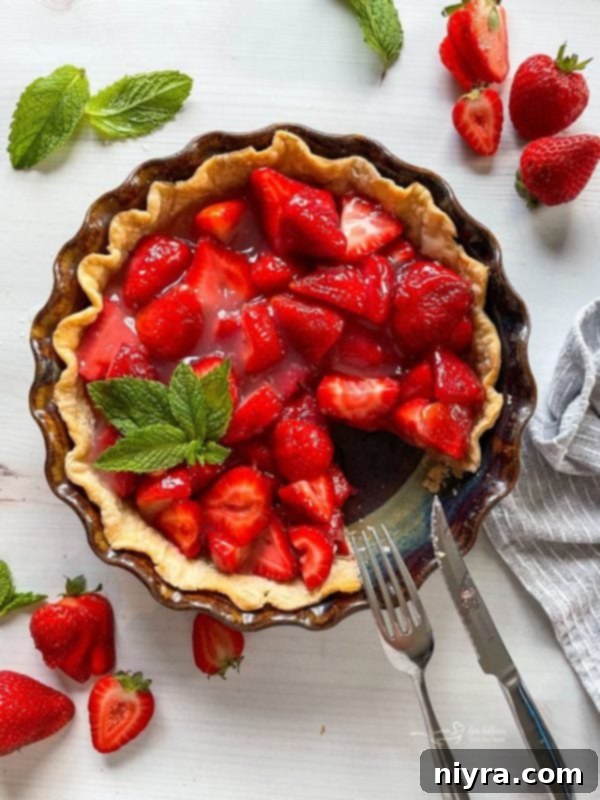
- Fresh Strawberry Pie (pictured above)
- Classic Chicken Pot Pie
- Irresistible Pecan Pie
- Creamy Coconut Banana Cream Pie
- Hearty German Onion Pie (Zwiebelkuchen)
- Savory Tomato Pie
- Decadent Coconut Cream Pie

LIKE THIS RECIPE?
Don’t forget to give it a ⭐️⭐️⭐️⭐️⭐️ star rating and
leave a comment below the recipe!
Print Recipe
How to: Blind Bake a Pie Crust
Equipment
- Chicago Metallic Pie Weight
- Ceramic Pie Weights Reusable
- Baking Pie Crust Weights Chain
- 2 Pack Pie Crust Shield Adjustable
- Large Silicone Pastry Mat
- KitchenAid Gourmet Rolling Pin, One Size, Red
- Ceramic Pie Dish, 10-Inch
Ingredients
- 1 homemade pie crust or store-bought works, too!
Instructions
- Preheat your oven to 450 degrees F.
- Lay your dough on your pie plate and form the crust edge.
- Using the tines of a fork, prick holes in the pie crust.
- Lay a large piece of heavy-duty foil over crust and form to cover.
- Bake for 4 minutes. Remove foil and bake for 2 minutes more.
- Remove from the oven and cool.
Notes
Nutrition
This post was originally shared on December 16, 2013. It has been updated to improve user experience and re-shared on March 20, 2022.
