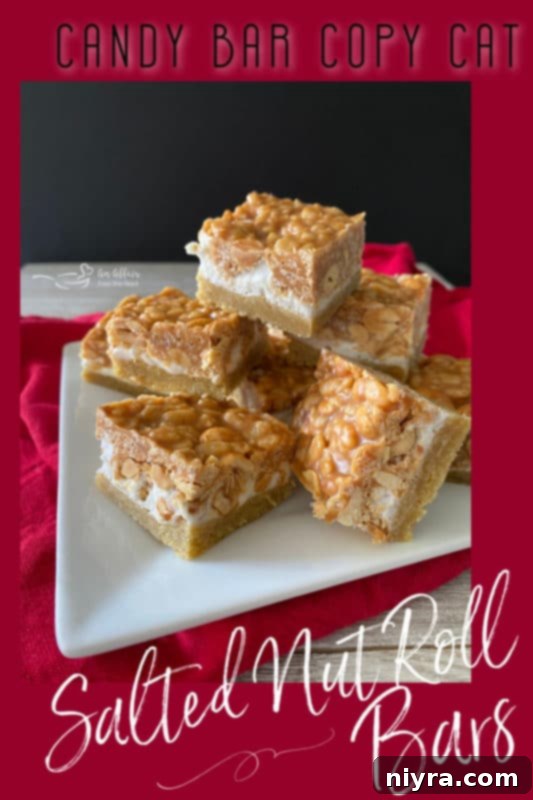
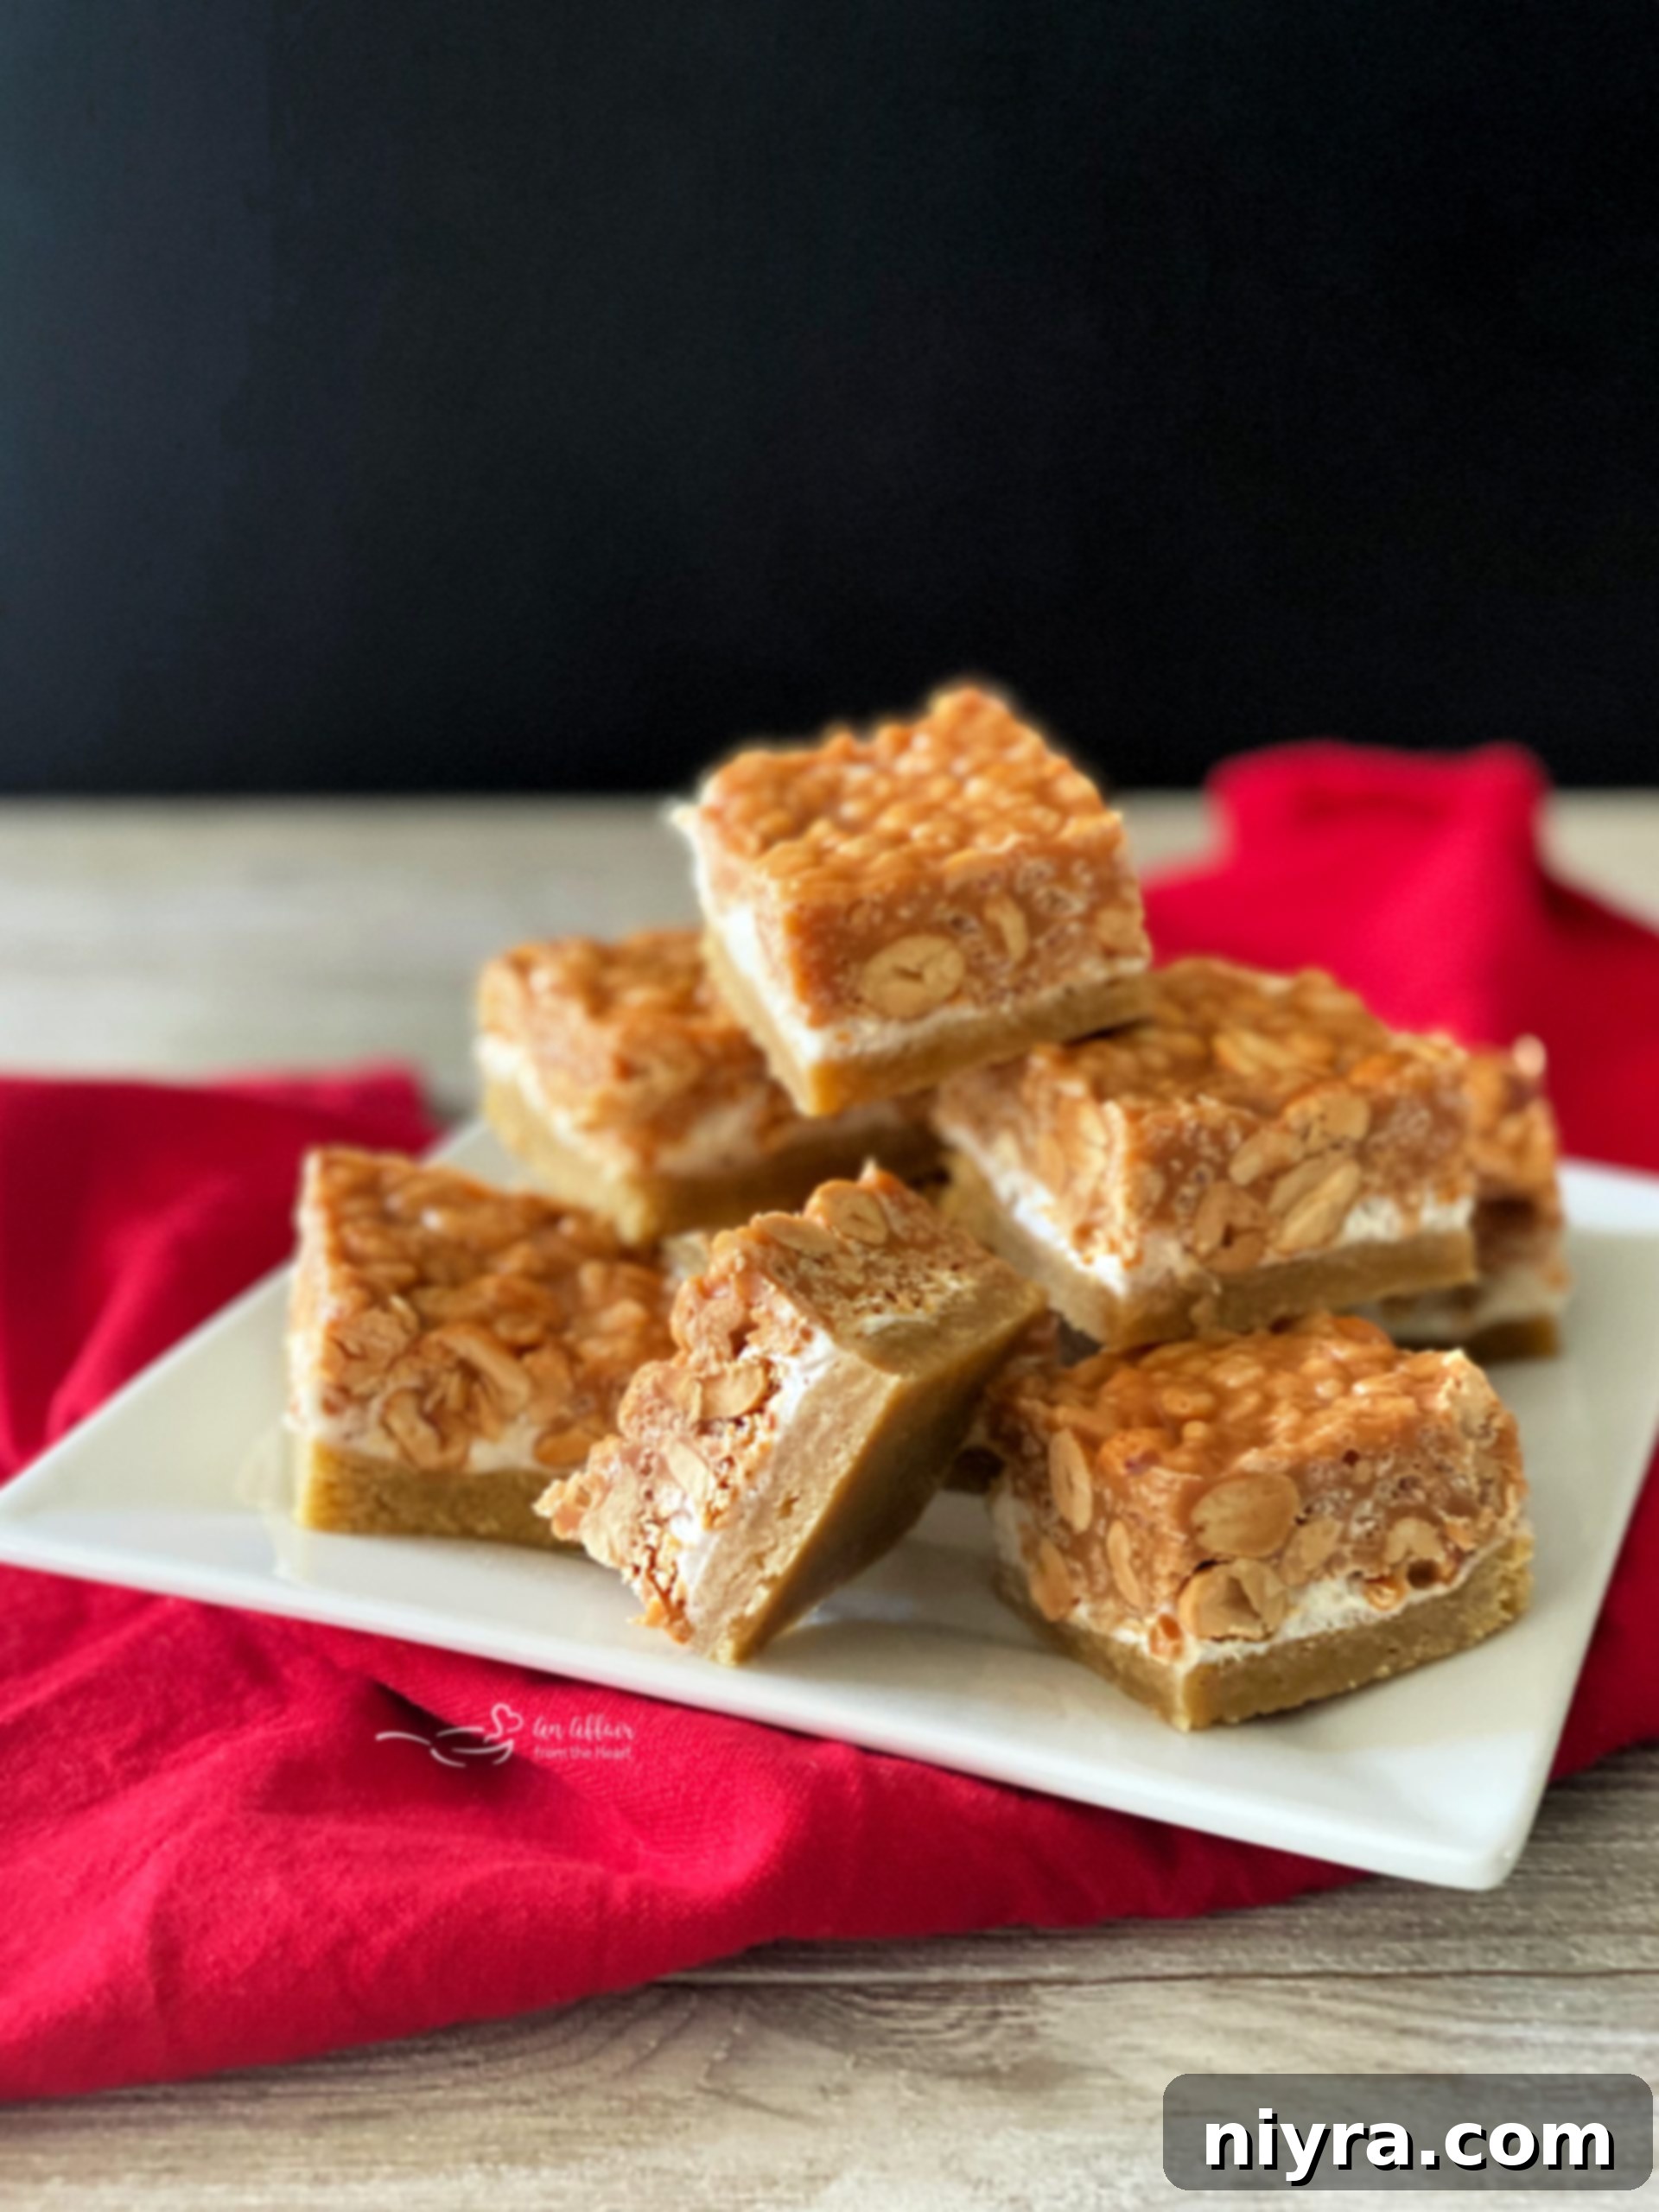
Irresistible Homemade Salted Nut Roll Bars: A Copycat Classic
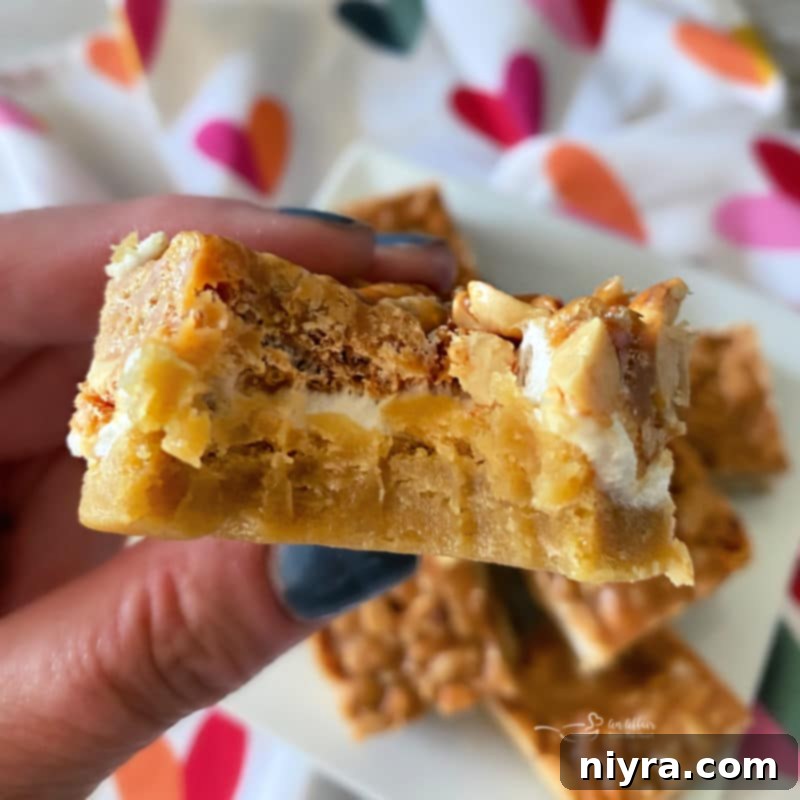
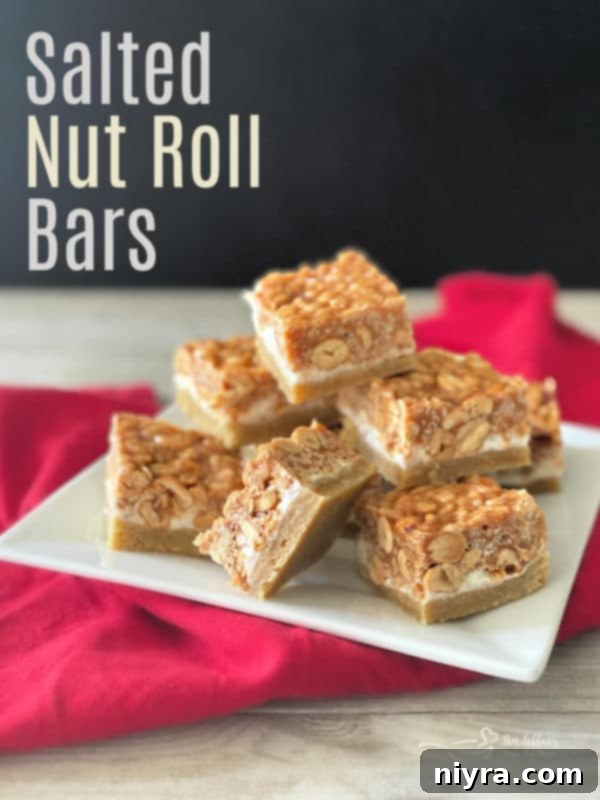
Salted Nut Roll Bars are an incredible homemade copycat recipe for the iconic Salted Nut Roll candy bar. Experience layers of pure delight: a rich, buttery crust, a soft and chewy marshmallow center, crowned with a decadent blend of peanut butter, sweet caramel, and crunchy, salty peanuts. This truly is a sweet and salty masterpiece that will captivate your taste buds!
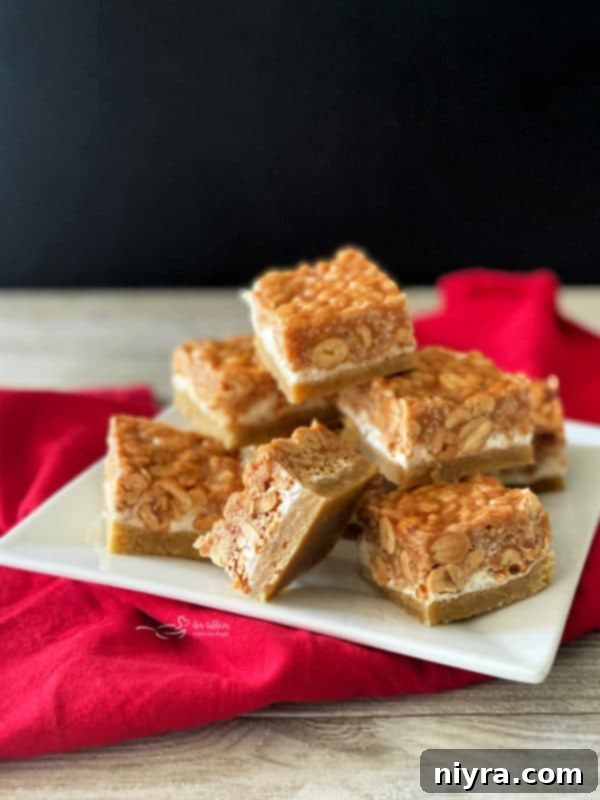
Many people have a favorite candy bar, and for me, it has always been the classic Salted Nut Roll. Its unique blend of sweet, salty, and crunchy textures makes it utterly addictive. This enduring love for the confection is precisely why this recipe for homemade Salted Nut Roll Bars holds such a special place in my heart – it’s a true fan favorite!
Interestingly, despite its popularity, finding a genuine Salted Nut Roll candy bar isn’t always easy. For the longest time, I assumed these delightful treats were widely available in any supermarket checkout aisle. However, that’s simply not the case in many regions. I often find myself playing a little game while grocery shopping: “If they have a Salted Nut Roll, I can indulge in a sweet treat; if not, I’m out of luck!” This ritual makes discovering one, especially a King Size, an even greater joy.
Given the occasional difficulty in locating these cherished candy bars, it’s no surprise that a reliable homemade version became a necessity in my kitchen. And trust me, this recipe delivers on all fronts, capturing the essence and the irresistible flavor profile of the original, perhaps even surpassing it with its fresh, homemade charm. Get ready to recreate a beloved classic that satisfies every craving.
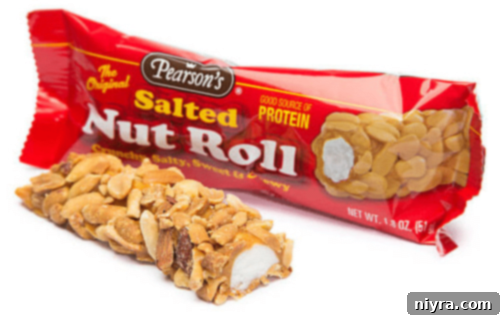
The Storied History of the Salted Nut Roll Candy Bar
The Salted Nut Roll boasts a rich history, dating all the way back to 1933. This iconic candy bar was first created by Pearson’s Candy, a revered confectioner based in the Twin Cities of Minnesota. Its debut coincided with the challenging era of the Great Depression, a time when affordable treats were a welcome comfort.
During those difficult years, the Pearson’s Salted Nut Roll offered an accessible indulgence, originally priced at just 5 cents. This made it a popular choice, providing a small moment of joy and sweetness even for those with tightly clutched purse strings. Its combination of satisfying crunch, chewy texture, and the perfect balance of sweet and salty flavors quickly secured its place as a beloved American classic.
Decades later, the Salted Nut Roll continues to be a favorite, cherished for its timeless appeal and comforting taste. Understanding its origins only adds to the appreciation of this simple yet ingenious candy bar, which has provided delicious moments for generations.
Salted Nut Roll vs. PayDay: Unraveling the Delicious Difference
It’s a common misconception that the Salted Nut Roll and the PayDay candy bar are one and the same. While they share some appealing characteristics, a critical difference sets them apart, profoundly impacting their flavor and texture. My daughter’s boyfriend, for instance, was a staunch PayDay enthusiast until I introduced him to the superior Salted Nut Roll.
A PayDay candy bar certainly delivers on the sweet and salty promise, featuring a core of golden caramel enrobed in a generous coating of salty peanuts. This creates a delightful chewiness and crunch that many adore. However, what the PayDay lacks is the creamy nougat center that is the hallmark of the Salted Nut Roll.
“Is that what that white stuff is in the middle of a Salted Nut Roll?” Yes, indeed! That fluffy white goodness is nougat, and it’s an absolute game-changer. This nougat center not only imparts an additional layer of sweetness but, more importantly, makes the Salted Nut Roll significantly softer and chewier. It transforms the mouthfeel, adding a luxurious creaminess that contrasts beautifully with the crunchy peanuts and sticky caramel. This distinct nougat layer is what truly elevates the Salted Nut Roll, offering a more complex and satisfying experience than its PayDay counterpart.
Discovering the Ultimate Salted Nut Roll Bar Recipe
This particular recipe for homemade salted nut roll bars is a cherished heirloom in my kitchen, a tried-and-true favorite that I’ve been perfecting for decades. My journey with this delightful treat began long before I had children – a testament to its enduring appeal and a gentle reminder of how long it’s been a part of my baking repertoire!
I first encountered these incredible bars back in 1993, when a colleague brought them to an office potluck. One bite was all it took; I was absolutely hooked. The perfect harmony of flavors and textures immediately won me over, and I knew I had to get my hands on the recipe.
Over the years, I’ve experimented with various other salted nut roll recipes, but I invariably find myself returning to this one. It’s consistently flawless, delivering perfect results every single time. These sweet and salty creations are a staple on my holiday cookie platters, and without fail, they are always among the first treats to disappear. Their irresistible charm makes them a standout at any gathering, earning rave reviews and requests for the recipe time and again. If you’re searching for an easy, reliable, and utterly delicious homemade candy bar, this is the recipe you’ve been waiting for.
How Homemade Salted Nut Roll Bars Capture the Magic of the Original Candy Bar
While Pearson’s Candy, the creators of the original Salted Nut Roll, might argue that no one has ever replicated their iconic candy bar exactly, these homemade Salted Nut Roll Bars come remarkably close in flavor. The essence of the original is beautifully captured, offering a taste experience that is incredibly similar and equally satisfying.
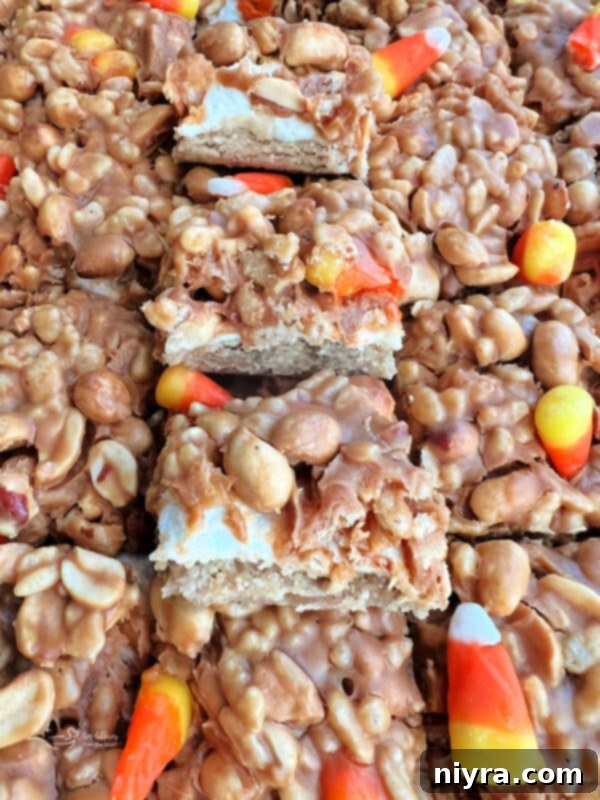
The primary distinction lies in the center layer. As previously mentioned, the authentic Salted Nut Roll features a creamy nougat. Our homemade version, however, uses a luscious marshmallow center. This substitution creates a slightly different, yet equally delightful, texture profile. The marshmallow provides a soft, gooey, and incredibly chewy middle that beautifully complements the other layers, making these bars wonderfully decadent in their own right.
Despite this difference in the center, both versions deliver the quintessential sweet and salty chewiness, thanks to the harmonious blend of caramel and peanut butter. The generous scattering of salty, crunchy roasted peanuts provides that essential textural contrast and the perfect burst of savory saltiness, cementing these homemade bars as a truly exceptional and deeply satisfying treat. You’ll find yourself reaching for a second, or even a third, with every bite!
Essential Ingredients for Your Salted Nut Roll Bar Recipe
Crafting these delectable Salted Nut Roll Bars requires a few key ingredients, thoughtfully divided into two main sections: the buttery crust and the irresistible topping. Each component plays a crucial role in achieving the perfect balance of flavor and texture.
For the Crust:
- All-Purpose Flour – The foundation of our buttery base. Ensure it’s good quality for the best texture.
- Brown Sugar – You can use either light or dark brown sugar here. It adds a deep, molasses-rich sweetness and moisture to the crust.
- Baking Powder – Helps to give the crust a tender, slightly risen quality.
- Pure Vanilla Extract – Essential for adding a warm, aromatic depth to the crust. Always opt for 100% pure vanilla for superior flavor.
- Salt – A pinch of salt balances the sweetness and enhances all the other flavors in the crust.
- Baking Soda – Works with the brown sugar and other ingredients to create a tender crumb.
- Butter – The star of the crust! Use good quality butter for a rich, melt-in-your-mouth flavor. While butter substitute can be used, I highly recommend real butter for optimal taste and texture, unless dietary restrictions apply.
- Egg Yolks – These provide richness and act as a binding agent, contributing to the crust’s perfect consistency.
For the Topping:
- Miniature Marshmallows – These create the wonderfully gooey and chewy center layer. While some recipes suggest marshmallow creme, I personally stick to mini marshmallows for their consistent results and beloved texture.
- Light Corn Syrup – A key ingredient for achieving that classic chewy, caramelly consistency in the topping. Light corn syrup is recommended for its neutral flavor, but dark corn syrup can be used in a pinch. Karo brand is a popular choice.
- Butter – Yes, more butter! This additional butter in the topping contributes significantly to its richness and smoothness, giving the nut roll an extra layer of decadence.
- Pure Vanilla Extract – Crucial for enhancing the sweet and nutty flavors in the topping.
- Peanut Butter Chips – Absolutely non-negotiable for capturing the authentic peanut butter essence of a salted nut roll. There’s truly no substitute for their distinct flavor.
- Rice Krispies – These add a delightful, light crunch and volume to the top layer, mimicking the texture often found in classic candy bars.
- Salted and Roasted Peanuts – The final, essential component! Ensure your peanuts are salted and roasted to provide that signature crunchy texture and the irresistible salty contrast that defines a “Salted Nut Roll.”
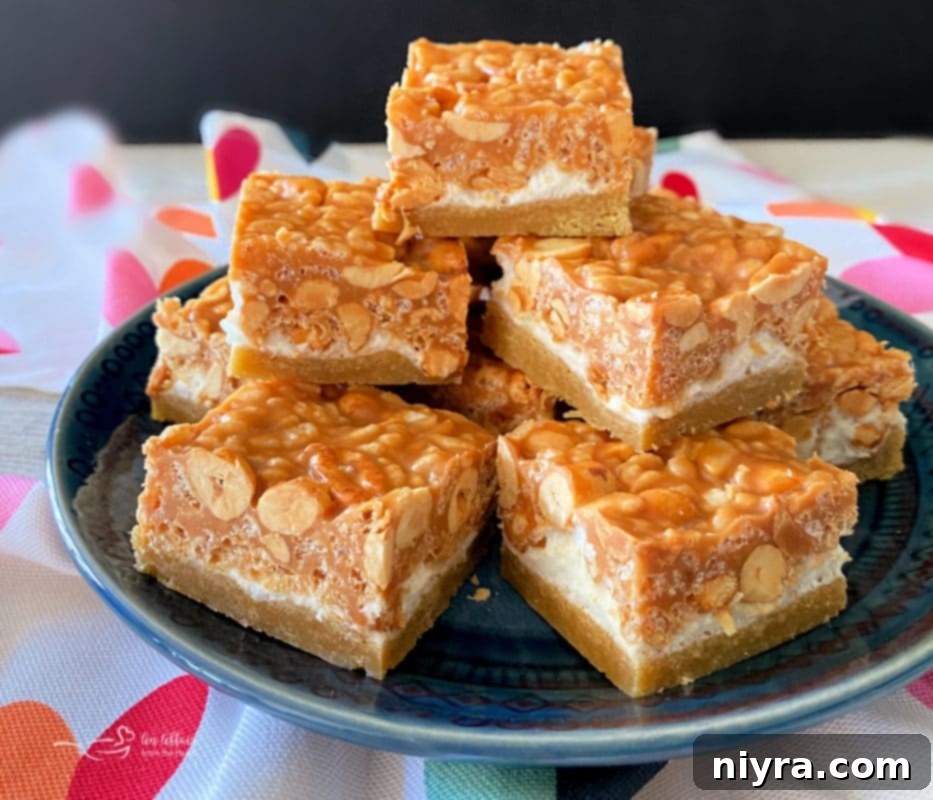
Crafting Your Own Salted Nut Roll Bars: A Step-by-Step Guide
Creating these incredible Salted Nut Roll Bars is an enjoyable process, broken down into three distinct, delicious layers. Each layer contributes to the complex flavors and satisfying textures that make these bars so addictive.
The journey begins with the base: a rich and tender crust. This foundation is a carefully balanced mixture of butter, brown sugar, fragrant vanilla, egg yolks, all-purpose flour, baking soda, baking powder, and a touch of salt. These ingredients are combined to form a buttery, slightly crumbly dough that bakes into the perfect bottom layer.
Once the crust is baked to golden perfection, it receives its delightful middle layer. Miniature marshmallows are scattered generously over the warm crust, then gently melted to create a soft, gooey, and irresistibly chewy center. This marshmallow layer provides the signature soft texture that differentiates these bars.
Finally, the bars are crowned with their magnificent top layer. This dynamic topping is a luxurious blend of melted butter, creamy peanut butter chips, more vanilla, and light corn syrup. Once smooth, crunchy Rice Krispies and plenty of salted peanuts are stirred in, creating a sweet, salty, and wonderfully crunchy caramel-peanut mixture that truly completes the Salted Nut Roll experience.
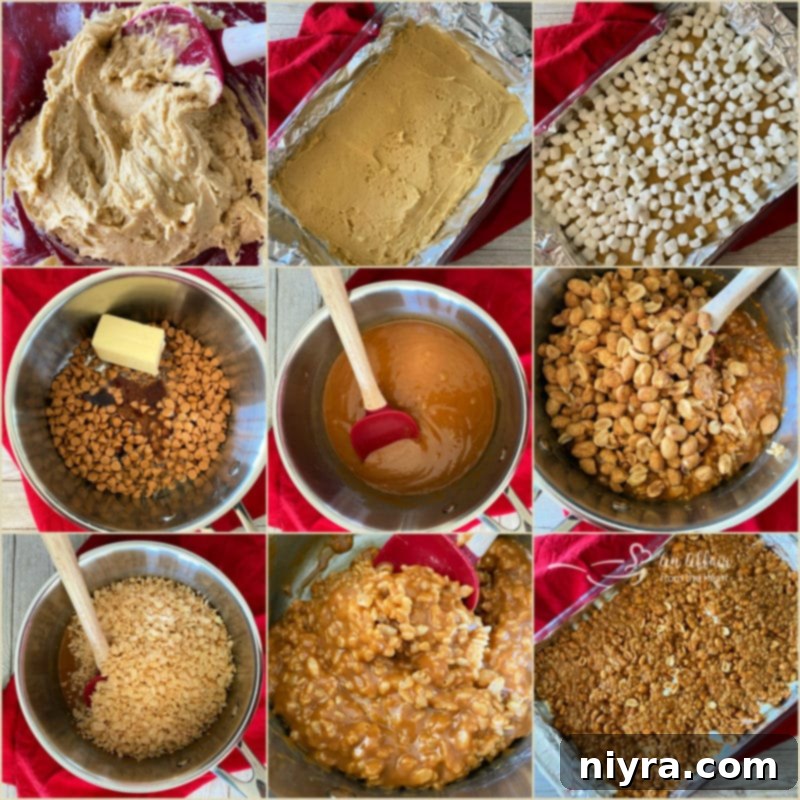
Step-by-Step Instructions:
1. Prepare the Crust: Begin by preheating your oven to 350°F (175°C). Line a 9×13-inch baking dish with foil, allowing a slight overhang for easy removal later, and spray it generously with non-stick cooking spray. In a large mixing bowl, cream together the butter, brown sugar, and vanilla until light and fluffy. Beat in the egg yolks until well combined. Gradually fold in the flour, baking powder, baking soda, and salt until a cohesive dough forms. Press this mixture evenly into the bottom of your prepared baking pan. Bake for 12-15 minutes, or until the edges are lightly golden.
2. Create the Marshmallow Layer: As soon as the crust comes out of the oven, evenly sprinkle 3 cups of miniature marshmallows over the hot crust. Return the pan to the oven for just 3 minutes, or until the marshmallows are softened and slightly puffy. Remove from oven and set aside to cool slightly while you prepare the topping.
3. Assemble the Peanut Butter Topping: In a medium saucepan, combine the corn syrup, butter, vanilla, and peanut butter chips. Place over low heat, stirring constantly until all ingredients are melted and the mixture is smooth and well combined. Remove from heat and gently stir in the Rice Krispies and salted roasted peanuts. This will form your crunchy, caramelly peanut butter topping.
4. Finish and Chill: Carefully spread the warm peanut butter mixture evenly over the melted marshmallow layer in the baking dish. Use an offset spatula or the back of a spoon to ensure a smooth, uniform top. Allow the bars to cool completely to room temperature before cutting them into squares. For cleaner cuts, you can chill the bars in the refrigerator for about an hour before slicing.
Enjoy these delightful homemade Salted Nut Roll Bars, a perfect blend of sweet, salty, and satisfying textures!
Love These Bars? Pin This Recipe for Later!
Don’t let this incredible recipe for Salted Nut Roll Bars get lost in the shuffle! You’ll be craving these sweet and salty treats again soon, and you’ll want this recipe right at your fingertips. Make sure to save it to your favorite Pinterest board before you go. Pinning this recipe ensures you can easily find it whenever that Salted Nut Roll craving strikes, and you’ll be able to recreate this delightful copycat candy bar whenever you wish!
Essential Tips and Tricks for Perfect Salted Nut Roll Bars
To ensure your homemade Salted Nut Roll Bars turn out perfectly every time and stay fresh, here are some invaluable tips and tricks:
- Cool Completely Before Cutting: Patience is key! For the cleanest cuts and to prevent the layers from separating or smushing, allow the bars to cool completely to room temperature. This can take several hours, or you can speed up the process by chilling them in the refrigerator for about an hour after they’ve cooled slightly on the counter.
- Storage: If you’re fortunate enough to have any Salted Nut Roll Bars left over, store them in an airtight container at room temperature for 2-3 days. While they don’t require refrigeration, they can be stored in the fridge if you prefer a firmer texture or live in a very warm climate.
- Freezing for Longer Freshness: These bars freeze exceptionally well, making them perfect for meal prep or for having a delicious treat on hand. To freeze, wrap individual bars tightly in plastic wrap, then place them in a freezer-safe bag or airtight container. They will maintain their quality for 2-3 months. Thaw at room temperature for about 30 minutes before enjoying.
- Pan Size Matters: Using a 9×13-inch baking dish is crucial for achieving the correct thickness of each layer. A pan that is too large will result in thinner, possibly dry bars, while a smaller pan will make them too thick and potentially unevenly cooked.
- Ingredient Quality: As with any baking, the quality of your ingredients makes a difference. Use fresh butter, good quality vanilla extract, and fresh, salted roasted peanuts for the best flavor.
- Don’t Overbake the Crust: Keep an eye on the crust during its initial bake. You want it just set and lightly golden, not hard or dark. An overbaked crust can make the entire bar too tough.
Copycat Recipes are the BEST!
Love recreating your favorite treats at home? So do I! Here are a couple of other fantastic homemade candy bar recipes that are sure to impress:

LIKE THIS RECIPE?
Don’t forget to give it a ⭐️⭐️⭐️⭐️⭐️ star rating and
leave a comment below the recipe!
Print Recipe
Salted Nut Roll Bars
Equipment
- 9×13 Pyrex Baking Dish with a Lid
Ingredients
Crust
- 1 1/2 cups all-purpose flour
- 2/3 cup brown sugar
- 1/2 teaspoon baking powder
- 1 teaspoon vanilla extract
- 1/2 teaspoon salt
- 1/2 teaspoon baking soda
- 1 stick of salted butter (1/2 cup)
- 2 egg yolks
Topping
- 3 cups miniature marshmallows
- 2/3 cup light corn syrup
- 1/4 cup butter (half of a stick)
- 2 teaspoons vanilla extract
- 1 – 10 oz bag of peanut butter chips
- 2 cups Rice Krispies cereal
- 2 cups salted and roasted peanuts
Instructions
- Preheat oven to 350 degrees F (175 C). Line a 9×13 baking dish with foil, and generously spray it with non-stick cooking spray. Set aside.
- Prepare the crust: In a large bowl, cream together the butter, brown sugar, and vanilla until smooth. Add in the egg yolks and mix well. Fold in the flour, baking powder, baking soda, and salt until just combined.
- Press the crust mixture evenly into the bottom of the prepared pan. Bake for 12-15 minutes, or until lightly golden around the edges.
- Remove the baked crust from the oven. Immediately top it with 3 cups of miniature marshmallows, spreading them evenly. Return to the oven for an additional 3 minutes, or until the marshmallows are puffed and melted. Remove and let cool slightly.
- While the marshmallows cool, prepare the topping: In a medium saucepan over low heat, combine corn syrup, butter, vanilla, and peanut butter chips. Stir continuously until everything is melted and the mixture is smooth. Remove from heat.
- Stir in the Rice Krispies and salted peanuts into the peanut butter mixture.
- Evenly spread this peanut butter and peanut mixture over the top of the gooey marshmallows.
- Allow the bars to cool completely to room temperature before cutting them into squares. For best results and cleaner cuts, chill in the refrigerator for about an hour before slicing.
Nutrition
