Homemade Snow Ice Cream: A Creamy Winter Wonderland Treat
Discover the magic of transforming fresh fallen snow into a delightful, creamy ice cream right in your kitchen! Made effortlessly with sweetened condensed milk and a touch of vanilla, this homemade snow ice cream recipe is a joyous winter tradition perfect for the whole family. Top it with your favorite syrups, sprinkles, or any sweet treat you desire for an unforgettable snow day dessert.
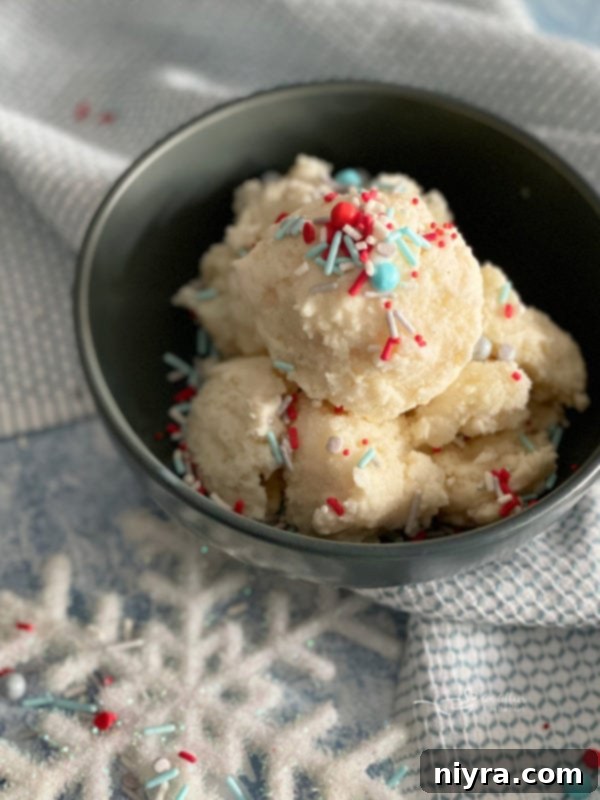
Embracing the Magic of a Snow Day with Homemade Ice Cream
There’s something truly enchanting about a snow day. It transforms the ordinary landscape into a glistening wonderland, inviting a unique sense of warmth and coziness indoors. For many of us, myself included, growing up in places like Nebraska means we’re no strangers to winter’s embrace. We anticipate the pristine white blanket, even if some years, like a recent brutal winter, the snow seems to mischievously dance around us, bringing only bitter cold without the beautiful flakes. The long-awaited arrival of soft, fluffy snow isn’t just a picturesque scene; it’s an invitation to create cherished family memories.
I remember a particular snow day where, after days of “cold days” but no true “snow days,” the white stuff finally decided to grace our yard. The kids were home, their excitement palpable. The kitchen was already a hub of activity – the comforting aroma of homemade peanut butter cookies wafted through the air, and a pot of rich chicken noodle soup simmered on the stove. Amidst this symphony of home comforts, I posed a question that always sparks joy: “Hey, guys, wanna make some snow ice cream?” The immediate, resounding “Yay! SNOW ICE CREAM!” was all the confirmation I needed that this simple winter treat held a special place in their hearts, just as it did in mine. It’s more than just a dessert; it’s a celebration of winter, a tangible piece of childhood magic that you can scoop right from your backyard.
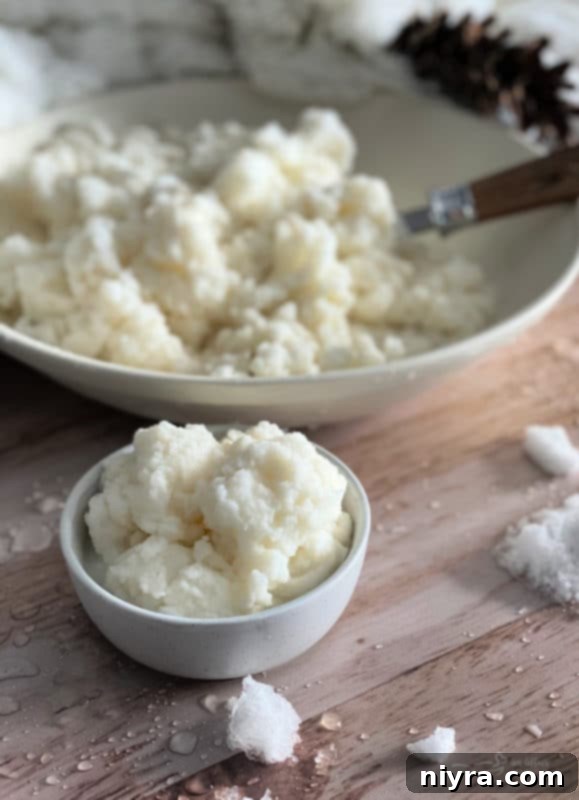
The Secret to Supreme Creaminess: Sweetened Condensed Milk in Snow Ice Cream
While we’d certainly enjoyed our share of snow ice cream adventures before, this particular snow day marked a delightful discovery: a new recipe, one that promised an even creamier, more decadent texture. I had long heard whispers of making snow ice cream with sweetened condensed milk, and the time finally felt right to give this intriguing variation a try. The result? Pure bliss. This method elevates the simple snow treat to a truly luxurious dessert, changing the game from an “ice milk” consistency to something wonderfully rich and smooth.
For years, I stuck to the snow ice cream recipe I learned from my first-grade teacher – a cherished tradition that made its way from my childhood to my own kitchen with my kids. That classic recipe, often referred to as “ice milk,” typically uses regular milk, sugar, and vanilla. It’s fantastic for its immediate gratification; you can whip it up and enjoy it right away, and it even offers the flexibility to be made dairy-free. However, the sweetened condensed milk version, inspired by recipes like Paula Deen’s, delivers a noticeably creamier texture, more akin to traditional ice cream. The higher fat and sugar content in condensed milk contribute to a smoother mouthfeel and prevent ice crystals from forming as readily. While it does require a little time in the freezer to firm up before scooping, the wait is absolutely worth it for that velvety, rich experience. It’s a delightful evolution of a beloved classic, offering a richer taste and a more substantial scoop that truly feels like a winter indulgence.
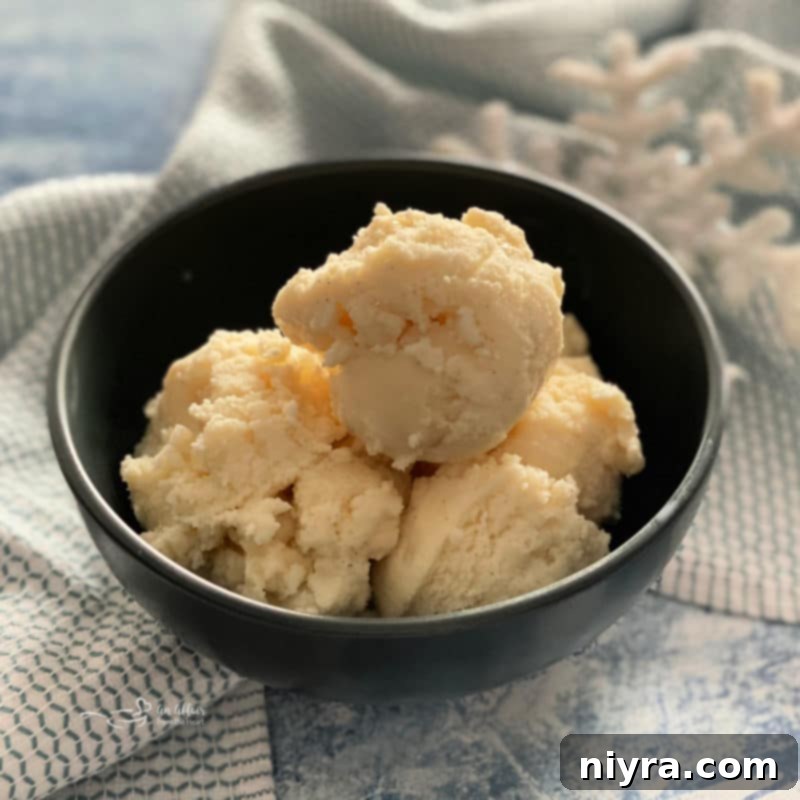
A Nostalgic Journey: The History and Evolution of Snow Cream
Before it was widely known as “snow ice cream,” this delightful winter concoction was lovingly referred to as “snow cream,” especially popular in the 1950s. Back then, the preparation was a bit more involved, reflecting the culinary traditions of the era. The true “old-fashioned snow cream” often began with a traditional vanilla custard, carefully prepared with eggs on the stovetop. This custard would then be cooled completely before being meticulously blended with the freshly gathered snow. While this method undoubtedly produced a rich and complex flavor profile, it involved a significant amount of effort and patience, something that might seem like “a whole lotta work” in our fast-paced modern kitchens.
My original snow ice cream recipe, the one from my childhood, even called for eggs. It’s amusing to think about it now, but in the 1970s, the widespread understanding of the risks associated with consuming raw eggs wasn’t quite what it is today. Thankfully, I’m still here to tell the tale! However, these days, for both safety and simplicity, I prefer to omit the raw eggs entirely. Of course, the custard option had the benefit of cooking the eggs, rendering them safe to eat. But for me, and I suspect for many home cooks today, the appeal lies in instant gratification and straightforward recipes. Why add extra steps or unnecessary ingredients when you can achieve a wonderfully creamy and delicious result with just a few simple components? This modern take on snow ice cream prioritizes ease and enjoyment, ensuring that everyone can partake in this magical winter treat without a lengthy preparation process.
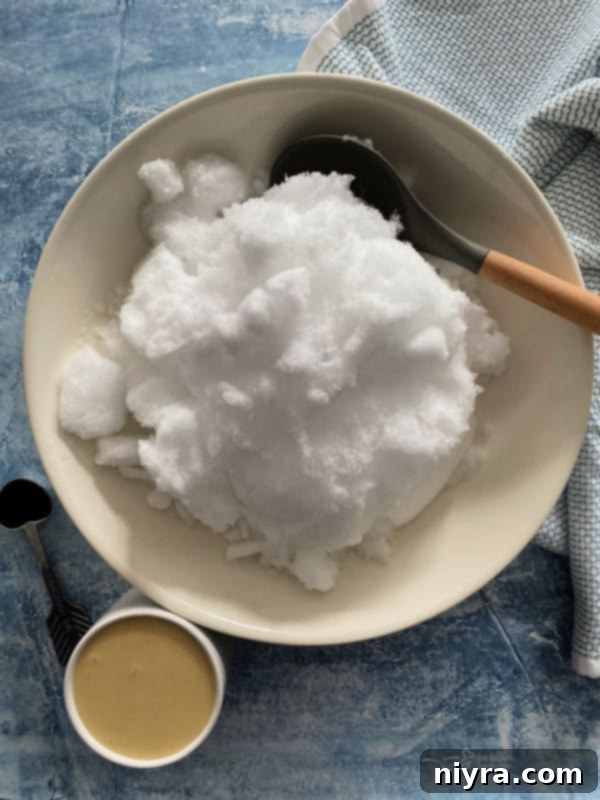
Gathering Your Ingredients: The Heart of Your Snow Cream Adventure
Creating this delightful snow ice cream is surprisingly simple, relying on just a handful of ingredients. The beauty of this recipe lies in its minimalist approach, proving that you don’t need a pantry full of exotic items to create something truly special. The core components are clean, fresh snow, a can of sweetened condensed milk, and a good quality vanilla extract. Of course, the primary ingredient, snow, might pose a challenge if you live in a warmer climate, but for those blessed with winter flurries, this recipe is a must-try!
Let’s talk about the stars of the show:
- Pristine Snow: This is non-negotiable! You’ll need about 8 cups of fresh, clean, white, fluffy snow. The key here is “clean.” Collect snow from an undisturbed area in your yard, away from roads, sidewalks, or any potential contaminants. Use a clean bowl or container to scoop it up. The fresher and fluffier, the better!
- Sweetened Condensed Milk: This ingredient is the magic behind the creamy texture. One 14-ounce can is perfect. Its rich, thick consistency and inherent sweetness transform the icy snow into a smooth, delightful treat, eliminating the need for additional sugar.
- Vanilla Extract or Vanilla Bean Paste: While a good quality vanilla extract works wonderfully, I have a particular fondness for vanilla bean paste. It imparts a deeper, more nuanced vanilla flavor and the visible flecks of vanilla bean add an elegant touch. My personal favorite is the organic vanilla bean paste from Taylor & Colledge. However, don’t fret if you only have vanilla extract; it will still yield a delicious result. The vanilla is crucial for that classic ice cream flavor, so choose the best quality you can.
Crafting Your Sweet Masterpiece: Step-by-Step Snow Ice Cream
The beauty of this sweetened condensed milk snow ice cream recipe lies in its sheer simplicity. In just a few easy steps, you can turn a winter’s bounty into a delicious dessert. Here’s how to create your own creamy snow delight:
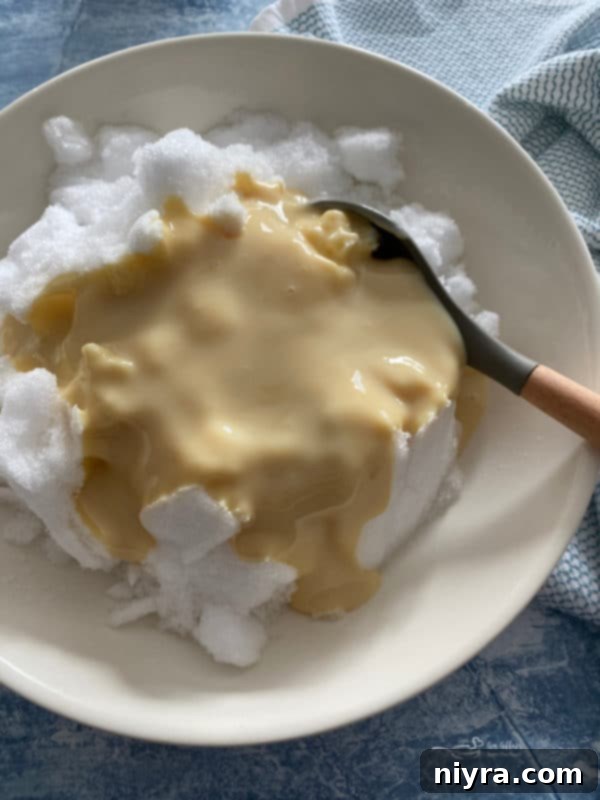
Step 1: Gather Your Tools and Ingredients. You’ll need a very large mixing bowl – bigger than you think! This is where all the magic happens. Ensure you have your 8 cups of clean snow, the can of sweetened condensed milk, and your vanilla ready.
Step 2: Combine Everything in a Big Bowl. Carefully pour the sweetened condensed milk over the snow in your large bowl. Add the vanilla extract or vanilla bean paste. Now, it’s time to mix! Use a large spoon or spatula to gently fold and combine all the ingredients. The snow will begin to melt slightly and transform as it integrates with the condensed milk and vanilla. Keep mixing until you have a consistently smooth, thick, and somewhat slushy mixture. It won’t be hard like scooped ice cream yet, but it should be uniformly creamy and well-blended.
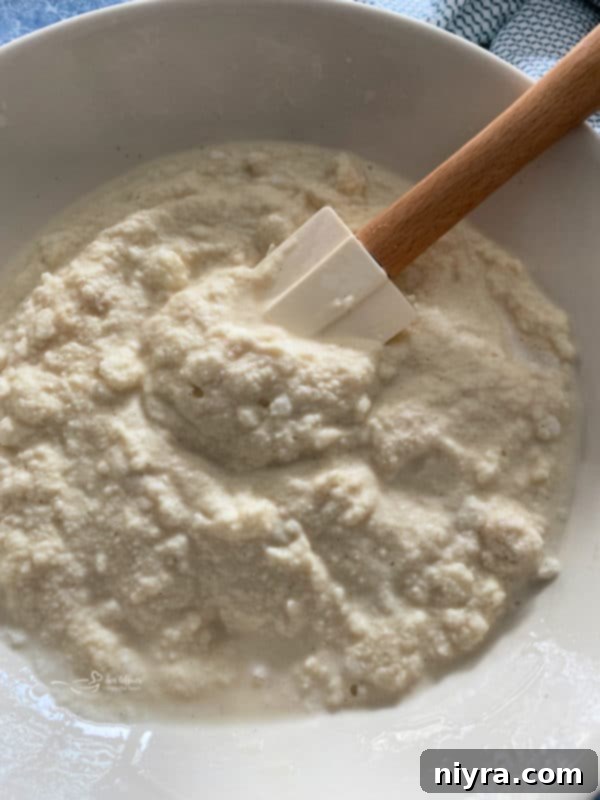
As you mix, you’ll notice it takes on a wonderfully slushy consistency. Don’t worry, this is exactly what you want before it goes into the freezer!
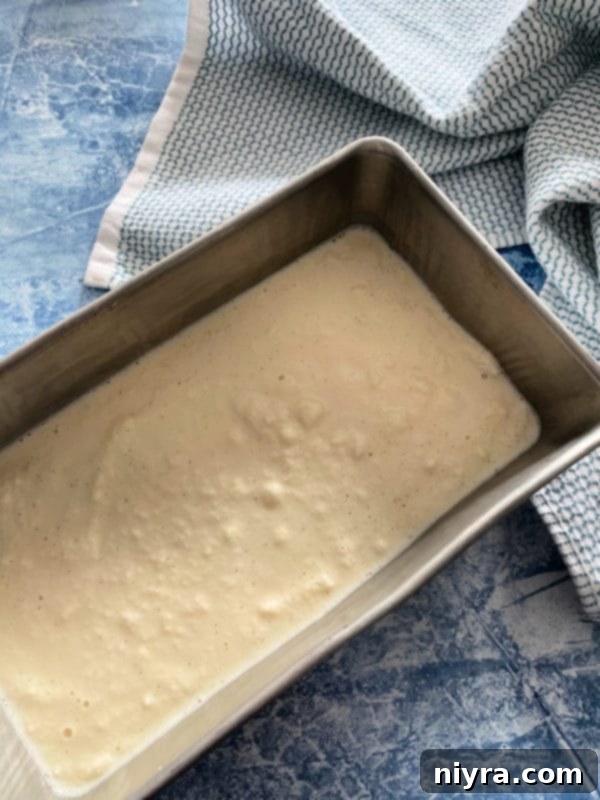
Step 3: Freeze to Perfection. Once your mixture is smooth and slushy, pour it into a metal baking pan. A loaf pan is often ideal for its shape and size, allowing for even freezing. Metal pans are preferred because they conduct cold more efficiently than glass or plastic, helping the ice cream to freeze faster and more uniformly. Place the pan in the freezer and let it chill for at least a couple of hours. The exact freezing time will depend on your freezer’s temperature and the depth of your mixture, but generally, 2-3 hours should yield a scoopable consistency. You can check it periodically, stirring it gently if you like to break up any larger ice crystals that might form at the edges, though with condensed milk, this is less of an issue.
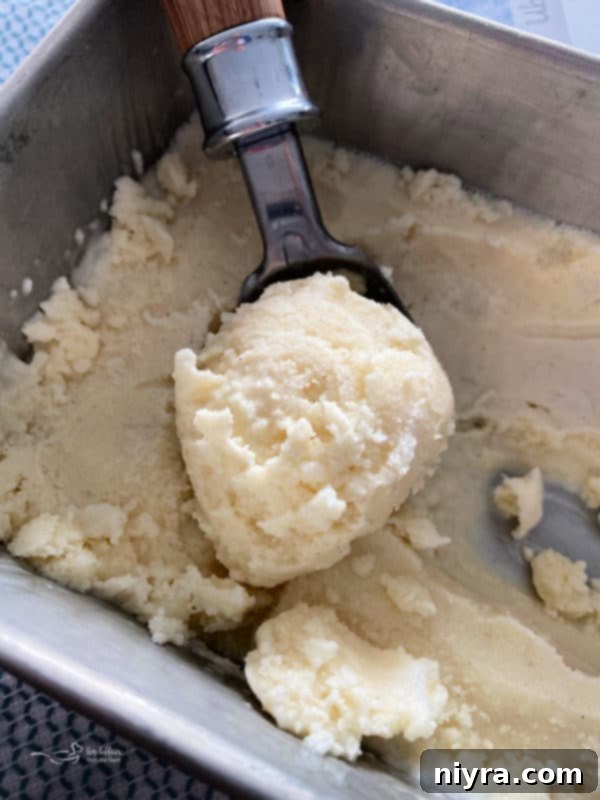
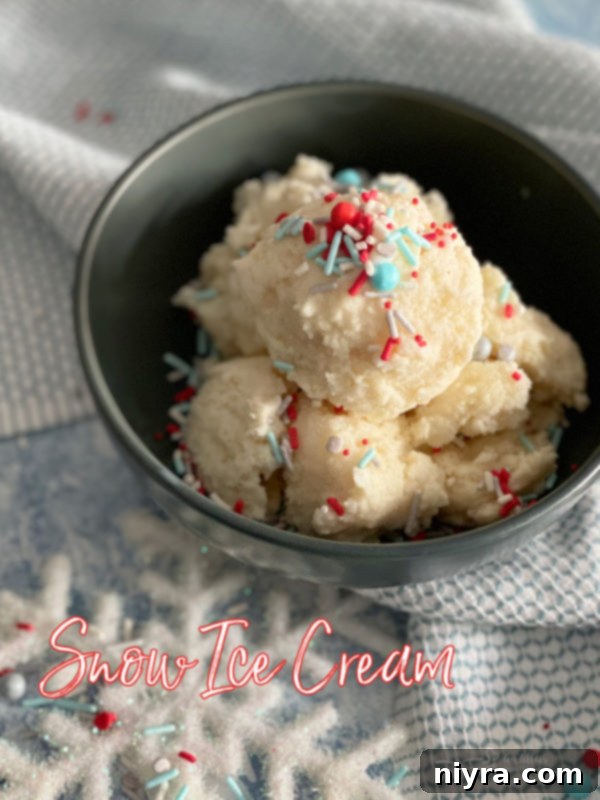
Step 4: Scoop, Top, and Enjoy! After a couple of hours, your creamy snow ice cream will be ready to scoop and enjoy! The texture will be soft, luscious, and incredibly satisfying. Get out your favorite ice cream scoop and serve generous portions into bowls. This is where the fun truly begins – it’s time for toppings!
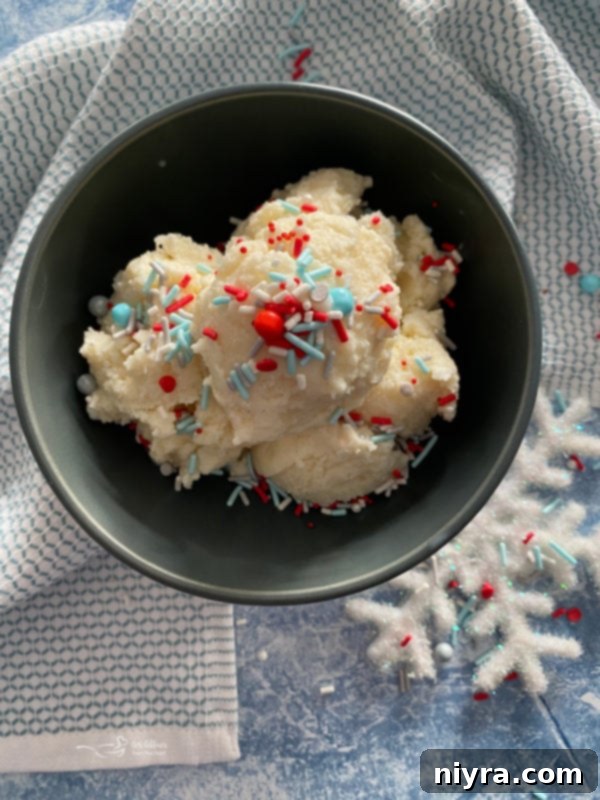
Elevating Your Treat: Toppings and Creative Variations
While snow ice cream is utterly delicious on its own, adding a touch of flair can make it even more special. This is especially true for the sweetened condensed milk version, which holds up beautifully to a variety of adornments.
Sprinkles: A Pop of Color and Fun!
There’s just something about sprinkles that instantly makes any dessert more festive and fun, isn’t there? A generous shower of colorful sprinkles transforms a simple bowl of snow ice cream into a party. They add a delightful crunch and a burst of vibrant color, perfect for captivating kids and adults alike.
Beyond Sprinkles: Endless Topping Possibilities
- Chocolate Syrup or Hot Fudge: A classic pairing that never disappoints.
- Caramel Sauce: Drizzle with a rich, buttery caramel for a sweet and salty twist.
- Whipped Cream: A dollop of fluffy whipped cream adds an extra layer of indulgence.
- Cherries: A maraschino cherry on top is the perfect finishing touch.
- Crushed Cookies: Think Oreos, shortbread, or graham crackers for added texture.
- Chopped Nuts: Pecans, walnuts, or almonds for a delightful crunch.
- Fresh Fruit: Sliced strawberries, blueberries, or raspberries can add a refreshing contrast.
- Peanut Butter Sauce: For a rich, nutty flavor that pairs well with the vanilla base.
Creative Flavor Variations:
Don’t stop at vanilla! This basic recipe can be a canvas for other delicious flavors:
- Chocolate Snow Ice Cream: Whisk in 2-3 tablespoons of unsweetened cocoa powder with the condensed milk and vanilla before adding to the snow.
- Peppermint Delight: Add a quarter teaspoon of peppermint extract for a festive, cool flavor.
- Fruit Swirl: Gently swirl in a spoonful of fruit puree (like raspberry or strawberry) after the initial mix, just before freezing, for a pretty and flavorful ripple.
Let your imagination run wild! This simple snow ice cream recipe is incredibly versatile and can be customized to suit any taste preference.
LOVE IT? PIN IT!
Don’t let this easy, magical recipe slip away! Make sure you remember how to make this delightful snow ice cream. Pin it to your favorite Pinterest recipe board before you go, and you’ll always know right where to find it for your next snowy day adventure.
Frequently Asked Questions About Snow Ice Cream
Making snow ice cream is a fun and unique experience, but you might have a few questions before you dive in. Here are some common queries answered:
- Is it safe to eat snow? This is a common and valid concern! Generally, fresh, clean snow that has just fallen in an undisturbed area is considered safe to eat. Avoid snow that has been on the ground for a while, especially if it’s discolored (e.g., yellow snow) or has accumulated near roads, parking lots, or under trees where debris or pollutants might have settled. The purer the snow, the better and safer your ice cream will be.
- Can I use regular milk instead of sweetened condensed milk? You can, but the result will be more like “snow milk” or an “ice milk” consistency, as mentioned earlier in the article. For a truly creamy, rich “ice cream” texture, sweetened condensed milk is the key. Regular milk, sugar, and vanilla will make a lighter, icier treat that you can often eat immediately.
- How long does snow ice cream last? Snow ice cream is best enjoyed immediately after it reaches a scoopable consistency. Because it’s made with fresh snow, it doesn’t store well for extended periods. The snow crystals will eventually melt and refreeze, leading to a much icier, less pleasant texture. It’s truly a “now or never” kind of treat!
- What if I don’t have fresh snow? This recipe specifically calls for fresh, natural snow to achieve its unique texture and charm. Unfortunately, there isn’t a perfect substitute for freshly fallen snow. While you could potentially use finely shaved ice, it won’t quite replicate the airy, delicate quality of real snow.
- Can I make it dairy-free? The beauty of the classic “ice milk” style snow cream recipe (using regular milk, sugar, vanilla) is that you can easily make it dairy-free by substituting the milk with a plant-based alternative like almond or oat milk. For this sweetened condensed milk version, you would need to find a dairy-free sweetened condensed milk alternative, which is becoming more readily available in some stores.

LIKE THIS RECIPE?
Don’t forget to give it a ⭐️⭐️⭐️⭐️⭐️ star rating and
leave a comment below the recipe!

Print Recipe
Snow Ice Cream
Ingredients
- 8 cups clean, fresh snow
- 1 (14 ounce) can of sweetened condensed milk
- 1 teaspoon vanilla extract or vanilla bean paste
Instructions
- In a large bowl, combine the snow, sweetened condensed milk, and vanilla. Stir until all ingredients are well-blended and the mixture is smooth and slushy.
- Pour the mixture into a metal baking dish (such as a loaf pan) and place it in the freezer.
- Freeze for approximately 2-3 hours, or until it reaches a scoopable, ice cream-like consistency.
- Scoop into bowls, add your favorite toppings, and enjoy immediately!
Nutrition
This recipe was updated on February 13, 2021, to improve the reader experience and optimize for SEO.
