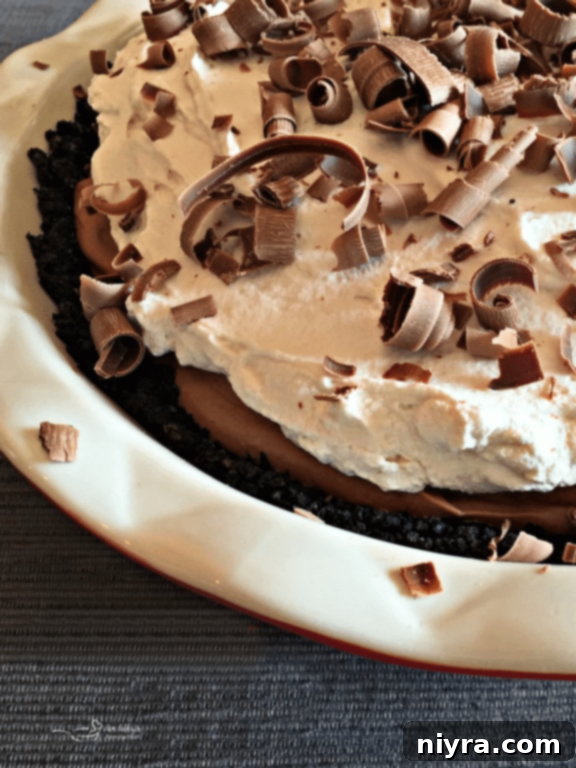
The Ultimate Homemade French Silk Pie: A Decadent Chocolate Dream
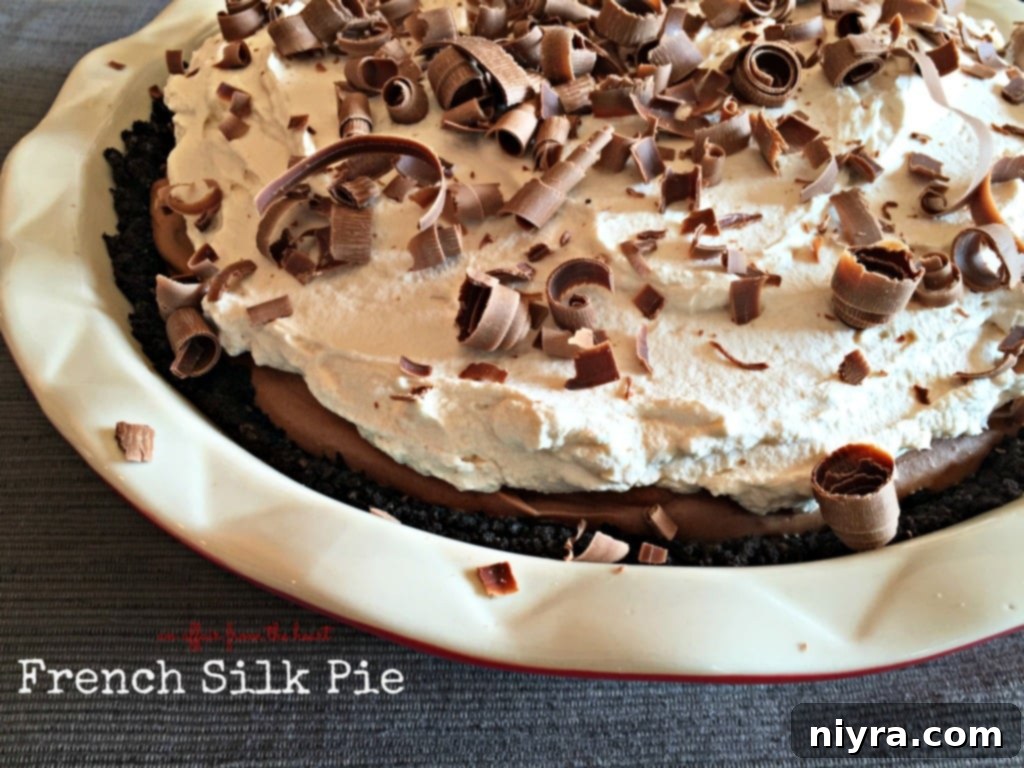
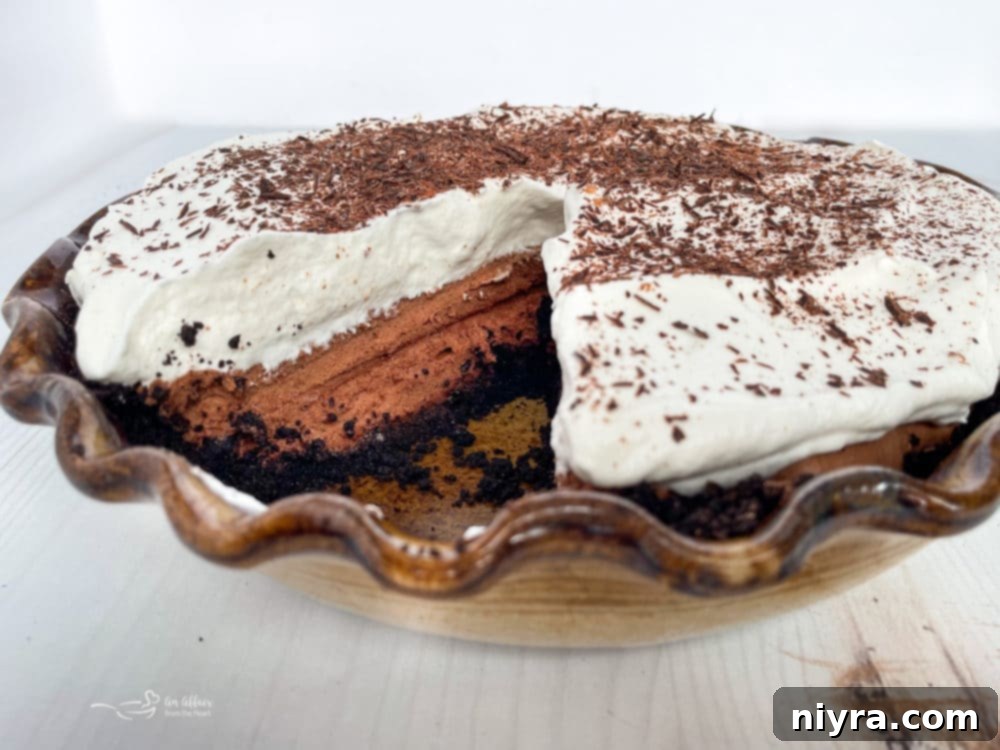
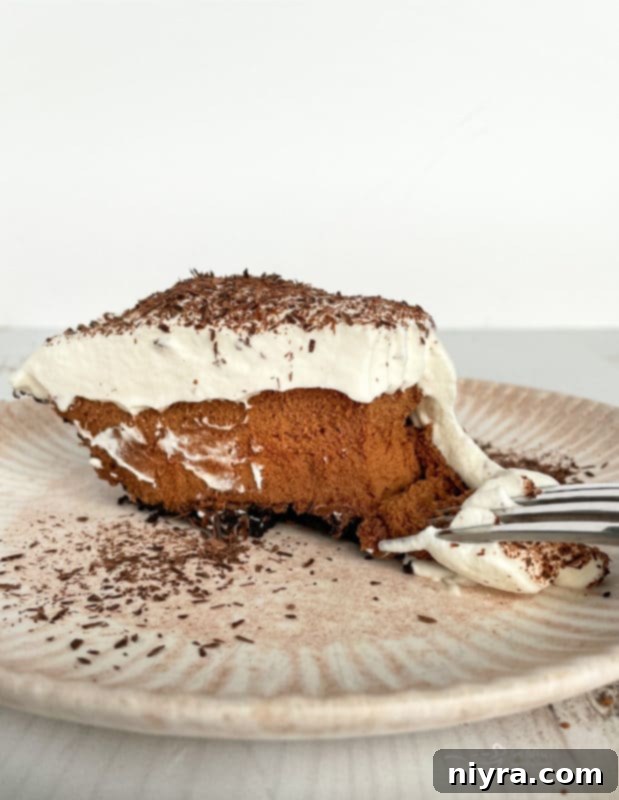
As dessert season approaches, or simply when a profound craving for something truly special strikes, there’s no better way to celebrate than with a slice of this heavenly French Silk Pie. This recipe transcends the ordinary, offering a dessert that is not just sweet, but an experience in itself. The filling boasts a perfectly balanced blend of rich chocolate and subtle vanilla notes, creating a flavor profile that is utterly irresistible. Crowned with a light and airy whipped cream topping, delicately accented with fine chocolate curls, every bite is a symphony of textures and tastes.
My personal journey to perfecting this old-fashioned chocolate silk pie led me to discover two exceptional crust options. While my Grandma’s flaky pie crust offers a delightful classic touch, the homemade buttery Oreo crust adds a unique depth and textural contrast that many find utterly addictive. Both crusts yield outstanding results, so much so that you might find yourself wanting to bake two versions of this pie for your next holiday feast – they’re truly that good! However, for those moments when I’m looking to elevate the sweetness and add a playful twist, the buttery Oreo crust remains my go-to choice, providing a perfect foundation for the silky filling.
Unraveling the Mystery: Why is it Called French Silk Pie?
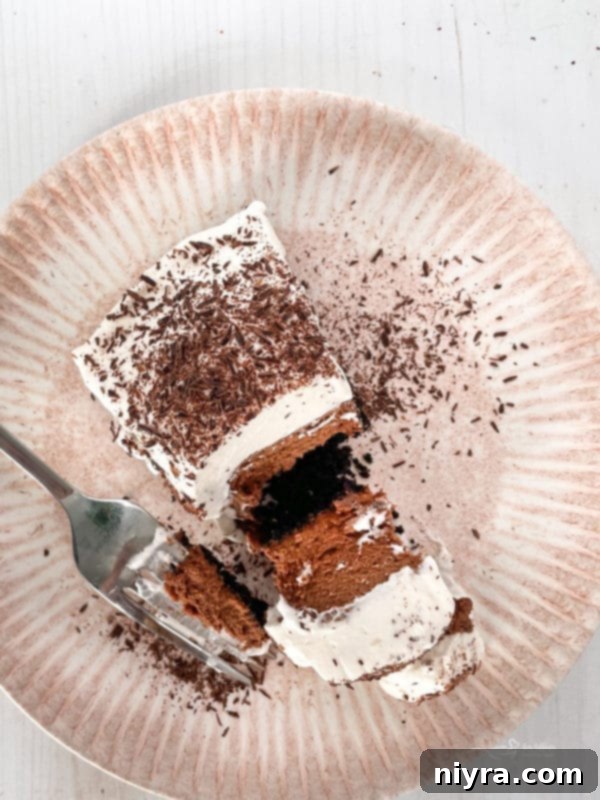
The intriguing name “French Silk Pie” doesn’t actually originate from France, but rather from the pie’s signature characteristic: its extraordinarily smooth and creamy filling. Much like a delicate chocolate mousse, the texture of the filling is so exquisitely refined and soft that it evokes the luxurious feel of silk. This sensation of seamless indulgence is what gives the pie its evocative and well-deserved name, promising a melt-in-your-mouth experience that is truly unparalleled.
Developing this recipe to perfection was a labor of love and persistence. I experimented with countless recipes, searching for that elusive “it” factor, that perfect balance of richness, sweetness, and silky texture. Many attempts fell short, but I was determined to create the ultimate French Silk Pie. Now, after much trial and error, I’ve finally landed on a recipe that consistently delivers. It has become a cherished favorite, not just in my home but among many who have tried it. In fact, it’s the most requested birthday dessert for both of my daughters every single year!
Crafting Perfection: What is French Silk Pie Made Of?
This French Silk Pie is more than just a dessert; it’s a masterpiece crafted from classic, high-quality ingredients that transform into something truly extraordinary. Each component plays a vital role in creating a pie that is supremely satisfying and unequivocally delicious. I can confidently say that this homemade silk pie tastes a thousand times better than any version you might find at a commercial bakery. It’s worth every minute you invest in making it, offering a depth of flavor and a luxurious texture that store-bought options simply cannot match.
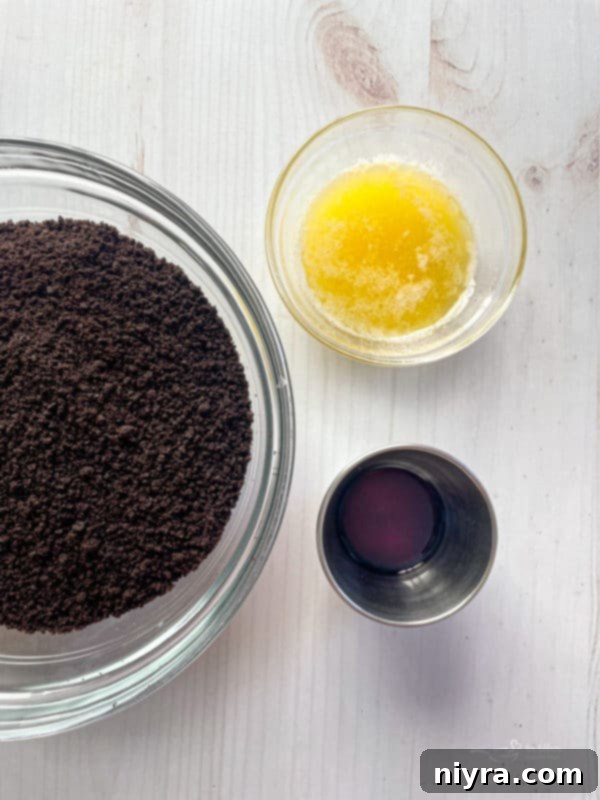
Essential Ingredients for the Crust and Filling
For the Irresistible Oreo Cookie Crust:
- Oreos: For this recipe, I highly recommend using classic, store-bought Oreo cookies – specifically the original variety, not the double-stuffed kind. Their perfect crumb-to-creme ratio makes for an ideal crust texture.
- Unsalted Butter: You’ll need both softened and melted unsalted butter. Using unsalted butter allows you to control the overall saltiness of the pie, ensuring the flavors remain perfectly balanced.
- Pure Vanilla Extract: A good quality pure vanilla extract is key here. It doesn’t just add flavor to the crust; it enhances the overall depth and warmth, making it extra delicious.
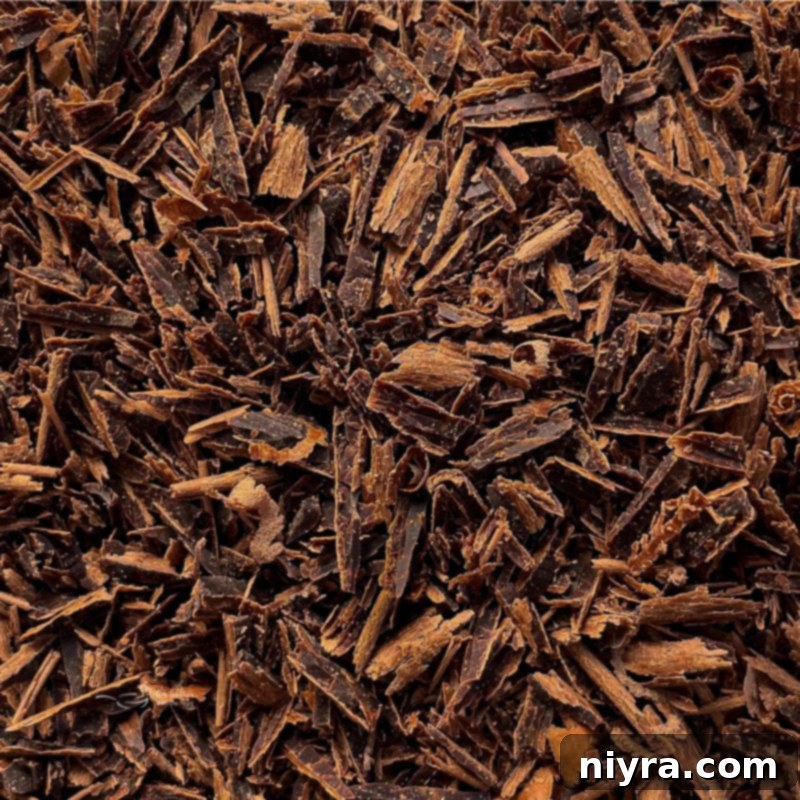
For the Luxuriously Smooth Chocolate Filling:
- Granulated Sugar: Standard granulated sugar provides the perfect level of sweetness, contributing to the silky smooth texture without being overpowering.
- Unsweetened Chocolate: This is crucial for achieving that deep, rich chocolate flavor without making the pie overly sweet. Opt for a high-quality unsweetened baking chocolate for the best results.
- Large Eggs: Whole eggs are essential for creating the filling’s signature creamy, fluffy, and undeniably silky texture. For safety, especially since this recipe involves raw eggs, I strongly recommend using pasteurized eggs (more on this below).
- Unsalted Butter: As with the crust, unsalted butter for the filling ensures you have full control over the flavor profile. Make sure it’s at room temperature for optimal creaming.
- Pure Vanilla Extract: This is where investing in pure vanilla extract truly makes a world of difference. Its complex aroma and flavor elevate the chocolate, adding depth and sophistication.
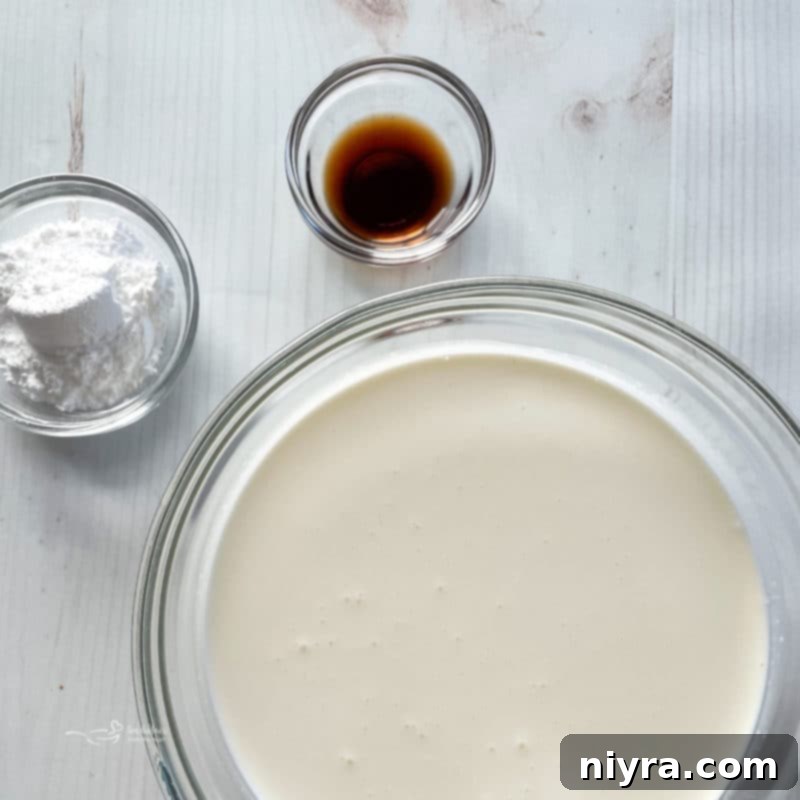
For the Light and Fluffy Whipped Topping:
- Heavy Whipping Cream: Cold, regular heavy whipping cream is the foundation for our fresh, airy whipped topping. Its richness provides the perfect counterpoint to the decadent pie filling.
- Powdered Sugar: Also known as icing sugar or confectioners’ sugar, powdered sugar dissolves easily, giving the whipped topping a delicate sweetness and smooth consistency.
- Pure Vanilla Extract: A touch of pure vanilla extract is indispensable for truly delicious whipped cream. It adds a warm, inviting aroma and rounds out the flavors beautifully.
- Chocolate Curls or Shavings: While optional, these add an elegant visual appeal and an extra layer of chocolatey goodness, making your pie look and taste even more professional.
Mastering the Easy French Silk Pie Recipe: A Step-by-Step Guide
You’ll be amazed at the straightforwardness of this chocolate silk pie recipe. With these detailed steps, you’ll achieve a perfect, show-stopping dessert every single time, even if you’re new to pie making!
Step 1: Crafting the Crispy Oreo Crust
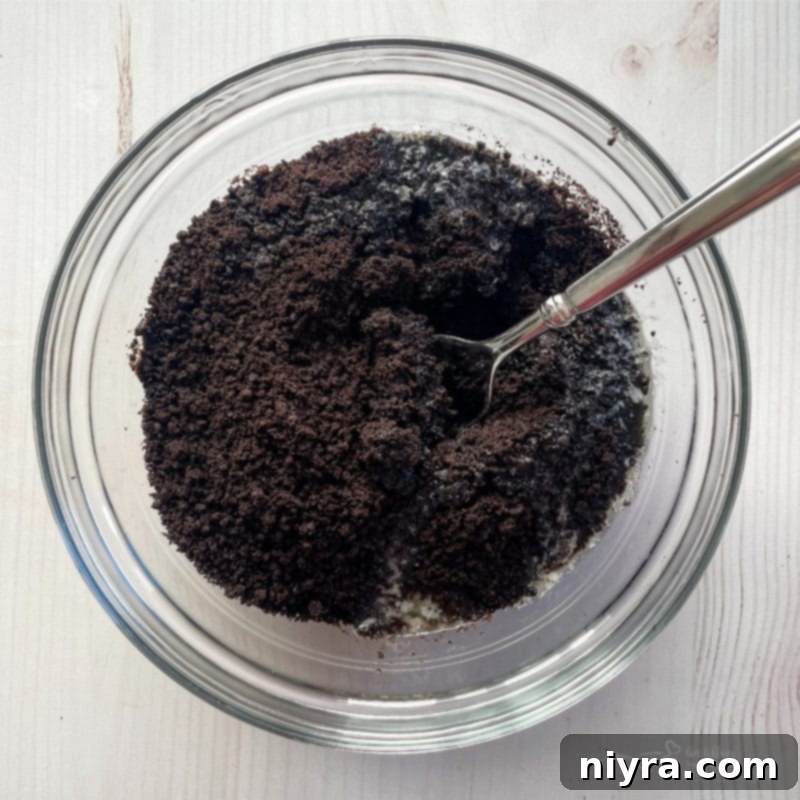
Begin by preheating your oven to 300 degrees Fahrenheit (150°C). Finely crush the Oreo cookies. You can do this efficiently using a food processor, or by placing them in a sealed plastic bag and crushing them with a heavy object like a rolling pin. Once you have fine crumbs, transfer them to a medium-sized bowl. Add the pure vanilla extract and the melted unsalted butter. Mix thoroughly with a fork until all the crumbs are evenly moistened and resemble wet sand. This ensures a cohesive crust.
Next, firmly press this moist Oreo mixture into the bottom and up the sides of a 9-inch deep-dish pie pan. Use the back of a spoon or your knuckles to create an even and compact layer. A well-pressed crust will hold its shape beautifully.
Bake the pie crust for exactly ten minutes. This brief bake time helps to set the crust and prevents it from becoming soggy. Once baked, remove the crust from the oven and set it aside to cool completely before adding the filling. For more detailed tips on achieving a perfect crust, you can learn how to pre-bake a pie crust for all your favorite pies.
Step 2: Preparing the Velvety Chocolate Filling
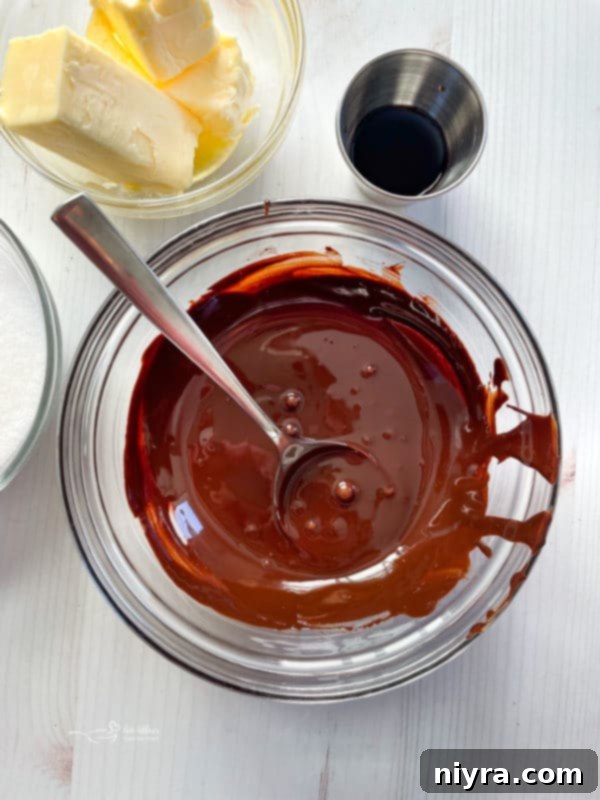
While your crust is cooling, start on the luxurious filling. In the bowl of an electric mixer fitted with a paddle attachment, combine the room temperature unsalted butter and granulated sugar. Cream these together on medium speed until the mixture becomes wonderfully light and fluffy, which should take approximately two minutes. With the mixer still running on low speed, slowly pour in the pure vanilla extract and the cooled melted unsweetened chocolate. Mix until just combined, being careful not to overmix at this stage.
Now for the crucial step that creates the “silk” texture: add the pasteurized eggs, one at a time. After each egg addition, beat the mixture on medium speed for a full five minutes. This lengthy beating process is essential as it fully incorporates air into the mixture and emulsifies the eggs, sugar, and butter, resulting in that incredibly light, airy, and silky texture French Silk Pie is famous for. This process will take about fifteen minutes in total. The mixture will become significantly lighter in color and much fluffier.
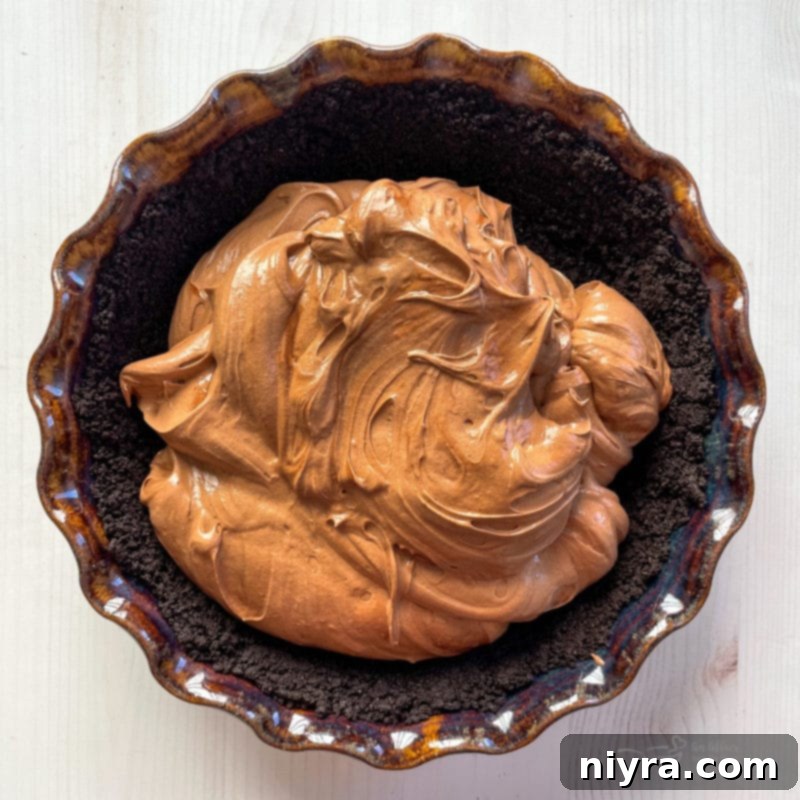
Gently spread the luscious chocolate mousse filling evenly into your completely cooled Oreo crust. Ensure it’s spread from edge to edge for a uniform pie.
Step 3: The Essential Chill Time
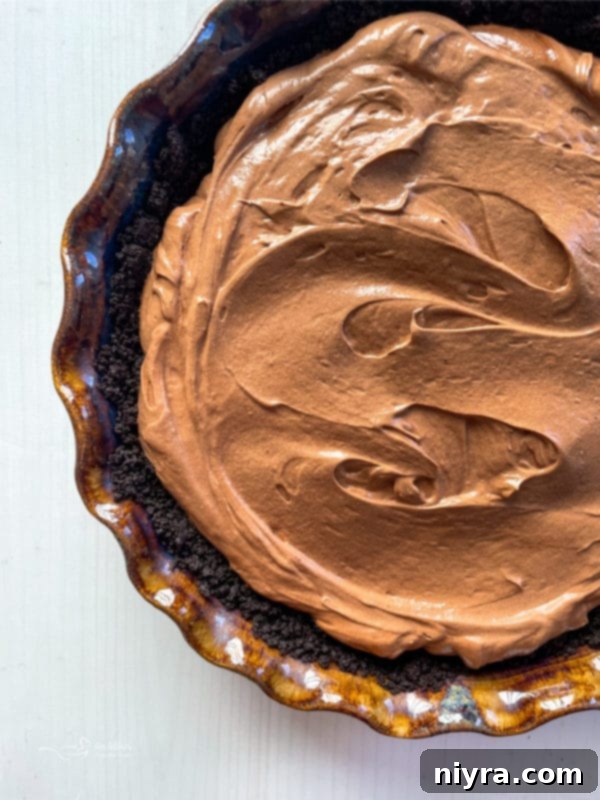
Once the filling is in the crust, cover the pie tightly with plastic wrap. Make sure the plastic wrap doesn’t touch the filling directly if possible, or press it gently onto the surface to prevent a skin from forming. Place the pie in the refrigerator for at least four hours, but ideally, for the best results, chill it overnight. This extended chilling period allows the filling to fully set, firm up, and develop its full, rich flavor and characteristic silky texture. Patience is key here for a truly magnificent pie.
Step 4: Whipping Up the Perfect Topping
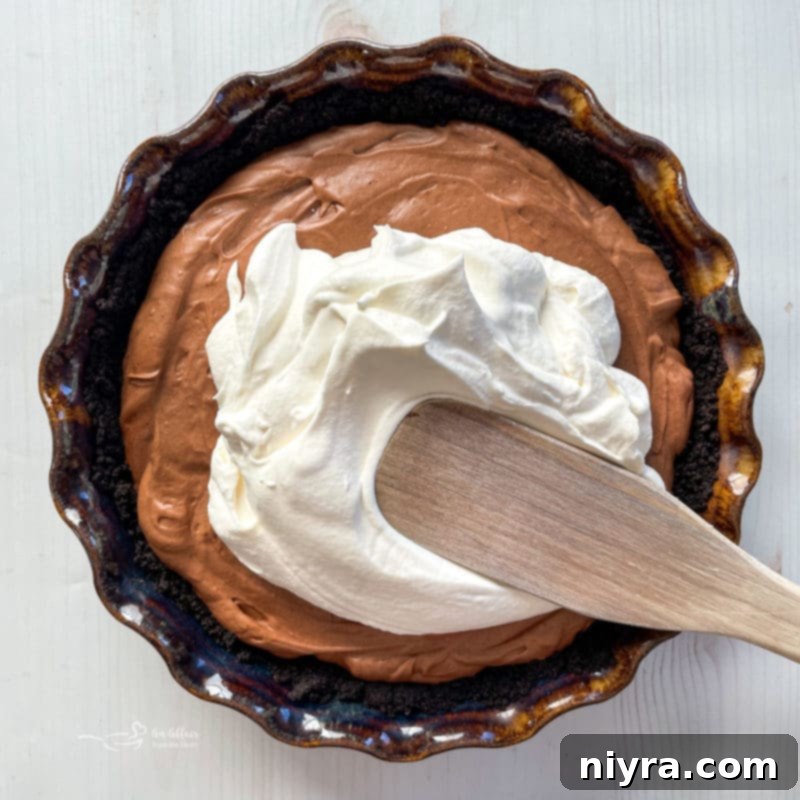
Just before you’re ready to serve, prepare your luscious whipped topping. In a very clean, chilled mixing bowl (using a chilled bowl and whisk attachment helps achieve stiffer peaks), pour in the cold heavy cream, powdered sugar, and pure vanilla extract. Using the whisk attachment on your electric mixer, whip the mixture on high speed until the cream forms stiff, firm peaks. Be careful not to over-whip, as it can quickly turn grainy.
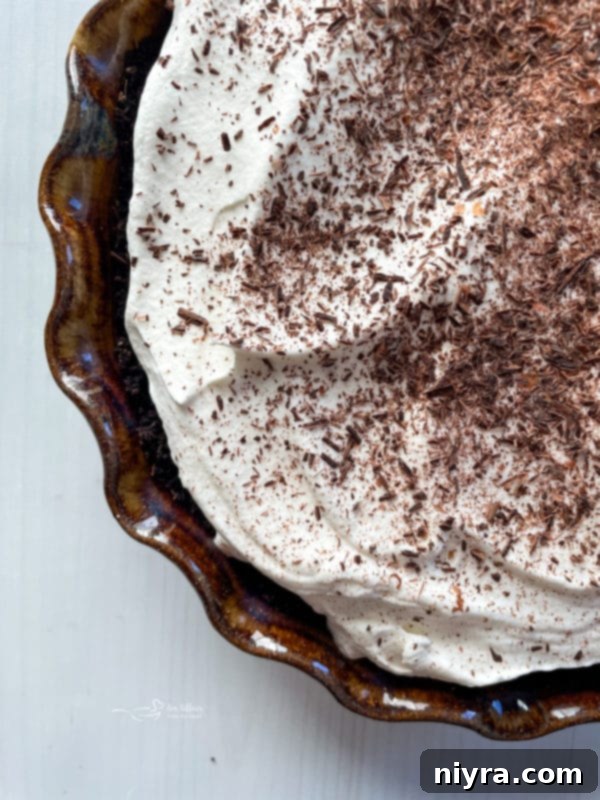
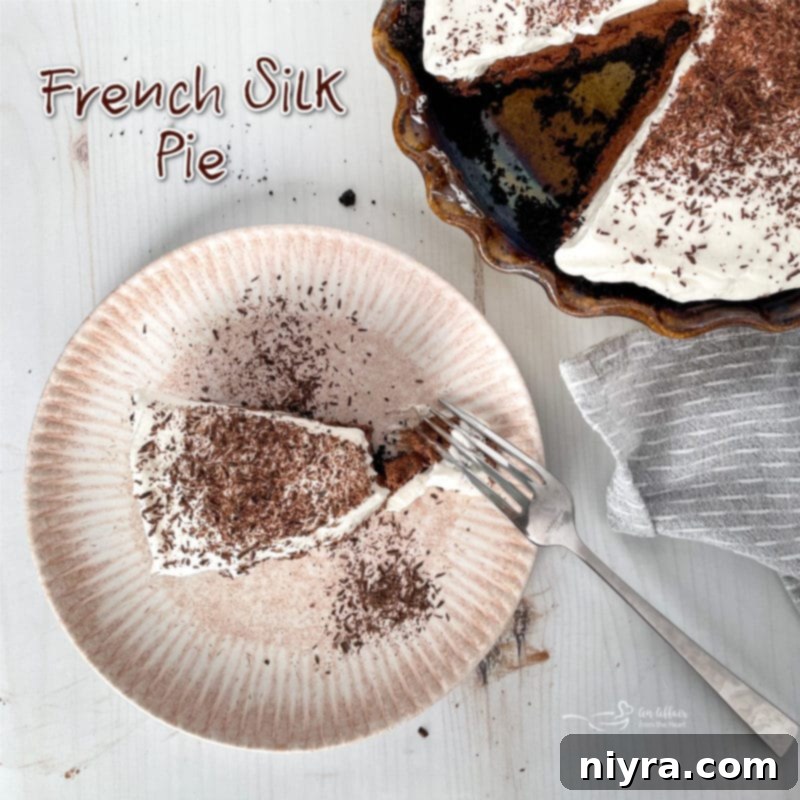
Once your pie is thoroughly chilled and set, and your whipped cream is perfectly fluffy, generously top the chocolate pie filling with the freshly whipped cream. For an extra touch of elegance and chocolatey goodness, garnish with delicate freshly shaved chocolate curls or chocolate chips before serving. This final flourish not only enhances the visual appeal but also adds a delightful textural element to each slice.
Expert Tips for French Silk Pie Perfection
- **Storage:** To keep your leftover chocolate pie fresh, store it in an airtight container in the refrigerator. It will maintain its delicious flavor and texture for up to four days.
- **Make-Ahead Option:** This French Silk Pie is an excellent make-ahead dessert! You can prepare the Oreo crust and the chocolate filling a day or even two days in advance. Just be sure to chill the filling in the crust thoroughly. Prepare the whipped cream right before serving for the fluffiest, freshest results.
- **Preventing a Soggy Crust:** A common concern with crumb crusts is sogginess. The initial 10-minute bake time for the Oreo crust is crucial as it helps to dry it out and creates a barrier against the moist filling. Ensure the crust is completely cooled before adding the filling.
- **Achieving Stiff Peaks:** For the perfect, airy whipped topping, ensure your heavy whipping cream, mixing bowl, and whisk attachment are all thoroughly chilled. This drastically helps the cream whip up faster and achieve firm, stiff peaks. Avoid over-whipping, which can cause the cream to become grainy or separate.
- **Quality of Ingredients:** While convenience is great, using high-quality ingredients truly shines through in this pie. Opt for pure vanilla extract and good unsweetened baking chocolate for the most robust flavors.
Love it?! Be Sure to Pin This Recipe!
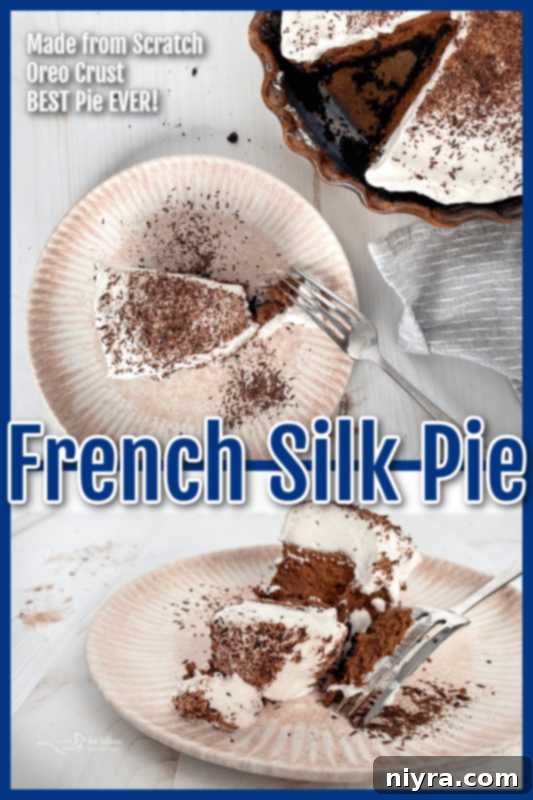
Don’t let this incredible French Silk Pie recipe slip away! Save it now to serve during the holidays, for special celebrations, or whenever that irresistible sweet tooth for a rich, creamy pie strikes. Pin this delightful dessert recipe to your favorite Pinterest dessert board so you can easily find it again and again!
Understanding Raw Eggs in French Silk Pie: Is it Safe?
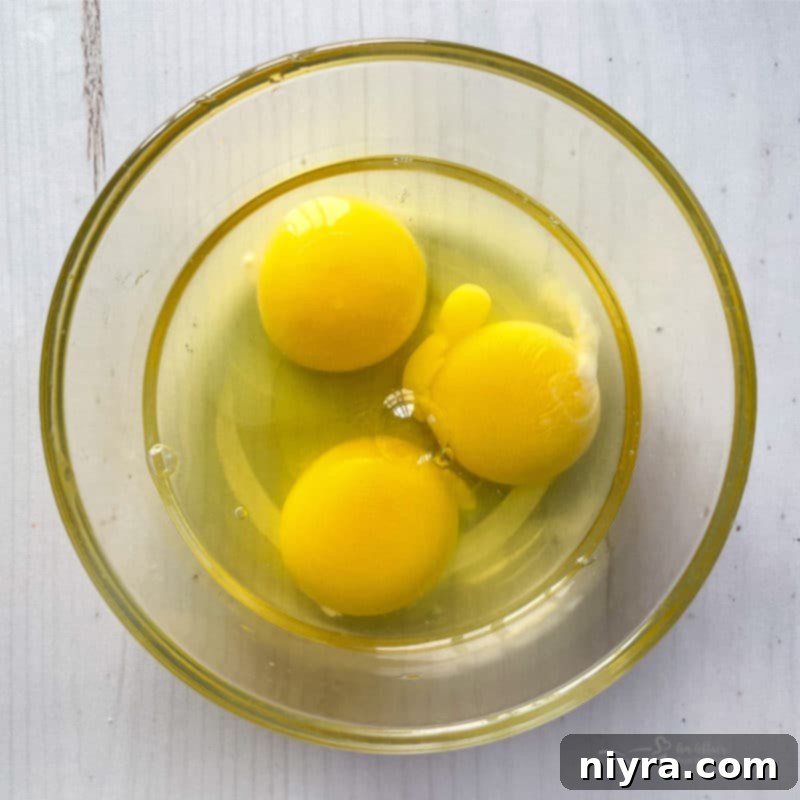
A common question with French Silk Pie recipes is the inclusion of raw eggs in the filling. Good news: this French Silk Pie, when made with the right ingredients, is absolutely safe to eat! The key lies in using pasteurized eggs. Pasteurized eggs have undergone a gentle heating process that quickly raises their temperature to a point that kills any potential bacteria, such as salmonella, without actually cooking the egg. This process makes them perfectly safe for recipes that call for raw or lightly cooked eggs, like this silky pie filling. Look for cartons clearly marked “pasteurized” in your grocery store to ensure complete peace of mind while enjoying every luscious bite of your homemade French Silk Pie.
Serving Your Delicious French Silk Pie
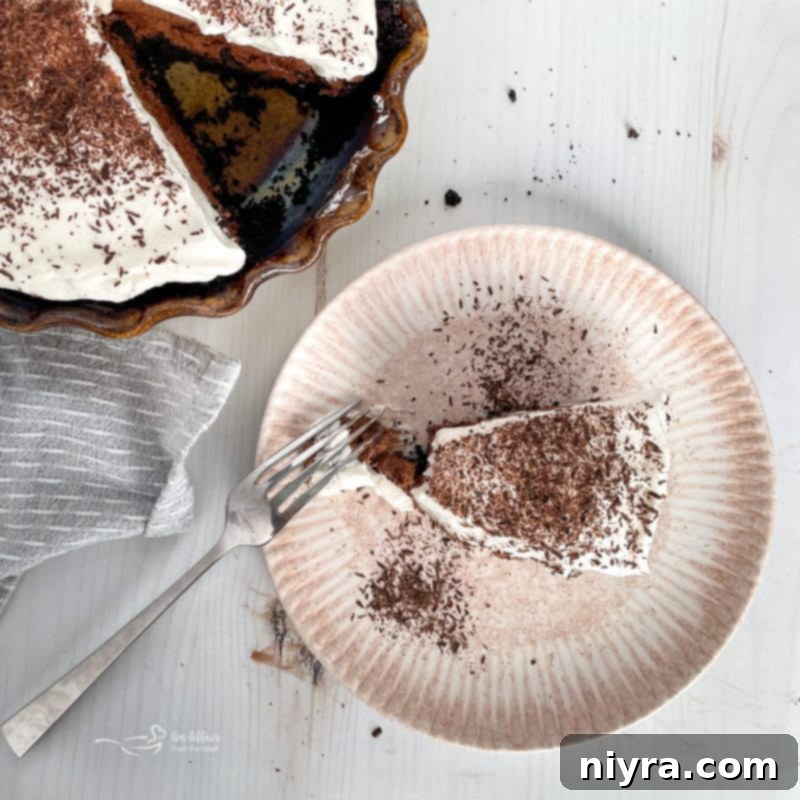
This versatile chocolate silk pie recipe is perfect for capping off any meal or serving alongside other festive treats. It shines as a grand finale after your favorite main dishes and pairs beautifully with other tasty holiday desserts for an impressive spread. Its rich flavor means a small slice goes a long way, but its deliciousness might tempt you to go back for more!
For a comforting experience, enjoy a slice of this heavenly pie with a tall glass of cold milk, which perfectly complements the rich chocolate. Alternatively, pair it with a warm cup of freshly brewed coffee or a soothing cup of tea for a sophisticated dessert moment. Don’t forget to add those elegant chocolate curls or shavings on top right before serving for that extra special touch!
Explore More Irresistible Dessert Recipes You Will Love
If you’ve fallen in love with the decadent flavors of this French Silk Pie, you’re in for a treat! Here are more delicious pie and dessert recipes from our collection that we know you’ll adore. Perfect for expanding your baking repertoire or finding your next family favorite:
- Chocolate Lasagna
- Fresh Strawberry Pie
- Key Lime Slab Pie
- Chocolate Marshmallow Pie Crust
- Lemon Ice Box Pie
- Coconut Banana Cream Pie

LIKE THIS RECIPE?
Don’t forget to give it a ⭐⭐⭐⭐⭐ star rating and
leave a comment below the recipe!

Average Rating: 4.75 out of 5 stars (from 4 votes)
Print Recipe
French Silk Pie
This is the most PERFECT French Silk Pie. It’s rich, chocolaty and silky smooth.
| Prep Time: 25 mins |
| Cook Time: 10 mins |
| Additional Time (Chilling): 4 hrs |
| Total Time: 4 hrs 35 mins |
Cuisine: Dessert |
Keyword: French Silk Pie |
Servings: 1 pie |
Calories: 501kcal |
Author: an affair from the heart
Ingredients
- For the Oreo Crust:
- ½ package of Oreos (classic, not double-stuffed, crushed finely)
- 2 Tablespoons unsalted butter (melted)
- 1 teaspoon pure vanilla extract
- For the Chocolate Filling:
- 1 ½ sticks (12 Tablespoons) unsalted butter (room temperature)
- 1 cup granulated sugar
- 3 ounces unsweetened chocolate (melted and cooled)
- 1 ½ teaspoons pure vanilla extract
- 3 large pasteurized eggs
- For the Whipped Topping:
- 2 cups cold heavy whipping cream
- 1 teaspoon pure vanilla extract
- 2 Tablespoons powdered sugar
- Chocolate curls or shavings for serving (optional)
Instructions
- **Prepare the Crust:** Preheat oven to 300°F (150°C). Crush the Oreos finely. In a bowl, combine the crushed cookies with melted butter and vanilla extract. Mix with a fork until moist and evenly combined.
- Press the mixture firmly into the bottom and sides of a 9-inch deep-dish pie pan, creating a compact layer.
- Bake the crust for 10 minutes. Remove from the oven and set aside to cool completely while you prepare the filling.
- **Make the Filling:** In the bowl of an electric mixer, cream together the room temperature butter and granulated sugar until light and fluffy, about 2 minutes. While the machine is running on low speed, add the vanilla extract and the cooled melted chocolate. Mix until just combined.
- Increase mixer speed to medium. Add the pasteurized eggs one at a time, beating for a full 5 minutes after each addition. This step is crucial for the silky texture, so ensure each egg is thoroughly beaten for the specified time (15 minutes total for all three eggs).
- Once the filling is light and airy, pour it evenly into the cooled pie crust.
- **Chill the Pie:** Cover the pie tightly with plastic wrap and place it in the refrigerator for at least 4 hours, or ideally, overnight, to allow the filling to set completely.
- **Prepare the Whipped Topping:** Just before serving, in a clean, chilled mixer bowl with a whisk attachment, combine the cold heavy cream, powdered sugar, and vanilla extract.
- Whip on high speed until the cream forms stiff, distinct peaks. Be careful not to over-whip.
- **Assemble and Serve:** Top your chilled pie filling generously with the freshly whipped cream. Garnish with chocolate curls or shavings before slicing and serving. Enjoy!
Nutrition Information (Approximate per serving)
Serving: 1 |
Calories: 501kcal |
Carbohydrates: 30g |
Protein: 5g |
Fat: 41g |
Saturated Fat: 25g |
Polyunsaturated Fat: 13g |
Trans Fat: 1g |
Cholesterol: 152mg |
Sodium: 189mg |
Fiber: 2g |
Sugar: 25g
