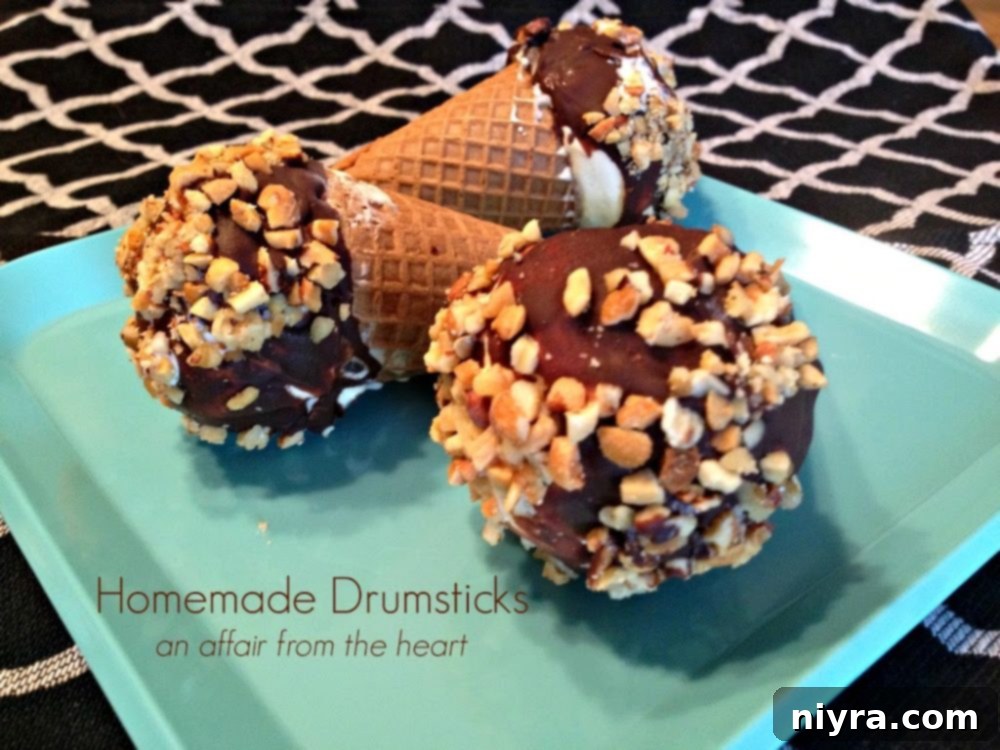

The Allure of Homemade Drumsticks: A Sweet Tradition Reimagined
My journey into crafting homemade drumsticks began in the summer of 2013. That season was a whirlwind of ice cream experiments for my kids and me. We were on a serious homemade ice cream-making frenzy, exploring all sorts of frozen concoctions. After successfully mastering homemade Buster Bars, I had a sudden inspiration: why not try our hand at homemade drumsticks? They were always a cherished childhood favorite, and honestly, who doesn’t adore the crunchy, chocolatey, and creamy layers of a drumstick?
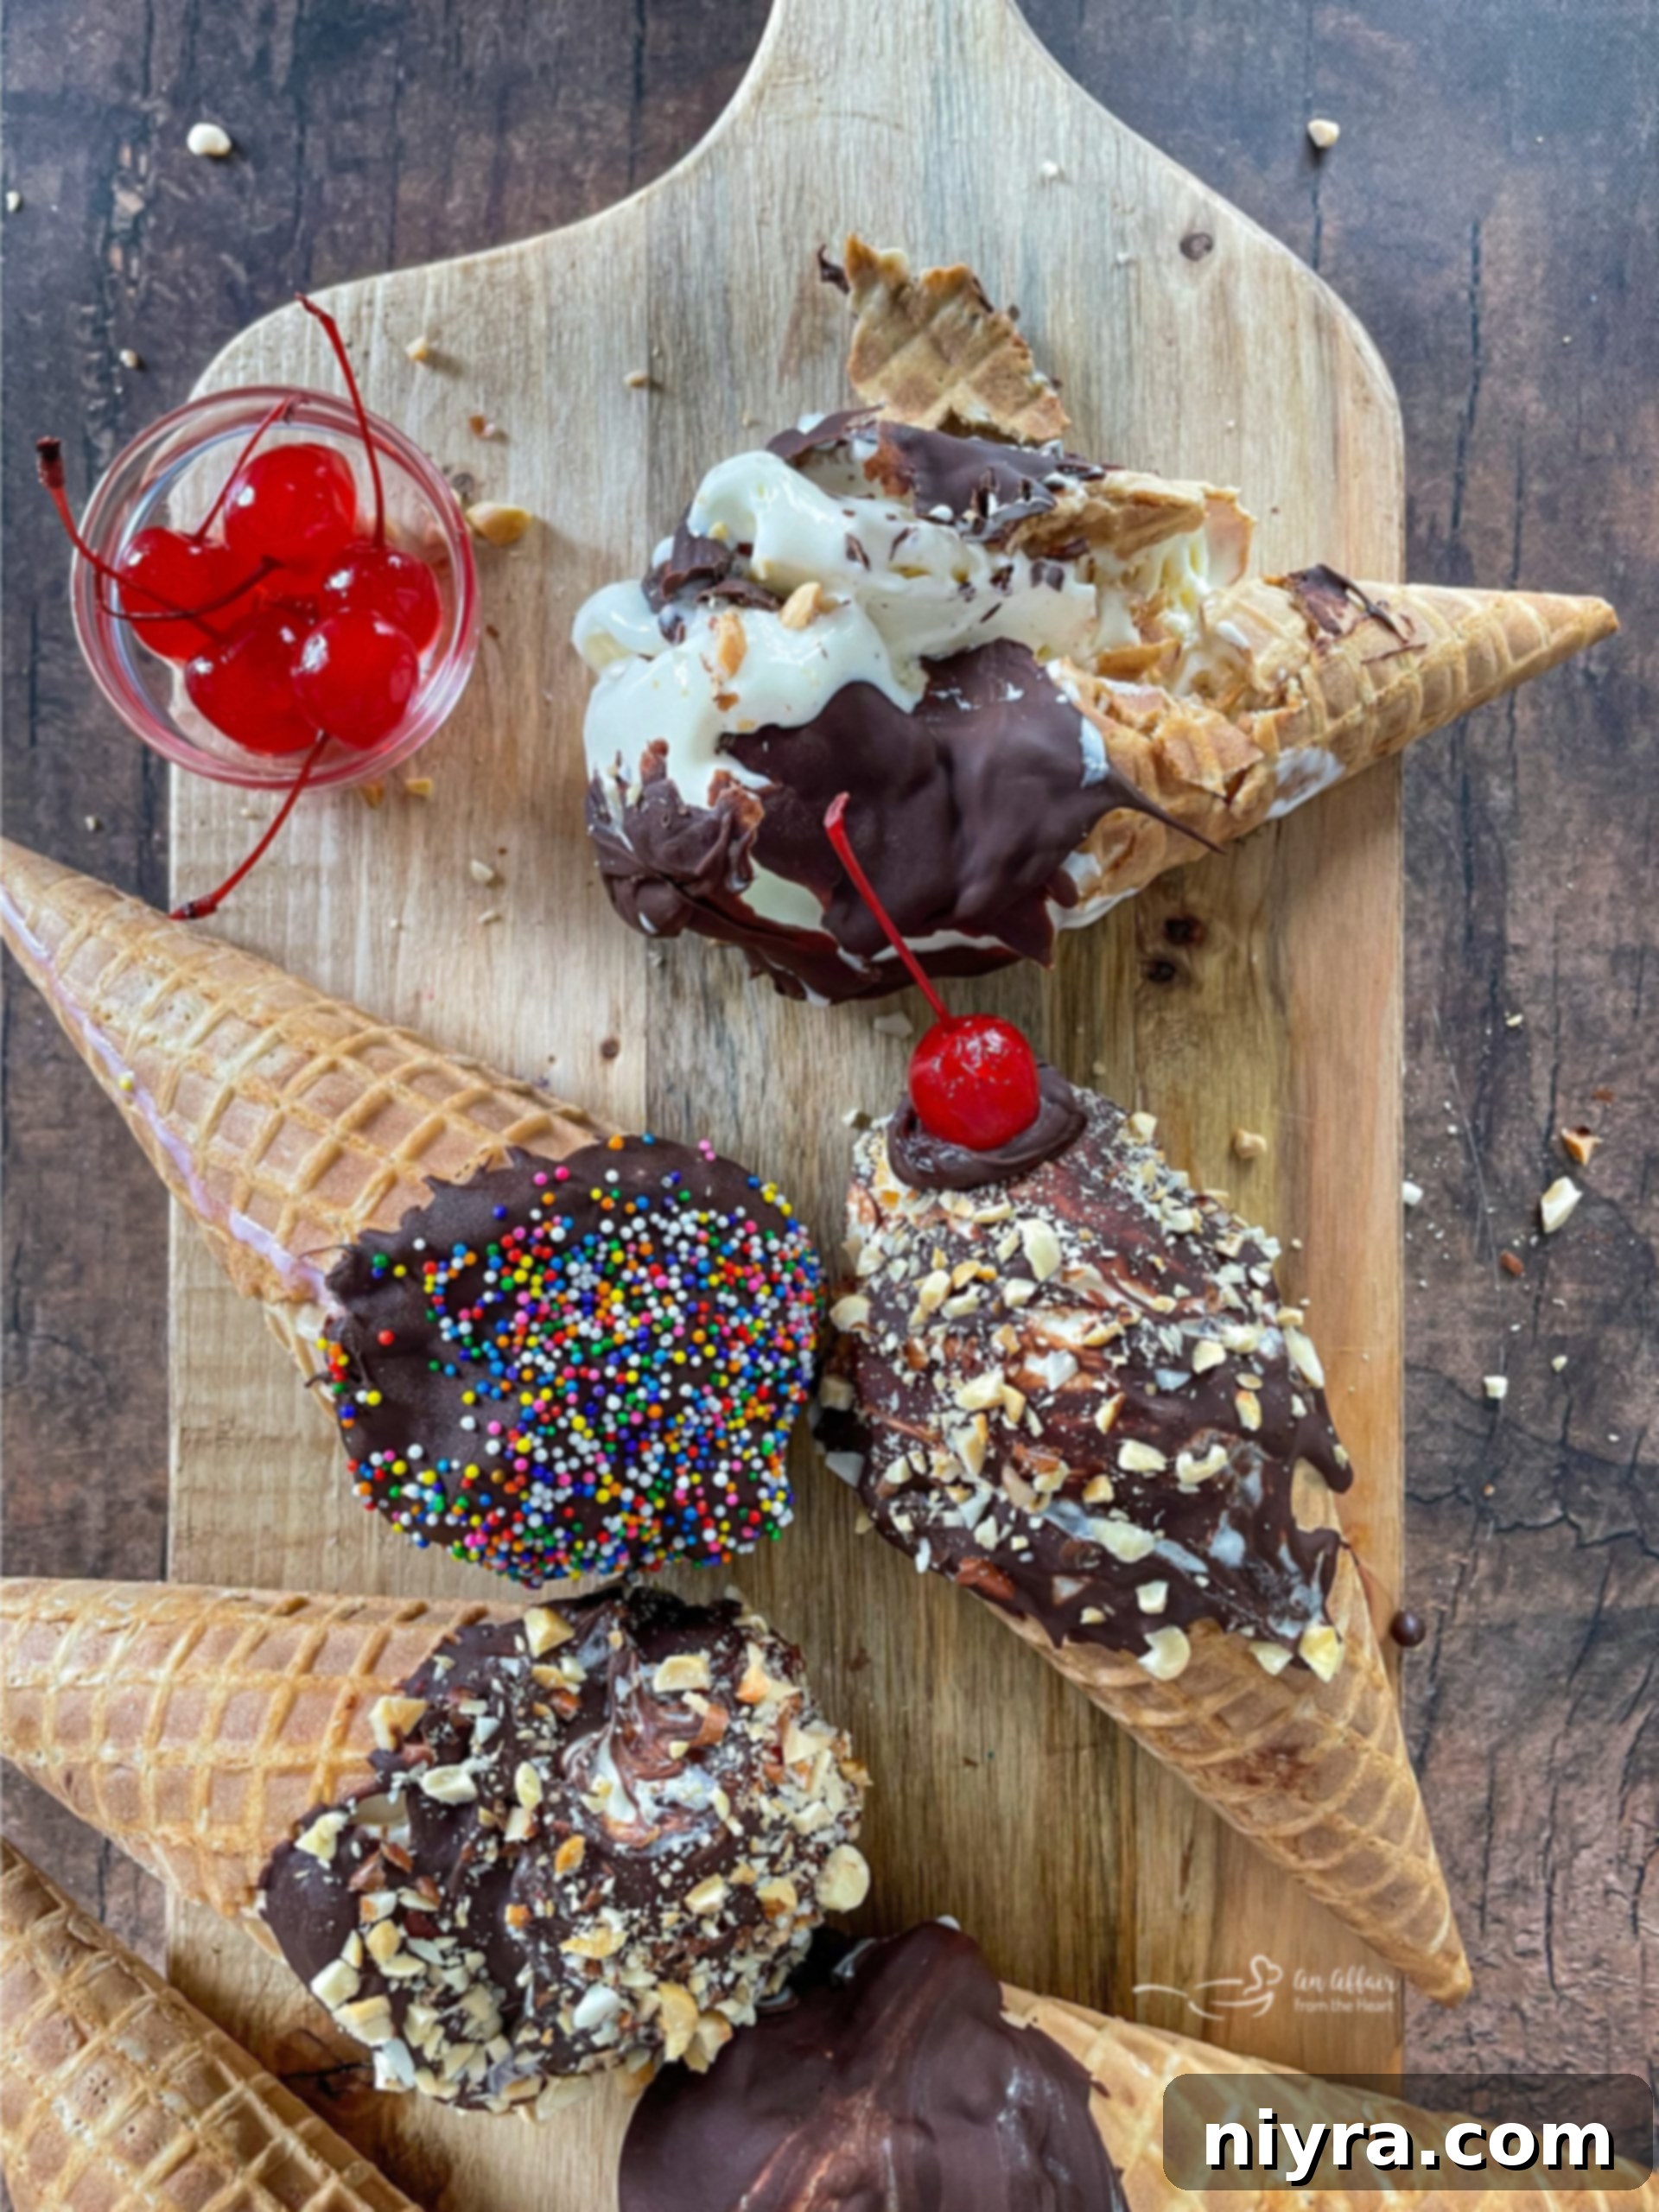
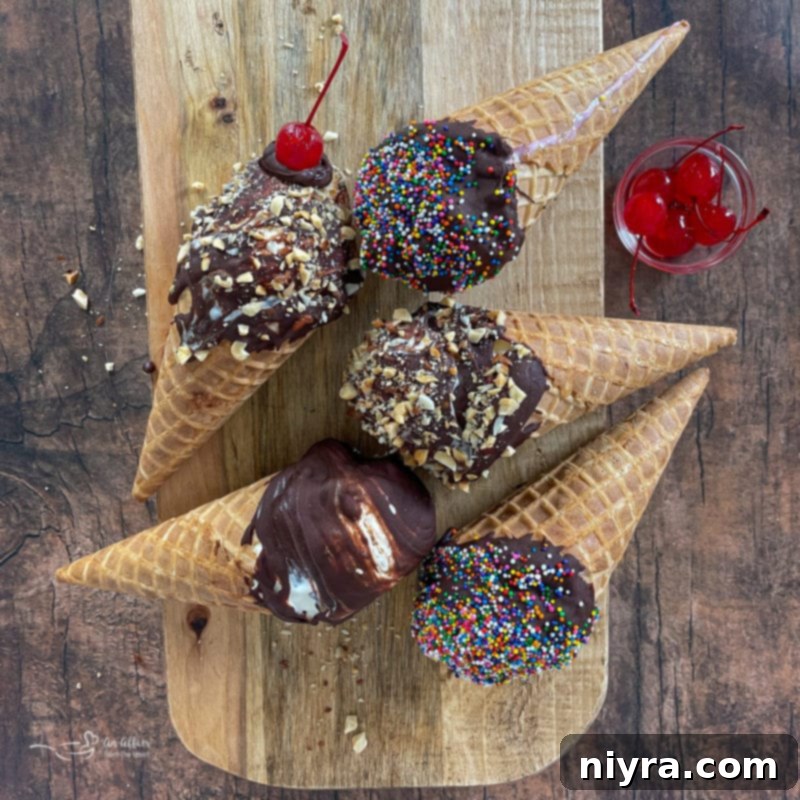
The beauty of making your own drumsticks lies in the endless customization possibilities. Unlike store-bought options, you’re not limited to a single flavor or topping. Imagine switching up the ice cream flavors—from classic vanilla to decadent chocolate, refreshing mint chip, or even a fruity swirl. You can add delightful surprises to the centers, like a gooey caramel or a rich peanut butter swirl. The toppings are equally versatile; venture beyond peanuts with chopped pecans, walnuts, almonds, or even colorful sprinkles. (Full disclosure: my husband dislikes peanuts, which means I get to enjoy his peanut toppings from store-bought cones. Lucky me, indeed!)

Why This Homemade Drumstick Recipe Will Become Your New Favorite
- A Beloved Classic Reimagined: These homemade drumsticks evoke the cherished memories of your childhood. The iconic combination of smooth vanilla ice cream, a crisp chocolate shell, and crunchy nuts creates an unbeatable trio that truly satisfies.
- The Ultimate Summer Essential: Whether you’re lounging by the pool, hosting a vibrant backyard barbecue, or simply craving a cool treat on a hot day, these frozen delights are perfectly suited for any warm-weather occasion. They are the ideal snack to beat the heat.
- Incredibly Delicious & Effortlessly Simple: Don’t let their impressive appearance fool you—these homemade drumsticks are remarkably easy to make. With minimal steps and a foolproof method, you’ll be tempted to prepare them all the time. They’re so much more rewarding than their store-bought counterparts.
- Endless Customization Options: This recipe offers fantastic flexibility. Experiment with different ice cream flavors, vary your chocolate coating, or choose from an array of toppings to create a personalized frozen treat every time.
- Fun for the Whole Family: Get everyone involved in the kitchen! This recipe is simple enough for kids to assist, making it a wonderful activity for family bonding and creating lasting memories.

Gather Your Ingredients for Perfect Homemade Drumsticks
For precise measurements of these homemade drumstick ice cream cones, please refer to the detailed recipe card below.

Hot Fudge: A jar of good quality hot fudge ice cream topping will provide that essential gooey base. For a delightful twist, consider using a rich caramel sauce instead – it’s absolutely delicious!
Chocolate Chips: Semi-sweet chocolate chips are the traditional choice, creating a perfectly balanced chocolate coating. However, feel free to experiment with dark chocolate chips for a more intense flavor, or even milk chocolate for extra sweetness.
Vegetable Oil: A touch of any neutral vegetable oil is key to achieving a smooth, dip-able consistency for your melted chocolate. It helps create that satisfyingly thin, crisp shell that is characteristic of a drumstick.
Ice Cream: While classic vanilla ice cream is a fantastic choice, the beauty of homemade is customization! Let your creativity soar and use any ice cream flavor your heart desires. Think chocolate, strawberry, mint chip, coffee, or even a swirl of two favorites.
Ice Cream Cones: Sugar ice cream cones are highly recommended for this recipe. Their sturdy structure and sweet, crispy texture hold up well to the filling and freezing process, complementing the other flavors beautifully. Waffle cones can also work if you prefer a different texture.
Nuts/Toppings: Your choice of mixed chopped nuts adds a wonderful crunch and nutty flavor. While traditionally roasted peanuts are used, feel free to get creative with pecans, walnuts, or almonds. If nuts aren’t your preference, or if you have allergies, colorful sprinkles are a fantastic and fun alternative!
What Kind of Nuts Are Traditionally Used on Drumsticks?
Traditionally, store-bought ice cream drumsticks feature roasted peanuts as their signature crunchy topping. The saltiness and texture of peanuts perfectly complement the sweet chocolate and creamy ice cream. However, when you’re making them at home, the choice is entirely yours! You don’t have to stick to just peanuts. Get creative with other finely chopped nuts like pecans, walnuts, or almonds for different flavor profiles and textures. And remember, if nuts aren’t your thing, you can easily omit them or replace them with other delightful toppings like sprinkles, shredded coconut, or crushed cookies.
How to Make Irresistible Homemade Drumsticks: A Simple Guide
Step 1: Prepare Your Cones and Chocolate Coating
Begin by placing a generous dollop of hot fudge at the very bottom of each sugar cone. This creates a wonderful surprise at the end of every bite. Next, combine your chocolate chips and vegetable oil in a microwave-safe bowl. Microwave the mixture in 30-second intervals, stirring thoroughly after each, until the chocolate is completely smooth and glossy. The oil helps achieve a perfect consistency for dipping.
Step 2: Fill the Cones with Ice Cream
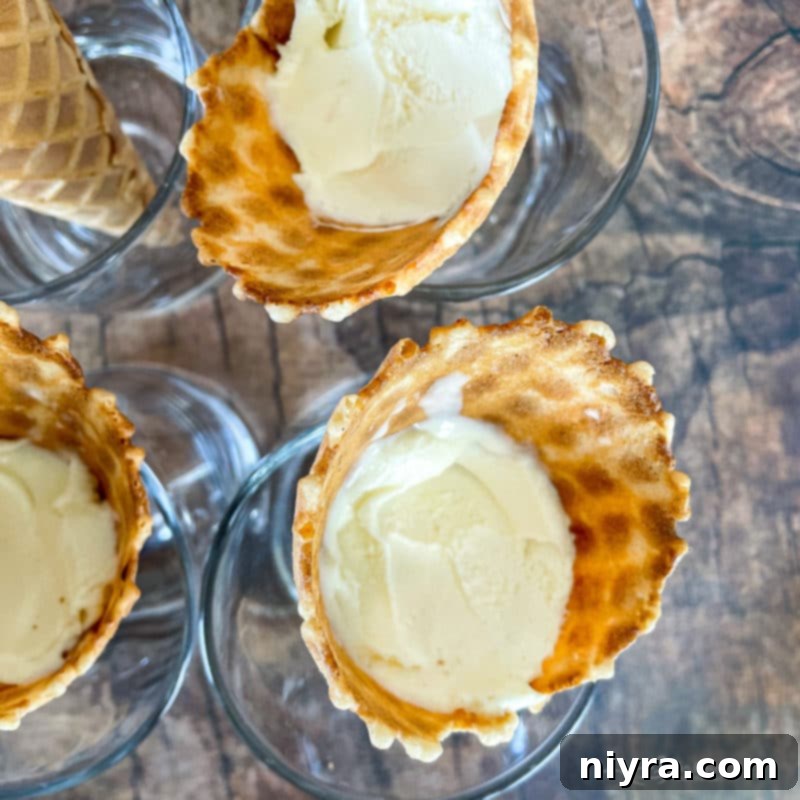
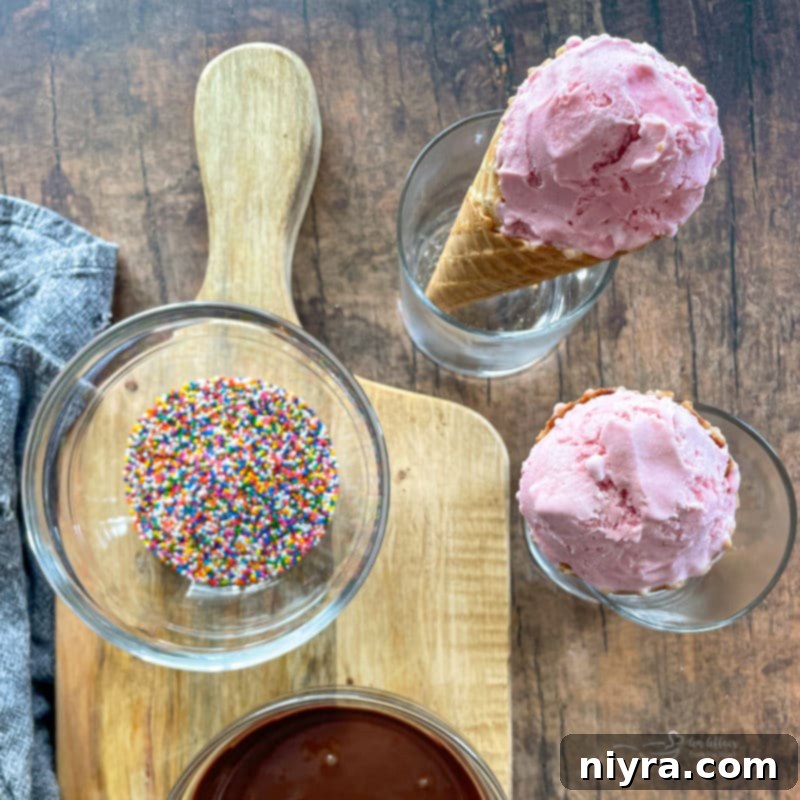
Carefully pack your chosen ice cream flavor into each cone, pressing down lightly to remove any air pockets and ensure a dense, satisfying filling. For an easier and less messy process, I highly recommend standing the cones upright inside short glasses. This provides stability while you work and prevents them from tipping over.
Step 3: Crown with a Perfect Scoop
Using an ice cream scoop, create a beautiful, round scoop of ice cream for the very top of each cone. This forms the signature dome shape of a drumstick and provides a perfect canvas for the chocolate coating and toppings.
Step 4: Dip and Decorate
Swiftly dip the top of the ice cream cone into the melted chocolate, ensuring an even coating. Immediately after dipping, dunk the chocolate-covered top into your prepared nuts (or sprinkles, if you prefer). Work quickly as the chocolate will begin to set upon contact with the cold ice cream.

Step 5: Freeze to Perfection
Once dipped and topped, place the ice cream cones back into the short glasses or a freezer-safe container. Transfer them to the freezer for at least a couple of hours. This crucial step allows the chocolate shell to harden completely and the ice cream to firm up, creating that delightful crunch and preventing sogginess.
Frequently Asked Questions About Homemade Drumsticks
Why Are Ice Cream Drumsticks Called Drumsticks?
The whimsical name “drumstick” for these chocolate-dipped ice cream cones actually comes from their resemblance to a chicken leg! The cone forms the “bone,” and the rounded ice cream top with its chocolate and nut coating mimics the shape of a drumstick. It’s a funny, yet fitting, comparison!
Love This Recipe? Pin It for Later!
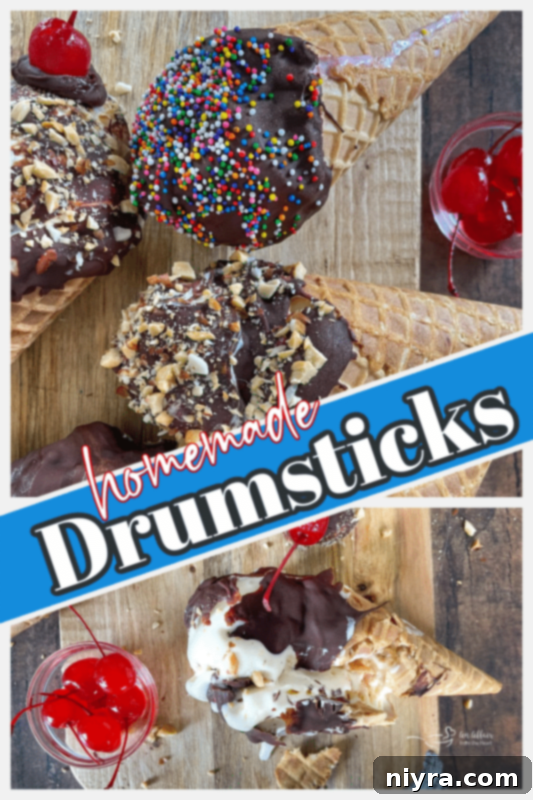
Don’t let this fantastic recipe slip away! Make sure to save these homemade drumsticks to your favorite Pinterest recipe board. You’ll want to have it handy for all your future summer cravings and dessert making adventures.
Why Do Ice Cream Drumsticks Sometimes Get Soggy?
Sogginess in drumsticks typically occurs if the ice cream has melted and then refrozen, or if the cones are exposed to moisture for too long. The chocolate shell is designed to create a barrier, but if it cracks or isn’t fully sealed, moisture can seep into the cone, making it soft. To prevent this, ensure your ice cream is very firm before assembly, work quickly, and freeze the finished drumsticks immediately and thoroughly. Always enjoy these homemade ice cream drumsticks as soon as you pull them out of the freezer for the best texture!
Can I Make Homemade Drumsticks Ahead of Time?
Absolutely! Homemade drumsticks are perfect for making ahead. Once assembled and fully frozen (at least 3 hours), wrap each drumstick individually in plastic wrap or parchment paper, then place them in an airtight freezer-safe container or bag. This will protect them from freezer burn and help maintain their freshness and crispness. They can be stored for up to two weeks.
What Are Some Creative Topping Ideas for My Drumsticks?
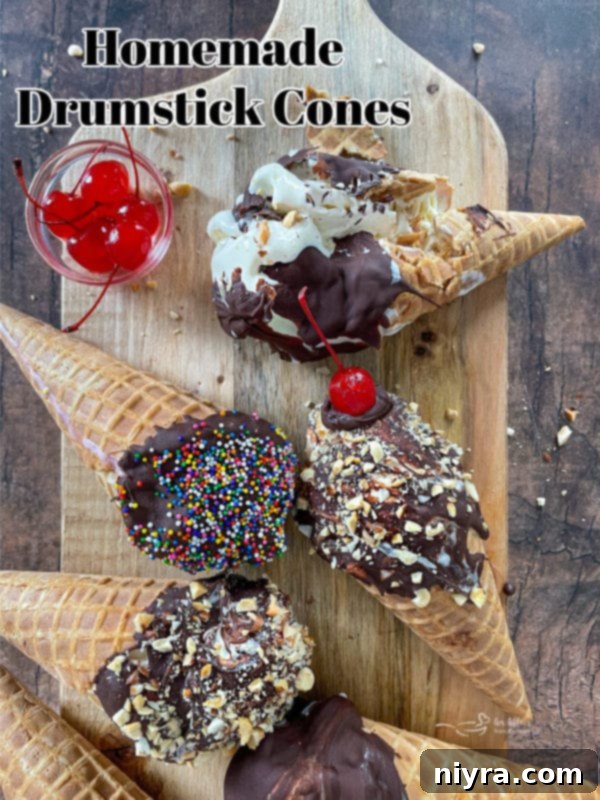
Beyond traditional nuts and sprinkles, the possibilities are endless! Consider crushed pretzels for a salty-sweet crunch, mini chocolate candies, crushed cookies (like Oreos or Biscoff), toasted coconut flakes, or even a drizzle of white chocolate. For an extra festive touch, add a maraschino cherry on top right before serving!

Expert Tips for Homemade Drumstick Success
- Proper Storage: For the freshest flavors and best texture, store any leftover drumsticks wrapped individually in plastic and then in an airtight container in the freezer for up to two weeks. This prevents freezer burn and keeps the cones crisp.
- Dairy-Free Option: If you’re looking for a dairy-free version, simply substitute dairy-free ice cream or frozen yogurt for regular ice cream. Ensure your hot fudge and chocolate chips are also dairy-free to keep the entire treat compliant.
- Stability is Key: Standing your cones upright in short glasses, especially when placed inside a larger 9×13 pan, is a game-changer. This simple trick provides stability during assembly and ensures the drumsticks remain perfectly vertical as they freeze, preventing any messy spills or uneven setting.
- Work Quickly: Ice cream melts fast! Have all your ingredients prepped and ready before you start assembling. This includes having your chocolate melted, nuts chopped, and glasses set up. Speed helps prevent excessive melting and ensures the chocolate shell sets crisply.
- Chill Your Tools: For even less melting, consider chilling your ice cream scoop and even your serving glasses in the freezer for a few minutes before starting.
Discover More Delightful Homemade Frozen Treats
Creating homemade ice creams and frozen treats is always a rewarding and enjoyable activity, particularly when the weather warms up! If you loved making these drumsticks, you’ll definitely want to explore these other fantastic recipes:
- Homemade Buster Bars (shown above – another classic copycat!)
- Grasshopper Ice Cream (a refreshing minty treat)
- Grape Nut Ice Cream (a uniquely textured, comforting dessert)
- Strawberry Lemonade Popsicles (bright, tangy, and perfect for cooling down)
- Dairy-Free Fudge Pops (rich chocolate goodness without the dairy)
- Summer Ice Cream Pops (creative and colorful frozen pops)
- Dairy Queen Apple Pie Blizzard (recreate a beloved fast-food favorite at home)
- Pina Colada Popsicles (a tropical escape on a stick)

LIKE THIS RECIPE?
Don’t forget to give it a ⭐️⭐️⭐️⭐️⭐️ star rating and
leave a comment below the recipe!

Print Recipe
Homemade Drumsticks
Equipment
- 9×13 Pyrex Baking Dish with a Lid
- Marquis by Waterford Markham Double Old Fashioned Glasses, Set of 4
- Ice Cream Scoop with Comfortable Handle
Ingredients
- 1 quart vanilla ice cream
- 8 sugar ice cream cones
- 1/3 cup hot fudge ice cream topping (or caramel)
- mixed chopped nuts (or sprinkles)
- 6 ounces semi-sweet chocolate chips
- 1 1/2 Tablespoons vegetable oil
Instructions
- Place a dollop of hot fudge in the bottom of each cone.
- Place chips and oil in a microwave-safe bowl and melt in 30-second intervals until smooth.
- Pack ice cream into the cone and use an ice cream scoop to make a perfect ball shaped scoop on the top, pressing down tightly.
- Dip top of cone in melted chocolate and dunk into nuts or sprinkles.
- Stand on end in short glasses.
- Place in freezer for at least 3 hours.
Notes
- Store leftover drumsticks in the freezer for up to two weeks for the freshest flavors.
- For a dairy-free version, use dairy-free ice cream or frozen yogurt.
Nutrition
