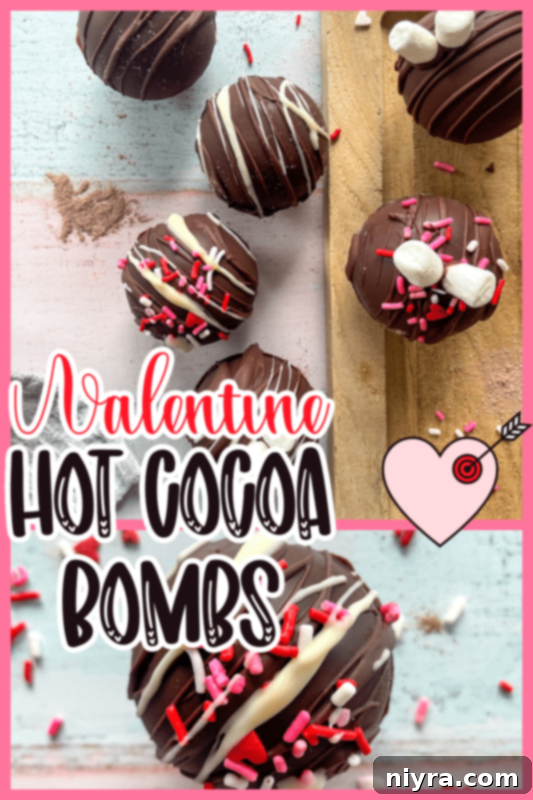
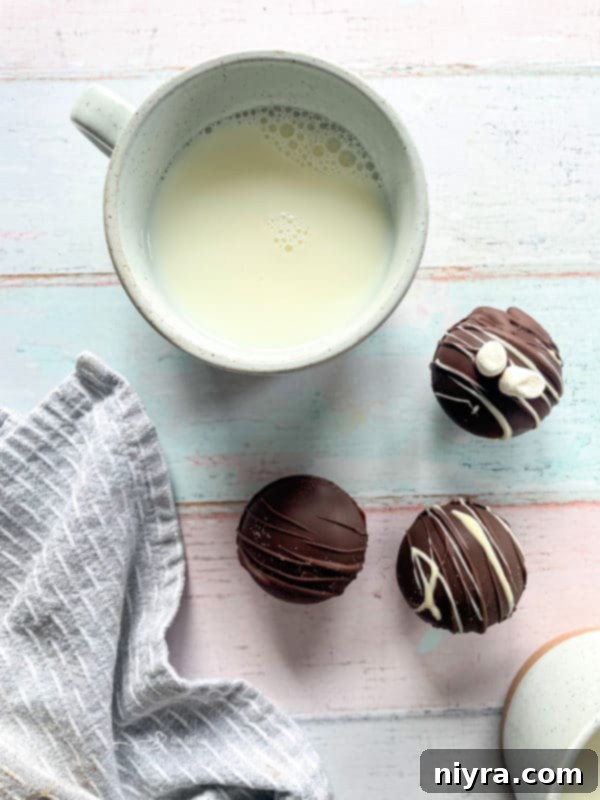
Hot Cocoa Bombs have emerged as a delightful and interactive way to enjoy a classic comforting beverage. Imagine dropping a perfectly crafted chocolate sphere into a mug of warm milk, watching it elegantly melt, and then *pop*! Suddenly, a burst of rich cocoa powder and fluffy mini-marshmallows erupts, swirling into a velvety smooth hot chocolate that is truly an experience. This unique and fun treat elevates a simple cup of hot cocoa into something truly extraordinary, leaving you with a warm, decadent drink that simply *blows you away* with its flavor and charm.
These enchanting **homemade hot cocoa bombs** are not only a joy to make but also a fantastic way to add a touch of festive magic to any occasion. They are particularly popular during the holiday season, making perfect gifts or delightful additions to celebrations like Christmas, New Year’s, or even Valentine’s Day. Their customizable nature allows for endless creativity, ensuring each bomb is as unique as the person enjoying it. Get ready to impress your friends and family with this sweet, interactive beverage that’s as much a spectacle as it is a treat.
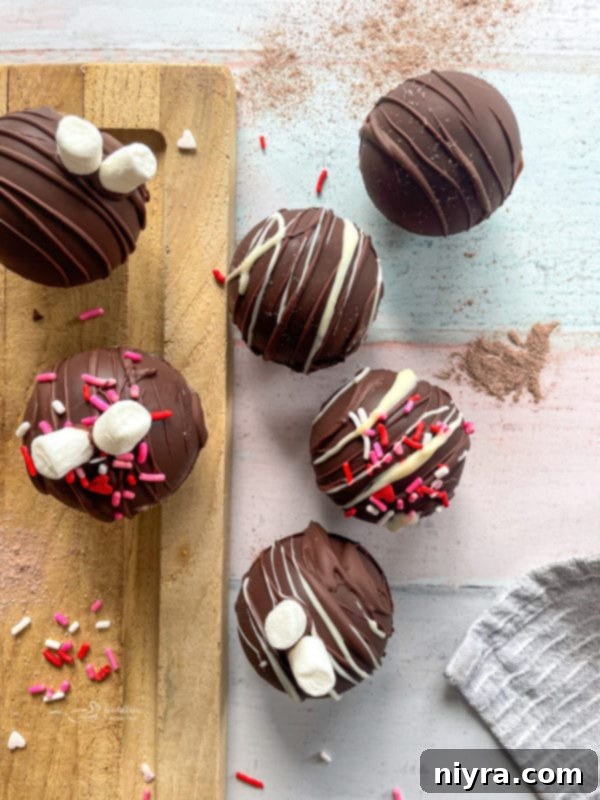
Embracing the Hot Chocolate Bomb Phenomenon: A Culinary Journey
For a while, I felt like I had somehow missed the **hot cocoa bomb trend**. They exploded onto the scene, especially becoming a TikTok sensation around 2019, and it seemed everyone, everywhere, was crafting these delightful treats. The sheer ubiquity of them made me think my website didn’t need another recipe; surely, everyone already knew how to make a hot chocolate bomb stuffed with marshmallows, right?
However, as I began outlining my recipe lineup for the first half of the year, I realized there was a noticeable void. My culinary collection was missing that special something, a recipe that encapsulated warmth, joy, and a touch of indulgence. It became clear that the perfect moment for this addition was approaching rapidly – for my absolute favorite holiday, Valentine’s Day. It was time to dive headfirst into the world of **DIY hot chocolate bombs** and create a recipe that was not only easy to follow but also truly sensational, ensuring every sip was a moment of pure bliss.
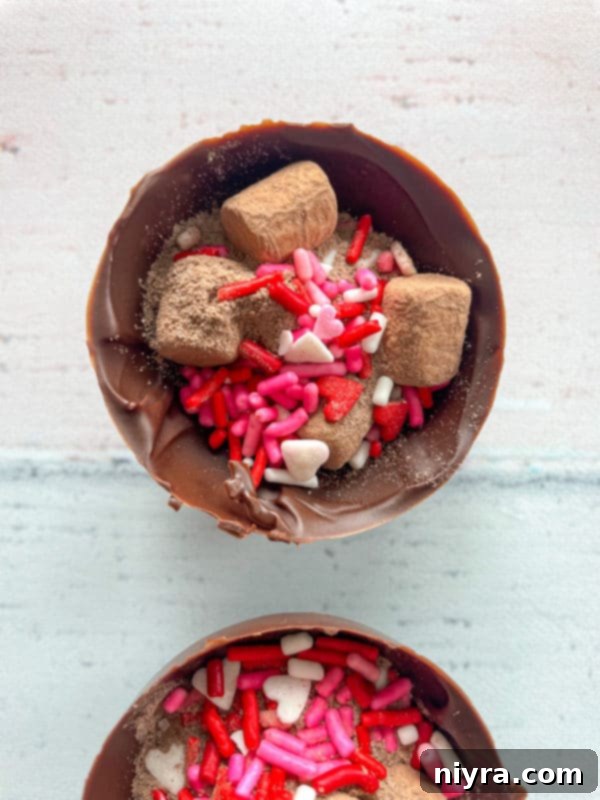
Understanding Hot Cocoa Bombs with Marshmallows
You’ve probably encountered **hot cocoa bombs at major retailers like Costco or Walmart**, or perhaps even seen **kits to make hot chocolate bombs** in craft stores. While these offer convenience, there’s an undeniable satisfaction and superior quality that comes from creating **do-it-yourself, from-scratch hot chocolate bombs**. The process is not only rewarding but also allows for complete customization, making them truly special.
At their core, a hot cocoa bomb is a brilliantly simple concept. It typically consists of two hollow, hemispherical chocolate shells joined together, enclosing a generous portion of powdered hot cocoa mix and, most commonly, mini marshmallows. The edges of the chocolate hemispheres are carefully melted and fused, creating a seamless, edible “bomb.” When this delightful creation is dropped into a cup of steaming hot milk, the outer chocolate shell begins to melt, gracefully dissolving into the liquid. This melting action then releases the encapsulated cocoa powder and marshmallows, which rapidly unfurl into the mug, transforming the plain milk into a rich, flavorful, and incredibly comforting cup of amazing hot chocolate. It’s an interactive treat that brings a smile to anyone’s face.
The Great Debate: Hot Cocoa Bombs with Milk or Water?
The question often arises: **Do hot cocoa bombs need milk or water?** While many store-bought powdered cocoa mixes do contain powdered milk solids and sometimes offer the option to use water, the undeniable truth is that using heated milk provides a vastly superior experience. Sure, you *could* use water, and technically it would still create a hot beverage, but the richness, creaminess, and depth of flavor achieved with milk are simply unparalleled. For an truly indulgent and satisfying hot cocoa, milk is the definitive choice. The richer the milk, the more decadent and luxurious your final cup of hot chocolate will be.
I personally cannot vouch for the water method, as it goes against my philosophy for a truly exceptional hot cocoa. To my way of thinking, a cup of hot cocoa should be as profoundly rich and deeply decadent in the chocolate department as humanly possible. The fats in milk emulsify beautifully with the melting chocolate and cocoa powder, creating a velvety texture and an intensified chocolate flavor that hot water simply cannot replicate. So, for the ultimate hot cocoa bomb experience, always reach for the milk – you won’t regret it.
Selecting the Best Hot Cocoa Mix for Your Chocolate Bombs
Choosing the **best type of hot cocoa mix for chocolate cocoa bombs** is crucial for achieving that perfect flavor profile. The market offers a wide array of choices, and everyone has their personal favorite. Popular and readily available options that deliver excellent results include premium brands like Starbucks Hot Chocolate Mix, Ghirardelli, and the classic Swiss Miss. Some of these mixes might even come with dried mini marshmallows already included, but I strongly advise against using this as a shortcut for the filling.
For an even more personalized and delightful experience, consider trying my very own homemade cocoa mix recipe. Crafting your own mix allows you to control the sweetness and chocolate intensity, ensuring a truly bespoke hot cocoa bomb. Regardless of your mix choice, remember that the key to an *amazing* hot chocolate bomb lies in generously adding *more* marshmallows. Even better, fresh, soft marshmallows make a world of difference, transforming a good hot cocoa bomb into an absolutely unforgettable one.
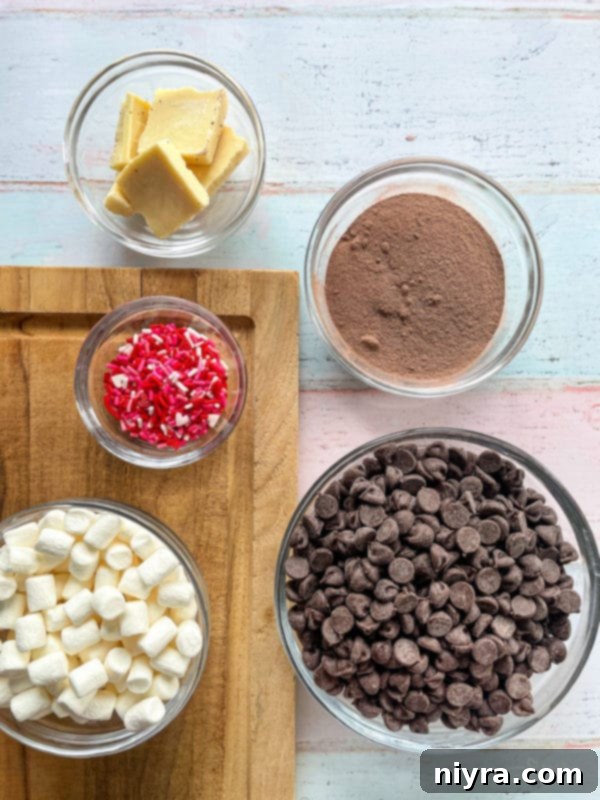
Essential Ingredients for Your Homemade Hot Cocoa Bombs
To embark on your journey of crafting these delightful **hot cocoa bombs**, you’ll primarily work in two stages: first, assembling the bombs themselves, and then preparing the hot milk for serving. Gathering your ingredients beforehand ensures a smooth and enjoyable process. Here’s what you’ll need:
- Hot Cocoa Mix: This is the heart of your bomb! You can opt for your favorite store-bought brand for convenience, or for a truly custom and rich flavor, easily make your own homemade hot cocoa mix. Experiment with dark, milk, or even white chocolate-based mixes.
- Miniature Marshmallows: These are essential for that classic hot chocolate experience. Look for them in the baking aisle. You might even find fun flavored varieties like peppermint or vanilla bean. While you *could* make your own marshmallows, be aware that homemade versions tend to increase the urgency of using the hot cocoa bombs quickly, as they can become sticky. If available, Jet-Puffed Mallow Bits are a great shelf-stable alternative that adds a unique texture.
- Sprinkles: Entirely optional, but highly recommended for adding a festive touch! Sprinkles make the insides fun and exciting, and they can transform the outsides into colorful, celebratory decorations, perfect for any holiday or special occasion.
- Semi-Sweet Chocolate Chips: These form the sturdy and delicious outer chocolate shell of your bombs. Good quality chocolate chips melt smoothly and harden beautifully, providing the perfect casing. Any leftover melted chocolate will be ideal for drizzling decorative patterns on the finished bombs.
- White Chocolate: Also optional, but a melted drizzle of white chocolate can add a stunning visual contrast and a complementary flavor to the semi-sweet shells. It’s perfect for creating elegant designs or holiday themes.
- Milk: For serving! Whole milk is highly recommended for its richness and creaminess, but any milk of your choice will work. Heat it gently until it’s very hot, almost to the point of boiling, but be vigilant to avoid scalding it, which can impart an unpleasant cooked flavor.
Crafting Your Perfect Hot Cocoa Bombs: A Step-by-Step Guide
To create these magical hot cocoa bombs, you’ll need a set of silicone sphere molds. Keep in mind that these molds come in various sizes – some chocolate molds are larger, while others may be smaller. The amount of cocoa powder and marshmallows required might vary slightly depending on your mold size, so be prepared to adjust accordingly.
Step One: Prepare Your Hot Cocoa Mixture & Marshmallows
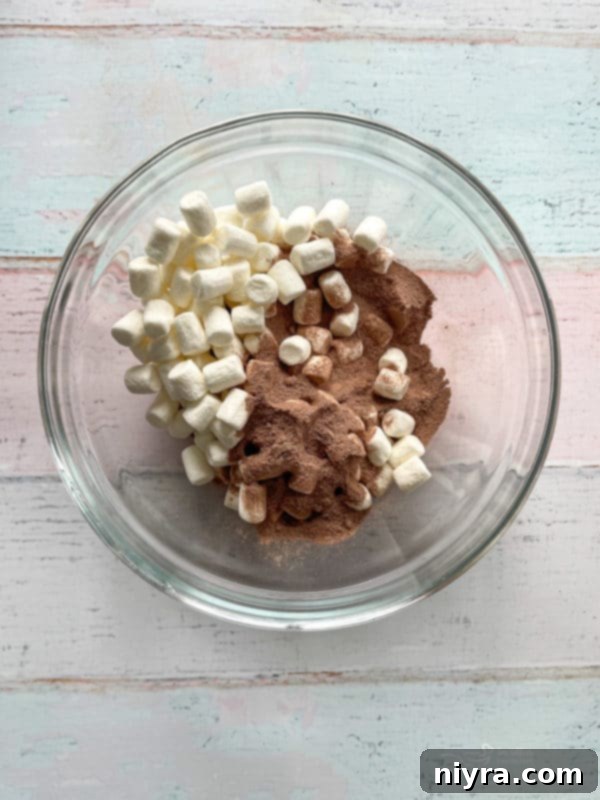
In a small bowl, gently combine your chosen hot cocoa mix with a generous portion of miniature marshmallows. Stir them together until well integrated. Next, line a small baking sheet with a sheet of parchment paper. This will serve as a non-stick surface for your delicate chocolate shells once they are molded. Set this prepared sheet aside for later use.
Step Two: Perfectly Melt the Chocolate
For a smooth, glossy chocolate, melting it correctly is key. You can use a classic double boiler method: fill a medium-sized pot halfway with water and bring it to a gentle simmer over low heat. Place a heat-safe bowl, ensuring it fits snugly over the pot without its bottom touching the simmering water, on top of the warming pan. Add your semi-sweet chocolate chips to this bowl. Stir continuously and gently with a rubber spatula until the chocolate chips are completely melted and the mixture is smooth and lustrous. Once melted, carefully remove the bowl of chocolate from the heat, but keep the pot of simmering water on the stove; you’ll need it again soon.
Step Three: Form the Chocolate Shells in Molds
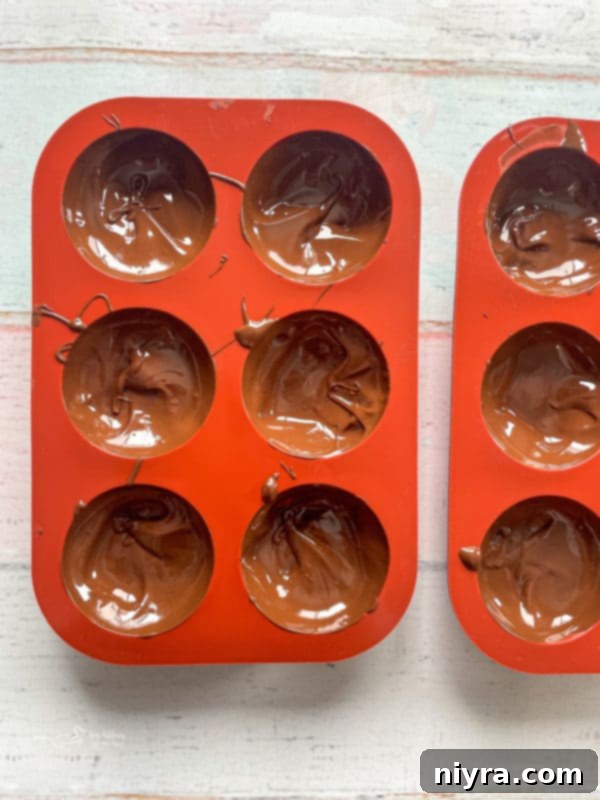
Take your silicone chocolate molds. Add a heaping spoonful of the perfectly melted chocolate into each cavity. Using the back of the spoon, or a small food-safe brush, carefully spread the chocolate evenly throughout each mold. Ensure the chocolate coats the entire surface, extending up to the sides and edges, creating a consistent shell. Any extra melted chocolate should be reserved for the decorative finishing touches later.
Step Four: Chill and Set the Molds
Once your chocolate shells are formed in the molds, carefully transfer the molds to the freezer. Allow them to chill for approximately 10 to 15 minutes, or until the chocolate is completely set and firm to the touch. This crucial step ensures the shells will be easy to remove and maintain their shape.
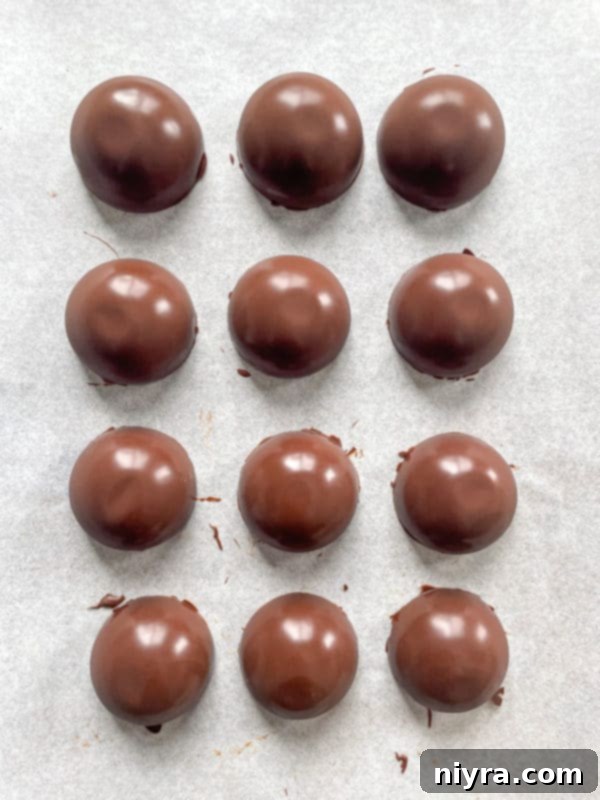
After the chocolate has fully set, gently remove each chocolate hemisphere from its silicone mold. Work carefully to avoid cracking or breaking the delicate shells. Once unmolded, place these pristine chocolate halves onto your prepared parchment-lined baking sheet.
Step Five: Fill the Chocolate Halves

Now for the exciting part! Take half of your chocolate hemispheres and flip them over, so their open side faces upwards. Generously fill each of these halves with the prepared hot cocoa and marshmallow mixture. Don’t be shy – a full bomb promises a rich drink!
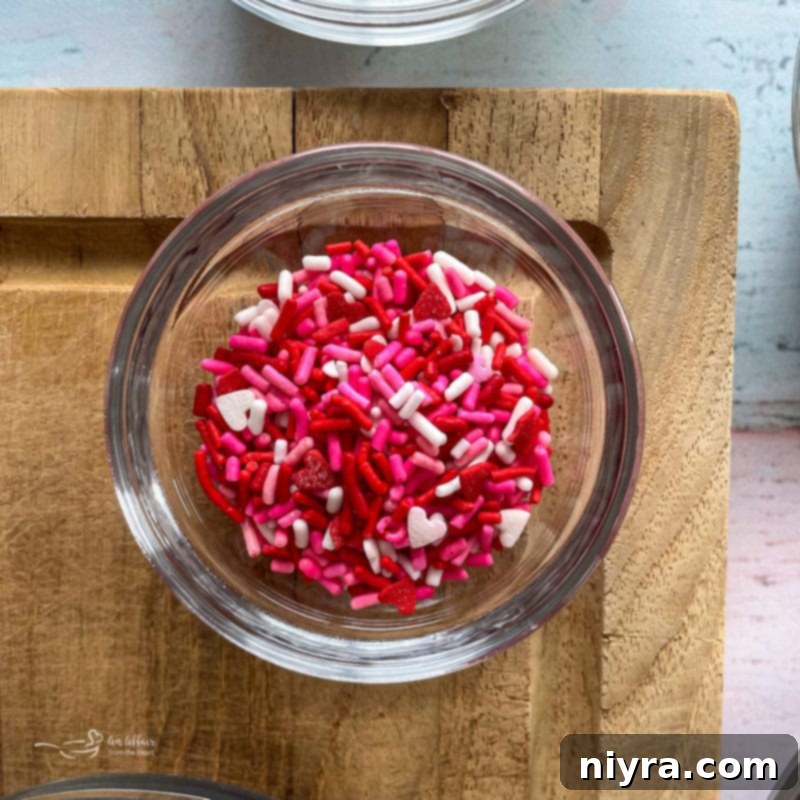
If you’re using sprinkles for an extra pop of color and fun, now is the time to add approximately ½ teaspoon to each filled chocolate half. This adds an element of surprise when the bomb melts!
Step Six: Seal the Bombs
Retrieve the empty half of your chocolate hemispheres. Place them, edges down, onto another baking sheet. Carefully set this baking sheet over the pot of simmering water you kept on the stove. Allow the edges of the chocolate halves to warm slightly and just begin to melt. This creates a natural adhesive. Now, *wearing gloves* to prevent fingerprints and to keep your hands from warming the chocolate too much, pick up an empty, slightly melted half and gently place it atop a filled half, aligning the edges perfectly. The melted chocolate will act as a seal, binding the two halves together to form a complete hot cocoa bomb. Work quickly during this step, as the chocolate sets rapidly.
Step Seven: Decorate Your Masterpieces
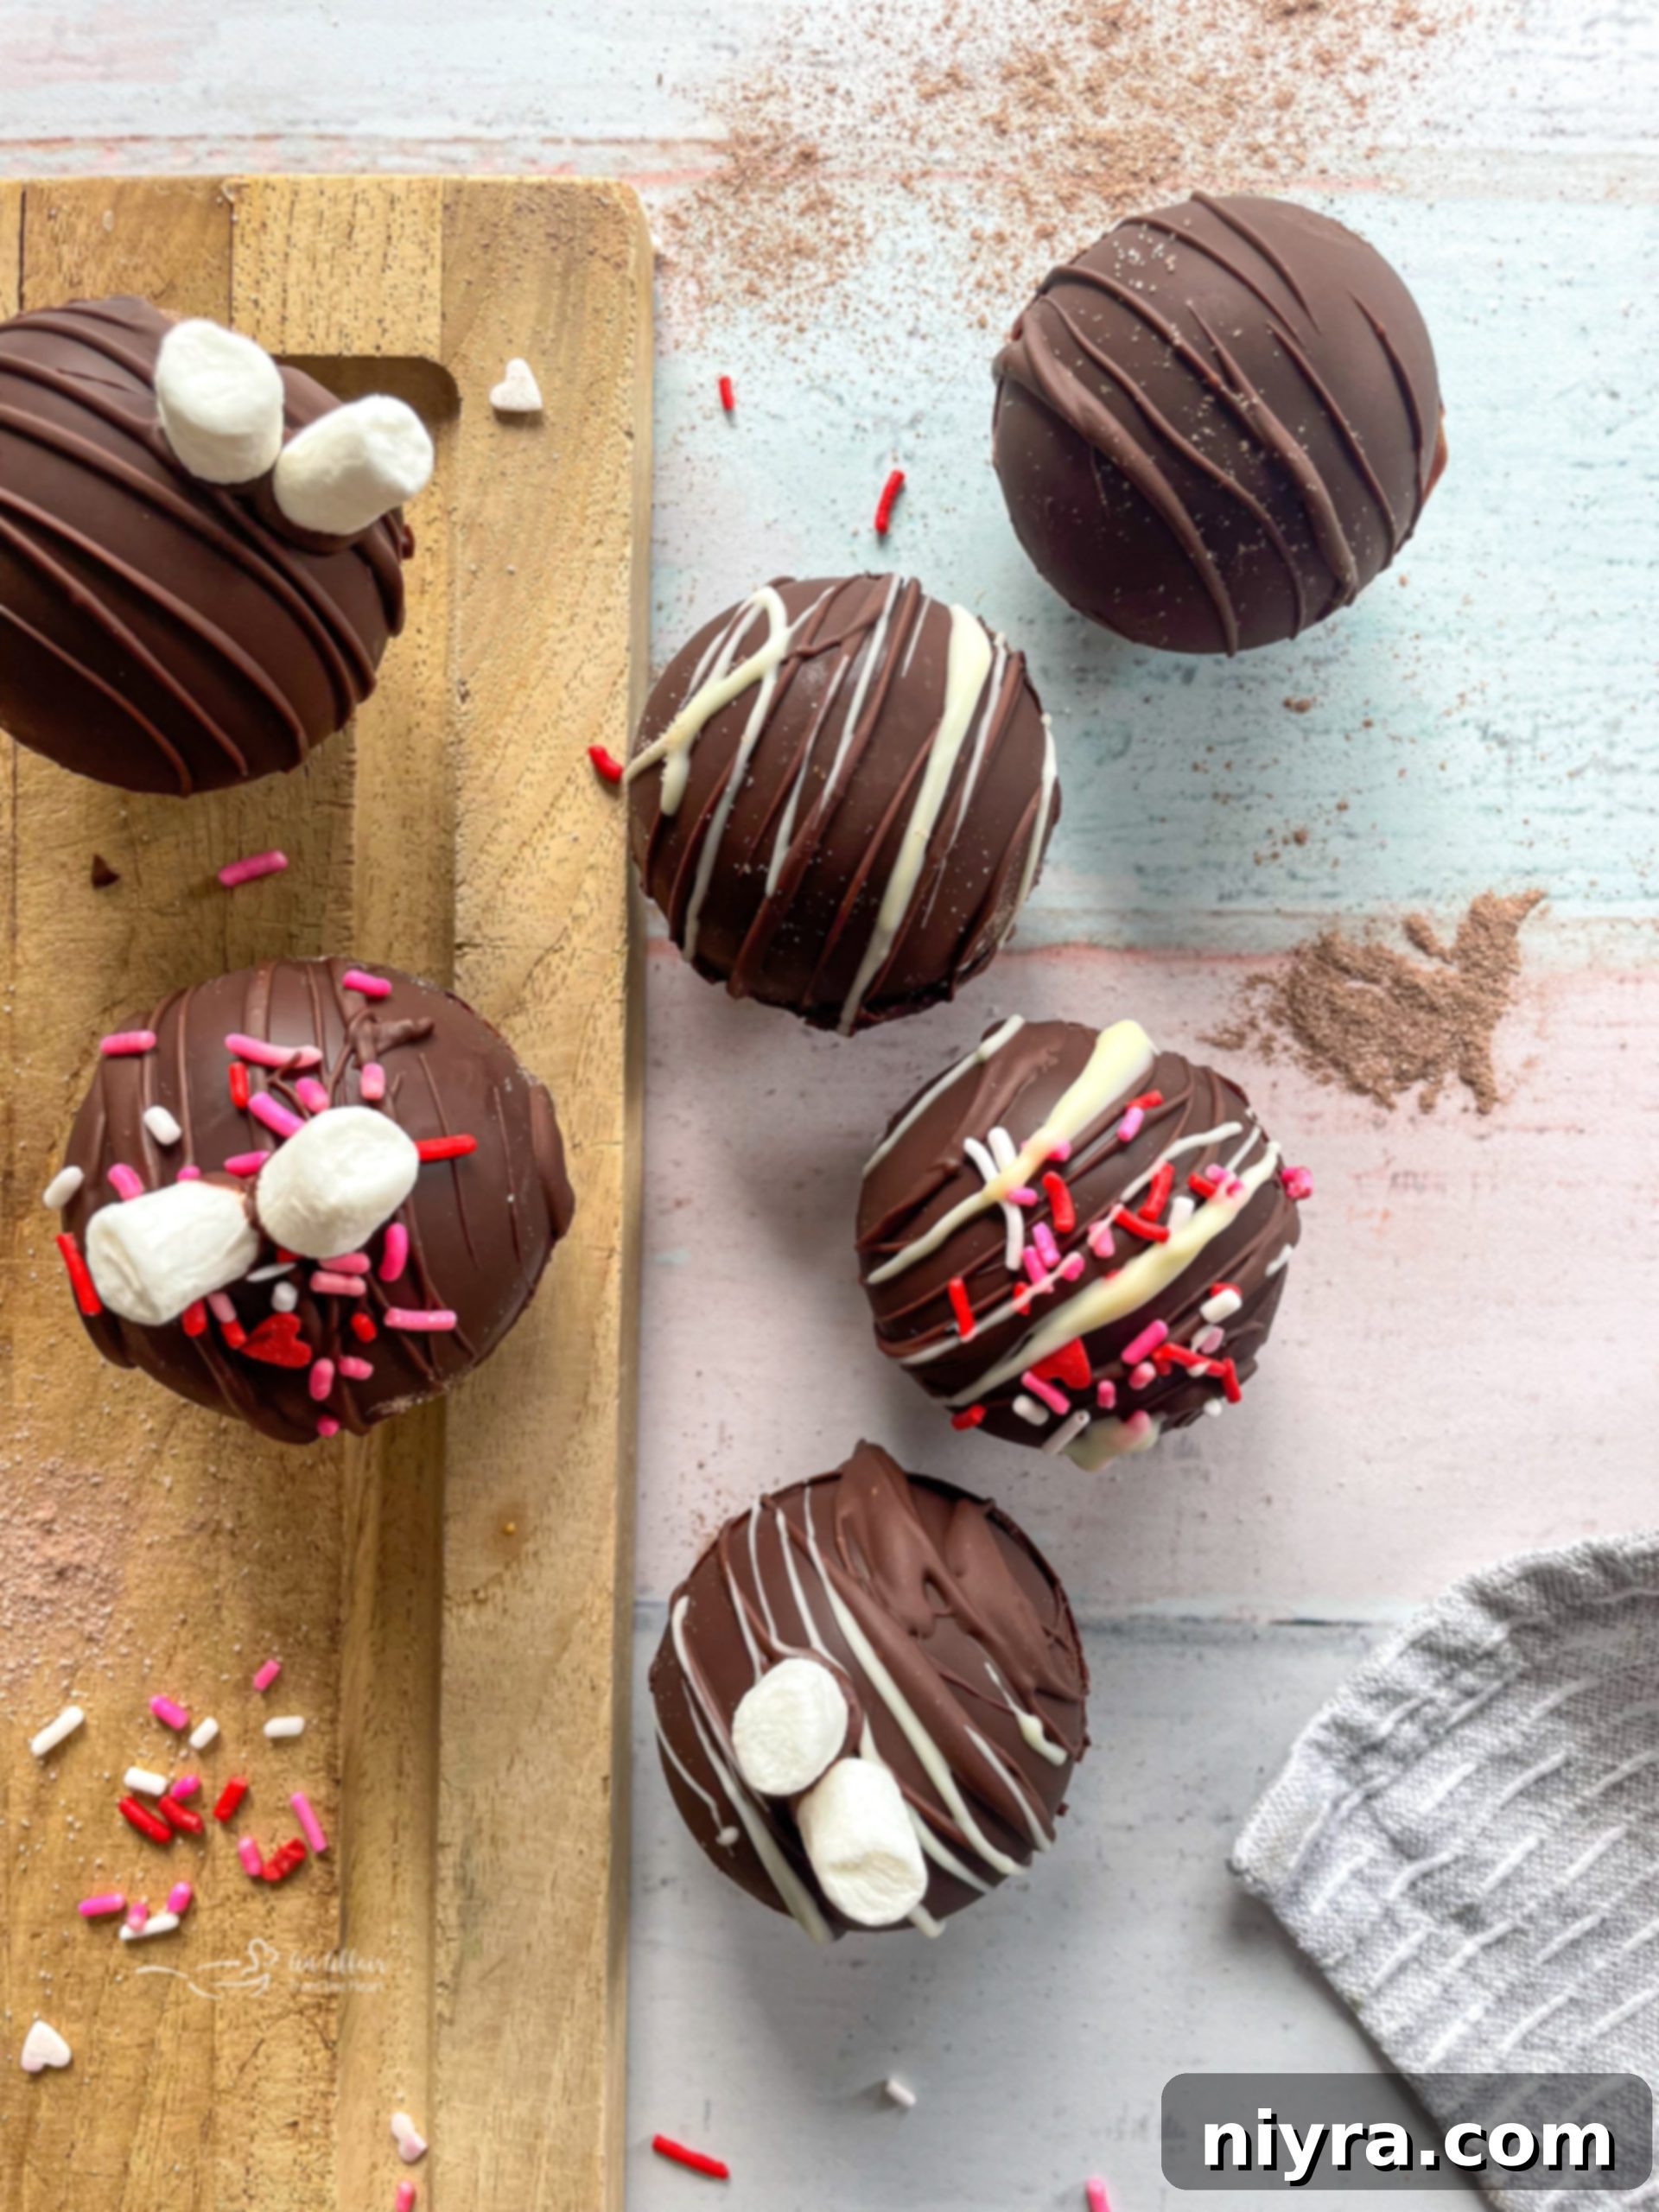
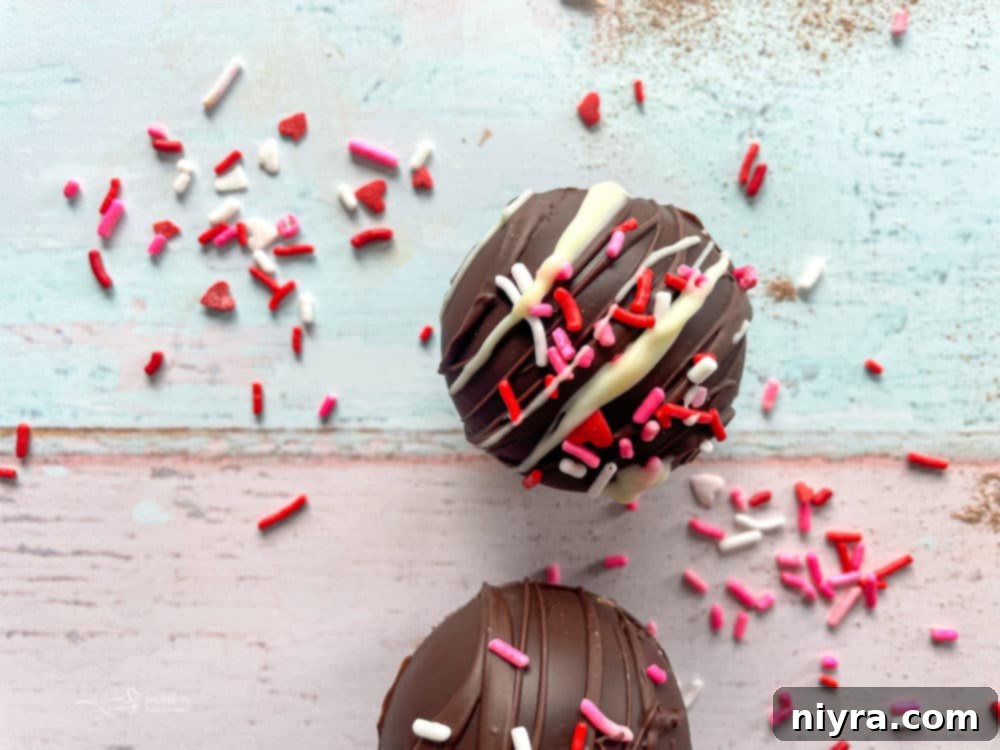
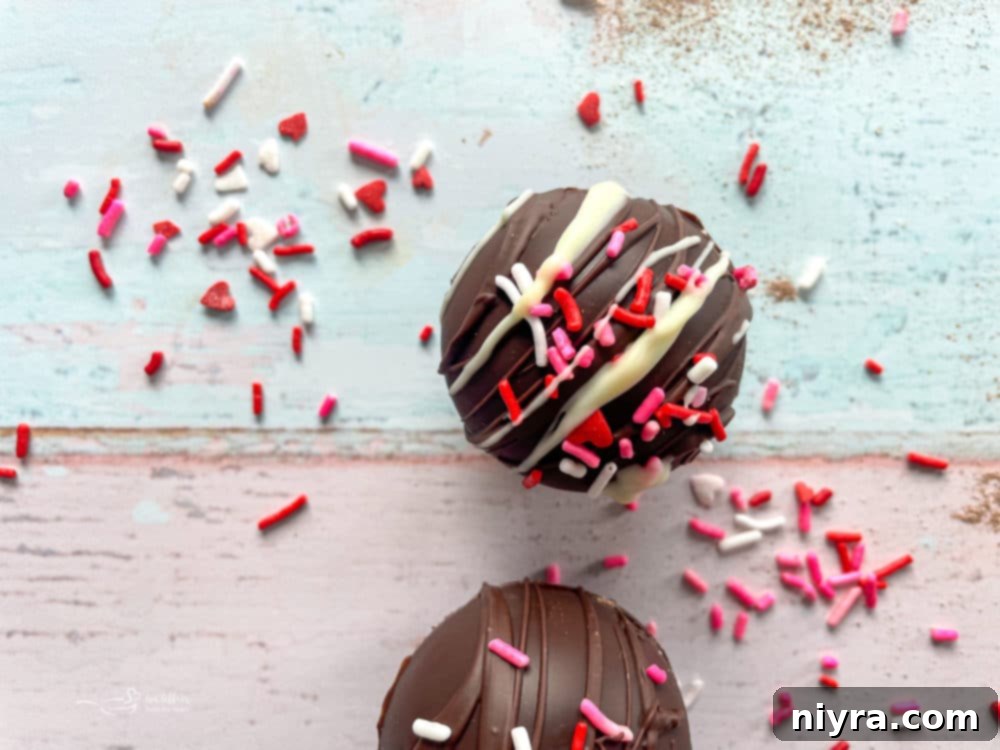
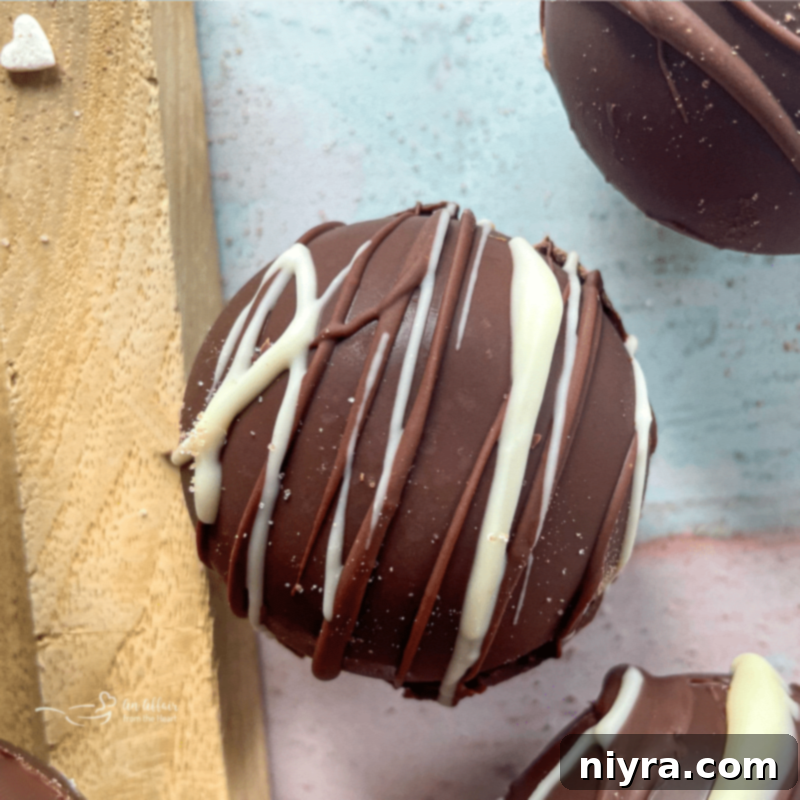
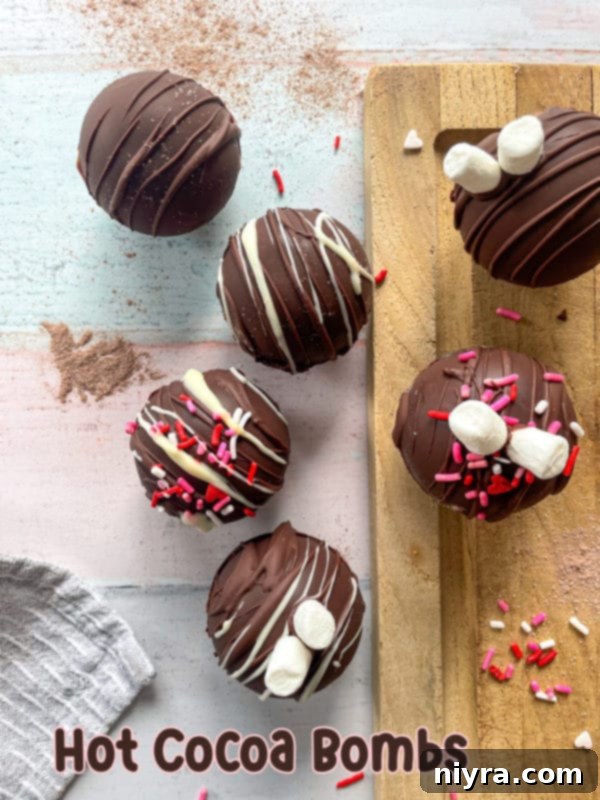
Unleash your creativity! Using the leftover melted chocolate, drizzle elegant patterns or abstract designs over your newly sealed hot cocoa bombs. For an exciting contrast or different flavor, you can also melt a little white chocolate, peanut butter chips, or caramel chips to use for additional drizzles. Finish by dusting with festive sprinkles – this is especially wonderful for creating themed **holiday chocolate bombs** that are visually stunning and delicious.
Step Eight: The Grand Finale – Serving
The moment of truth! Pour approximately 1 cup of very hot milk into a large mug. Gently place one of your beautifully crafted hot cocoa bombs into the milk. Watch the magic unfold as the chocolate shell melts, releasing its delightful contents. Stir the mixture thoroughly until everything is well combined and dissolved, creating a rich, steamy, and irresistibly delicious cup of hot cocoa. Enjoy every single sip!
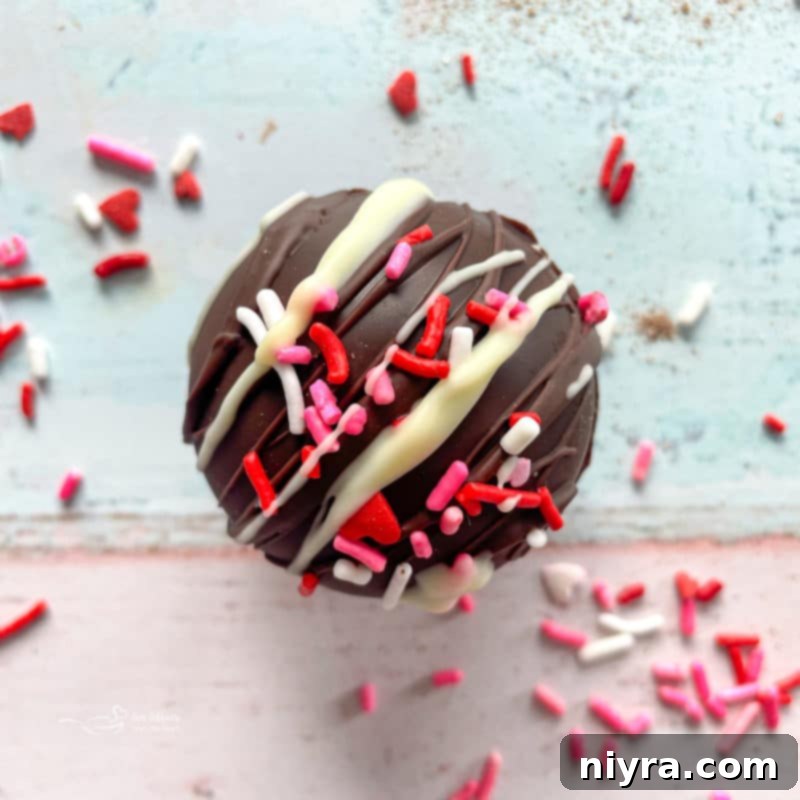
These exquisite **hot cocoa bombs** are perfect for decorating and can be thoughtfully presented as charming gifts for various holidays, or simply kept for your personal indulgence. The joy of giving (or keeping!) is entirely yours!
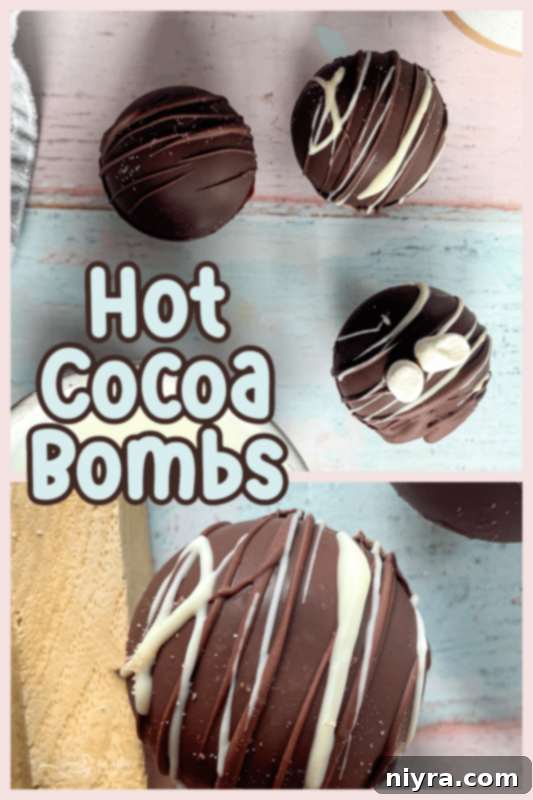
Don’t Miss Out! Pin This Recipe!
If you’re excited to try your hand at making these incredible **homemade hot cocoa bombs**, you’ll want to keep this detailed recipe handy! Make sure to easily find it again by pinning it directly to your favorite Pinterest recipe board before you navigate away. This way, the magic is just a click away whenever you’re ready to create these delightful treats.
Expert Tips for Successfully Making Homemade Hot Chocolate Bombs
Crafting the perfect **hot chocolate bomb** is an art, but with a few insider tips, you can achieve professional-looking and tasting results every time:
- **Handle with Care:** Always use food-safe gloves when handling the chocolate shells. This is not just to maintain hygiene but crucially to prevent unsightly fingerprints from marring your beautiful creations. More importantly, it keeps the warmth from your hands from melting the delicate chocolate shells, which is essential when you’re sealing the sides together.
- **Mind Your Kitchen Temperature:** Be aware of the ambient temperature in your kitchen. Chocolate is sensitive to heat, and if your kitchen is excessively warm, your chocolate bombs will melt much quicker, making them challenging to assemble. Aim for a cooler environment or work rapidly.
- **Quick Chill for a Strong Seal:** While the warm, almost melting, chocolate is necessary to create a perfect seal between the two halves, you want that seal to solidify quickly. After joining the halves, if you notice the chocolate is still too soft, feel free to place the assembled bombs in the refrigerator for a minute or two. This rapid chilling will help the chocolate set firmly, ensuring a secure and beautiful seam.
- **Enjoy Freshness:** These **hot chocolate bombs** are undoubtedly at their best when enjoyed shortly after they are made. The flavors are freshest, and the marshmallows are at their peak fluffiness. If you need to store them, keep them in an airtight container at room temperature for a maximum of 3 days. Prolonged storage can affect the texture of the marshmallows and the freshness of the cocoa.
Exciting Variations for Your Hot Cocoa Bombs
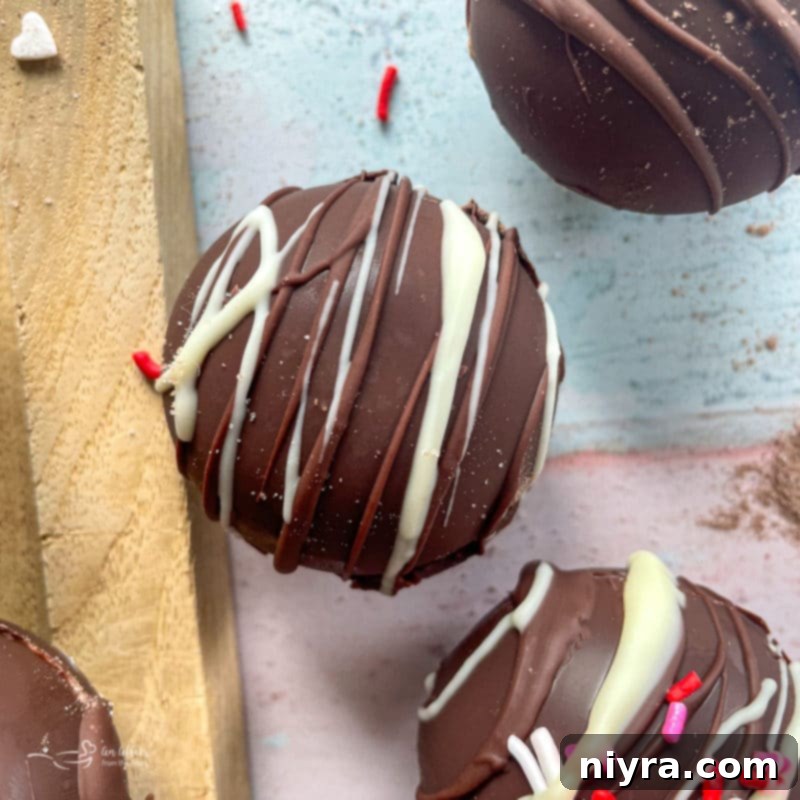
Beyond simply choosing your preferred hot cocoa mix, there are endless opportunities for **hot cocoa bomb variations** that can make each creation unique and exciting. Experiment with different types of chocolate for the shells – dark chocolate for a richer flavor, milk chocolate for a sweeter profile, or even a blend of both. You can elevate the presentation by drizzling the sealed shells with contrasting melted white chocolate, or even colorful candy melts. For a truly festive touch, generously adorn them with various sprinkles in holiday shapes or vibrant hues. Consider a dusting of fine granulated sugar for a subtle shimmer, or a light sprinkle of cocoa powder for an elegant, understated finish.
These versatile variations make **gifting hot cocoa bombs for Christmas or Valentine’s Day** an absolute delight. Imagine presenting a box with a selection of different styles and flavors – a truly thoughtful and impressive gesture! You could create peppermint-flavored bombs with crushed candy canes, or spicy Mexican hot chocolate bombs with a hint of chili powder. The possibilities are only limited by your imagination, ensuring every bomb is a unique and delicious surprise for friends, family, or even yourself!
More Recipes That Are Absolutely “The Bomb”!
While the phrase might be a bit retro, these recipes are undeniably fantastic and guaranteed to be a hit. Get ready to explore more explosive flavors beyond hot cocoa bombs:
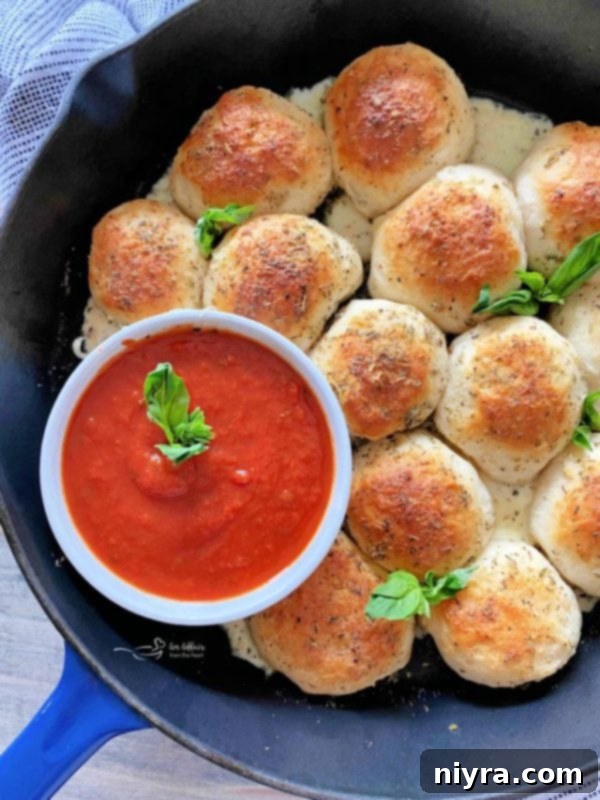
- Italian Cheese Bombs (pictured above) – Savory, cheesy, and utterly irresistible!
- Sausage Pretzel Bombs with Mustard Cheese Sauce – A perfect blend of salty, savory, and tangy.
- Cherry Bomb Cocktails – A vibrant and exciting drink for any gathering.
- Skillet Pizza Bombs – All the deliciousness of pizza, wrapped up in a bite-sized “bomb.”
Indulge in More Sweet Cocoa Recipes!
If you’re a fan of rich cocoa and delightful desserts, you’re in for a treat! Explore these additional sweet recipes that celebrate the wonderful flavor of chocolate:
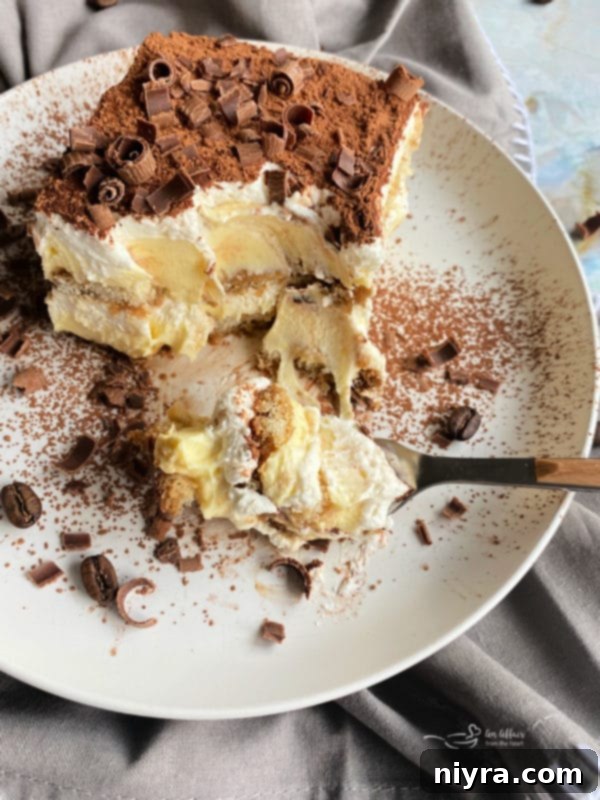
- Simple Tiramisu Recipe (pictured above) – Layers of coffee, cream, and cocoa.
- Peanut Butter Hot Cocoa – A comforting fusion of two beloved flavors.
- Cocoa Krispy Owls – Fun and easy treats for kids and adults alike.
- Bittersweet Cocoa Bourbon Balls – An elegant, boozy, and rich dessert.
- Ice Cream Cake Roll – A refreshing and creamy delight perfect for any celebration.
- Mug Brownie For One – Instant chocolate gratification in a single serving.
Now, let’s gather our ingredients and create some truly spectacular **Hot Chocolate Bombs**!

LIKE THIS RECIPE?
Don’t forget to give it a ⭐️⭐️⭐️⭐️⭐️ star rating and
leave a comment below the recipe!
5 out of 5 stars from 2 votes
Print Recipe
Hot Cocoa Bombs
HOT COCOA BOMBS drop into a mug of heated milk, then explode with powdered cocoa and mini-marshmallows into the cup! You end up with a cup of hot cocoa that truly is the bomb! Because all of that molten chocolate melting into your cup creates a rich and steamy cocoa that literally blows you away.
Prep Time:
15 mins
Cook Time:
5 mins
Additional Time:
15 mins
Total Time:
35 mins
Course:
Drinks
Cuisine:
American
Keyword:
chocolate chips, chocolate molds, Christmas hot chocolate bombs, hot chocolate bombs, hot cocoa bombs, hot cocoa mix, how to make, marshmallows, sprinkles, Valentine hot cocoa bombs
Servings:
6
Calories:
693 kcal
Author:
Michaela Kenkel
Equipment
- 13×18 Half Sheet Pan
- Reynolds Kitchens Non-Stick Parchment Paper
- Pyrex Glass Food Storage Containers with lids
- Cuisinart Chef’s Classic Nonstick 1-Quart Saucepan with Lid
- Rubber Spatulas
- Hot Chocolate Bomb Mold Silicone 2.5 inch Chocolate Sphere Mold Chocolate Ball Molds
- Silicone Molds, Chocolate Molds with 6 Semi Sphere
Ingredients
- For the Insides of the chocolate bombs:
- 6 tablespoons of hot cocoa mix (divided)
- 1 cup miniature marshmallows (divided)
- Sprinkles (optional)
- For the Outside chocolate bomb molds:
- 2 cups semi sweet chocolate chips
- For decorating:
- leftover chocolate for drizzling
- melted white chocolate for added color
- Use festive sprinkles for holiday hot chocolate bombs
- For serving:
- 6 cups whole milk (heated until very hot, divided)
Instructions
- Combine hot cocoa mix and miniature marshmallows together in a small bowl. Line a small baking sheet with parchment paper. Set aside.
- Melt the chocolate: Bring a medium sized pot, halfway filled with water to a simmer over low heat. Place a heat safe bowl that fits in the top of the pan without touching the water atop the warming pan. Add the chocolate chips to the bowl. Stir until the chips are melted and can be stirred smooth. Remove the chocolate from the heat, but keep water on the stove for later.
- Form the molds: Add a heaping spoonful of the melted chocolate to each of the chocolate molds, using the spoon to spread the chocolate evenly throughout the mold, making sure to get it up the sides. Save the extra chocolate for decorating.
- Freeze: Place the molds in the freezer for 10-15 minutes, or until chocolate is completely set.
- Fill the Molds: Once the chocolate is set, carefully remove the chocolate from the molds and place them on the prepared baking sheet. Flip half of the molds over, and fill each of them with the cocoa/marshmallow mixture. Add ½ teaspoon of sprinkles if desired.
- Seal the molds: Take half of the molds and place them on another baking sheet, edges down. Set over the pot of simmering water, until the edges begin to melt. Using gloved hands, as to not leave fingerprints behind, place the empty half atop the filled half sealing the molds with the melted chocolate edges. *Work quickly, the warmth of your fingers will melt the chocolate.
- Decorate: Using leftover melted chocolate drizzle and decorate the molds. Can use melted white chocolate, peanut butter or caramel chips for something different. Dust with sprinkles for holiday chocolate bombs!
- Serve: Pour 1 cup of very hot milk into a large mug, Gently add the bomb and stir into milk.
Notes
Nutrition
