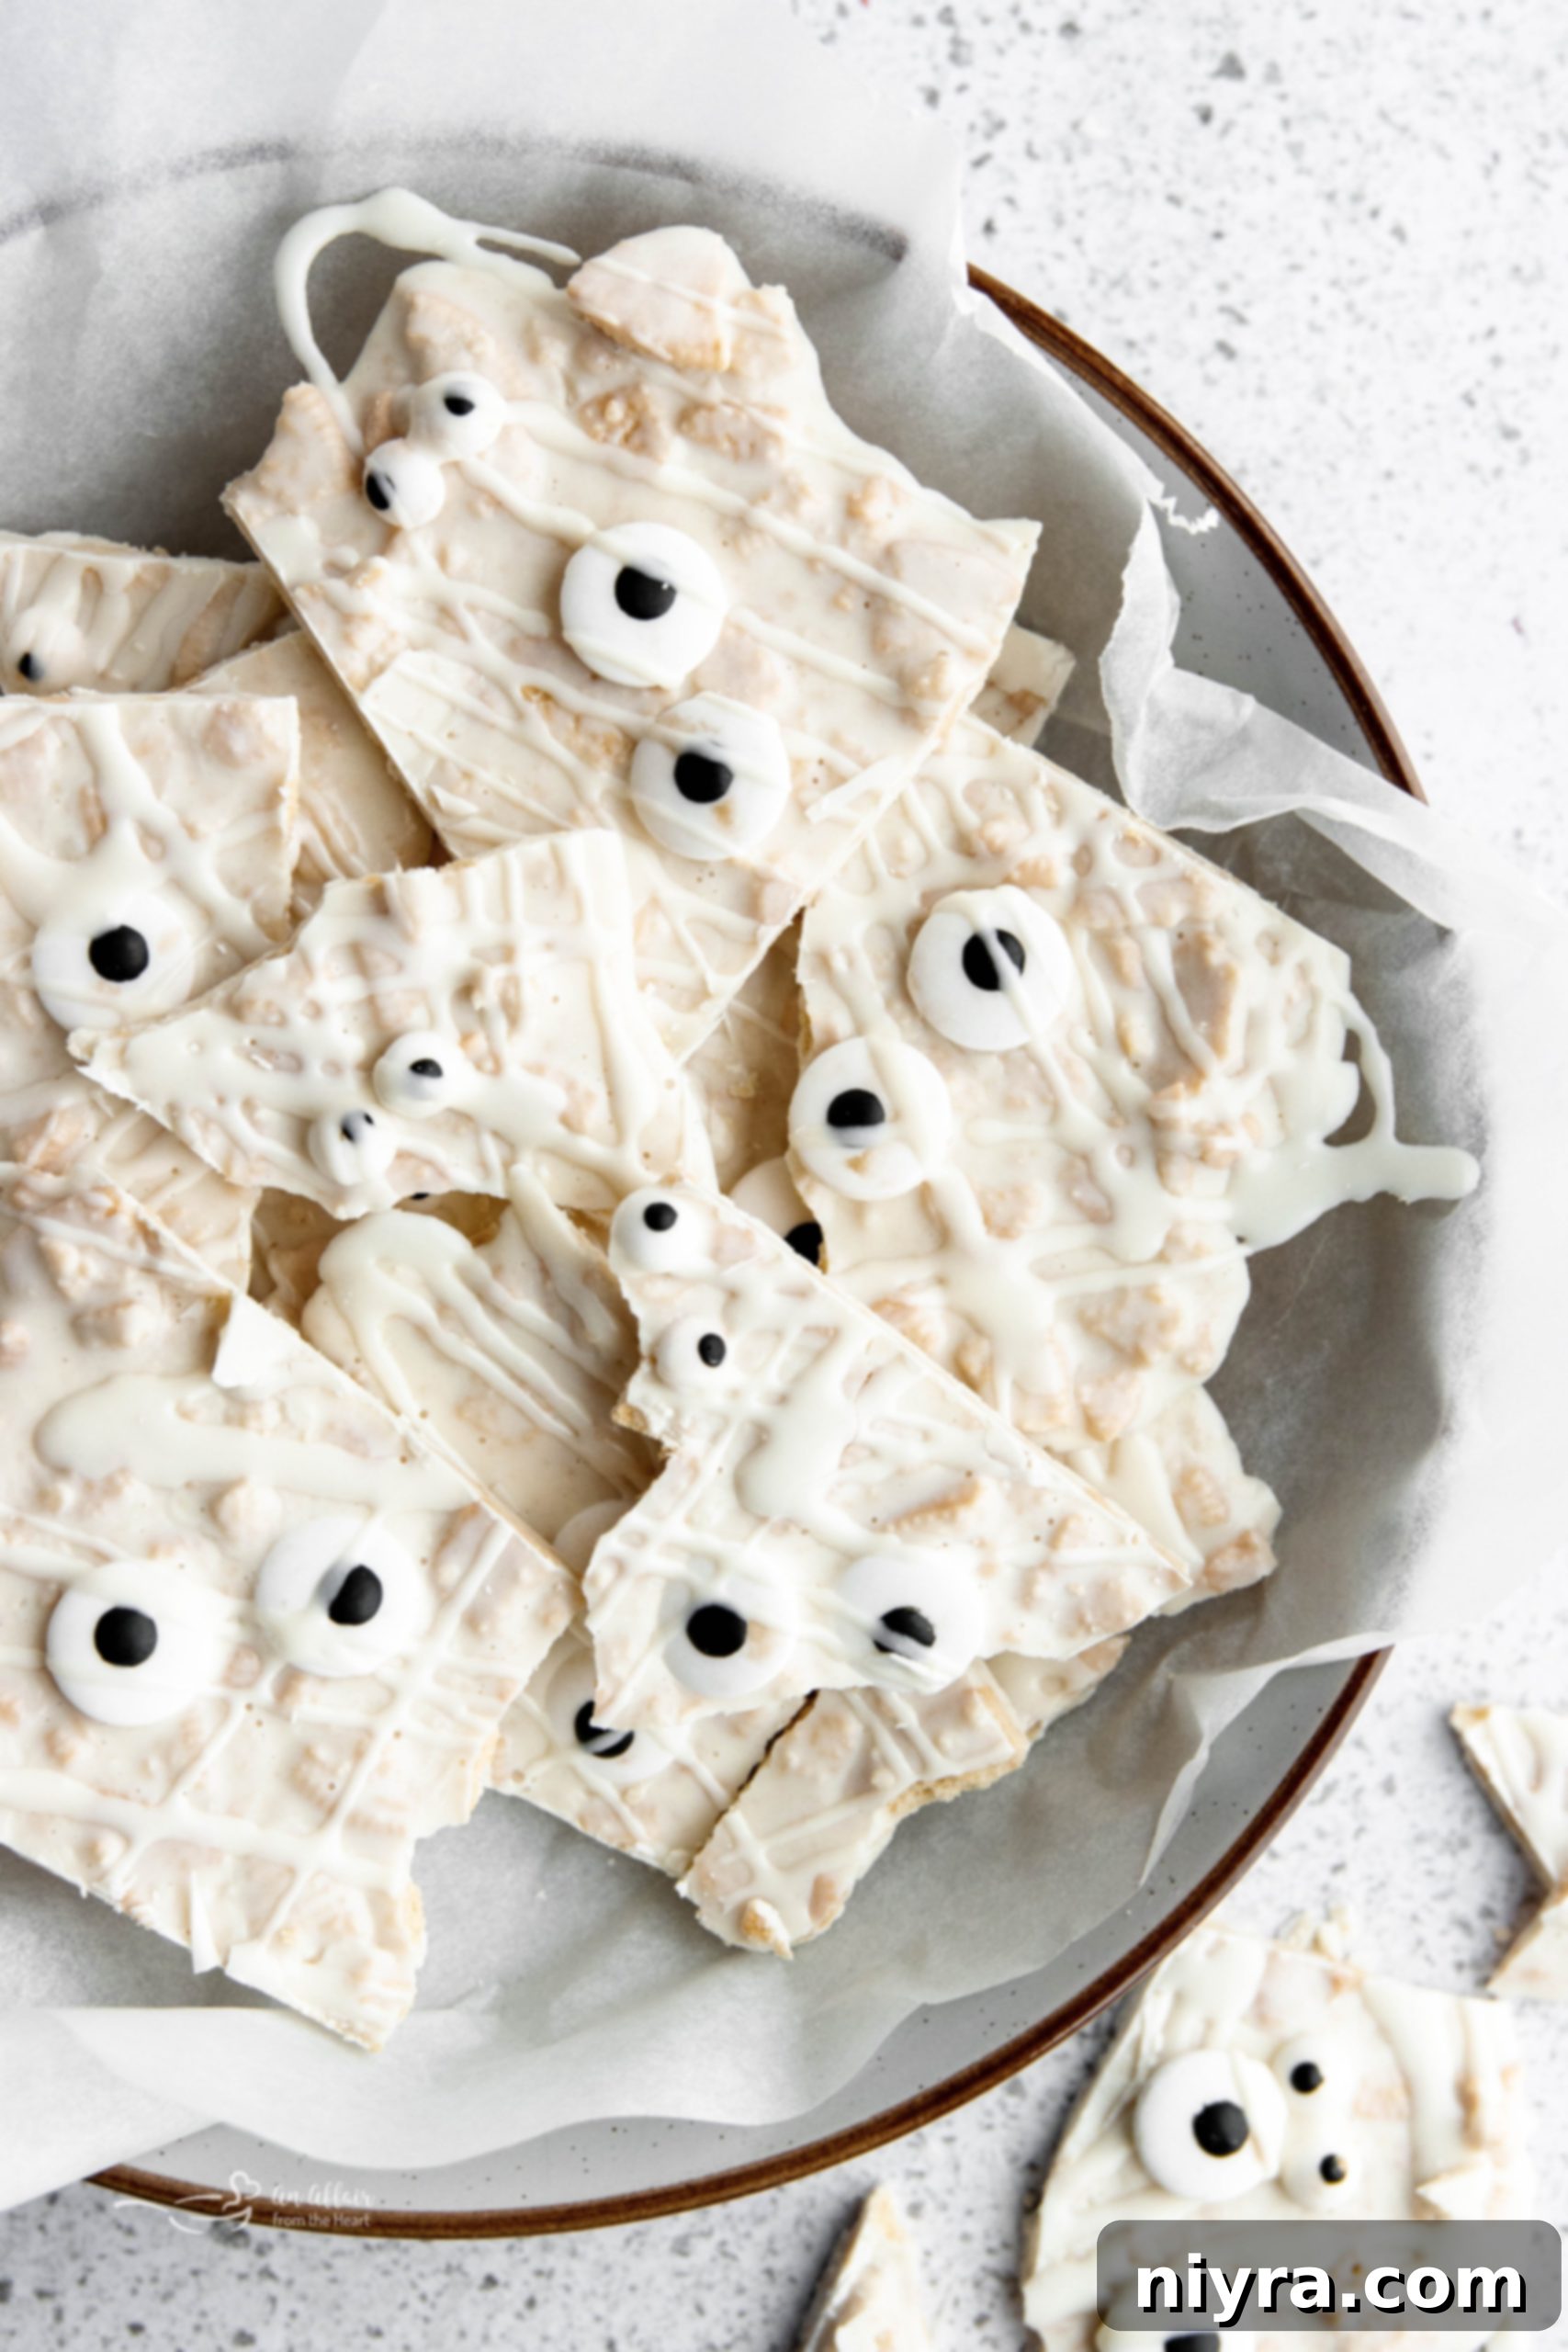
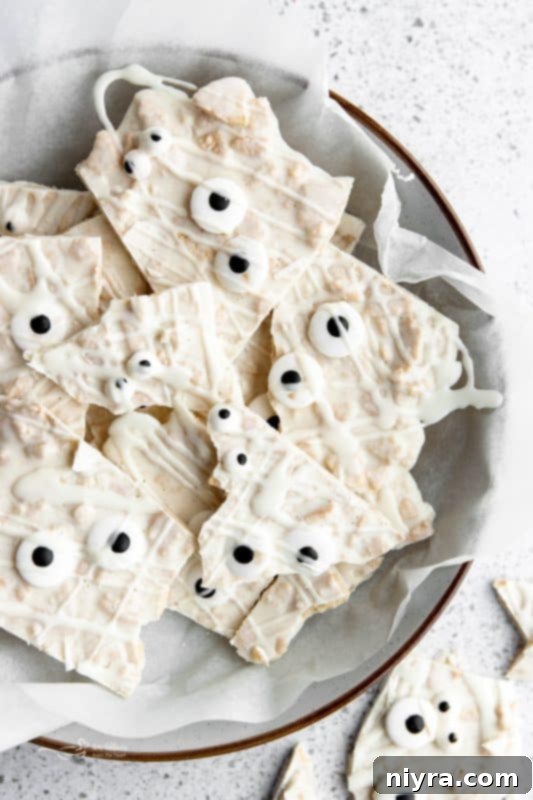
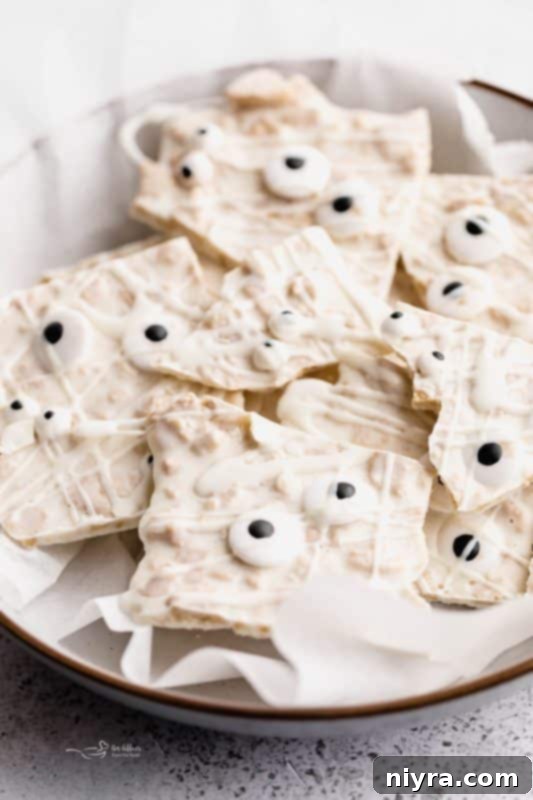
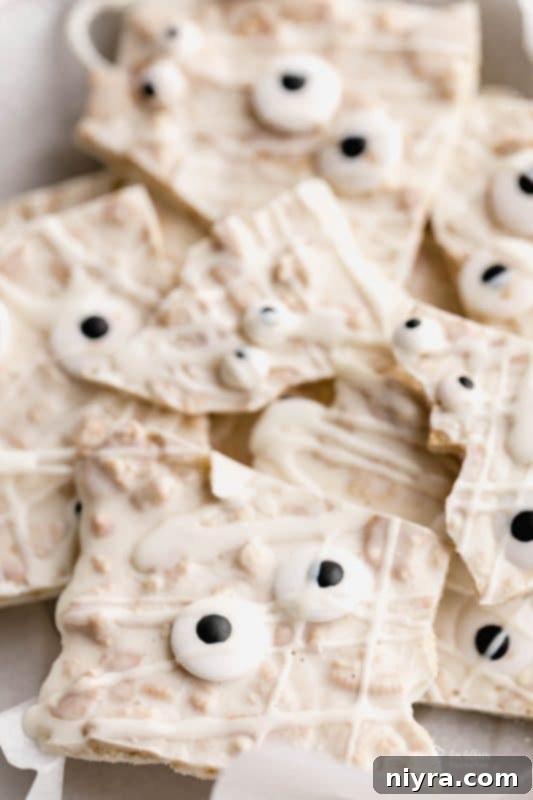
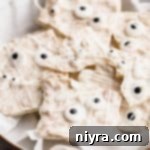
As the leaves turn golden and a crisp chill fills the air, our thoughts inevitably drift to costumes, jack-o’-lanterns, and, of course, delicious Halloween treats. This year, get ready to create something truly magical and incredibly easy with our **Halloween Mummy Bark**. Imagine rich, creamy white chocolate generously drizzled over perfectly crumbled golden Oreo cookies, then playfully adorned with whimsical edible candy eyes. This isn’t just a dessert; it’s a charming, no-bake masterpiece that captures the spooky spirit of the season while being undeniably decadent and delightful.
Every glance at this Mummy Bark recipe brings a smile. There’s an undeniable charm in those little candy eyes that just screams autumn and Halloween fun. They instantly transform any treat into something playful and spooky. What’s even better? This is a completely no-bake recipe, making it an ideal kitchen project to enjoy with your children or younger family members. It’s not only incredibly simple to put together but also boasts an irresistible flavor that makes it hard to stop at just one piece. This year, this enchanting bark will certainly earn a prime spot on my Halloween ‘Charcuterie’ Snack Boards, adding a touch of spooky elegance to any festive gathering.
The Ultimate Halloween Mummy Bark: A Spooky Sweet Sensation
For those seeking unique and fun Halloween treats, this **Halloween Mummy Bark** recipe is an absolute must-try this spooky season. It combines perfectly melted white chocolate, brought to a luxuriously smooth consistency, with delightful crumbled chunks of white or golden Oreo cookies. This creates a textural and flavor combination that is truly irresistible. The contrast between the smooth chocolate and crunchy cookie pieces is pure bliss, all tied together with that distinctive white chocolate sweetness.
Why This Mummy Bark Recipe is a Must-Have
This fantastic recipe is not only perfect for your upcoming Halloween party but can also be made well in advance, allowing you to check it off your to-do list and focus on other festive preparations. If you’re a devoted Oreo fan and enjoy treats like classic Oreo truffles, you’ll find this recipe incredibly versatile. You can adapt it year-round as a general Oreo bark or even use a cookie scoop to form individual truffles. The decision to add the whimsical candy eyeballs is entirely up to you, but they certainly elevate the Halloween theme!
For an even more enchanting presentation, consider preparing individual portions as Halloween-inspired balls or truffles, then serving them on lollipop sticks. This transforms them into spooktacular mummy Oreo cookie pops, perfect for handing out or displaying on a dessert table. Imagine a tray of these adorable, ghoulish goodies, each with its own personality thanks to those expressive candy eyes.
Unleash Your Creativity with Edible Candy Eyeballs
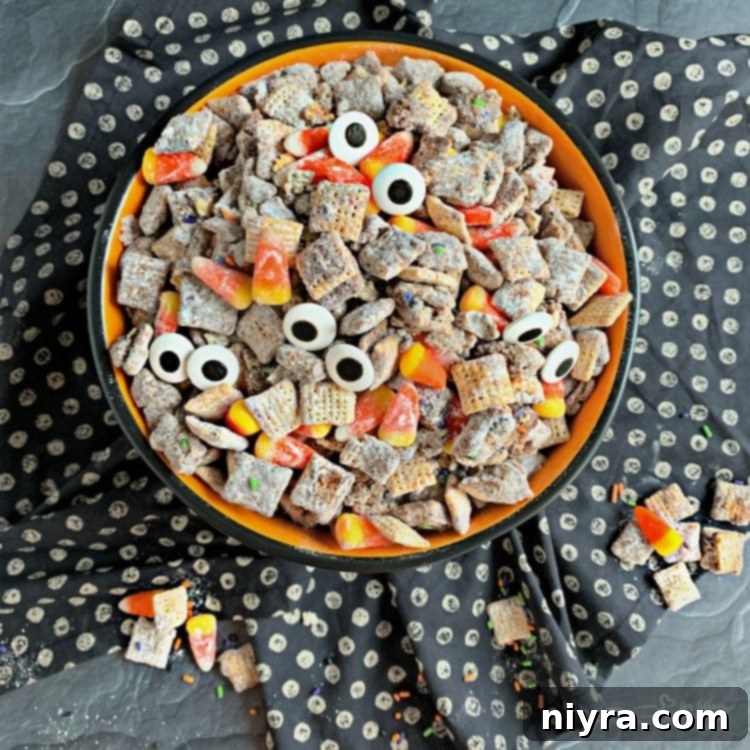
Candy eyeballs are one of my favorite secret weapons for Halloween baking and decorating. They instantly infuse personality and a playful spookiness into any treat. Over the years, I’ve had so much fun incorporating them into a variety of recipes. Pictured above is my popular Peanut Butter Muddy Buddy recipe, made even more festive with these googly eyes. But the possibilities don’t stop there! I’ve also created adorable Rolo Pretzel Eyeballs, charming Eye Love Chocolate Sugar Cookies, delightfully creepy Spider Cookies, and so many more eye-catching treats! These edible eyeballs are truly a game-changer for Halloween desserts, transforming simple bakes into characters with their own unique charm.
Effortless Halloween Mummy Bark: A Recipe to Bookmark
This **Halloween Mummy Bark** truly stands out as one of those incredibly easy recipes you’ll want to revisit year after year. With just a handful of simple ingredients and minimal effort, you can create a show-stopping treat that everyone will adore. Its no-bake nature means less time in the kitchen and more time enjoying the festivities.
When it comes to storage, this versatile Halloween bark offers flexibility. You can store it either in the refrigerator or conveniently on the counter. However, for optimal freshness, especially if you anticipate leftovers lasting more than a few days, placing it in the fridge is highly recommended. This will help maintain its crisp texture and prevent the chocolate from becoming too soft. For longer-term enjoyment, consider freezing the bark in individual portions. This allows you to simply grab a piece whenever a craving for something sweet and spooky strikes, ensuring you always have a delightful treat on hand.
Essential Ingredients for Your Spooky Oreo Bark
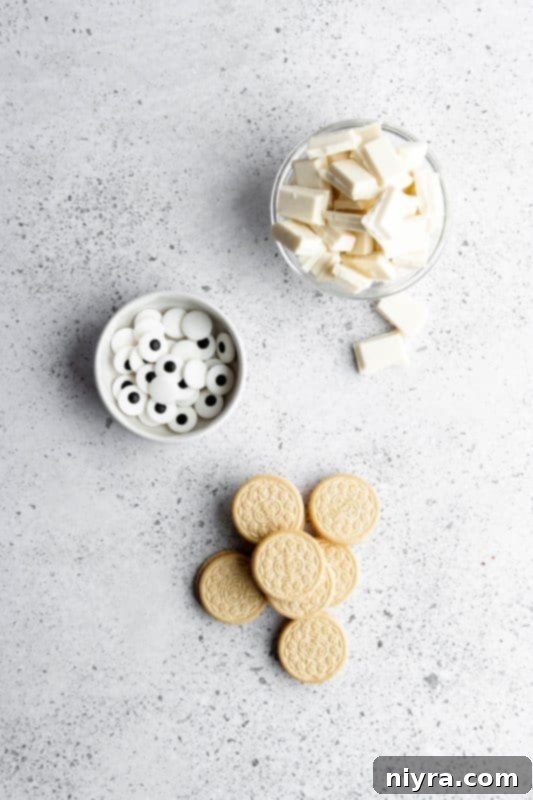
The beauty of this **Halloween Oreo Bark** lies in its simplicity. You’ll only need three key ingredients to bring this deliciously spooky treat to life. For a complete list of ingredients and detailed instructions, remember to scroll to the bottom of this post for the full printable recipe card.
Yes, just 3 simple ingredients:
White Chocolate: This is the creamy foundation of our bark. Melted white chocolate creates a smooth, luscious base and provides the perfect canvas for our mummy design. You can use white chocolate chips, white chocolate bars, or even white candy melts or almond bark for a slightly different texture and easier melting.
White or Golden Oreos: Crumbled Oreos are absolutely essential for adding incredible texture and a beloved cookie flavor to the bark. While golden Oreos are excellent for maintaining the ‘mummy’s bandages’ aesthetic, feel free to use classic Original Oreos for a striking black and white contrast, or any other type of crisp cookie you prefer.
Edible Candy Eyeballs: These are the stars of the show when it comes to transforming simple chocolate bark into whimsical mummy characters. These small, edible eyes add a crucial spooky-cute look to your Halloween bark, making each piece unique and full of personality.
Crafting Your Delightful Chocolate Bark: Step-by-Step Guide
This **Halloween bark recipe**, with its mere three simple ingredients, truly couldn’t be easier to make. Follow these straightforward steps to create a show-stopping treat that’s perfect for any spooky celebration.
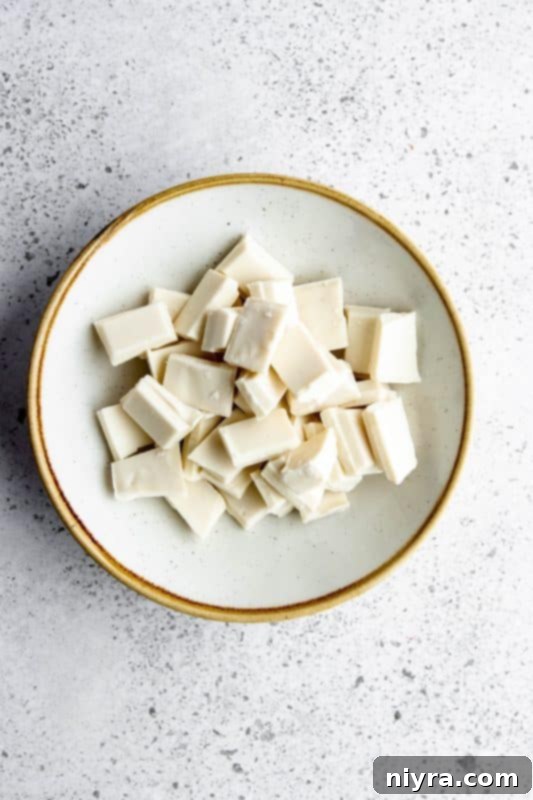
Step 1: Perfectly Melt the White Chocolate
Begin by placing your chosen white chocolate (chips or chopped bars) into a microwave-safe bowl. Microwave the chocolate in short, 15-second increments, stirring thoroughly after each interval. Continue this process until the chocolate is completely melted and boasts a beautifully smooth, lump-free consistency.
Expert Tip for Melting Chocolate: When melting white chocolate in the microwave, using brief 15-second bursts is crucial to prevent overheating. White chocolate can seize or burn easily if exposed to too much heat at once. Consistent stirring between each increment ensures the chocolate melts evenly and smoothly, achieving that perfect pourable texture without any burnt bits. Alternatively, a double-boiler method over simmering water can also yield excellent results for perfectly melted chocolate.
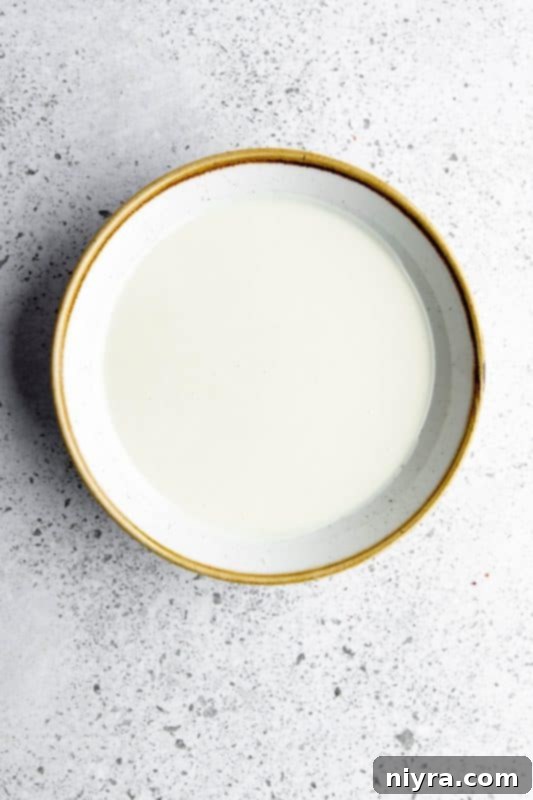
Once your chocolate is perfectly melted, set aside a small amount (about 1/4 to 1/3 cup) in a separate small bowl. This reserved chocolate will be used later for drizzling to create the iconic ‘mummy bandage’ effect on top of the cooled bark.
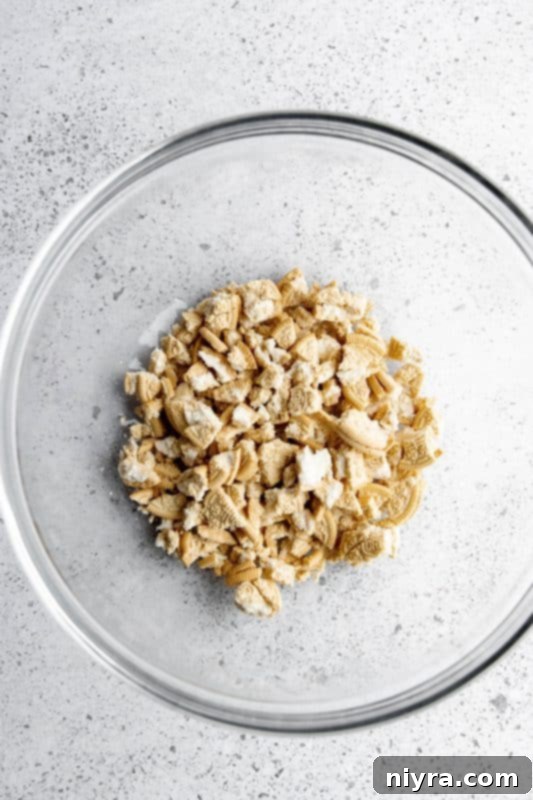
Step 2: Crush Your Oreos to Perfection
Take your chosen Oreos and use your hands to break them into small, irregular pieces. Place these crushed cookies into a large mixing bowl.
Crushing Tip: For achieving the ideal bite-sized Oreo chunks, you have a couple of options. You can either use your hands for a more rustic, varied texture, or for a quicker and more uniform crush, place the cookies in a sturdy plastic bag (like a Ziploc) and gently crush them with a rolling pin. The goal is to avoid overly large cookie pieces or finely ground cookie crumbs; we want noticeable, delicious chunks in our bark.
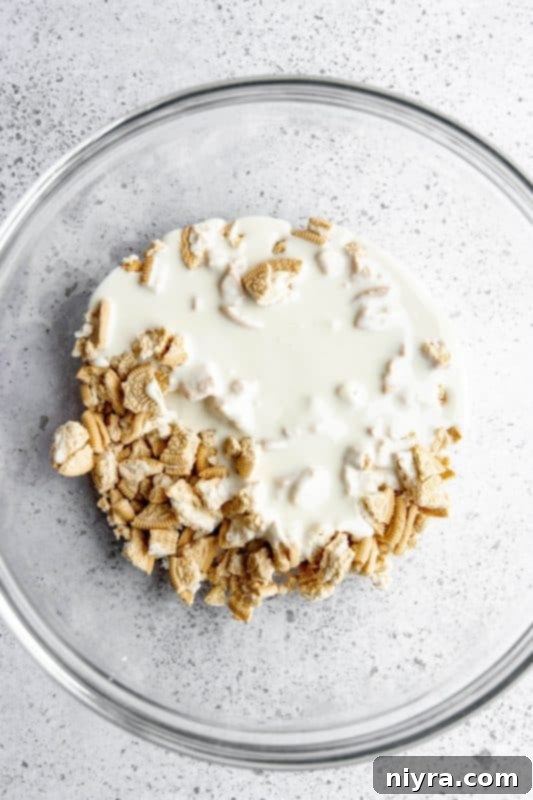
Step 3: Form the Mummy Bark Base
Now, pour the larger portion of your beautifully melted white chocolate over the crushed Oreos in the mixing bowl.
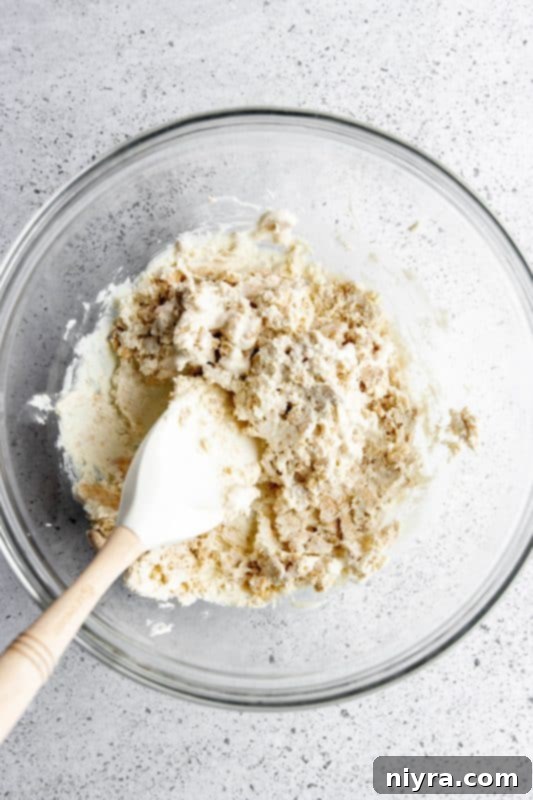
Gently stir the mixture until the Oreos are thoroughly coated and evenly combined with the white chocolate. You want every chunk to be embraced by the sweet, melted goodness.
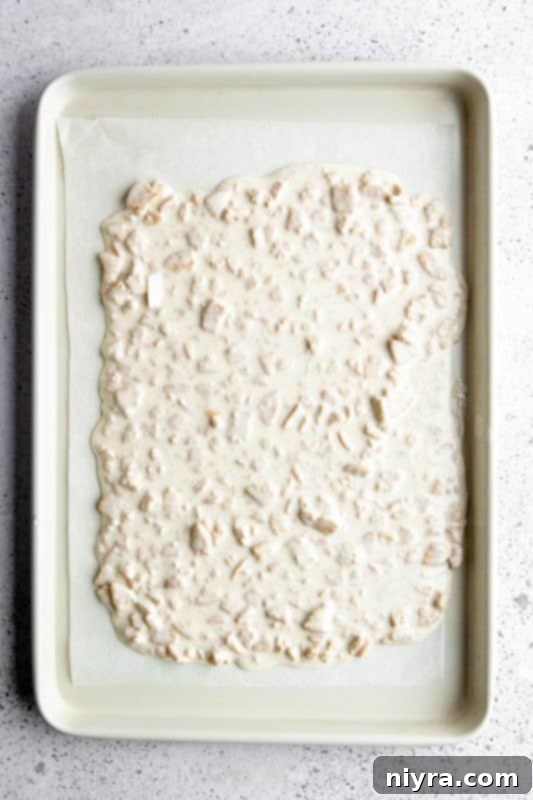
Prepare a baking sheet by lining it with parchment paper (this is crucial for easy removal). Spread the Oreo and chocolate mixture onto the prepared sheet in an even, single layer. Use a spatula to ensure a relatively flat surface.
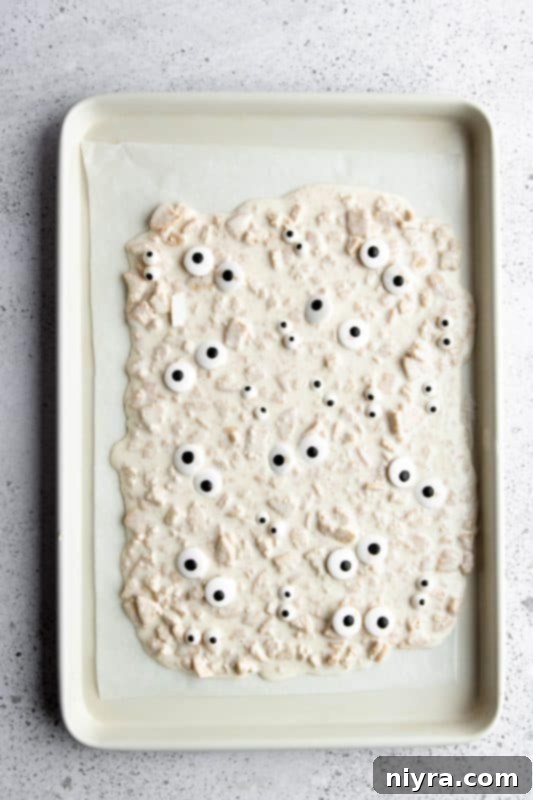
Now for the fun part! Carefully add the edible candy eyes, pressing them gently into the still-soft chocolate mixture. Allow the Halloween bark to cool and set partially. This initial cooling ensures the eyes stay put before the final drizzle.
Creative Eye Placement Tip: Don’t be shy about getting creative with how you place the edible eyeball candies on the bark. You can strategically group them in pairs or singles to resemble eyes peeking out from under imaginary “bandages.” This is your chance to give each mummy a unique, quirky, or even slightly mischievous look! Have fun with it!
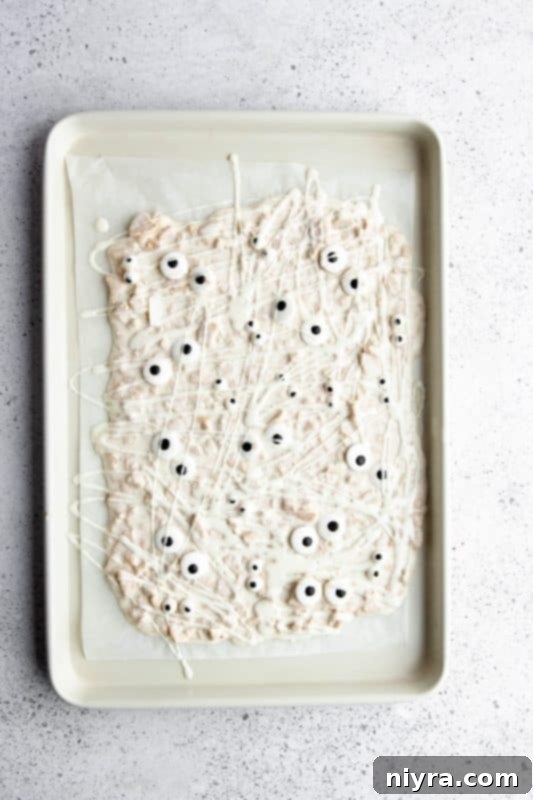
Once the bark has cooled and the chocolate is firm enough to hold the eyes, retrieve the small amount of melted white chocolate you set aside earlier. Now, drizzle this reserved chocolate artfully over the cooled bark. You can achieve this “mummy bandage” effect by either using a spoon and moving it back and forth in quick, irregular motions, or for more control, fill a small zip-lock bag with the chocolate, snip a tiny hole in one corner, and squeeze the chocolate out. A piping bag with a small round tip also works wonderfully for creating neat lines that resemble bandages.
Allow the bark to cool completely again. It’s important to give the mummy bark enough time to cool and set properly. For quicker results, you can place it in the refrigerator for about 10-15 minutes. However, allowing it to set at room temperature will also work, just ensure it’s fully hardened before proceeding.
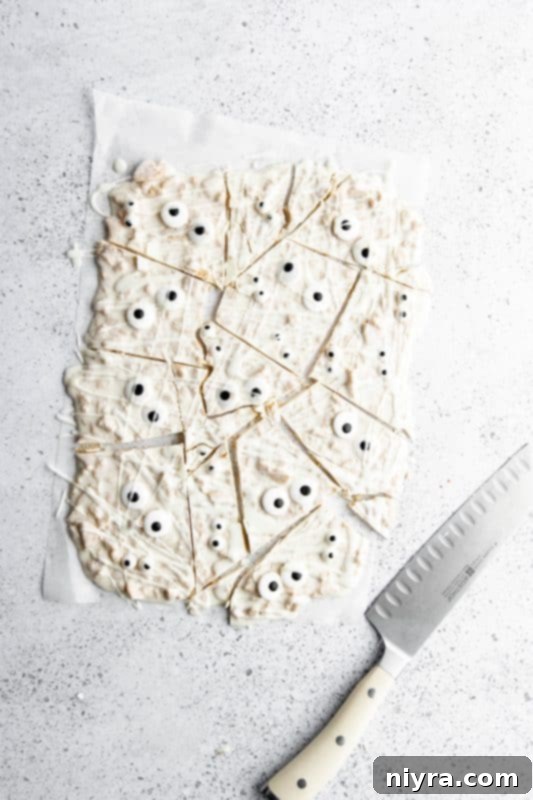
Step 4: Cut and Serve Your Spooky Bark
Once the mummy bark has fully cooled and set into a solid slab, it’s time to cut it into individual pieces. Use a sharp knife to carefully cut the bark into desired shapes and sizes. For cleaner edges, wipe the knife blade with a paper towel between cuts, especially if the chocolate starts to stick. Arrange your delicious **Halloween Mummy Bark** on a festive plate or in a decorative bowl, and prepare for delighted smiles!
Loved This Recipe? Pin It for Later!
If you’ve fallen in love with this easy and adorable **Halloween Mummy Bark recipe**, don’t let it disappear into the digital ether! Make sure to save it for future Halloween celebrations by pinning it to your favorite Pinterest recipe board before you go. It’s a guaranteed hit you’ll want to revisit!
Frequently Asked Questions About Halloween Bark
Here are some common questions about making and storing delicious chocolate bark:
- What is chocolate bark used for? Chocolate bark is a versatile sweet treat that typically uses a melted chocolate base, onto which various toppings like nuts, seeds, dried fruit, candies, or in this recipe, crumbled Oreo cookies, are spread. It’s then cooled and broken into irregular pieces, making it perfect for snacking, gifting, or dessert platters.
- How long will chocolate bark last? When stored properly in an airtight container, chocolate bark can last for 2-3 weeks in the refrigerator. If kept at cool room temperature, it typically stays fresh for about a week.
- Does chocolate bark need to be refrigerated? While chocolate bark doesn’t strictly *need* to be refrigerated, especially if made with stable chocolate and stored in a cool, dark place, it will undoubtedly last longer and retain its freshness and crisp texture if kept in the fridge. This is particularly true for white chocolate bark, which can soften more easily at room temperature.
- How do you cut chocolate bark without cracking it? Cutting chocolate bark without it cracking can sometimes be a challenge, as its irregular nature is part of its charm. The easiest way to achieve cleaner cuts is to use a small, sharp serrated knife and apply gentle, slow pressure. If cracks do appear, don’t worry – it’s still perfectly edible and often adds to the rustic, freeform aesthetic of chocolate bark!
- Can I use a different type of chocolate to make these mummy bars? Absolutely! While white chocolate creates the most authentic and striking ‘mummy’ look, you can certainly experiment with dark chocolate or milk chocolate for a different flavor profile. The ‘bandages’ effect might be less stark, but the taste will still be incredible!
- Can I add other toppings to this bark? Yes, get creative! You can definitely add other Halloween-themed toppings to your mummy bark. Consider incorporating gummy worms, mini chocolate chips, colorful Halloween sprinkles, or even chopped nuts for added crunch and flavor. Make it your own spooky masterpiece!
- Do I need any special equipment to make this bark? No special equipment is required to make this **Halloween Mummy Bark**. Basic kitchen tools like a microwave-safe bowl, a spatula, a baking sheet, and parchment paper are all you’ll need, making it accessible for any home cook.
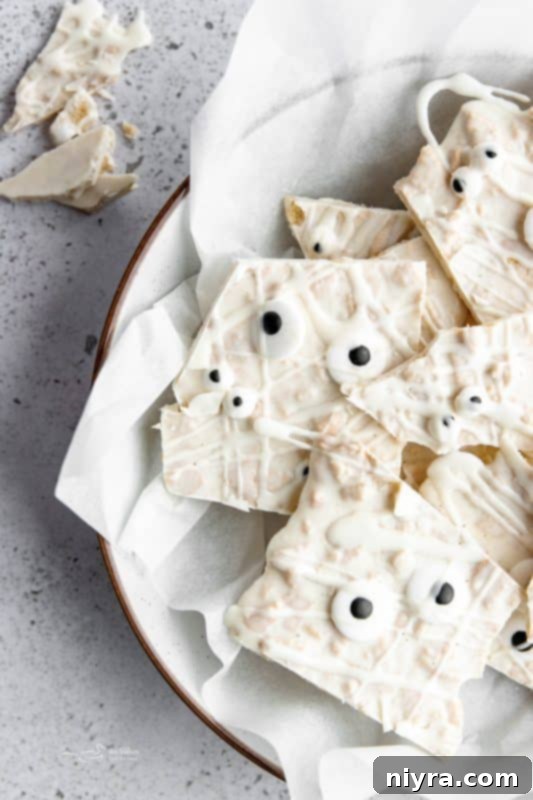
Creative Substitutions for Your Mummy Bark
When it comes to making substitutions in recipes, don’t hesitate to unleash your inner chef! Feel free to get creative and use ingredients that perfectly suit your personal taste, dietary preferences, or simply what you have on hand. Make this recipe truly your own unique creation!
Cookie Swap: If you don’t have golden Oreos readily available, feel free to substitute them with classic Original Oreo cookies for a contrasting look, or any other crisp biscuit or cookie that you can crumble accordingly. Vanilla wafers or shortbread cookies would also work well.
Chocolate Alternatives: Instead of traditional white chocolate chips or bars, you can easily use white almond bark, white candy melts, or even white chocolate compound coating. These options are often formulated to melt more smoothly and might be easier to work with for some.
Top Tips & Tricks for Perfect Mummy Bark
Here are a couple of extra pointers to ensure your **Halloween Mummy Bark** turns out perfectly every time, along with ideas for enjoying it:
Thinning Thick Chocolate: If your melted white chocolate appears too thick or becomes difficult to drizzle, add a tiny touch (about 1/2 to 1 teaspoon) of neutral-flavored coconut oil or vegetable shortening. Stir it in thoroughly until the chocolate reaches your desired pourable consistency.
Party Favors: This bark makes fantastic party favors! Once cooled and cut, wrap individual pieces of **Halloween Mummy Bark** in clear cellophane bags, tie them with festive ribbons, and hand them out to your guests as a sweet takeaway from your Halloween celebration. They’re sure to be a huge hit!
More Delightful Candy Recipes to Explore
If you’re a fan of homemade candies and sweet treats, you’ll love these other fantastic recipes. Perfect for gifting, parties, or simply satisfying your sweet tooth:
Homemade Twix Bars
Peanut Butter Fudge
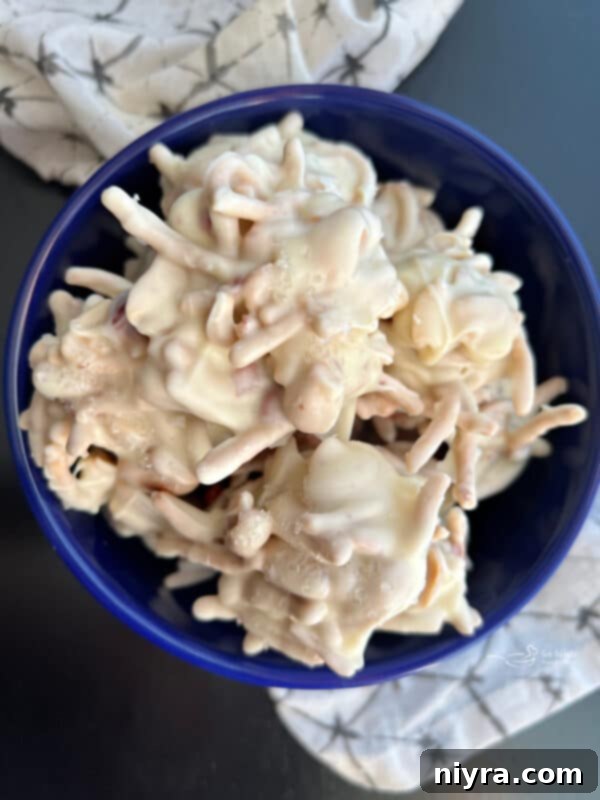
White Ting A Lings (pictured above)
Peppermint Meringues
Rolo Pretzels
- White and Dark Chocolate Peppermint Bark
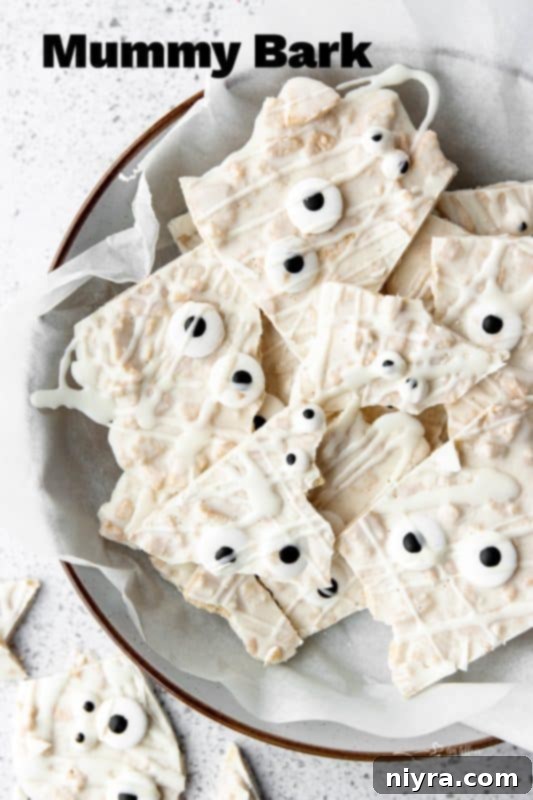
So, if you’re on the hunt for stress-free yet utterly charming **Halloween treat ideas**, your search ends here! Easy Halloween treats are always a favorite, and this recipe for **Halloween Mummy Bark** perfectly fits the bill. It’s not just simple; it’s guaranteed to be a huge hit with everyone who tries it. Get ready to impress with minimal effort!

LIKE THIS RECIPE?
Don’t forget to give it a ⭐️⭐️⭐️⭐️⭐️ star rating and
leave a comment below the recipe!
Print Recipe
Halloween Mummy Oreo Bark
Equipment
- Rubber Spatulas
- 13×18 Half Sheet Pan
- Reynolds Kitchens Non-Stick Parchment Paper
- Assorted Candy Eyeballs Box
Ingredients
- 14 Golden Oreos
- 300 g White Chocolate (about 11 ounces or 1 1/4 cup)
- Edible Candy Eyeballs
Instructions
- Place the chocolate in a microwavable bowl and microwave in 15-second increments until melted. Make sure to stir between each set. Set aside a small amount to drizzle at the end.
- Use your hands to break the Oreos into small pieces and place them in a large mixing bowl.
- Pour the melted chocolate over the Oreos.
- Spread the Oreo mixture on a baking sheet lined with parchment paper and add the edible eyeballs.
- Allow to cool.
- Once cooled, drizzle a little extra melted white chocolate over the chocolate bark to create a mummy look.
- Allow to cool once more.
- Use a sharp knife to cut into pieces and serve.
Notes
- Chocolate bark will last 2-3 weeks if stored in an airtight container in the fridge. Bark does not need to be refrigerated but it will last longer and stay fresher if you keep it in the fridge.
Nutrition
HAPPY HALLOWEEN!!! Welcome to 2023’s #HalloweenTreatsWeek event!
If you’re new here, Welcome! If you’re a returning haunt, welcome back!
#HalloweenTreatsWeek is a yearly Halloween blogging event proudly hosted by Angie from Big Bear’s Wife. This incredibly fun and delightfully spooky event is an online, week-long celebration filled with some truly frightfully delicious Halloween treats and recipes contributed by a fantastic group of Halloween-loving bloggers!
For this year’s 6th annual #HalloweenTreatsWeek event, we’ve gathered 18 hauntingly talented bloggers who are eager to share their favorite Halloween recipes throughout the entire week! You can easily follow the hashtag #HalloweenTreatsWeek on all social media platforms to collect every single one of these ghoulishly good recipes, perfect for impressing guests at your own Halloween parties and events!
Make sure to check out all the exciting Halloween recipes we’re sharing this week! You won’t want to miss a single one.
Today’s Bewitching Halloween Offerings from our talented bloggers:
- Jack Skellington Hot Chocolate Bombsfrom Big Bear’s Wife
- Spider Web Brownies from Semi-Homemade Recipes
- Butterbeer Moussefrom The Spiffy Cookie
- Halloween Witch Hats from Our Good Life
- Chocolate Bat Cereal Treatsfrom Sweet ReciPEAs
- Pumpkin S’mores Cupcakes from It’s Shanaka
- Oreo Mummy Bark from An Affair from the Heart
- Fruity Halloween Rice Cereal Treats from Palatable Pastime
- Pumpkin Snickerdoodle Cookies from Best Cookie Recipes
- Frostbite Fingers (Chocolate Tamales) from A Kitchen Hoor’s Adventures
- Cinnamon & Sugar Crescent Roll Witch Hats from Savory Moments
- Spooky Red Cider Sangria from The Redhead Baker
- Mini Candy Corn Cheesecakes from Best Dessert Recipes
- Ghost Brownies from Savory Experiments
- Witches Brew from Jen Around the World
- Severed Hand Piesfrom Hezzi-D’s Recipe Box
- Kiss From A Vampire Cookies from Jolene’s Recipe Journal
